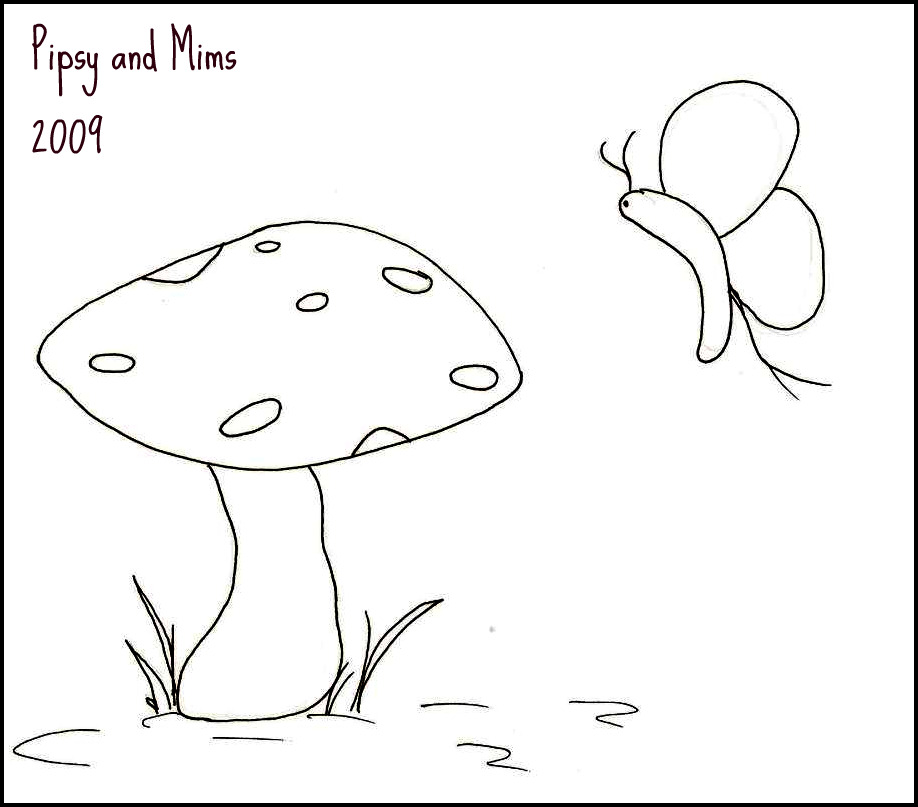
This design can be done entirely in stem stitch, so its easy for beginners. Just ensure when you’re going around tight curves to vary your stitch length to very small.
Use whatever fabric you like, I used homespun just because I like it.
Before you start stitching, shade in the areas you want coloured with a coloured pencil or I used my watercolour pencils. You can see in the picture below the areas I’ve shaded. You can always shade more when you’re done stitching, but go lightly to begin with and layer it. Back your fabric with fusible Pellon before you start stitching.
Continue outline stitching and don’t forget the details on the butterfly’s body and wings.
Here is my finished stitchery, I did some extra pencil shading when I finished stitching (blue for the sky, green and brown for the ground. I then sewed on a fabric border, backed it with some wadding and put it in a frame without the back on.
You don’t have to frame yours, it could go on a cushion etc. but keep in mind it can’t be laundered due to the pencil!
Voila! A cute and quaint stitchery!
Please respect my creativity by only using this image and instructions for personal enjoyment.
I’d love to see pictures of your stitchery when you’re done and receive some feedback on the instructions.