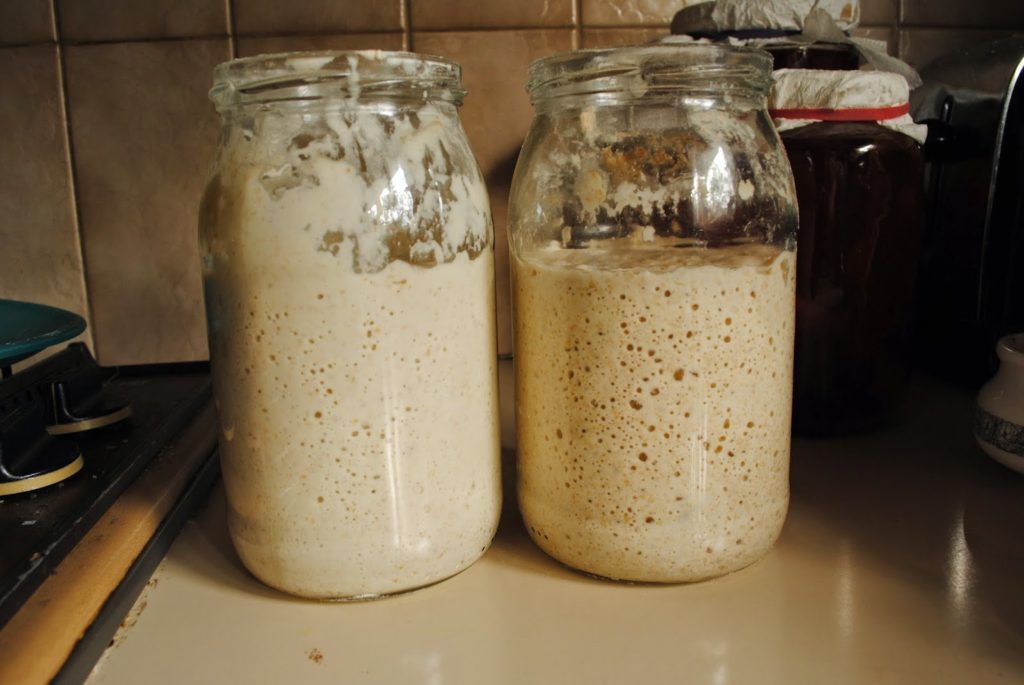
After the starter was activated (about 24 hours after adding water) I divided it in two to start the feeding stage. The one on the left was fed with organic white flour and filtered water. The one on the right was fed with wholemeal flour and filtered water. I wanted to divide them in case of disaster – my hope was that at least one would survive.
24 hours later they looked like they do in the picture above. Increased in size, lovely bubbly holes and a pleasant, slightly sour aroma.
After this first feeding the starter was ready to bake with. Wanting to remain on the cautious side, I decided to bake plain white loaves. Very simple ingredients – white flour, starter, salt and water.
I baked on a very warm day, so total rising time was around 6 hours, which was perfect. They turned out great!
Two days later I did my second bake. I kept the starters in the fridge in between and got them out for 2 hours before using. This time I tried overnight proving – one batch of dough in the fridge and one out on the bench top on a relatively cool night. I didn’t get as much rise (even overnight which ended up being about 14 hours total proving time!) However, the resulting bread still had a great taste and dense, springy texture.
I’m very happy to be able to add sourdough to my bread making repertoire and now plan to bake sourdough twice a week and yeasted bread once or twice a week (my 5 year old does not have the acquired taste for sourdough yet!) My starters are happily living in the fridge in between bakes and do very well after an outing and a feed.
