

In the last post, we laid out, pinned and prepared all of the pieces of bag to sew together.

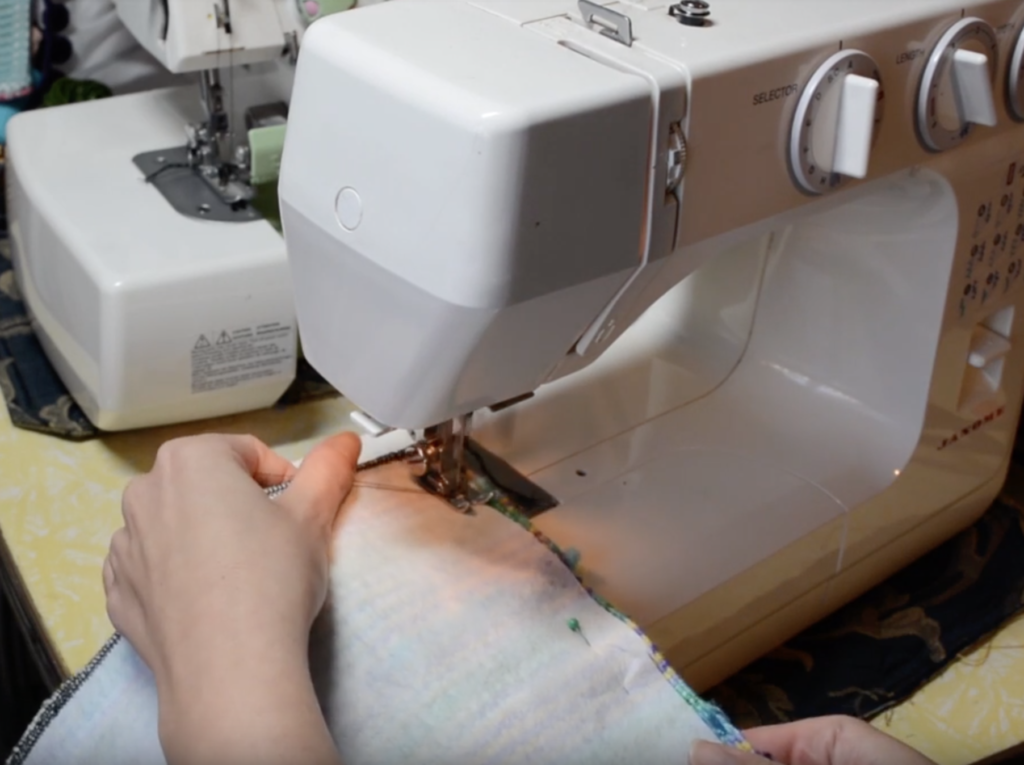
Now that we’ve pinned our 2 main bag panels together, we can take them to the sewing machine. With a straight, medium stitch, sew around 3 sides of the panels, leaving the top part that we didn’t pin open. Remove your pins as you go. When I’m sewing at the machine, I use my magnetic pin bowl to be able take pins out of the fabric quickly and pop them onto the bowl, where I know they’re not going to go anywhere. It has the added bonus of helping you find any pins that you may drop on the floor, especially on carpet. I just push the magnetic bowl around on the floor until it finds the pin, it’s very handy!
*This post contains affiliate links. This means that if you click on the link and purchase, I receive a small commission at no extra cost to you.
I’ve said it before, but it’s an even more poignant point for bag sewing, which needs to be sturdy. It is a total false economy to sew with cheap thread that is just going to break – either when you’re sewing or very soon afterwards. Use a good quality, “sew all” thread such as Gutermann.

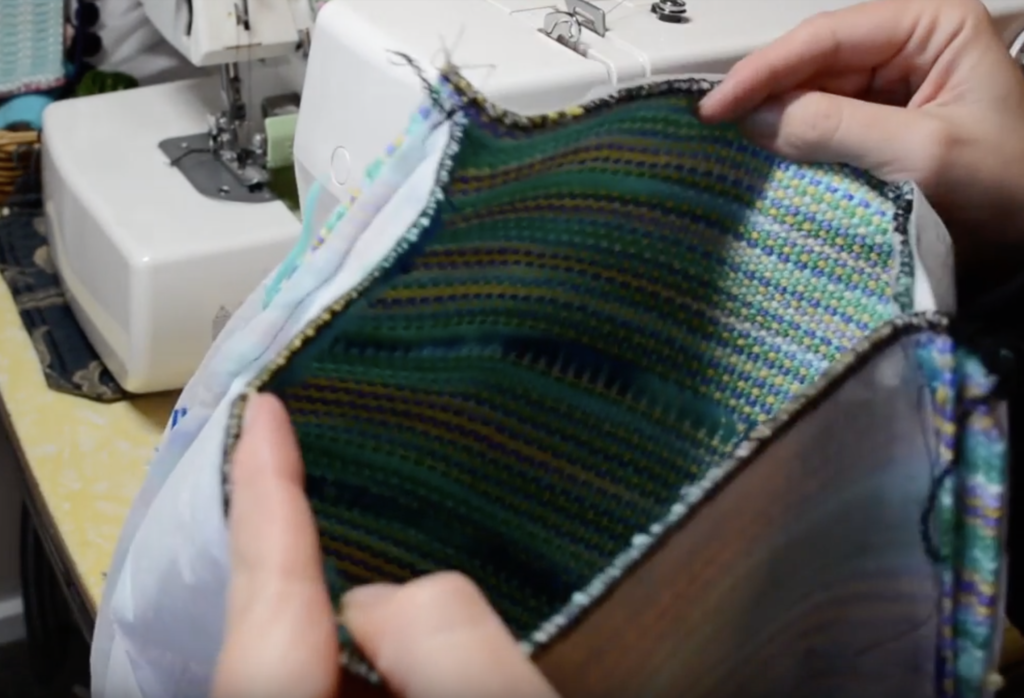
When you have sewn around all three sides you will have what looks like a very big pocket!

Now we sew the lining fabric panels together in the same way EXCEPT that we leave the 6″ gap along the bottom edge. This is really important, as you won’t be able to turn your lining to the inside of your bag without it.

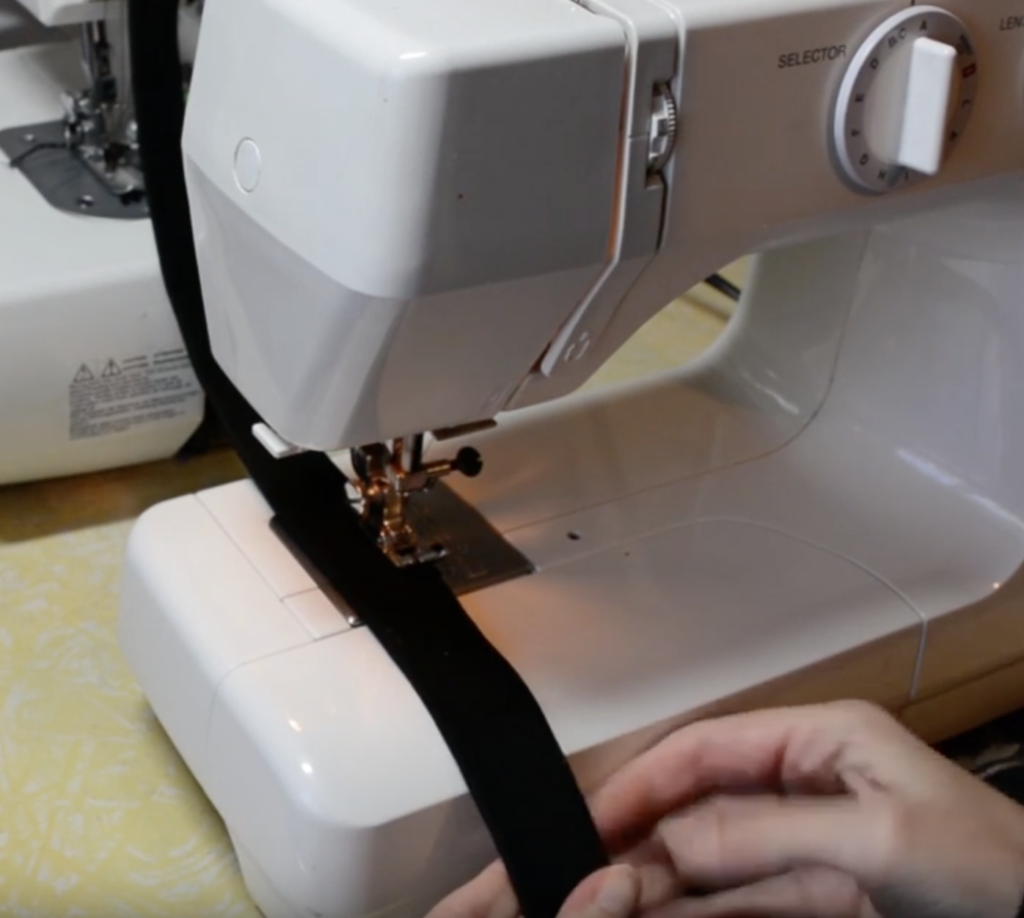
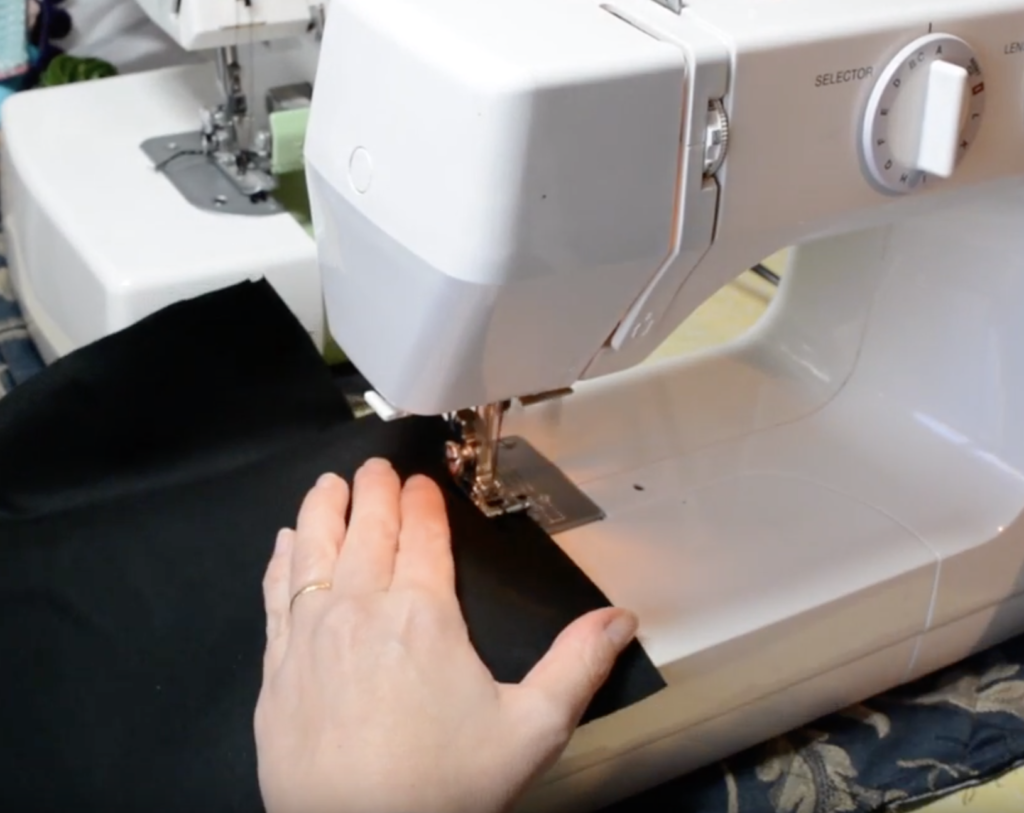
To sew the bag straps or handles, sew down one long side where the 2 edges join. You can also sew down the folded side if you like symmetry, but it’s not essential.

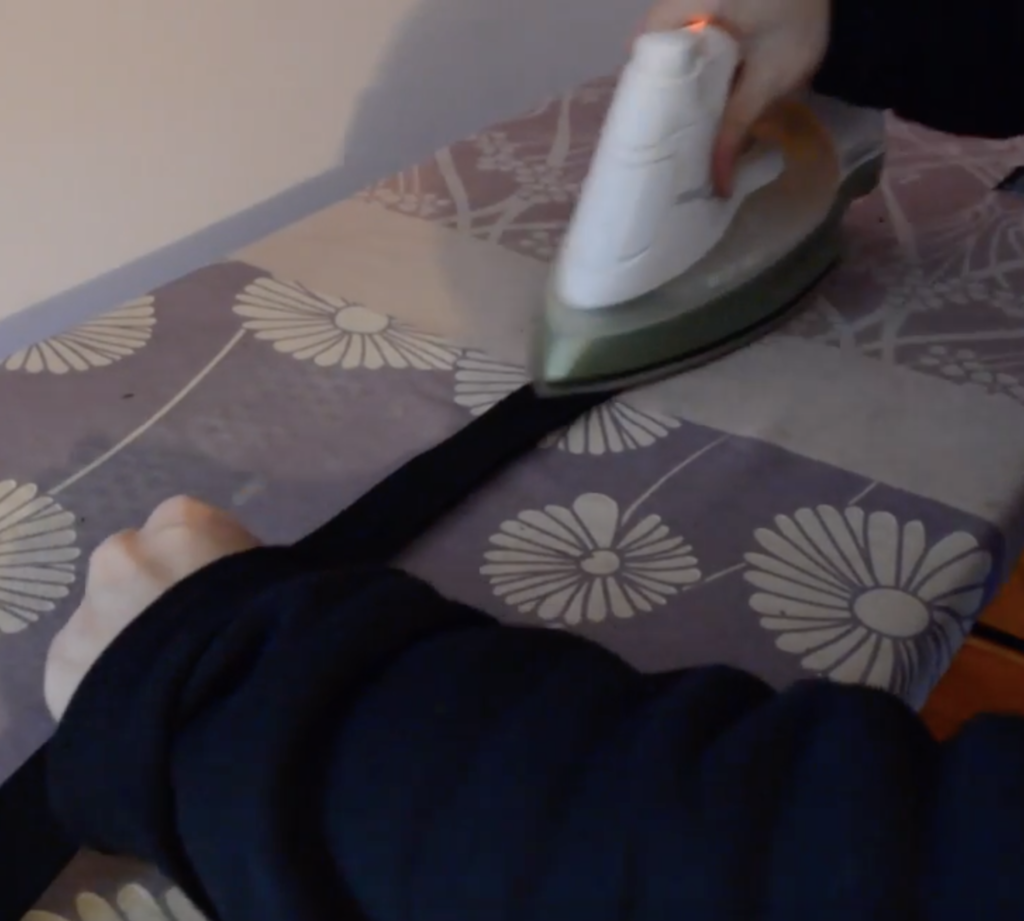
Take all of your pieces to the ironing board and press them on a steam setting. The level of heat to use will depend on what yarn you have used – you don’t want to scorch anything. If you’re worried about scorching, use a lower setting and/or a presser cloth. (This can be as simple as an old sheet or pillow case).

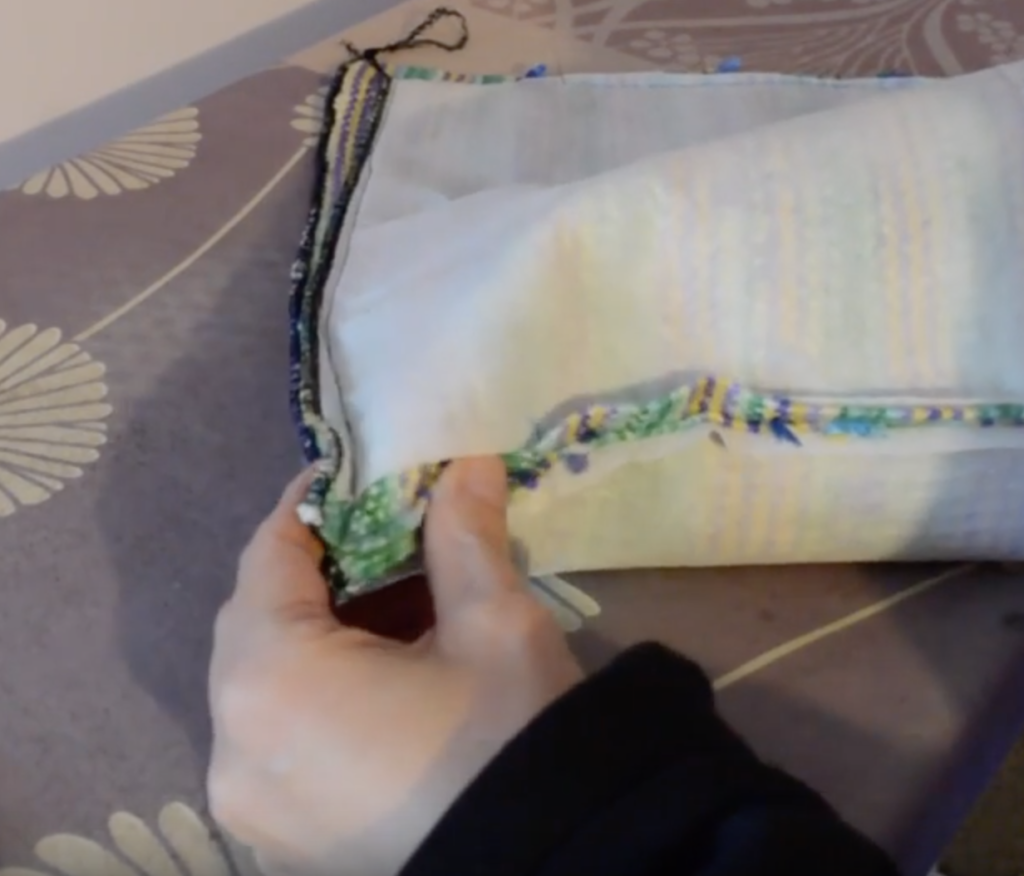
This part is best explained in the video, but to give you an overview, you put a finger into the corner of your inside out bag. Pinch the seams together so that the side and bottom seams are sandwiched together.

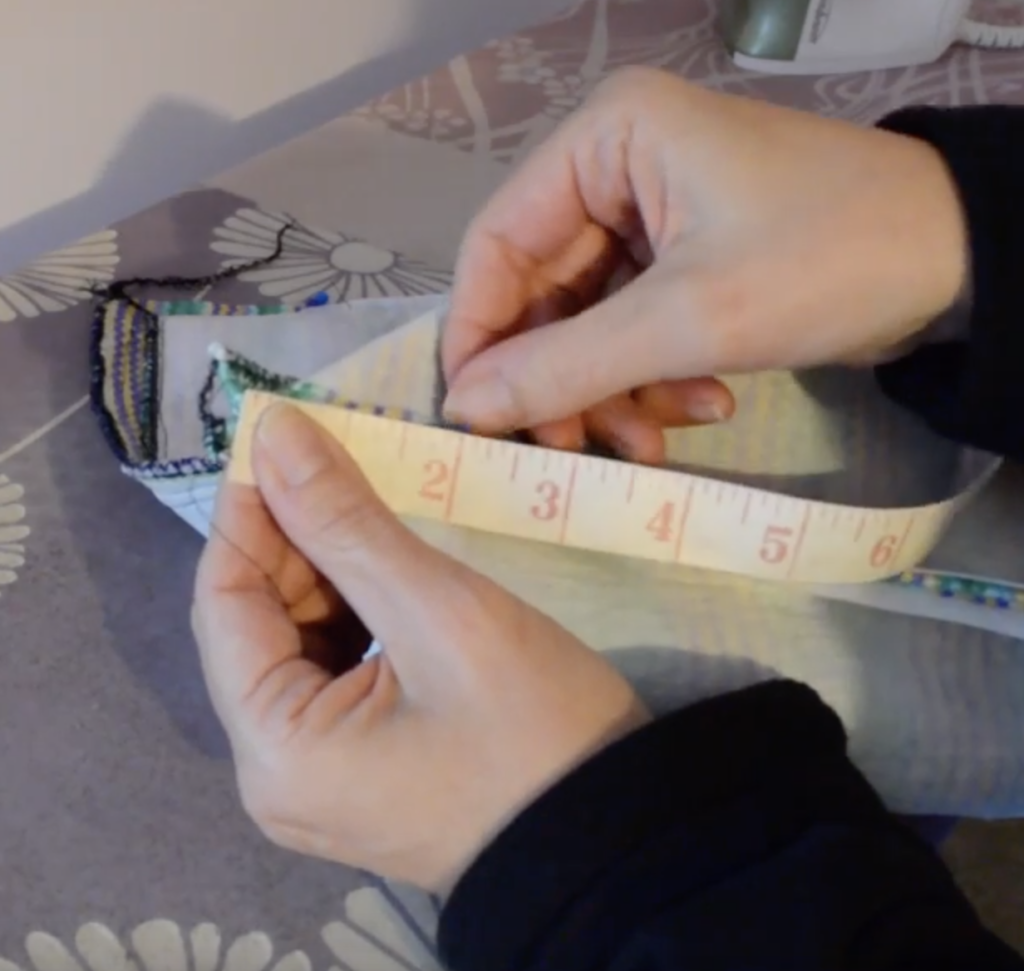
Hold a measuring tape against this seam from the top point.

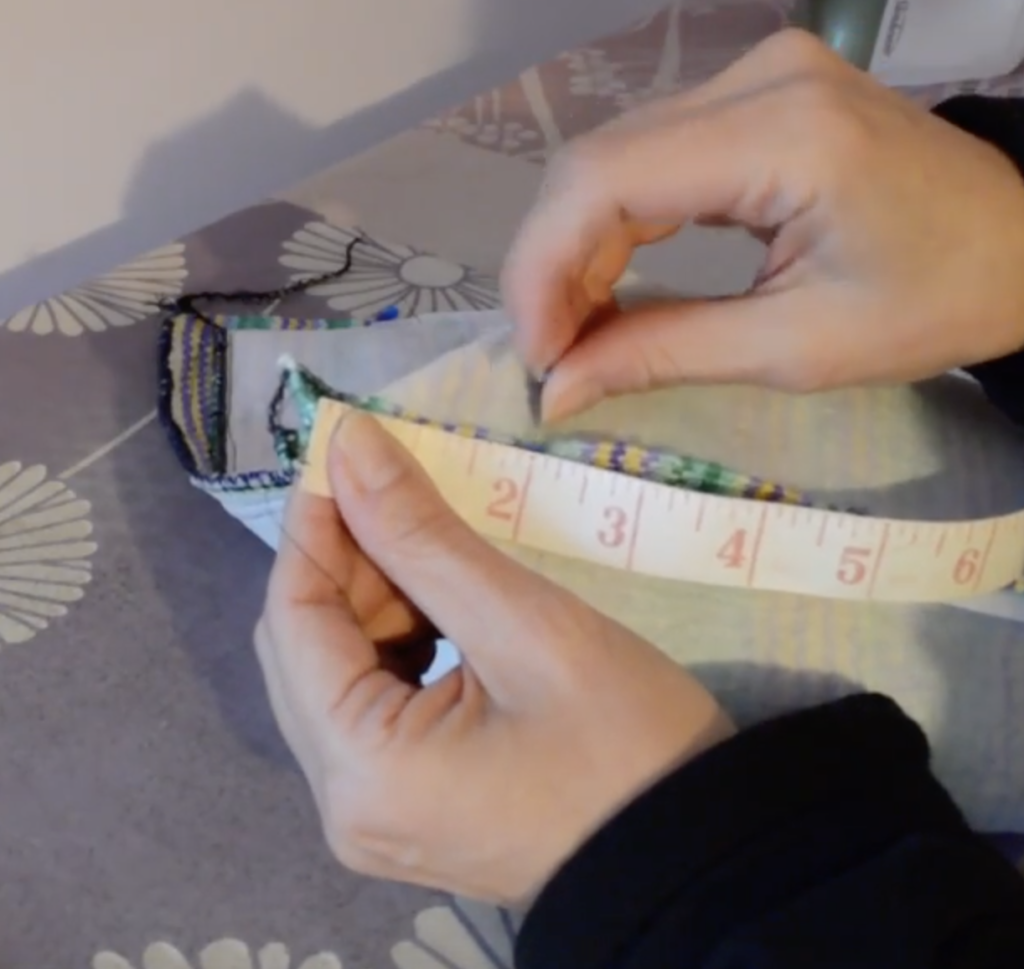
Measure 2 inches along and place a pin horizontally across the pinched corner.


Place other pins horizontally across the corner at the 2″ mark, flattening the 2 layers of fabric together. You will end up with your corner in a triangular shape. Repeat to the other corner at the bottom of the bag. Now repeat the corner treatments on your lining fabric.
You can find all of this lesson in video format here:

Thanks for joining me today, as always, leave a comment about this lesson if you have any questions.
Until next time…
Happy Weaving!