Hand hemming. It just sounds good, doesn’t it? It takes you back to the days when time was spent stitching with a needle and thread. Quiet, meditative, and artfully skilled.
I’ll be the first to admit that most of my hand woven pieces are hemmed on my sewing machine, due to a lack of time and a love of convenience. But, I do enjoy stitching with a needle and thread at least occasionally, and it does provide a different finish to a machine stitch.
*This post contains some affiliate links, which means if you click on the link and purchase, I receive a very small commission at no extra cost to you.
If you are more interested in hemming your hand wovens on a sewing machine, this post has got you covered. The initial steps are the same, whether you are hemming by hand or machine.

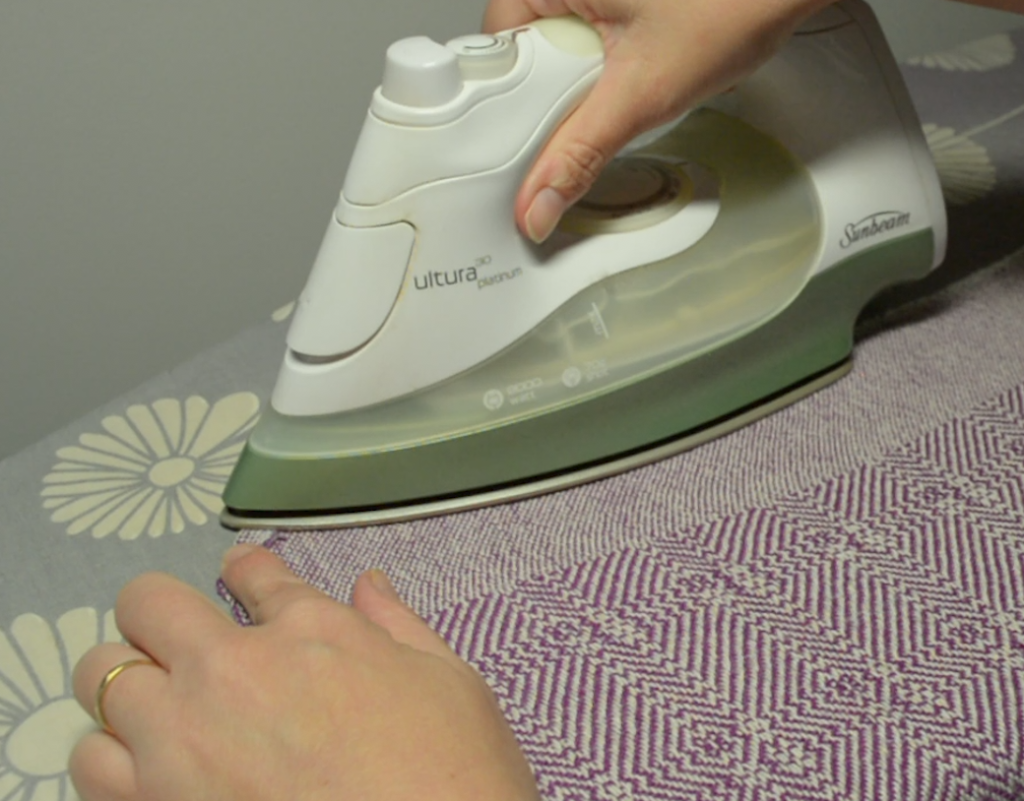

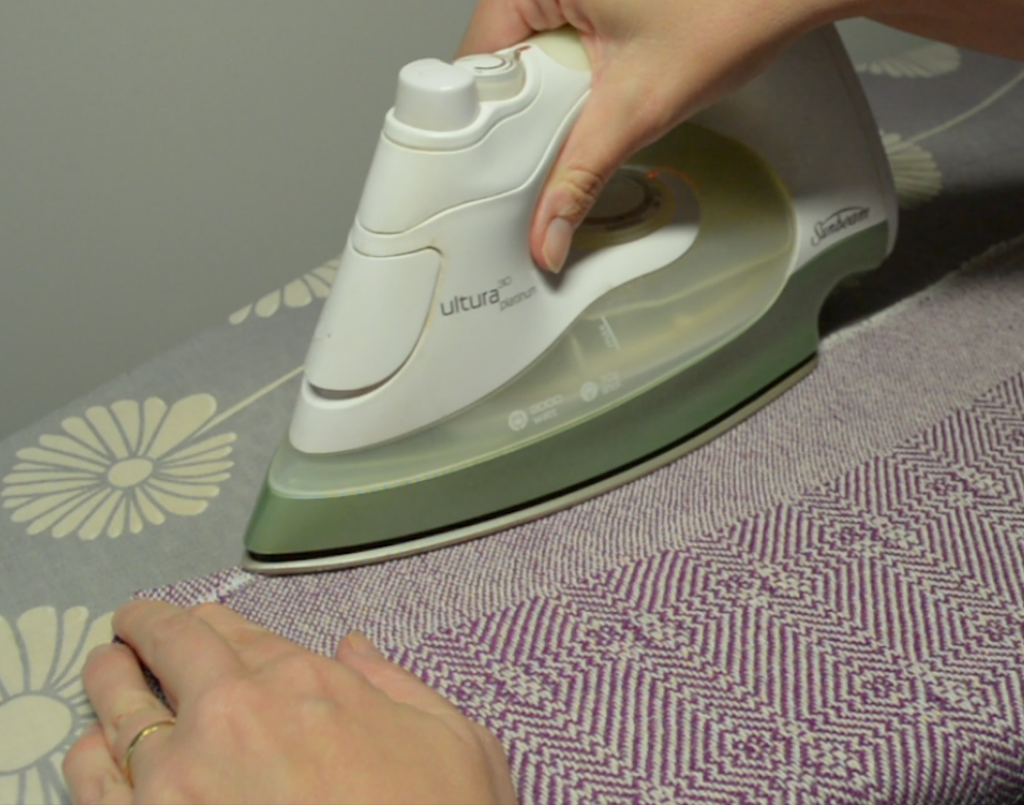
Next you begin to fold down the edge that was previously serged or zigzag stitched and press with the iron.

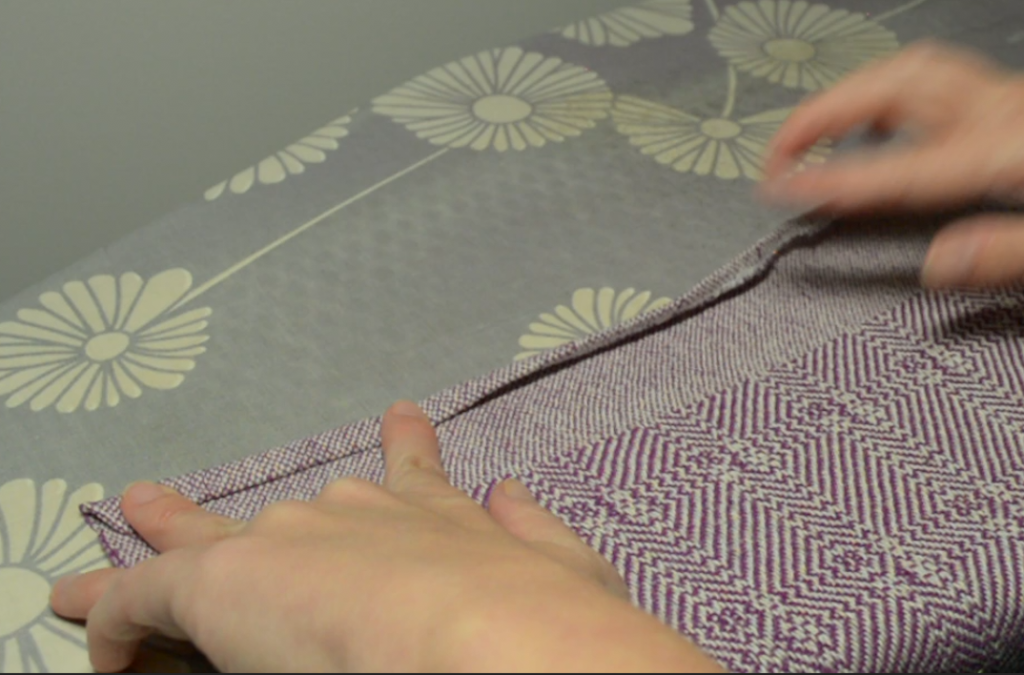
Now we make another fold, a little bigger than the last and press that down as well. Place pins along the fold to help hold it in place during the stitching process.
If you need more details on these steps, this post is more step by step.


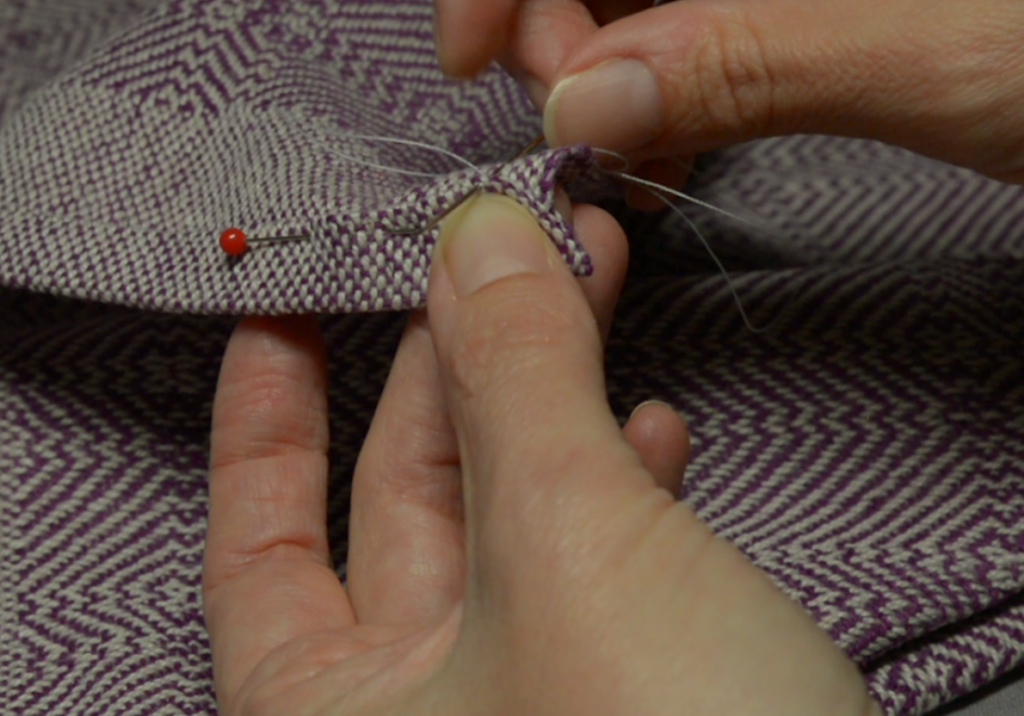
Now we are ready to stitch. Use a needle (not a tapestry, you need a sharp point for this task) and a length of good quality sewing thread (I always use Gutermann Sew All Thread) and knot the end of the thread. Slightly lift the edge corner of one of your hems. In this space you will begin your thread and lodge your know to make it invisible.

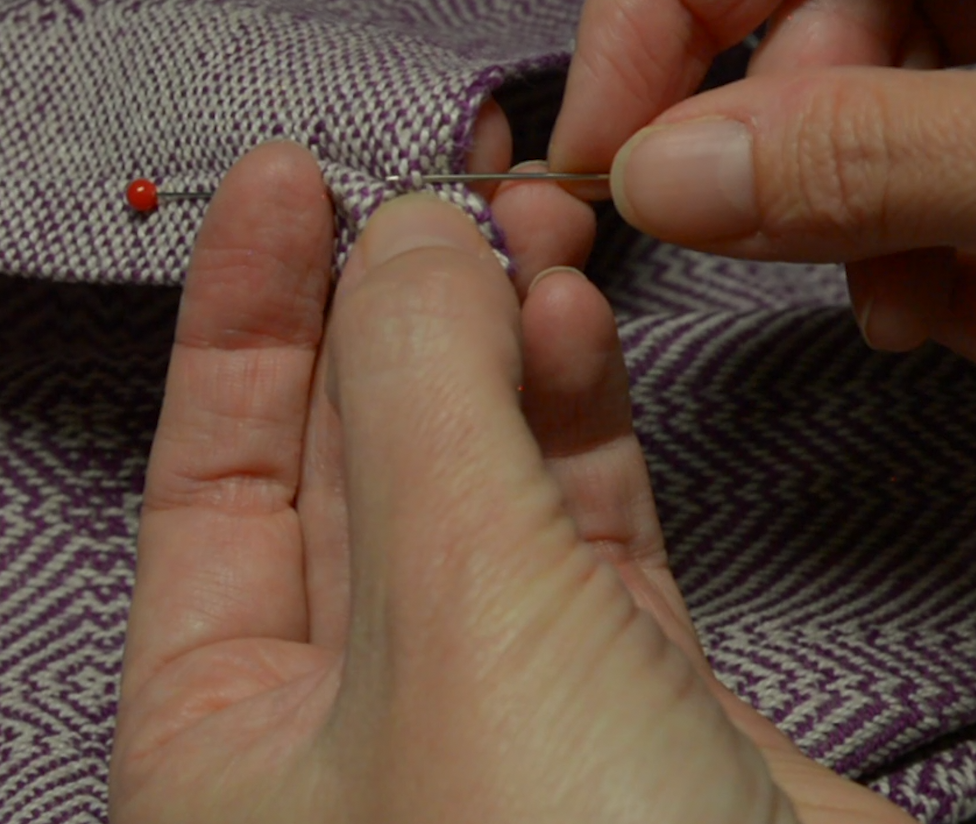

Take the needle into the fold of the hem, close to the corner and close to the edge of the fold. Pull the thread through.

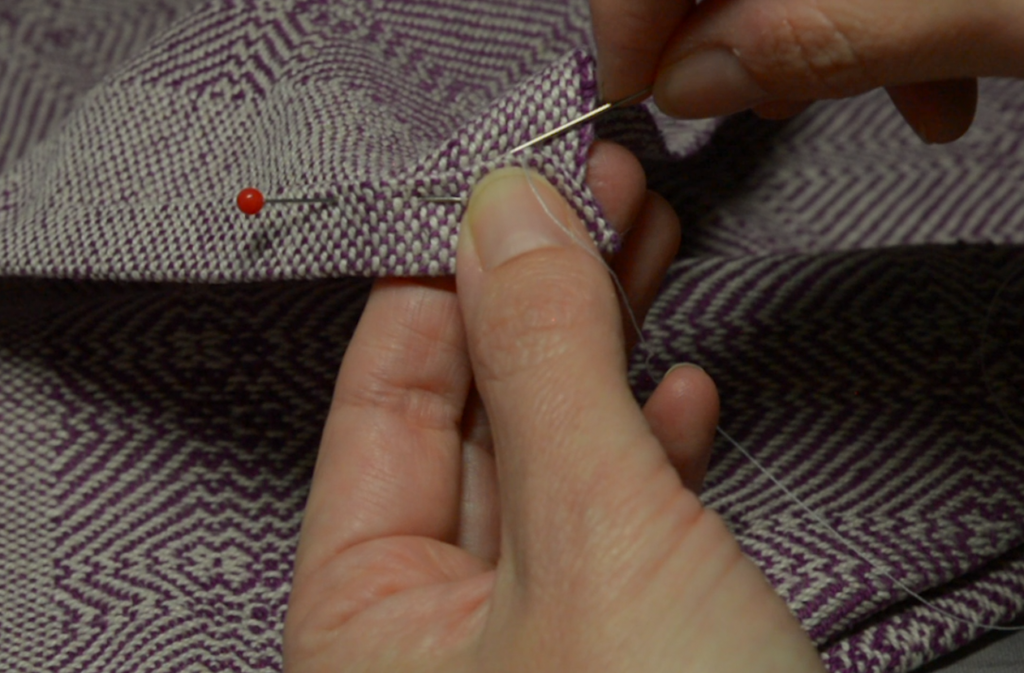
Now, take the needle back to the base cloth, horizontal to the fold. Pick up one or two threads, very close to the fold of the hem, but not on it. This is the fabric underneath the hem. Pull through.

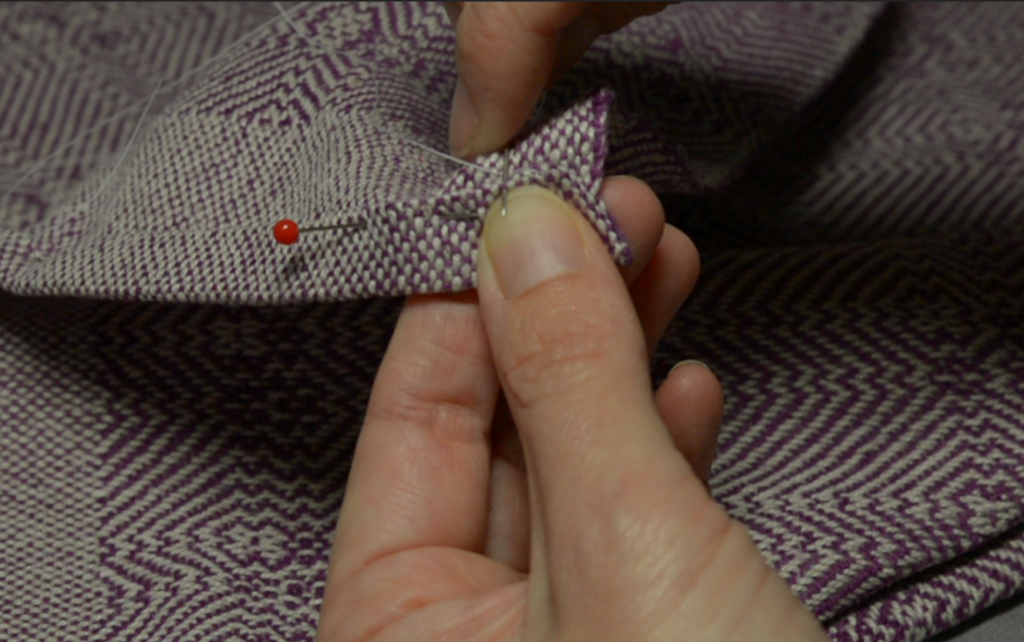
Now, take the thread vertically through the fold of the hem once again. Pull through, and return to the base cloth to repeat these steps.
Once you are proficient at this, you may want to eliminate one step of the process by combining the two stitches into one action. It is best if you watch the video to learn to do that, it is much easier to show and tell!

Finish up by knotting the thread and burying it into the cloth, using your needle. Cut off any loose ends. Give your hem/s a quick press and they’re good to go!
So, what is your preference? Hand hemming or machine? Let me know by leaving a comment!
Do you like the towel I’m hemming in the photos? It is one of 4 towels from my Floor Loom Weaving sequel class. It’s almost finished, won’t be long now! Make sure you’re on my email list to receive notification of when it goes live.
I hope you enjoyed today’s tutorial and until next time…
Happy Weaving!