As weavers, we spend so. much. time on planning, preparing, then actually weaving a finished piece.
And it doesn’t stop there, because after all, a piece is not finished until it’s finished!
After choosing how we are going to finish our ends by either stitching, sewing or at least securing, we then come to…
THE WET FINISH!
But hey, it’s actually a pretty simple process and doesn’t take all that much time or effort. The really hard part is waiting for the piece to dry!
*This post contains affiliate links, meaning that if you click on a link and purchase, I receive a small commission at no extra cost to you.
I think it’s rather fitting then, that after all that hard work, we should finish off with as much love and care that we started with. That’s why I wanted to share my Gentle Soak Recipe with you today!
You can make it yourself, it’s economical as you only use a small portion for each woven piece, and best of all it feels luxurious to use – almost like a little treat to the weaver at the end of a project.

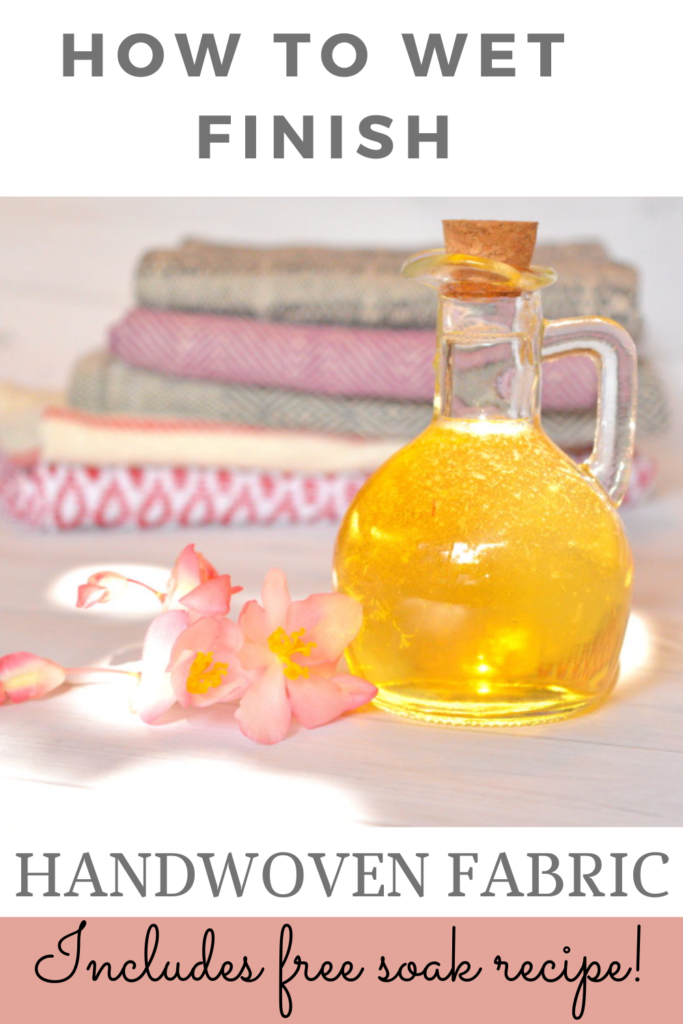
THE RECIPE
Dr Woods Baby Mild Castile Soap
Essential oil (optional) of your choice.
Glass bottle with a dispenser or glass cruet with stopper. I ordered some glass dispenser bottles, but when they got lost in the mail I ended up finding a cruet in a kitchen supplies store and used that instead.
THE METHOD
I pour the Castile soap into my 150ml (5oz) bottle until half full. To this I add my essential oil, approximately 15 drops depending on the strength of oil I’m using. I stir this around with a wooden skewer until I feel it’s well blended, then top up the rest of the bottle with more Castile soap, stirring again. Store with the lid in place.
Some essential oil blend suggestions:
There are so many lovely oils that can be used alone (you know how much I love the simplicity of lavender!)
Other oils that work beautifully as singles are peppermint, rose absolute and rose geranium.
If you want to try making some of your own blends, there are kits available where oils that go well together are sold in a pack. You can also buy already blended oils, taking the guess work out of it for you.
Oh, and if you don’t want to add your own oils, the Dr Woods Castile soaps also come in peppermint, lavender, and tea tree.
Don’t like essential oils? Just use the pure baby castile, which has no added scent on it’s own.
WHY DO I NEED TO WET FINISH?
Sometimes, removing a project from the loom and having a good look and feel of it for the first time can be a bit disappointing! It may feel stiff, rough, and look, well… a bit lacklustre!
Enter the magic of the wet finish!
Allowing the project to soak in warm water with a mild detergent enables all those lovely fibres you have spent so much time and care to weave take in the water, plumping them up to maximum level and allowing them to bloom. Then, as the fabric dries, all those fibres settle into their rightful place and live happily ever after.
If you cut your fabric when it is still in loom state (prior to wet finishing) you will notice a dramatic difference to cutting it afterwards. The threads will want to spring apart, they are not settled in place yet.
Wet finishing also causes your fabric to shrink slightly (how much depends on the fibre). This is another important step in the finishing process.
An interesting experiment is to photograph your before and after wet finished fabrics. The difference can be quite amazing!
HOW TO USE THE GENTLE SOAK TO WET FINISH
I have used this gentle soak recipe with both plant and animal fibres. I have made a video tutorial on the wet finishing process so that you can see how easy and non stressful it all is:

Here are the step by step instructions:
- Place a squirt (around 1 teaspoon per item) of the gentle soak liquid into a sink or container that you intend to wash the item in.
2. Run enough warm water into the sink or container to enable your item to be covered.
3. Place your item into the water, gently pressing to submerge. Continue gently pressing until the item takes on enough water to sink down.
4. Leave the item, without agitating for at least an hour.
5. Gently rinse the item in just warm water briefly.
6. Using a clean, folded towel, press the excess water out of your item.
7. Lay the item flat and in the shade until totally dry.
Now, there are exceptions to these rules, as mentioned in the video. For example, I wash cotton kitchen towels in a hot machine wash. Not all projects need to be dried flat – sometimes I will hang the piece depending on what it is. If I have a piece that may be misshapen by being hung, I will dry it flat.
Thanks for reading, I hope this was helpful to you.
Until next time…
Happy Weaving!