
How many times have you heard “wash your hands” in the past few weeks? I’m guessing it’s a lot! I thought it would be the perfect time to offer a free project for us all to enjoy together.
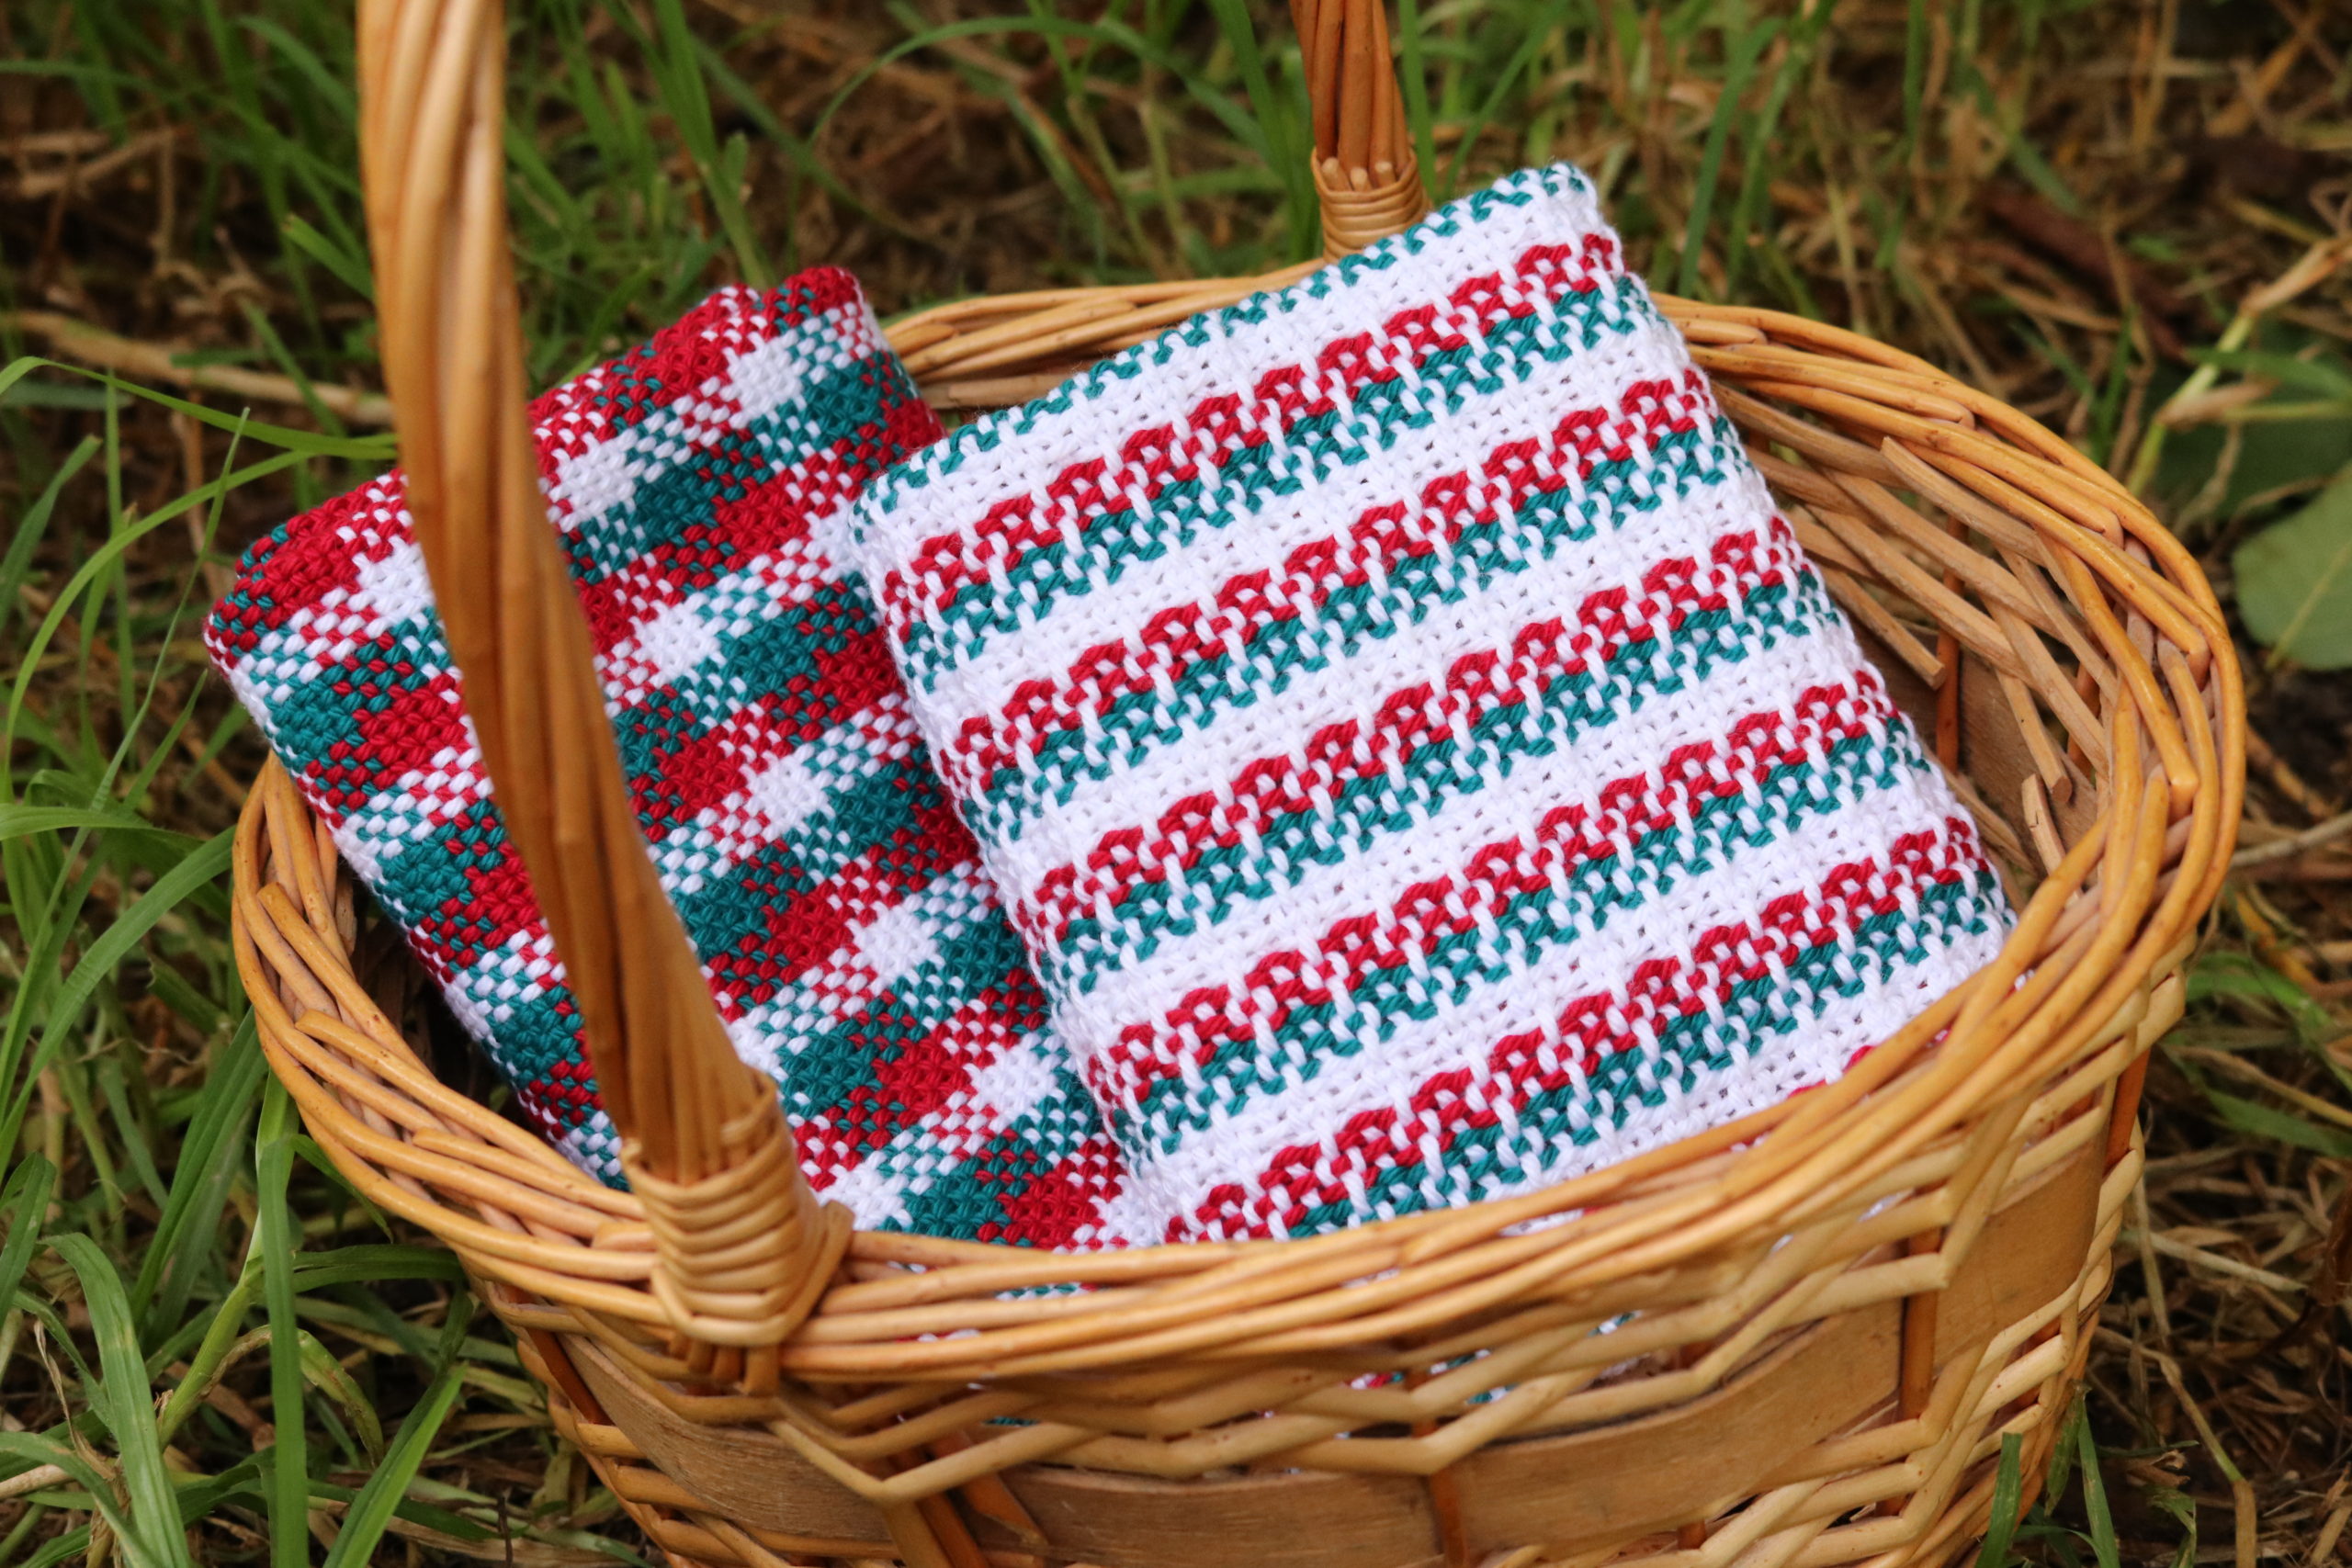
Let’s face it, if we’re going to constantly wash our hands, we might as well have beautiful, hand woven towels to dry them with! I chose bright and cheery colours to increase their aesthetic appeal. I hope that weaving these towels is fun for you and that using them to dry your hands makes you happy.
*This post contains affiliate links


This project is suitable for beginners, however you do need to know how to warp, thread, and set up your rigid heddle loom for plain weave. If you don’t feel you are at that level just yet, I highly recommend my Woe to Go! Beginner Rigid Heddle Weaving class.
Both towel designs are quite adaptable and can be varied in many ways. I give you some ideas on how to go about this in the video class.

We’ll begin by going over some of the tools and materials you will need to complete this project:
*Rigid heddle loom 24” weaving width or wider (yes, you can also use a smaller loom with the understanding that your towels will be narrower than mine).
*1 x 10 dent heddle (or a 7.5 – 8 dent heddle if using Sugar n Cream yarn)
*3 stick shuttles longer than the width of the project. (For the first towel we are weaving with 3 weft colours).
*1 pickup stick longer than the width of the project (additional pick up stick to aid transfer of pick up is optional – a stick shuttle can be substituted.
*A sewing machine and serger are very handy for hemming but not essential
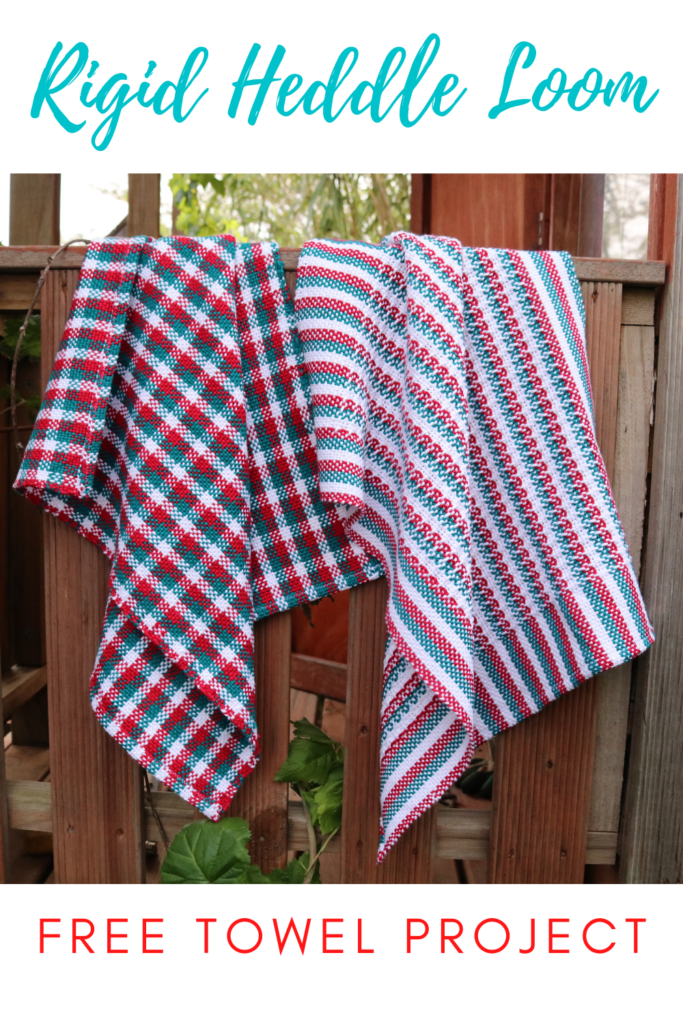
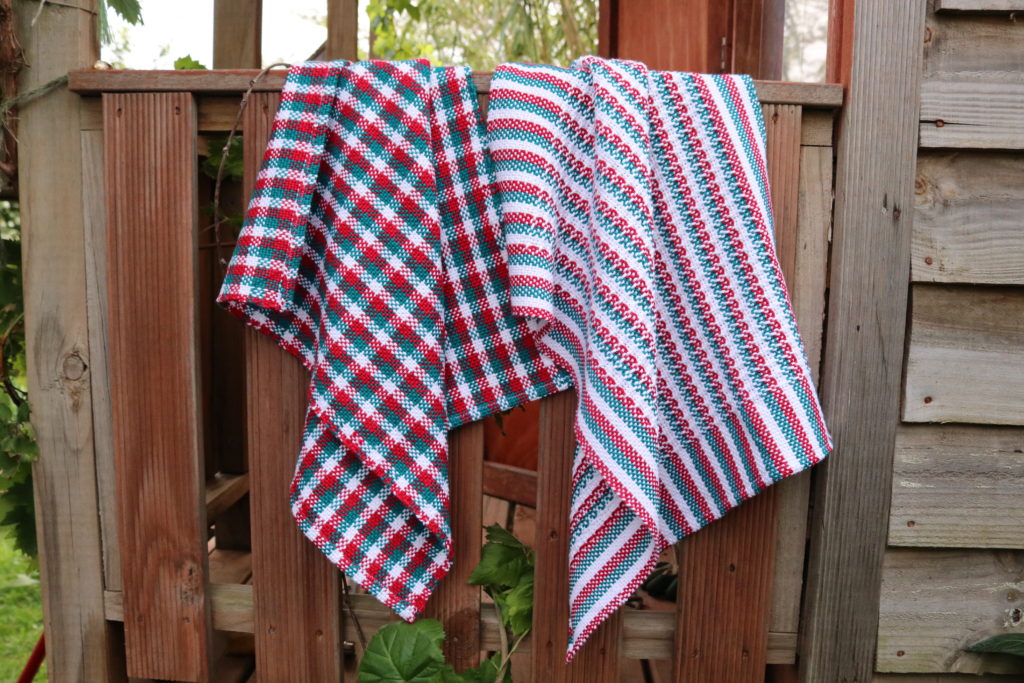
I used a beautifully soft and lofty cotton to weave these towels on my rigid heddle loom. We will be using the same warp for both towels, but as you can see, using different techniques makes the towels wonderfully varied in how they look.
If you’re in Australia, my yarns were from Bendigo Woollen Mills in the following: Pomegranate, Peacock and White cotton 10ply. But, if you need substitutes, here are my recommendations:
Make sure you download the printable PDF, which gives you all the necessary warp calculations, weaving and pick up sequences.
Both towels are woven on the one warp but are quite different in appearance. The first towel uses the same colour sequence to weave as the warp set up, giving us a fabulous plaid.

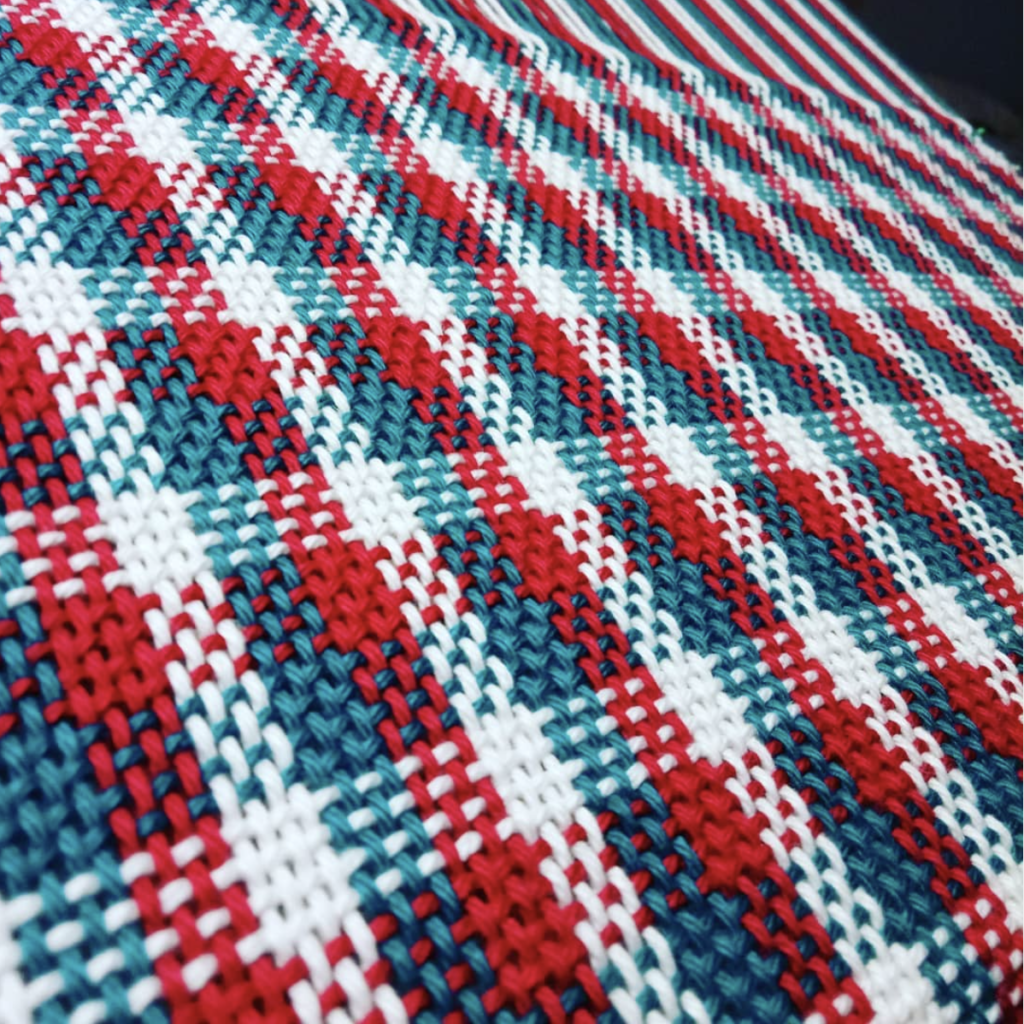
I chose this design because I have so many weavers ask how to deal with the changing of colours in the weft. This is the perfect opportunity to practice the technique of frequent colour changes by cutting and starting new colours.
I chose to weave 4 picks of each colour and to cut each colour to introduce the new one. But, if I decided to weave, say, 2 picks of each colour, I would likely choose to carry the colours up the side rather than cutting them.
Towel two is woven with just white in the weft.
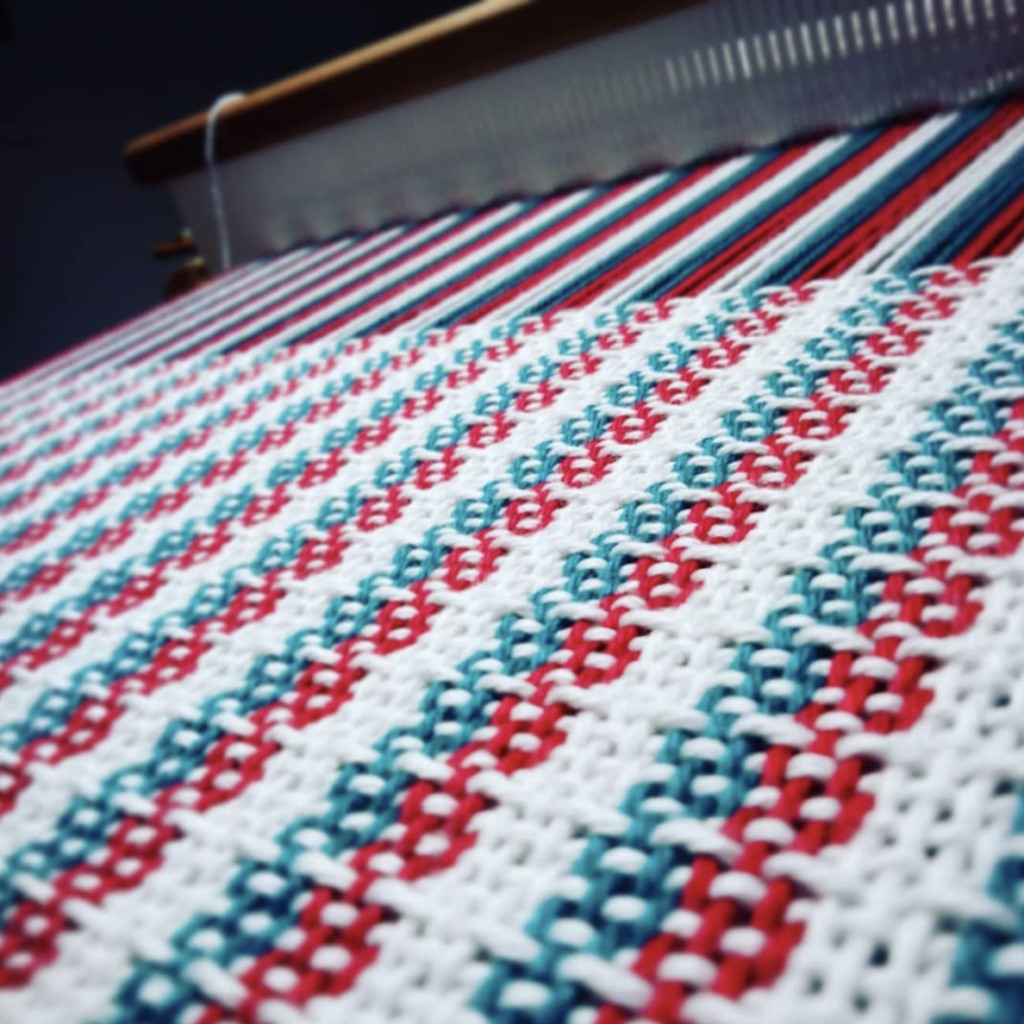
I started and finished with a plain weave border, with the mid section being woven in a simple but lovely pick up design. If you haven’t used pick up sticks before, you may want to start with this post and video to better understand the process and get you set up to weave this towel. I kept the design and weave sequence as simple as I could so that newbies could have a go.
So, are you ready to watch and weave? Here are the videos that, together with the printable PDF will have you up and weaving these beautiful towels in no time at all:


This free class is also available at my Online Weaving School.
If you complete this project, I would love to see and hear about them. If you tag me on Instagram, I will share your project in my stories. And, if you enjoy the project, please share the videos so that others can benefit too!
If you have any questions or comments, let me know down below, I love to hear from you.
Until next time…
Happy Weaving!