

Snowmen are not something you might naturally think of when wondering what to weave next on your rigid heddle loom, but I love any excuse to make pictures on my loom, especially if they are as cute as these little snowmen guys are!

Weaving snowmen on your rigid heddle loom may not be as difficult as you think. We employ a type of overshot technique to create floats. Depending on the length of each float, we can then arrange them to make pictures. We warp the loom as we normally do for plain weave.
Overshot usually uses a thicker weft for the patterning (or floats) and a thinner, contrasting weft for the background (plain weave, commonly known as “tabby” when used in this way).
*This post contains affiliate links.
The weft floats do not become incorporated into the fabric, they literally float on top, which is why we use tabby in between pattern rows to tie the whole thing down and create a stable fabric. It also gives that lovely, slightly 3D effect of the pattern or picture being slightly raised.

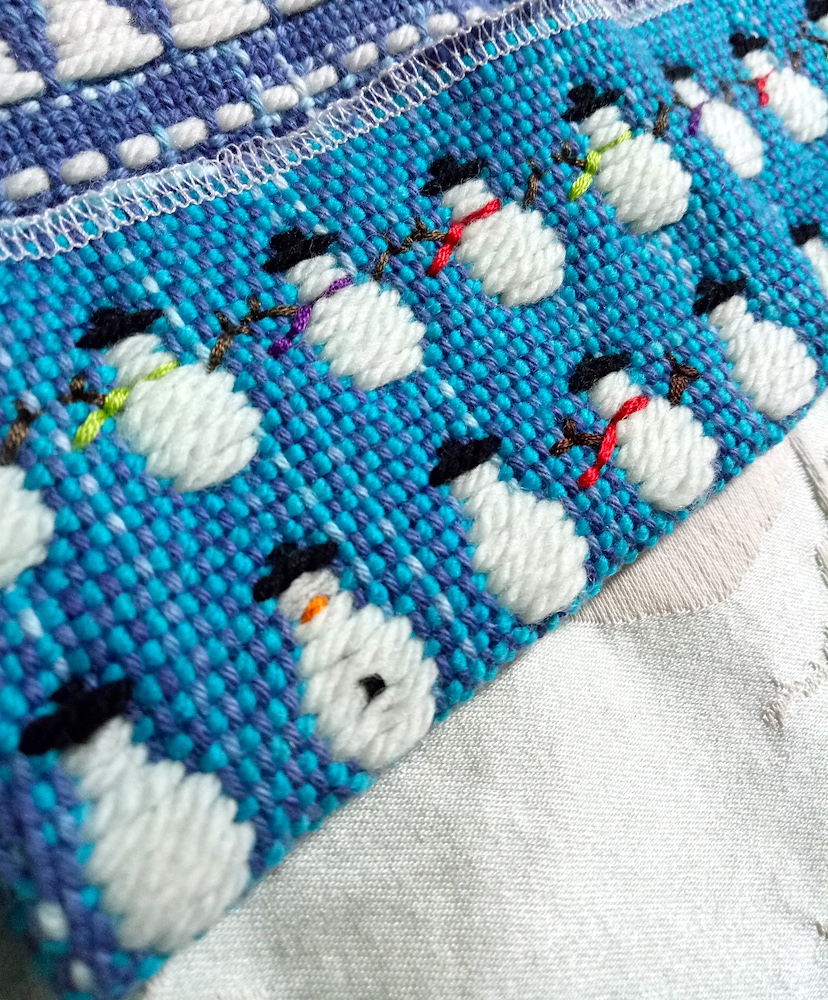
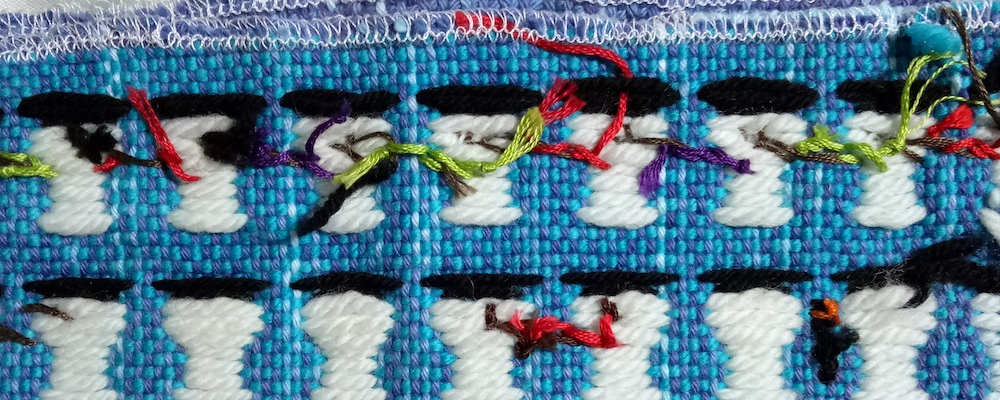
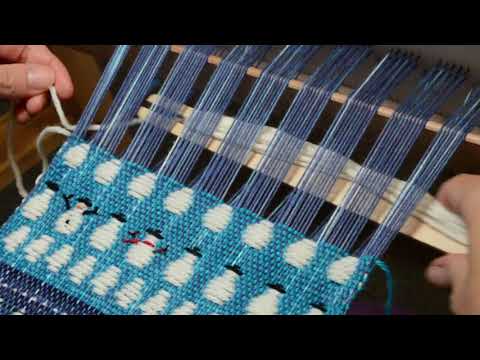
Because of the varying length in floats, there is something you need to keep in mind when doing this kind of weaving. Quite often, and particularly with a thicker yarn like I’ve used for this sample, the floats at the back of the work will be long. This might make the piece unsuitable for some uses. For example, a kitchen towel with long floats on the back is not ideal. The floats will catch on things and likely become a bit ratty and not neat looking over time. That is the other consideration – the back does not always look attractive and you may not want it on show. In my sample below, you can see the added untidiness of my having embroidered on details like the scarves.

A way around this issue is to plan to use this technique in a pattern where the back of the work will not show. Some ideas are notebook or journal covers, a table centrepiece or runner where you intend to sew a backing to the piece, a cute Christmas wall hanging and so on.
Here is what you will need to weave a sample like this one:
A rigid heddle loom (I used my 24″ but a Sampleit size is fine if you just want a small sample)
A knitting needle is handy but not essential
Yarns-
There are no set yarns for this project, but I will share what worked well for me and give suggestions for possible alternatives.
For the warp I used a fingering weight (Australian 4 ply) cotton in a hand dyed medium to dark blue. Rug warping cotton would work fine.
My tabby weft (background weft) was a lighter but strong coloured light worsted/dk weight (Australian 8 ply) in wool.
For the pattern weft, I used a cream coloured aran weight (Australian 10ply) in wool.
For the little hats, I used some black fingering weight wool – you don’t need very much of that.
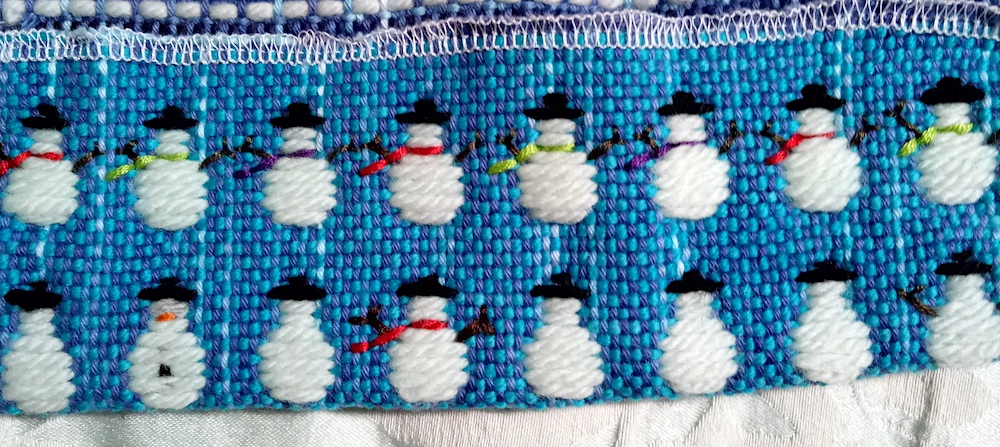
I love to use wool, particularly for the patterning in this type of weaving because it works so well. Because it has that lovely fluff and bounciness, it fills in any gaps between pattern wefts and makes the design look full. You will notice that my pattern weft is only slightly thicker than my tabby weft, but the pattern weft still stands out due to it’s loftiness.

The embroidered details are what really bring these little snowmen to life. Stick arms, scarves, eyes, carrot noses, buttons down the front – the amount of detail is up to you. You don’t need to be a great embroiderer as the details are all just worked in simple straight stitches. For the scarves, to give them that really nice shiny look, I used Bambu 7. This yarn can be quite difficult to obtain, so here are some alternatives:
DMC Embroidery floss (my favourite brand)
If you decide to use embroidery floss, don’t separate the strands, use all 6 of them for just the right snowman thickness.
If you would like to weave some snowmen of your own, here is a printable PDF that gives you the weaving sequences and details:
You will also want to watch and follow along with the instructional video to see the weaving in action:
I hope you enjoyed this tutorial! Let me know if you weave some little snowmen of your own, and as always, leave any comments or questions underneath, I love to hear from you!
Until next time…
Happy Weaving!