
One of the great things about having been a blogger for 12 years (did I actually just admit that?!) is that you occasionally get to look back and see how very far you’ve come.
Over three years ago, when my David Louet floor loom was still somewhat new to me, I wrote this post on overshot. If you read it, you will discover that my initial relationship with overshot was not a very positive one.
This post contains affiliate links. For more information please see my disclosure policy.

Back then, I was a little harder on myself as a learning weaver. By now, I’ve realised that weaving, just like life, is a journey that has a beginning but no end. Back then, I thought that my ultimate goal was to be a “master weaver”.
Honestly, I don’t even really know what that means but it no longer matters to me. I just want to be the best weaver I can be, but even more importantly, to continue to be fulfilled, challenged and rewarded by doing it.
Hang on, am I here to talk about overshot or not? Yes, I am!
The happy ending to the initial overshot sob story is that I can weave overshot now. Quite well, in fact! And I also teach it. And I happen to love it, very, very much. Don’t you love a happy ending?

I don’t think there was any particular moment where I thought to myself “I can weave overshot now!” I didn’t even weave any overshot for quite some time after that initial attempt. But slowly it tempted me back, and we started over. It was just a matter of sticking with it, employing some specific techniques and practice, practice, practice until it feels like an old friend.
My love of overshot has only increased with my more recent discovery of American Coverlets. I loved the look of the coverlets and the history behind them before I realised that so many of them were woven in the wonderfully humble 4 shaft overshot.

I’ve put a lot of research time into coverlets this year and have made it a big weaving goal of mine to weave my first coverlet, which is quite an undertaking, but I relish the thought.
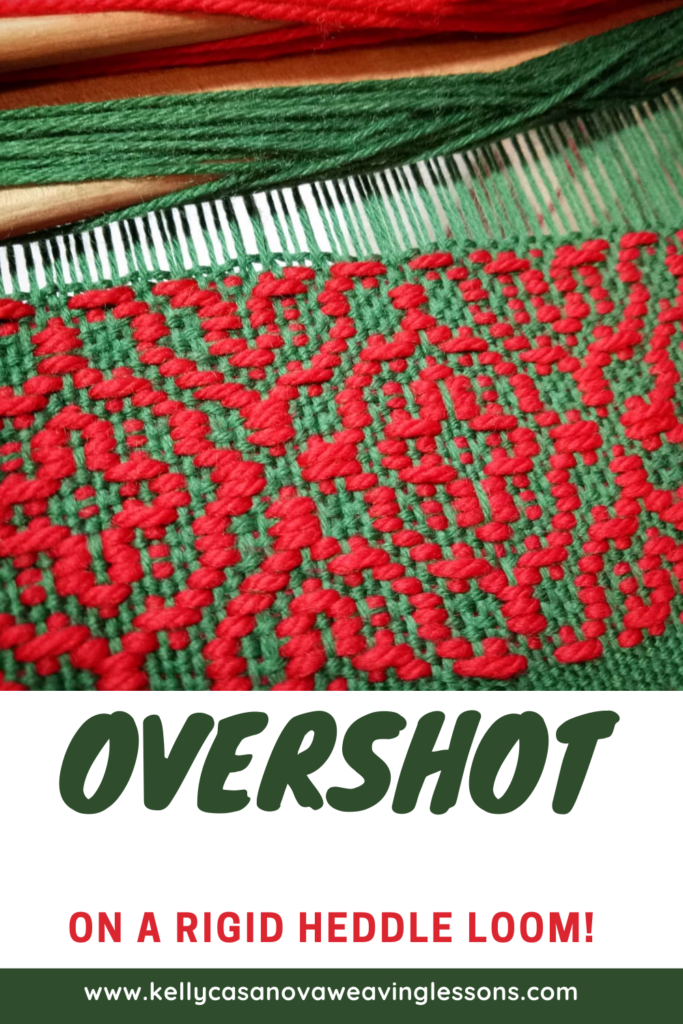
I’ve also spent a lot of time actually weaving overshot this year. I released the very successful Overshot on a Rigid Heddle Loom class not long ago.
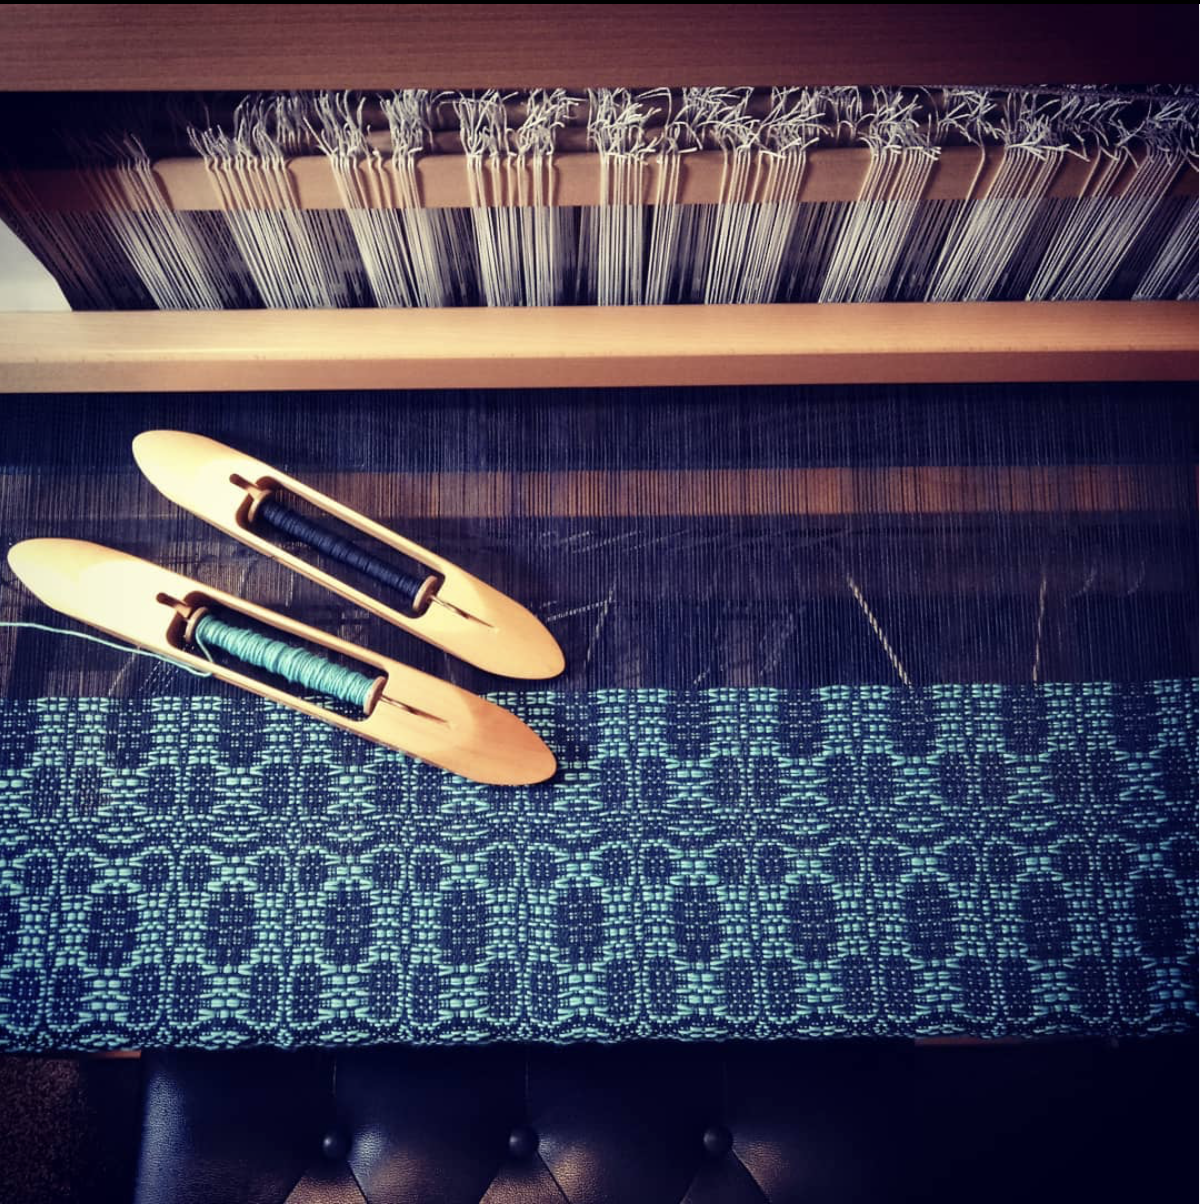
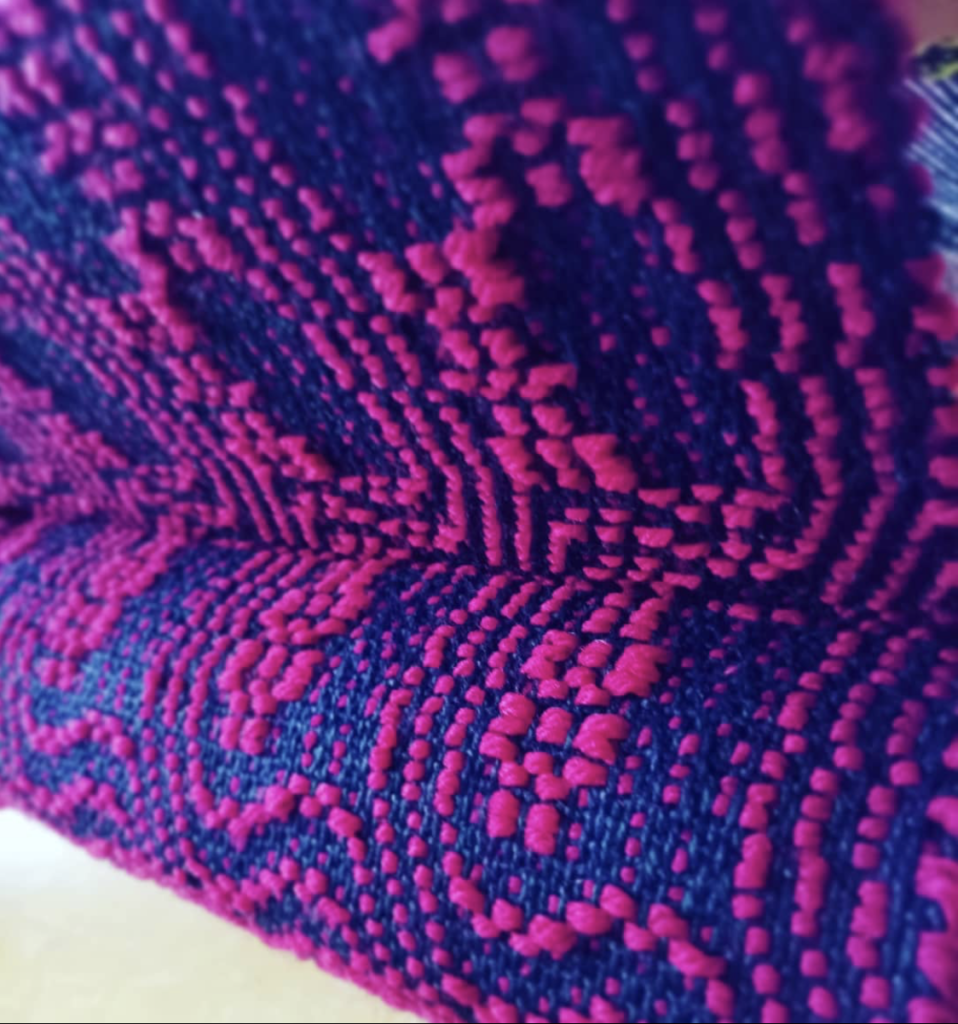
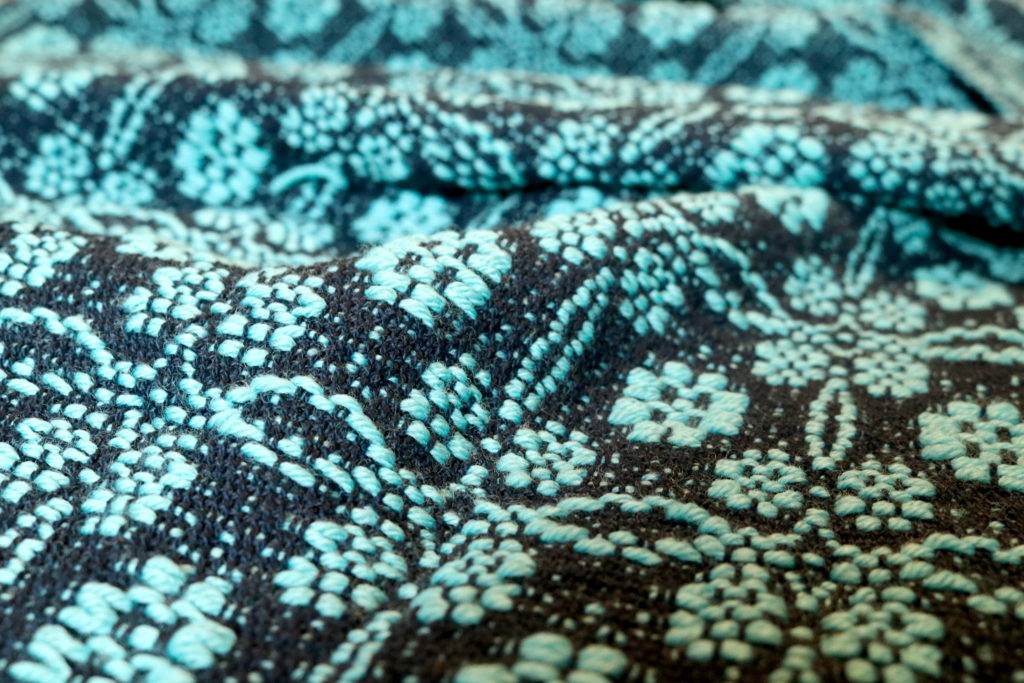
I’ve just completed this magnificent piece on my floor loom for my brand new Overshot on a Floor Loom class.

Incidentally, this photo is now one of my most popular posts on Instagram! I guess other people love it as much as I do.
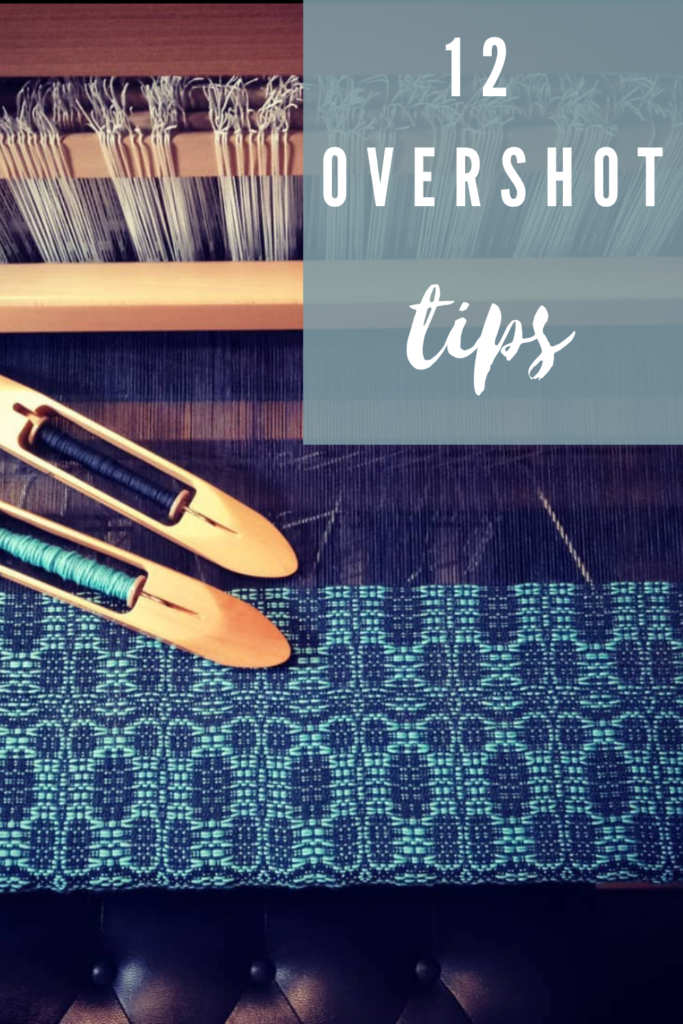
Now that I have quite a lot of experience weaving overshot, I want to share my best overshot tips with you in hope that you too will fall in love with this wonderful weave structure.

Tip 1 – Take the time to sample
I know, I know, sampling takes time and yarn, it’s true. But it teaches you so, so much. It can also be more economical, as you can test your yarns out for suitability before committing to a larger project. Trust me, sampling is so well worth the time!
Tip 2 – Use appropriately sized yarns
To weave overshot you need a warp yarn, a tabby yarn and a pattern weft yarn. Using the same yarn for warp and tabby works perfectly. For the pattern weft, I like to use a yarn that is twice the size of the tabby/warp yarn. I have experimented with using doubled strands of tabby/warp yarn in a contrasting colour, but it just doesn’t look as good. A thicker pattern yarn is the way to go.
As an example, my current favourite yarn combinations for weaving overshot are:
Pattern weft- fingering weight wool
There are certainly other combinations you can use, and once again, I recommend sampling to find what you love.


Tip 3 – Consider the scale of the pattern
What will the size of your item be? A miniature overshot pattern may get lost in a blanket, but may be perfect for a scarf. As a general rule, a good way to estimate the size of one repeat of your pattern just by looking at the draft is to see how many repeats are in one threading repeat. Also consider the thickness of your yarns and the sett you intend to weave.
Just to give you an idea, my current project is woven at 20 ends per inch with 8/2 cotton for warp and tabby and fingering weight wool for the pattern weft. The weaving draft has 50 threads in one threading repeat. My design repeats on the loom are around 2.5″ wide and just under 5″ long, which is a great size for the 30″ x 99″ throw I’m weaving.
Tip 4 – Give your weft picks plenty of room
I throw my picks gently to avoid drag on the selvedges and therefore preventing excessive draw in. I give a generous angle to the weft pick and keep it soft at the edges. I do adjust the picks at the edges before beating when necessary, but mostly I prefer to leave them alone and let them settle into place on their own.

Tip 5 – Floating selvedges are a must!
This is a non negotiable for overshot if you want neat edges and less headaches! You get used to using floating selvedges very quickly, so don’t stress if you have no experience with them.
Tip 6 – Don’t twist weft threads
This is another selvedges tip. I’ve experimented with crossing the two weft yarns at the selvedge to see whether it gives a neater edge, but it doesn’t, at least for me. So, instead of twisting the two wefts at each selvedge when throwing a new pick, I just let them follow one another sequentially and my edges are much neater that way.
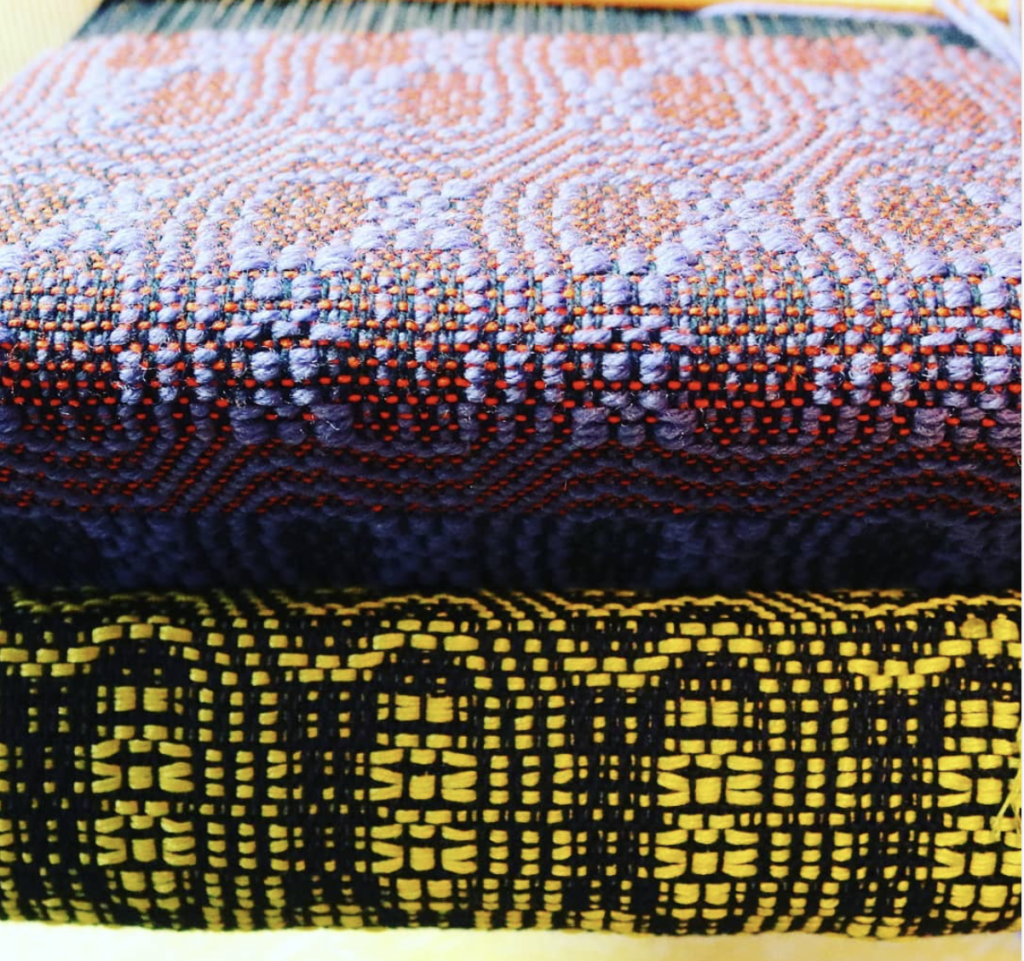
Tip 7 – Will the pattern weft bloom?
Besides the thickness of the pattern weft yarn, you will also want to consider what kind of bloom it may have after wet finishing. For example, I know that my fingering weight wool blooms beautifully, whereas a cotton of the same size would not bloom in the same way. I very much like the contrast of the 8/2 cotton background with the plump wool pattern weft.
I’m going to sound like a broken record, but once again, a sample will show you everything you need to know about how your yarn will behave as a finished piece.


Tip 8 – Beware running colours
I’m often surprised by the potential of yarns to leach dye in the wet finish process. I’ve had certain yarns that I’ve used frequently that will leach dye sometimes and not others.
This is a particular problem if your colours and white on red or navy on white – you want to preserve that white and not have it come out of the wash as a pink or light blue!
The best way to avoid this is through vigilance, especially in the first 10-15 minutes of your woven piece making contact with water. If you see dye beginning to run, take it out of the warm wash and rinse in cold water until the water runs clear. Place back in the warm water and maintain your watch on it. Repeat the rinsing process if needed.
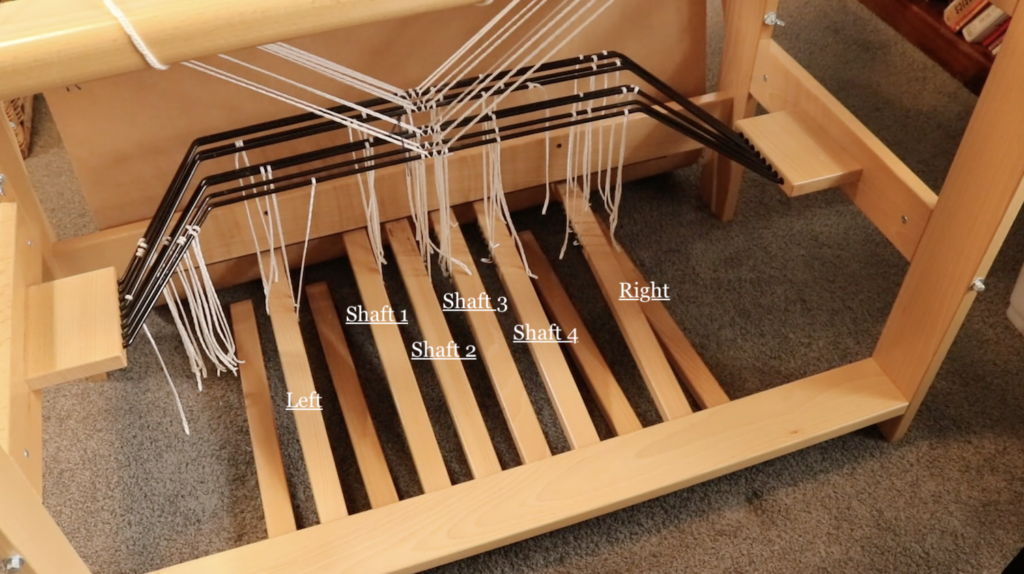
Tip 9 – Set up the treadles ergonomically
There are 6 treadles needed for overshot, even though you weave on 4 shafts. The two extra treadles are for the tabby weave. I always set up my pattern treadles in the centre of the loom – two on the left and two on the right. Then I set up a “left” tabby and a “right” tabby treadle. To do this on my 8 shaft loom I leave a gap between the pattern treadles and the tabby treadles so that my feet can “see” and differentiate between a pattern and tabby treadle.

Tip 10 – Advance the warp often
I like to advance little and often. You will find your own preference or “sweet spot” for weaving, but I find that with overshot I advance a lot more frequently at a much smaller amount than I do usually.

Tip 11 – Experiment with the beat
The firmness of beat will depend on a few things. Your chosen yarns, the weave structure, the width of the project and the tension your warp is under are all important considerations. I let the project dictate.
An example of this is that I wove an overshot sampler right before Is started my main project (the throw). It was a narrow warp (around 8″) and a different overshot threading and treadling than I’m using for the project.
I found that the sampler required a light beat, where I was pushing or placing the weft into position.
But for my throw project, I am beating harder and sometimes having to beat twice. Because of the width of the project, I need to be careful that I’m beating evenly, and that is easier to do if I’m beating more firmly.

Tip 12 – To temple or not to temple?
I personally do not use a temple. Some weavers will say they won’t weave without one. I’ve tried using a temple on many of my projects, particularly if I’m getting broken edge warp threads (signs of tension problems and too much draw in). But I will avoid using one wherever I can get away with it, and I don’t use one for weaving overshot.
I find that if I’m careful with weft tension and warping evenly, I do not get excessive draw in. It is something I’m constantly aware of while weaving and remind myself of tip 4 so that my weft picks are not pulling in at the edges.
I hope these tips have been helpful to you! If you are interested in overshot, here are some additional resources for you to check out:
Overshot on a rigid heddle loom class
Overshot on a floor loom class
The Handweaver’s Pattern Directory, Ann Dixon
A Handweaver’s Pattern Book, Marguerite Davison
Next Steps in Weaving, Pattie Graver
Miniature Overshot Designs, Bertha Graysons Hayes (as a disclaimer, I do not own this book yet, but have heard very good things about it).
Until next time…
Happy Weaving!