
Embroidery was one of my first crafty loves and I still have a very soft spot for this beautiful art.
When my children were young I was very immersed in the world of embroidery. I loved it for several reasons:
- It costs next to nothing to get started, and at that time of life we had no extra money!
- It is incredibly portable and you don’t need a specific space to set up.
- I could easily pick it up and put it down, very important when you have little kids around.
- There are many styles of embroidery to explore.
- With a bit of practice, you can improve very quickly (like some other fibre arts I may have mentioned previously, wink wink 😉)
Besides the fact that that weaving kind of took over my life, I’ve also not spent much time doing embroidery in recent years due to the deterioration of my eyesight. I definitely took that for granted when I was younger and even though I now have reading glasses to wear, the clarity is not the same.
Like many of the arts and crafts I’ve enjoyed over my life, I’ve found that embroidery can be married beautifully with weaving, and in many different ways.
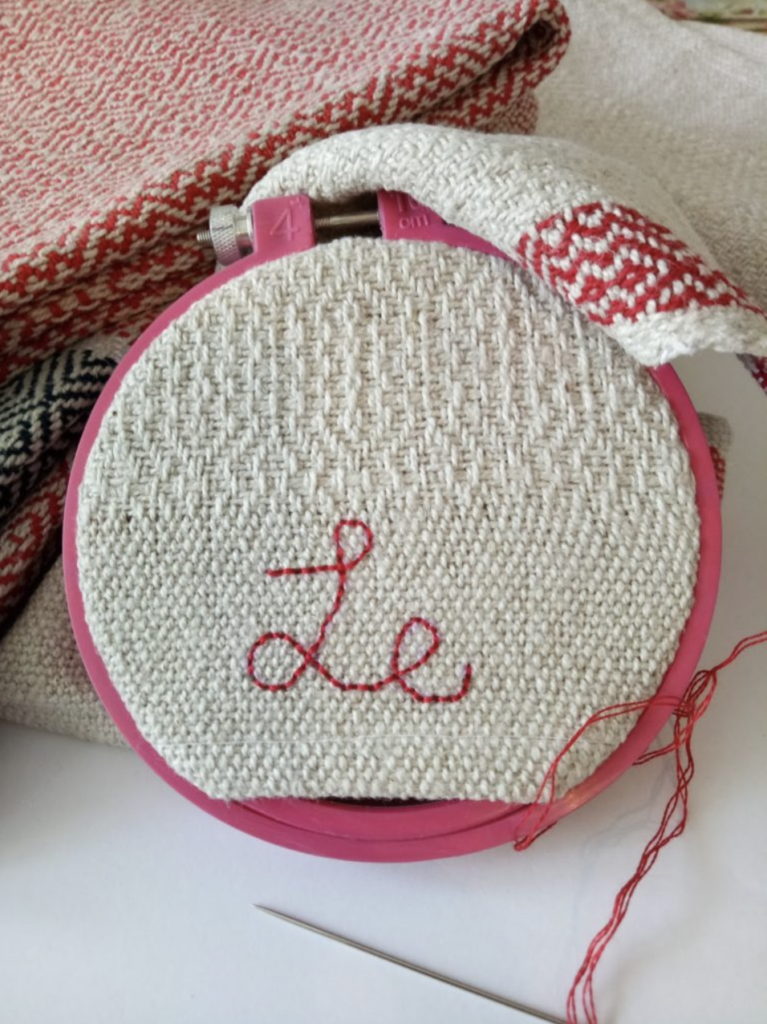
One example is my bread towel project from a couple of years ago. I wove the towels and then embroidered some “bread themed” text on them.

But if you feel that you can’t embroider a straight line to save yourself, that doesn’t mean you have to strike embroidery off your list completely.
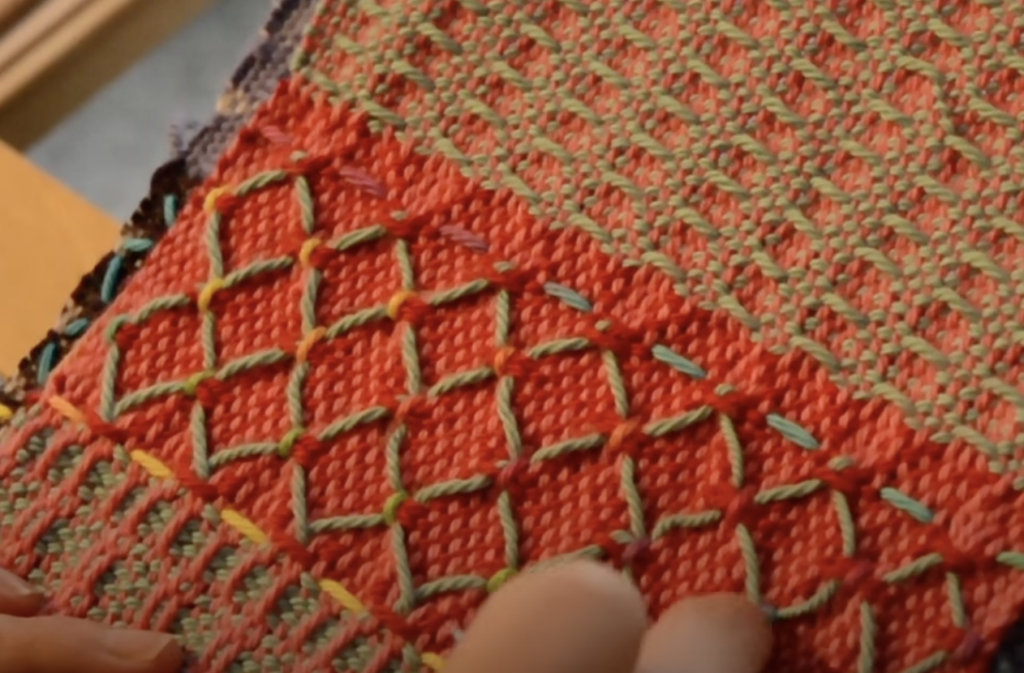
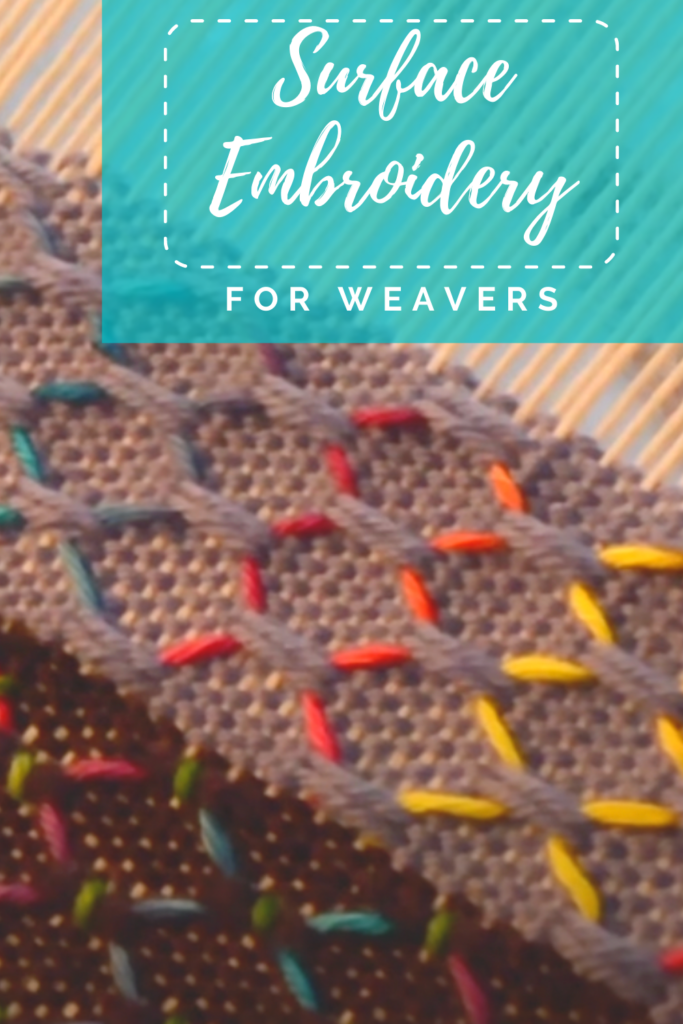
One time I was experimenting with some weft floats on my rigid heddle loom and thought to myself “these look nice, but if feels like something is missing” 🤔 I felt that I needed to introduce some more colour, and I just happened to have some lovely hand dyed rainbow yarn handy. A little while later, I had some gorgeous diamond shapes happening!

This technique is a surface embroidery, meaning that unlike the usual needle in and out from front through to back of the fabric, the embroidery yarn sits on top of the fabric and is incorporated by “tie downs” or anchors.
Today, I would love to show you how you can achieve this patterning with just a tapestry needle and some contrasting yarn.
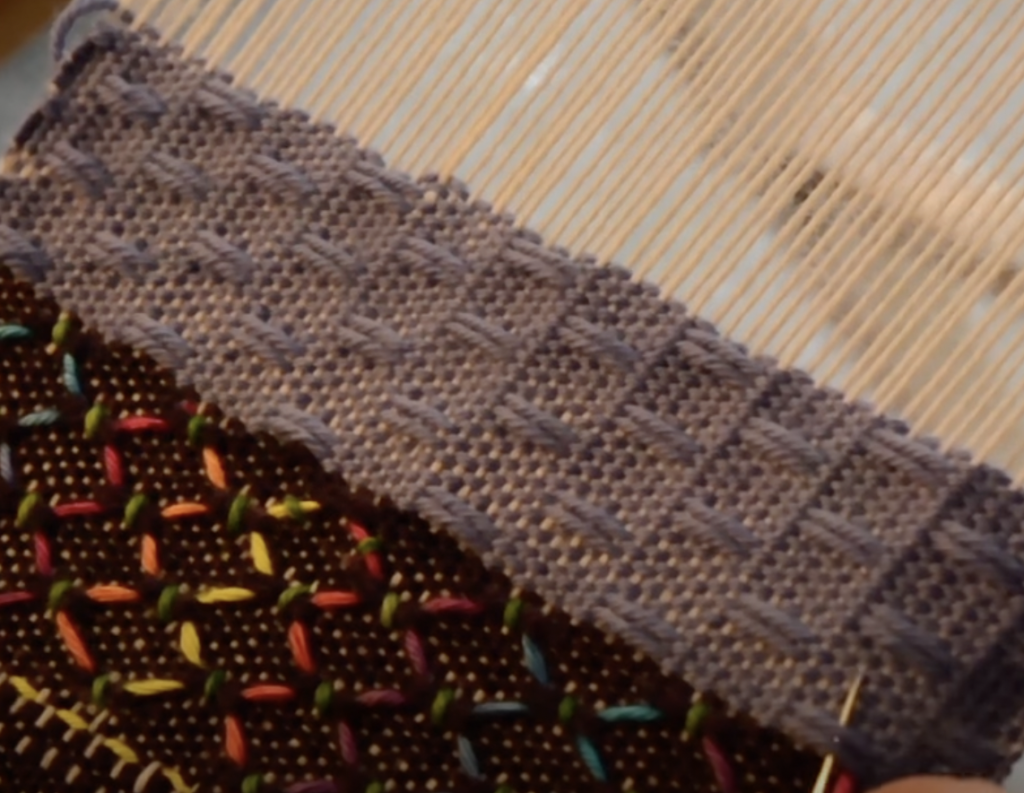
Firstly, you will need to work some weft floats. These form the basis for your embroidery thread and gives it a path to travel. The weft float sequencing that I’m using for this tutorial is detailed in this video:

Start by threading your tapestry needle with a good, long length of your embroidery thread. You don’t need to specifically use embroidery floss (though that certainly looks lovely!) I used some light worsted/dk weight wool that was hand dyed and my warp was the same weight of wool, commercially dyed. I think ribbon would look lovely too.

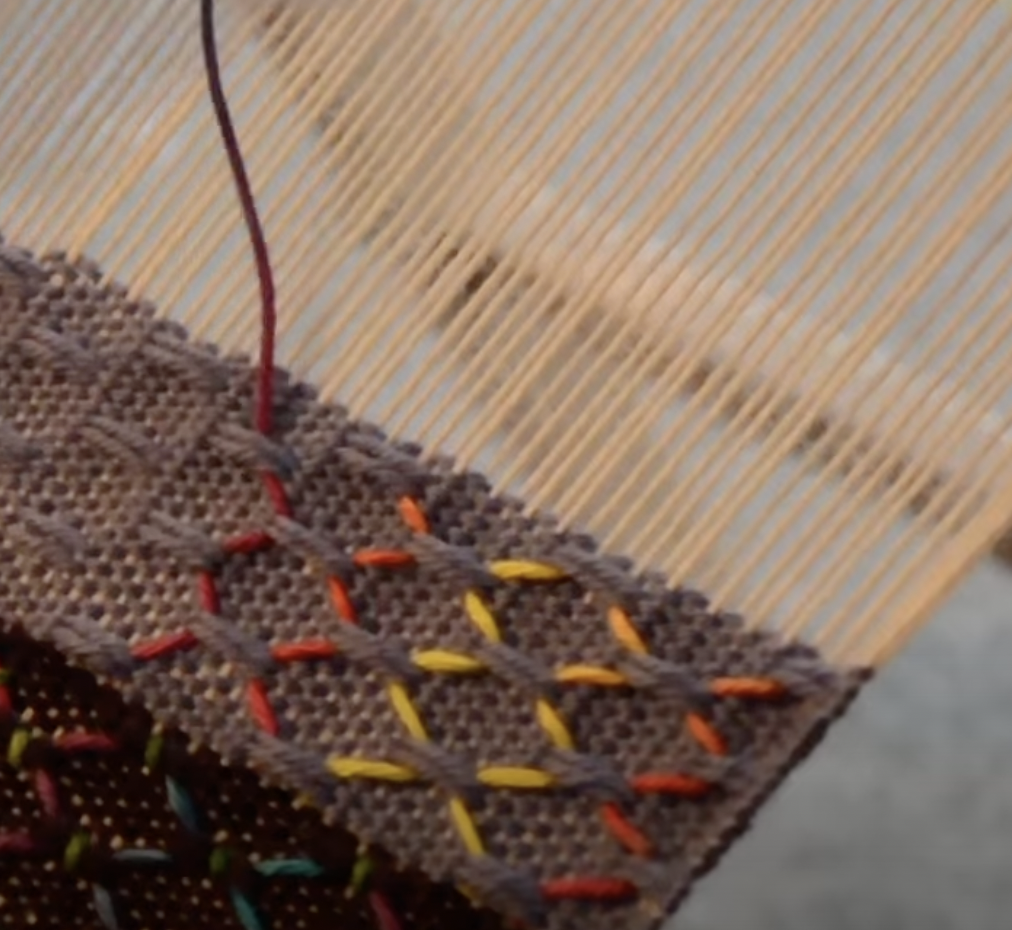
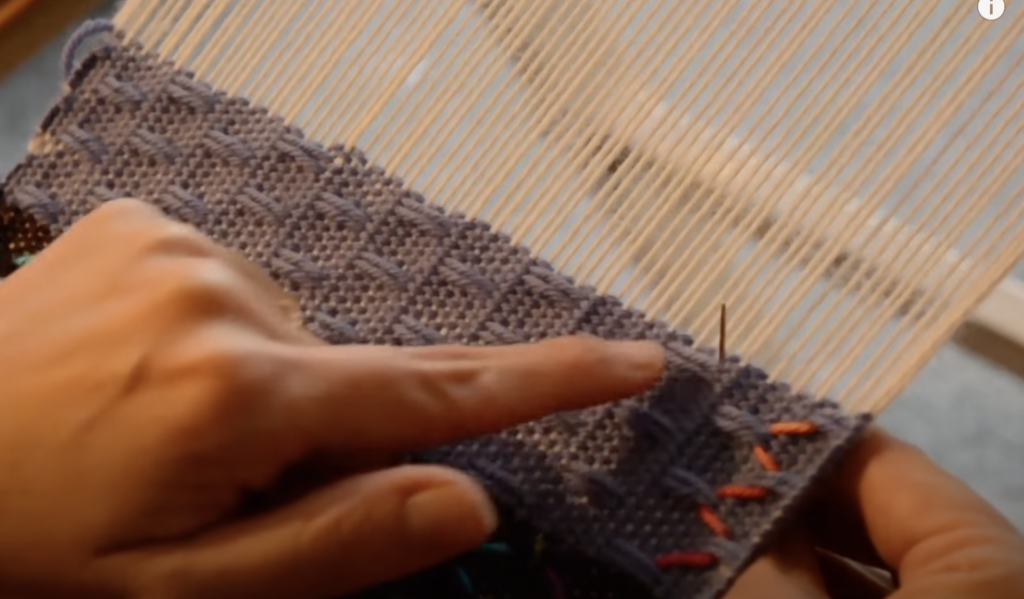
Knot the end of your yarn so it doesn’t pull through. Starting on the first horizontal row of weft floats,(the second row of floats from a vertical perspective) bring your needle through from the back, at the bottom right hand corner of the pair of floats.

Now, take the needle underneath the float pair but not into the fabric itself. Pull the yarn through.

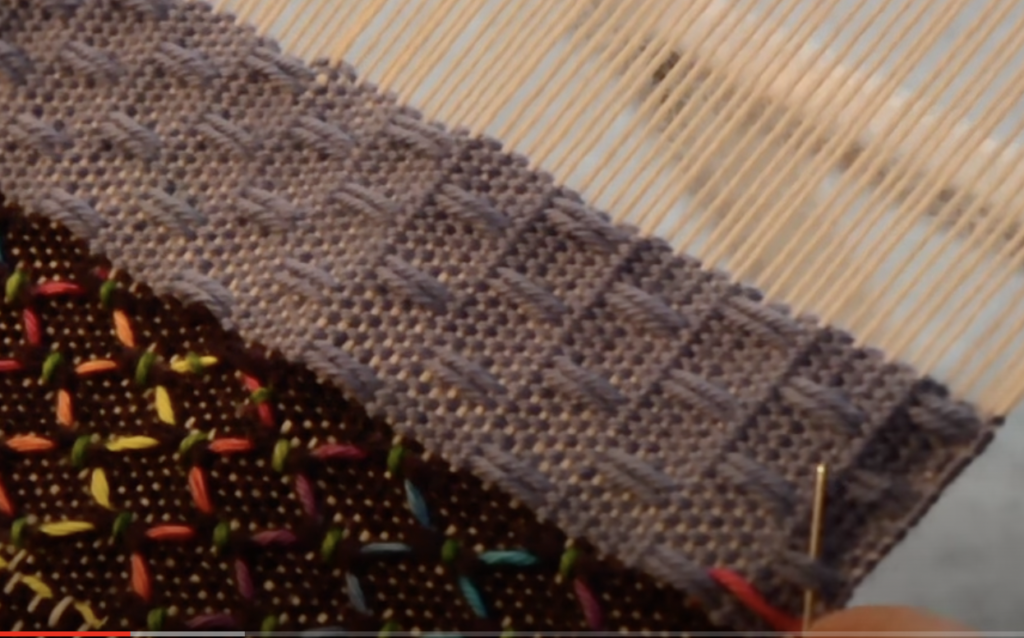
Now take the needle to the pair of floats on the right, they are in a diagonal position from where we just were. Take the needle underneath this pair and pull through.

Now take the needle to the pair on the left diagonal, go underneath the floats and pull through. Starting to see a simple pattern here? We’re basically zig zagging the embroidery yarn back and forth between the weft floats. Pretty simple, huh? 😉

When you get to the top of the row and have no more weft floats to go to diagonally, take the needle down through the fabric to the back. Do this just underneath the top of the last floats you went through, so that it’s not visible. This is to help anchor and secure the row of stitching you’ve just completed.

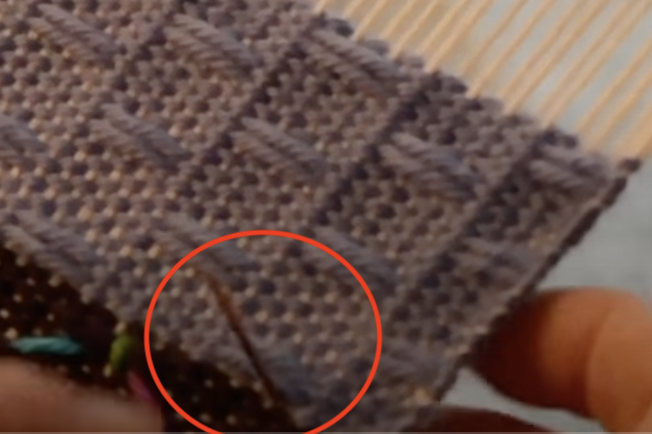
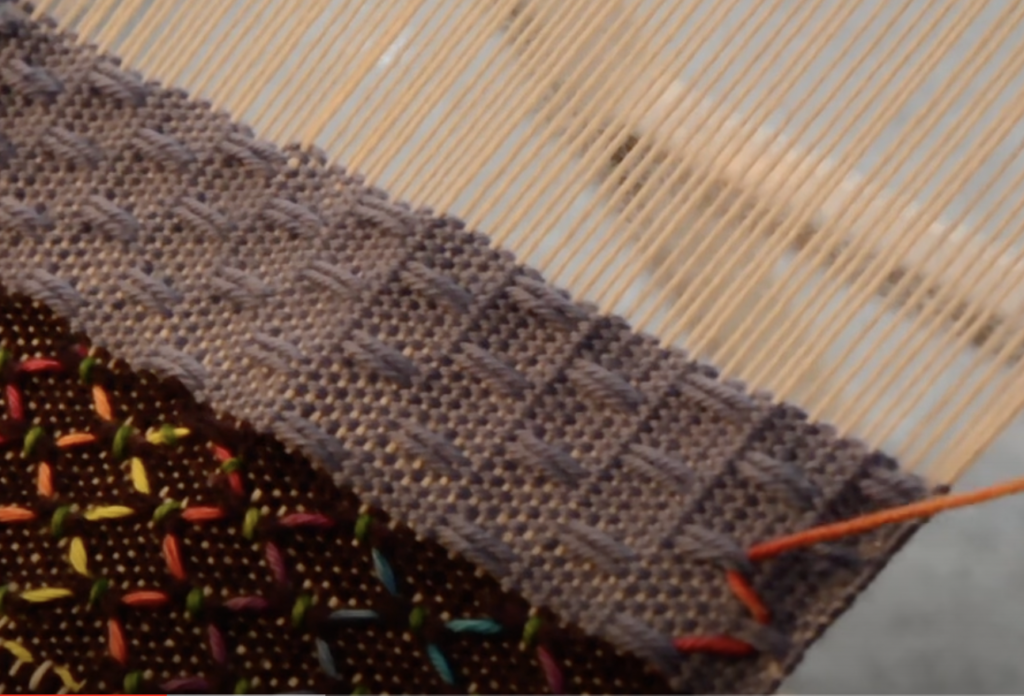
At the top of the next vertical row of weft floats, bring your needle up through the fabric from the back. The needle should be positioned to the top right of the pair of floats, as shown in the photo above.

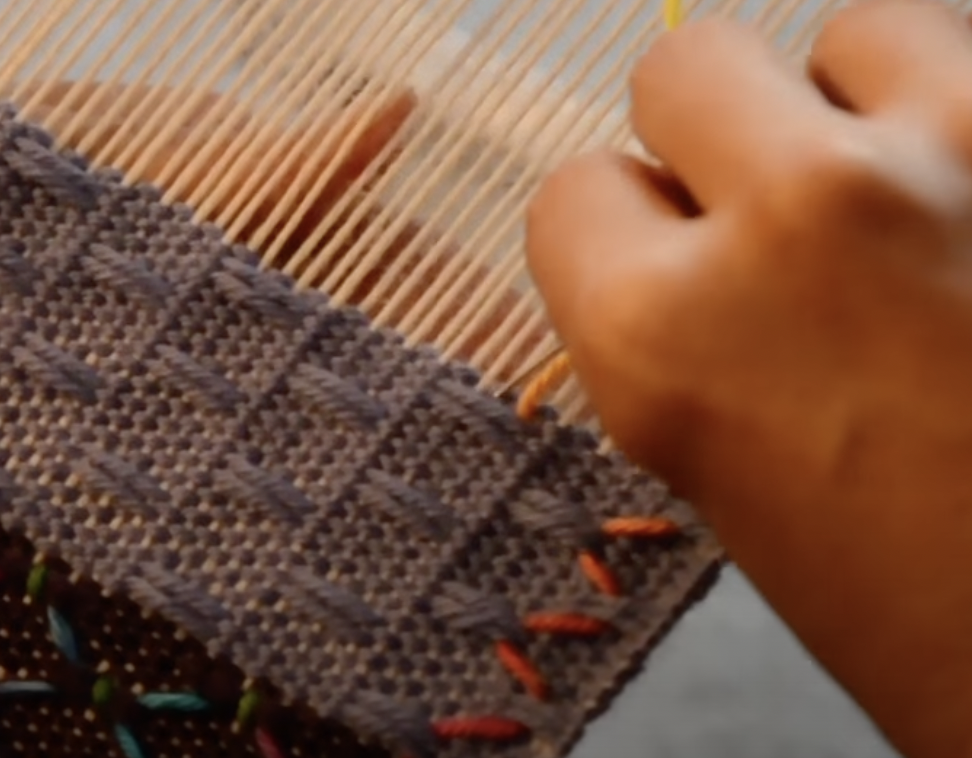
Instead of travelling upwards through the weft floats, the time we’re travelling down the vertical row. Take the needle underneath the top floats and pull through.

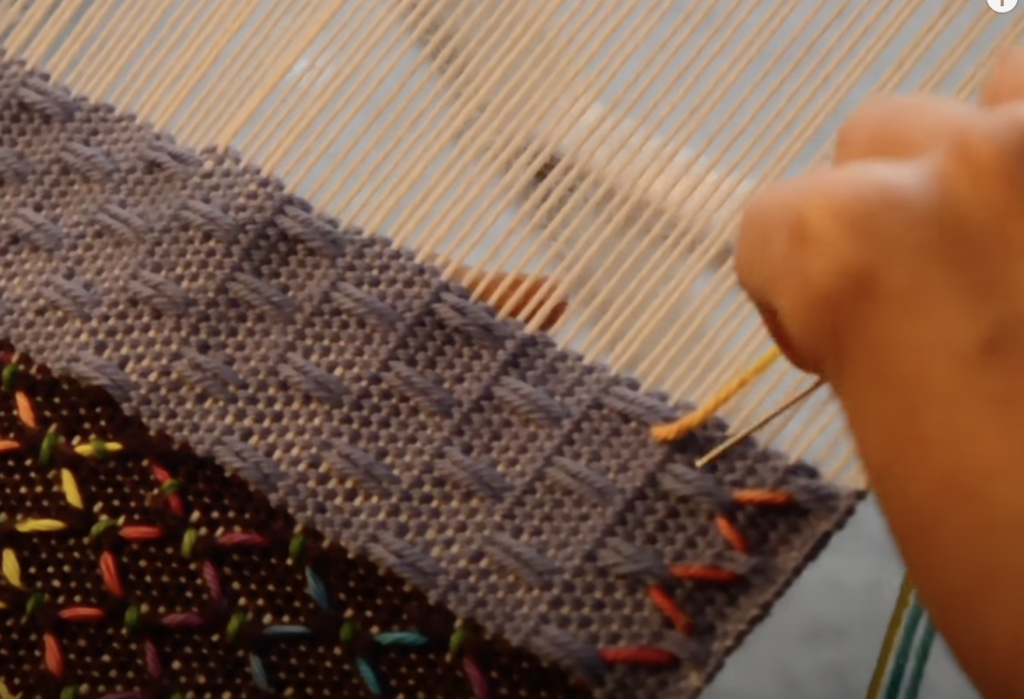
You may start to guess what comes next. Take the needle underneath the weft floats to the right, on the diagonal. Pull the yarn through. Continue in this fashion, zigzagging downwards until you reach the bottom. Remember to take the needle down through the fabric each time your finish a row, in order to anchor the thread and prepare for the next row.
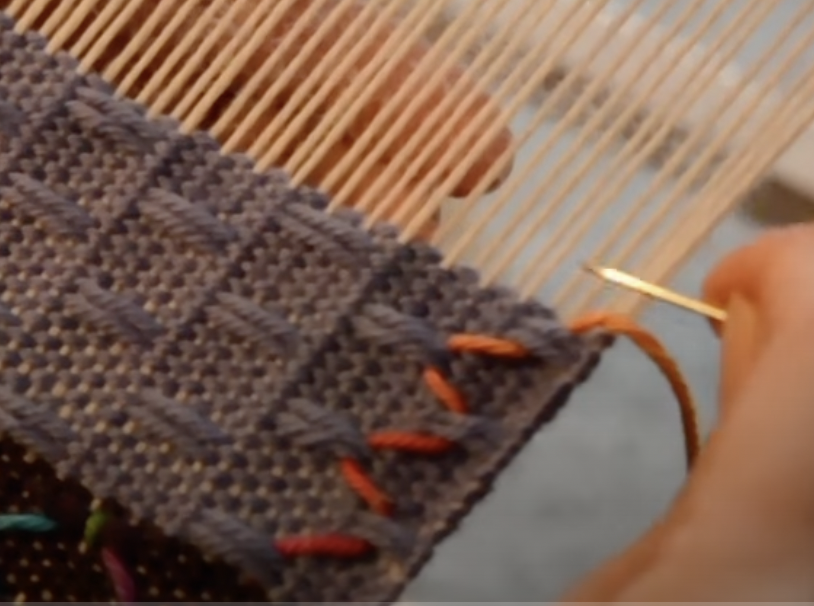
Once you’ve practiced a couple of rows, you can speed up the process by taking the needle under 2 pairs at the same time. This makes it go much faster and is a natural progression from embroidering under one pair.
There are further variations on this theme that are possible. Experiment and see what you can come up with!

Would you like a free video tutorial so that you can see this surface embroidery in action? I already have that covered, check out my video on Youtube:

Don’t forget to like and subscribe, thank you!
I hope you enjoyed this tutorial. Let me know if you love this technique and intend to give it a try by leaving a comment below, I love to hear from you.
Other resources you may be interested in:
Troubleshooting loose slot threads
All about finger controlled techniques
Weave neat edges on the rigid heddle loom
Until next time…
Happy Weaving!