
Ever since I moved into my very first studio this year, I’ve wanted to put up an official studio sign. I thought about purchasing one online, but couldn’t decide on one that I liked.
So when Cricut Australia contacted me recently and asked me to partner with them, my first thought was “Awesome! I can make a studio sign!”
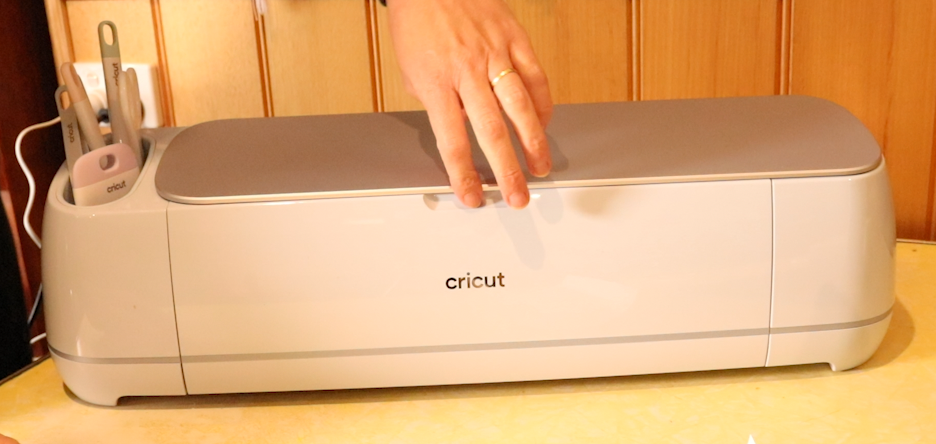
If you have never heard of Cricut before, (pronounced “cricket”) you are missing out! I admit that I wasn’t sure exactly what to expect when my Cricut Maker 3 arrived and even felt a bit intimidated by the thought of learning new technology, but I have been very pleasantly surprised.
*This post contains affiliate links. For further information, please see my disclosure policy.

The machine has been very easy to learn and I’m excited by how much more I can explore. Cricut also included a rotary cutting tool that fits into the machine so that I can experiment with cutting out shapes with my hand woven fabric. I can’t wait to do that!
Here are some of the things I’m loving about this machine:
- The design possibilities are awesome. In addition to the availability of the app, Design Space, which has hundreds of images and fonts, you can also upload your own designs.
- The Cricut Maker 3 doesn’t just cut paper and vinyl. It can cut fabric, leather, balsa wood – a total of over 300 materials can be used.
- The Adaptive Tool System matches the cutting direction and pressure to match the material you’re cutting. Tools can be changed according to what you want to do.
- Design Space is compatible with iOS, Android, Windows and Mac (I use it with my MacBook Pro).
My husband and I worked together on this project so it was double the fun – I love any excuse to work together!
My idea for the studio sign was to repurpose everything to make it a low to no cost project. Thanks to finding materials around our property and of course to Cricut for sending me the Maker 3 plus tools and materials, I am happy to report that the final result was a NO cost project!
We found some planks of wood that had been stacked on top of a low shed. Absolutely perfect, as I wanted to use naturally distressed wood and these planks fit the bill perfectly. We also used some waste wood as the braces at the back of the sign. My husband already had an old sheet of MDF (medium density fibre board), and that was used for the front of the sign.


The cut pieces of distressed wood measured around 18 x 4″ each, with a depth of just over 1.5″.

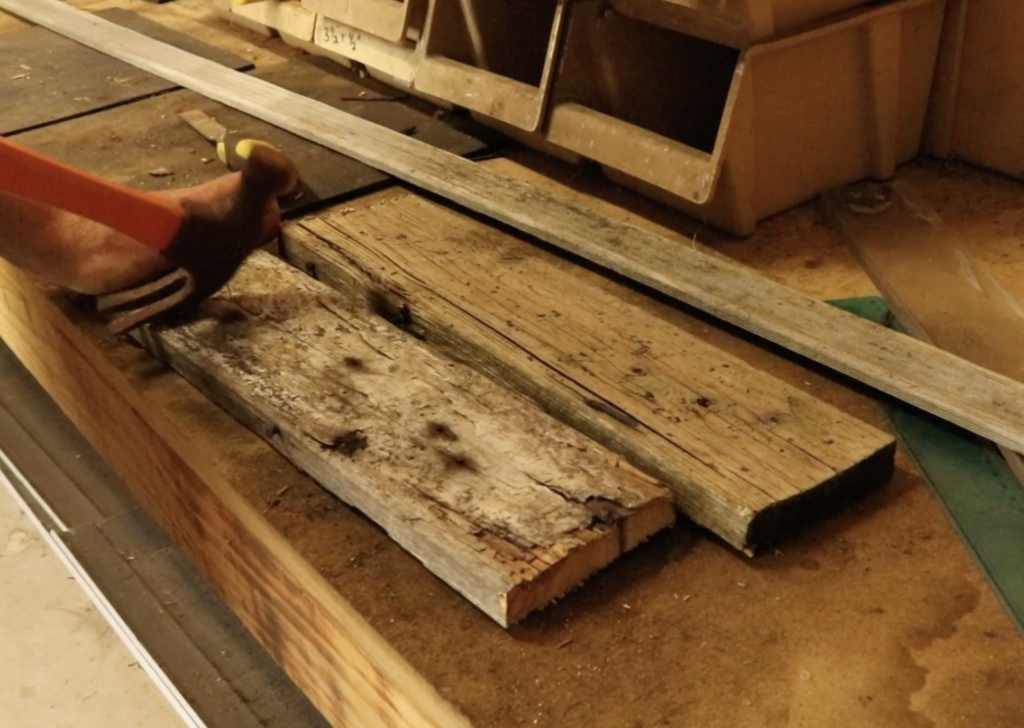
We loved the rustic look of the timber, so we left it rough without sanding, but we did need to remove the rusty nails!

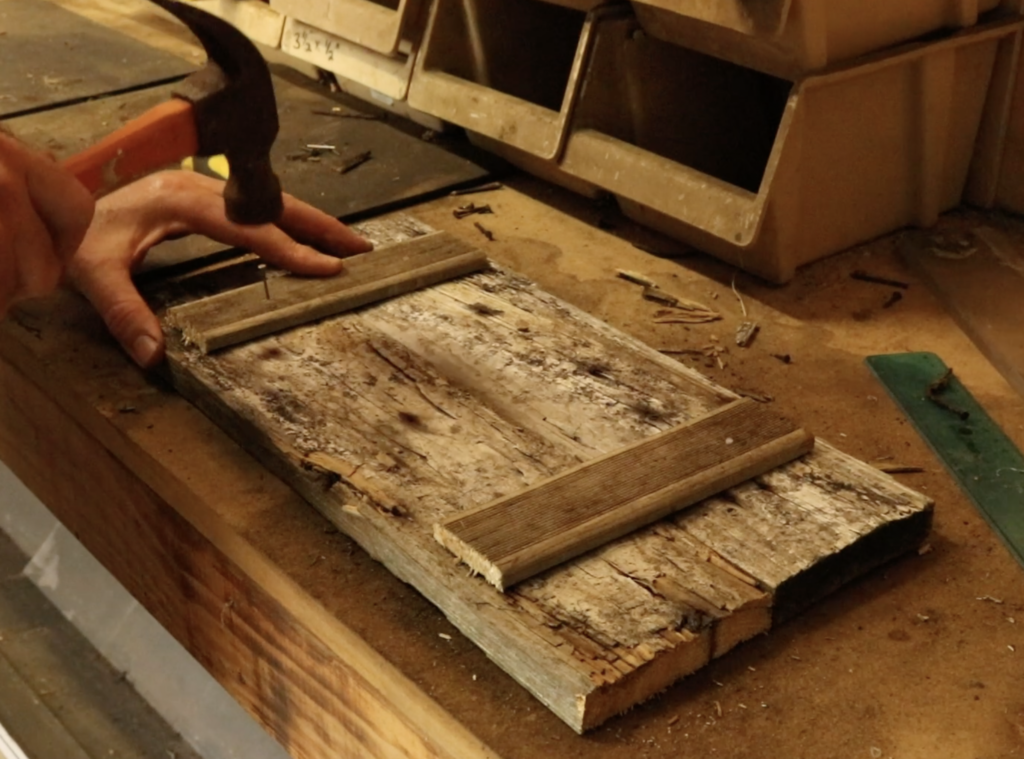
My husband nailed on two short and narrow pieces of wood (also found on our property) as a brace to hold the two main pieces together. These measure about 7.5 x 1.5″ with a depth of around 1.25″.

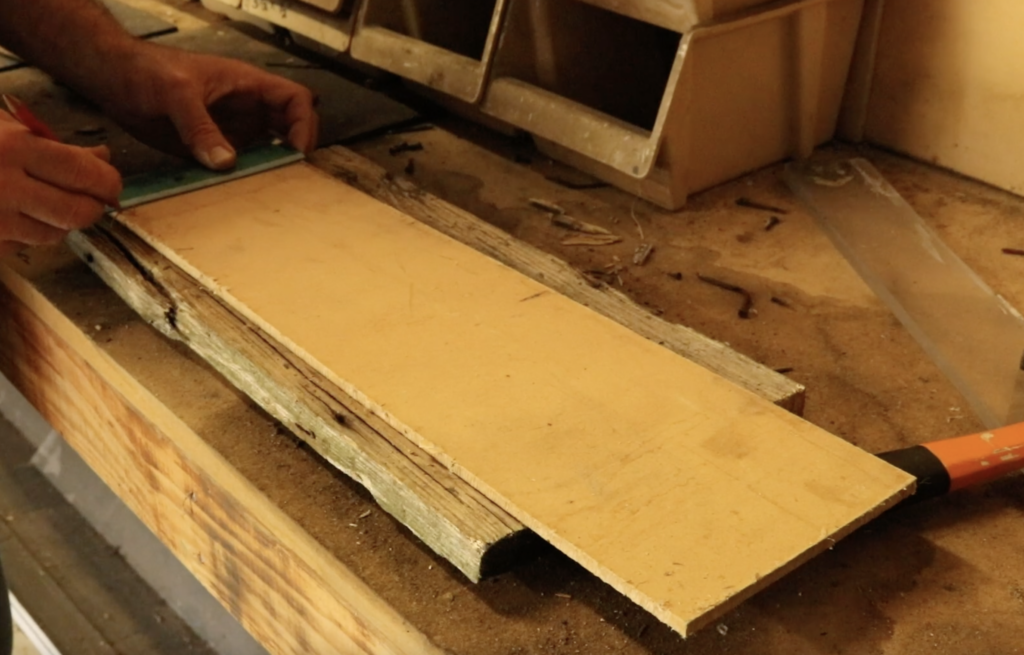
Then we took some MDF (plywood would also work) that we had lying around to use as a front plaque on the wood frame. This was an important step, as the Cricut vinyl I wanted to apply to the front of the sign needed a smooth surface to adhere to.
My husband eyeballed the MDF to match the size of the wooden backing. He drew up some quick measurements, then cut the piece, which ended up measuring around 13.5 x 5.5″. He also cut the corners off using our scrollsaw. Then he gave it a good sand with a fine sandpaper to smooth rough edges.

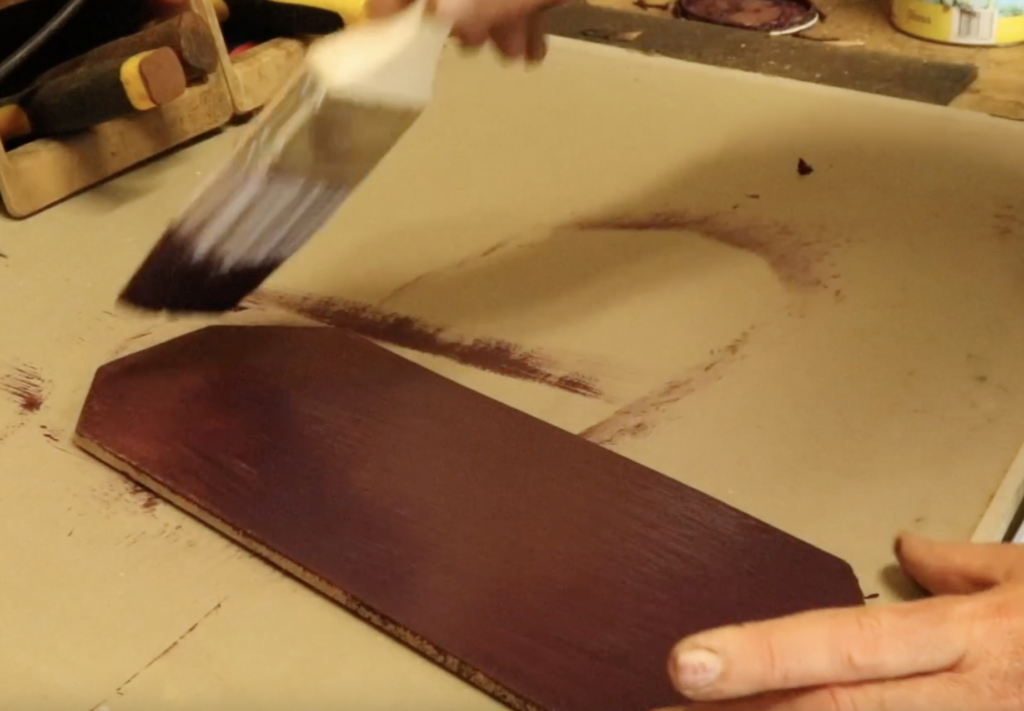
We painted the MDF plaque with some old paint we found in one of our sheds. It just happened to be a great colour that would set off the gold vinyl lettering perfectly! We let this paint dry completely before the next step.

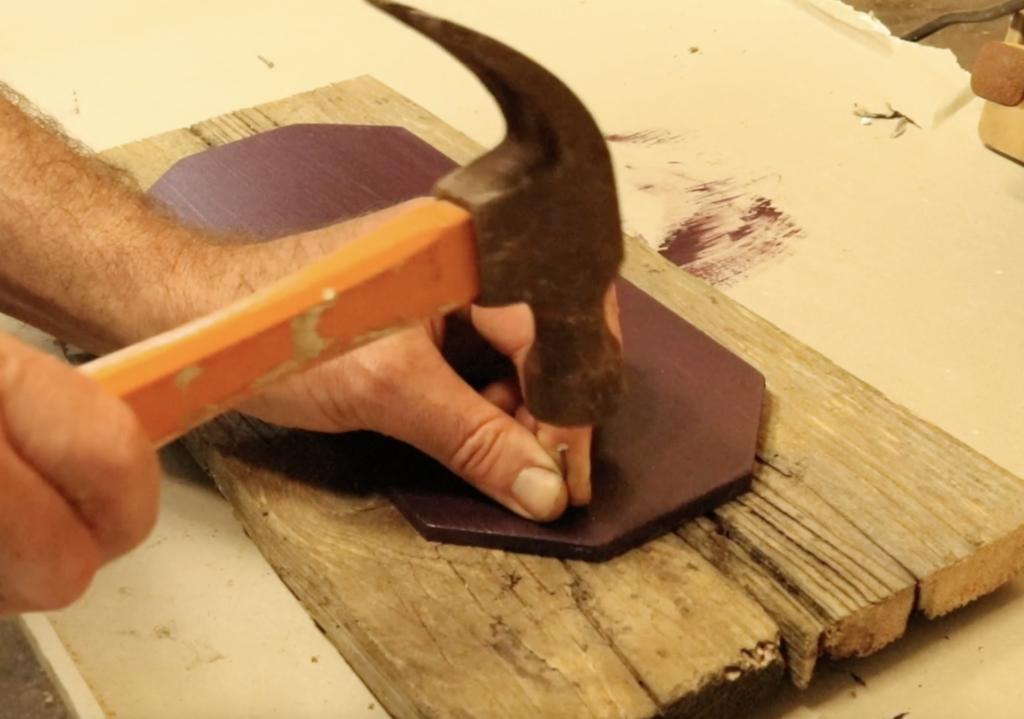
The plaque was then nailed to the wooden backing.

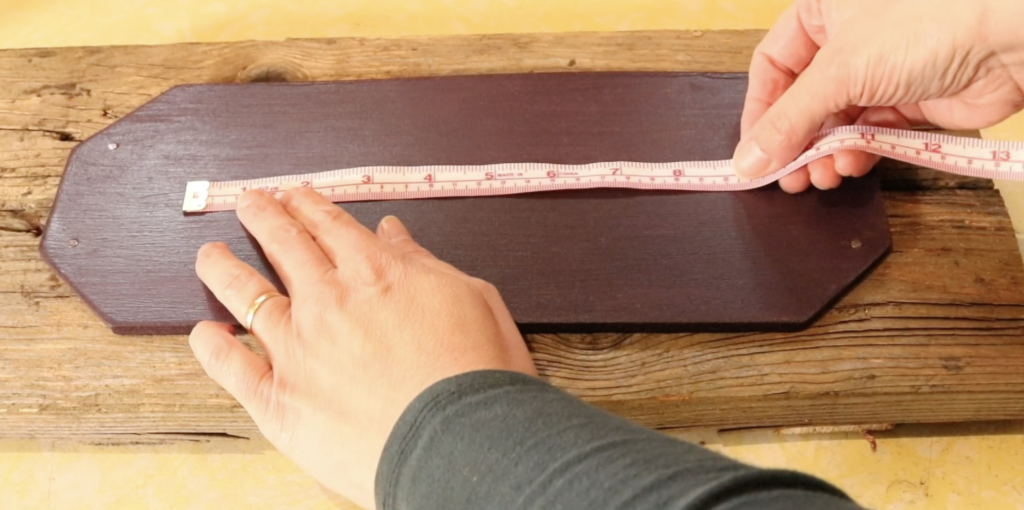
The rest was up to me! I measured the plaque in order to get accurate measurements for my vinyl lettering.

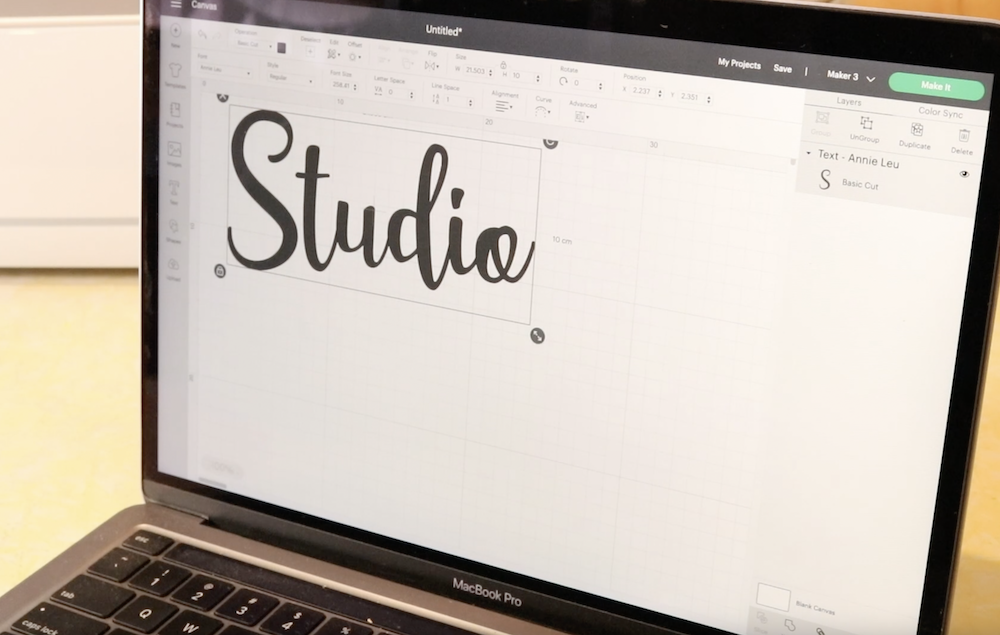
I went into the Cricut Design Space to get my text organised. This is really simple to do using the Design Space app. I simply typed in the text (“Studio”), chose the font, then adjusted the measurements to suit my plaque.😊
My laptop is paired with the Cricut Maker 3 using Bluetooth, which works really well with no need for cables.

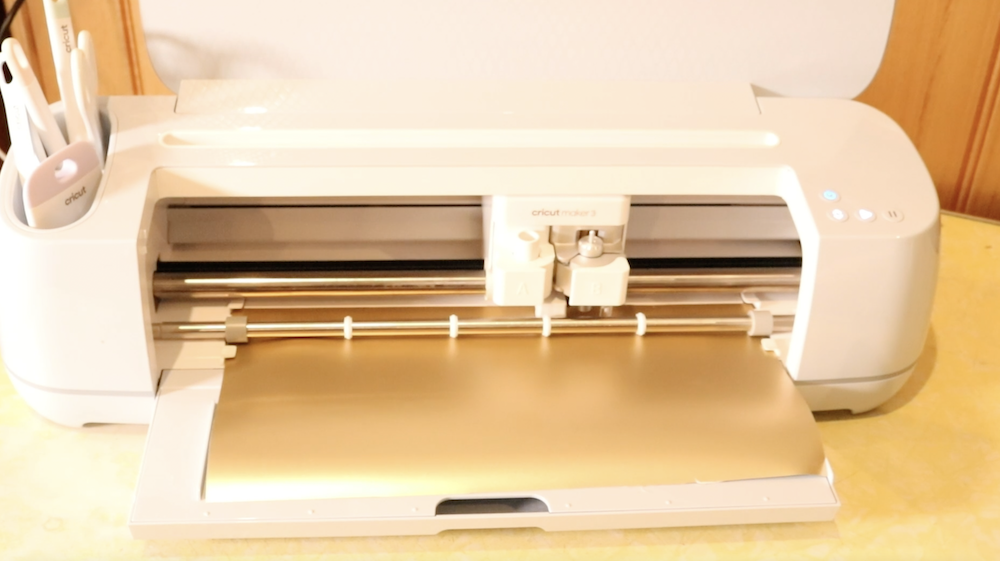
Following the prompts from the Design Space app, I lay in the material I’m wanting to cut, in this case Smart vinyl in Champagne. The Smart materials from Cricut don’t require a cutting mat, it simply feeds into the machine, cuts out the design, then feeds out again.

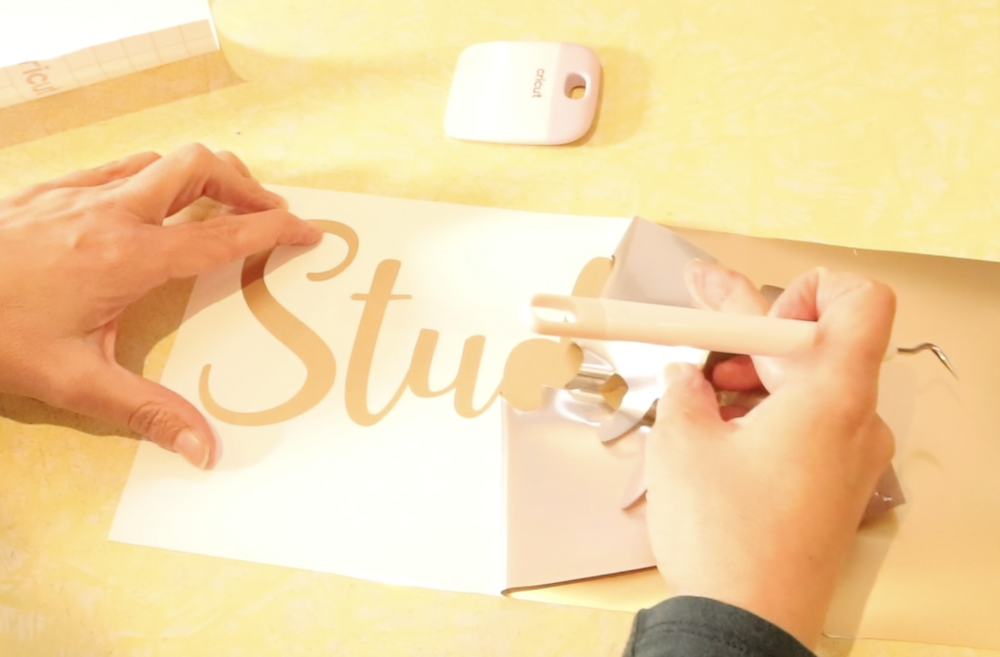
The next step is to peel away the excess vinyl from the design using the handy weeding tool (the hook) to pull up any vinyl still stuck to the backing.

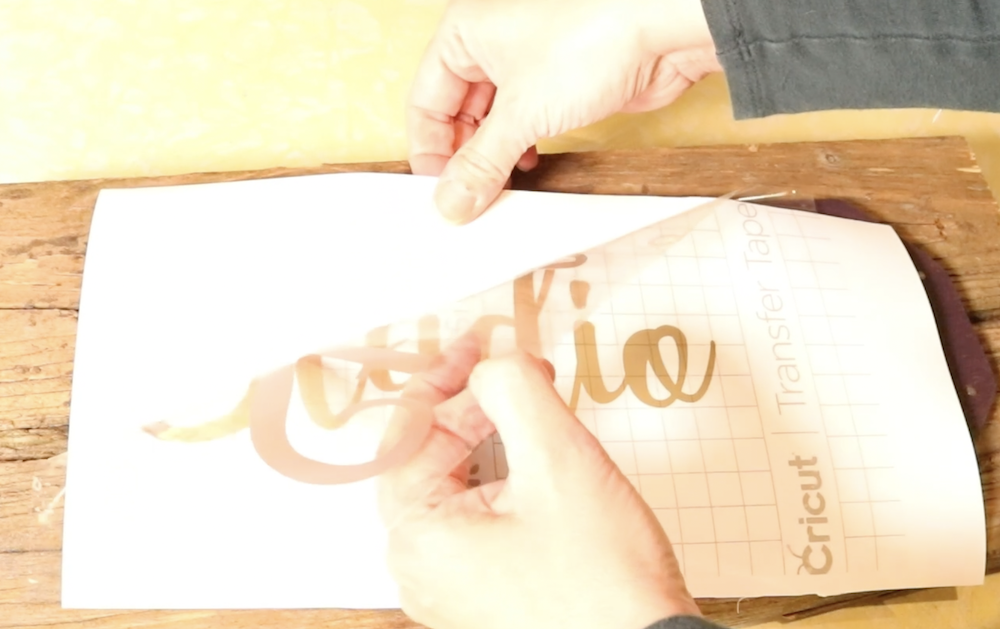
The Transfer Tape is placed over the top of the design. This allows you to peel up your design and place it precisely where you want it to go.

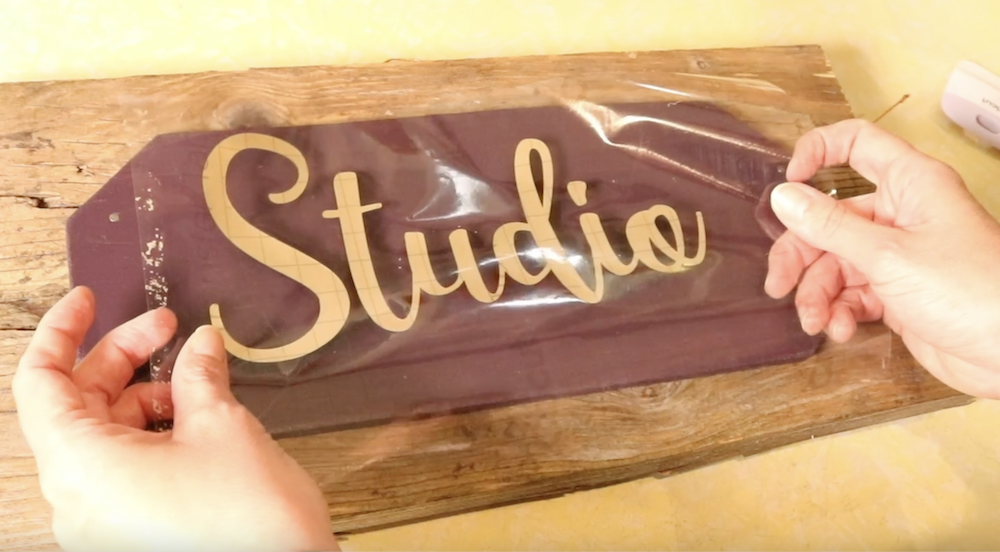
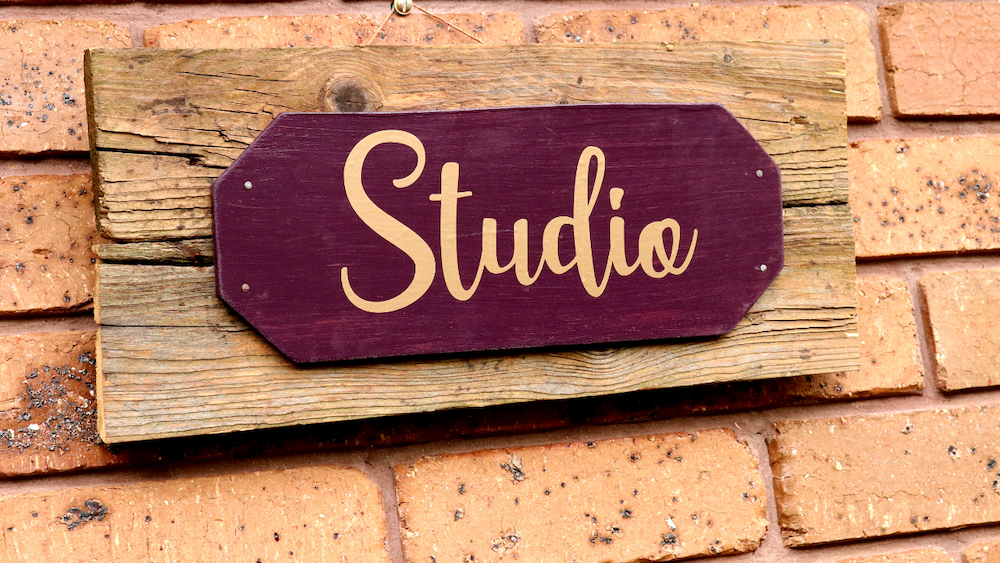
I positioned the design onto the plaque, smoothed it down and removed the transfer tape. All that was left to do was to hang my beautiful new sign outside my studio. I love the way it looks, and it makes my studio feel really official.
I had so much fun making this sign that I couldn’t stop at just one! In Design Space there are so many great images to choose from, so I wanted to take advantage of some of those.
I got my girls involved so that we could work together to make some signs relevant to their own hobbies and spaces.
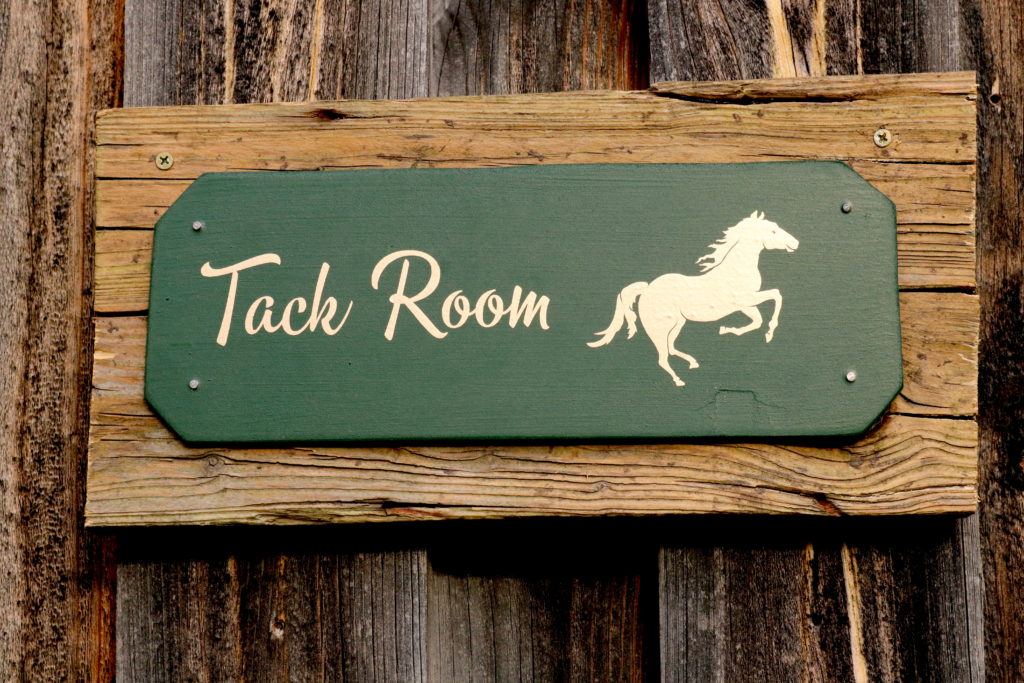
For my 14 year old horse lover, it was a no brainer to make a sign for her tack room.

My youngest daughter is chicken crazy and the caretaker of our chicken coops.

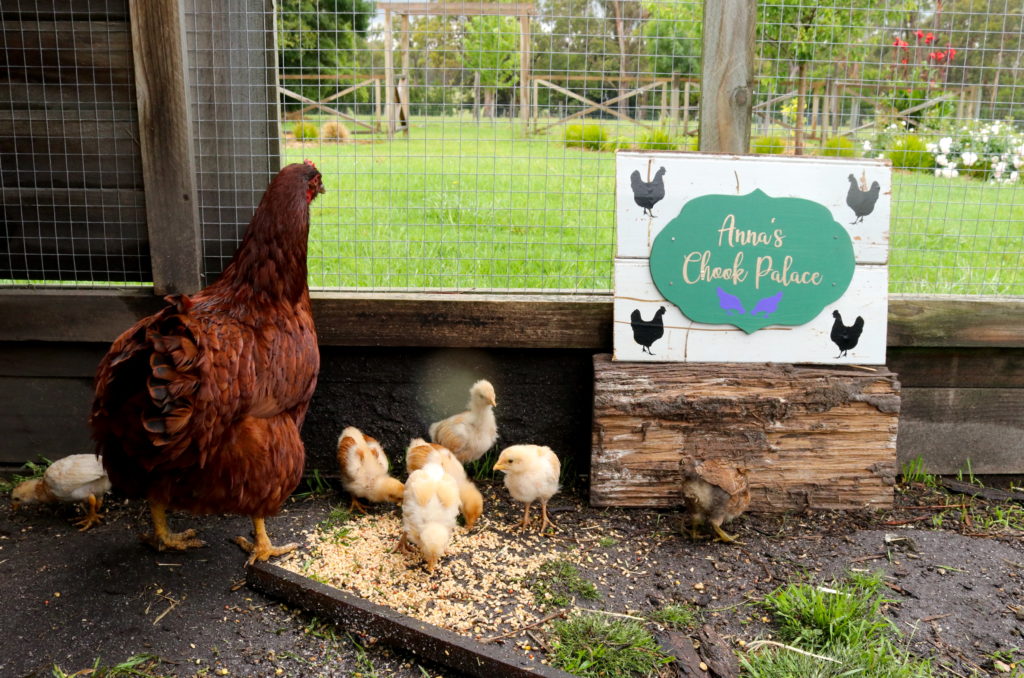
These signs were all no cost projects for us, thanks to Cricut Australia and New Zealand, and thanks to repurposed materials.
What I’m really looking forward to now is checking out the Cricut rotary cutter tool with some of my handwoven fabric. Stay tuned for that!
If you would like to see the full free video tutorial for how I made the studio sign, click on the video below:

The Cricut Maker 3 can be found at Spotlight or Harvey Norman in Australia. In New Zealand, suppliers are Spotlight and Warehouse Stationary.
You can also find Cricut here-
Instagram: https://www.instagram.com/cricut_anz/
Facebook: https://www.facebook.com/cricutanz/
YouTube: https://www.youtube.com/channel/UCffy4UQ9lfgQPDlyEUCgWPA
Until next time…
Happy Weaving!