


That awful moment when your lovingly hand woven piece catches on something sharp and pulls, leaving an unsightly loop.
I’m sure we’ve all been there and collectively cringed when this has happened.

Thankfully, the fix is a quick and easy one, once you know how.
*This post contains affiliate links. For further information, please see my disclosure policy.
If you are interested in the fabric I’m working with here, it is a sample from my Plaid Double Width Ebooklet.
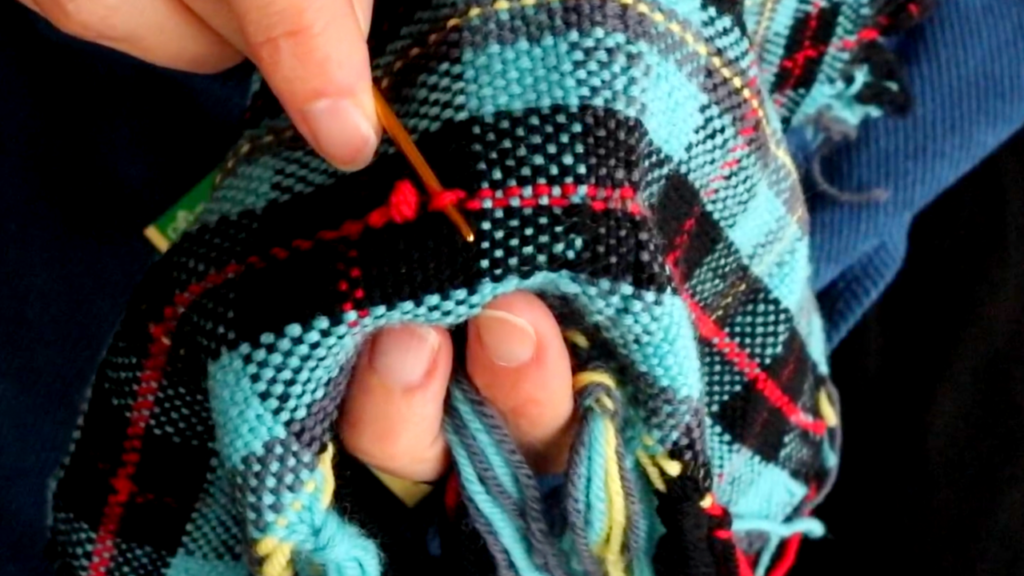
All you need is the snagged piece of cloth and a tapestry needle. My favourite tapestry needles are the Bent Tip Needles by Clover.


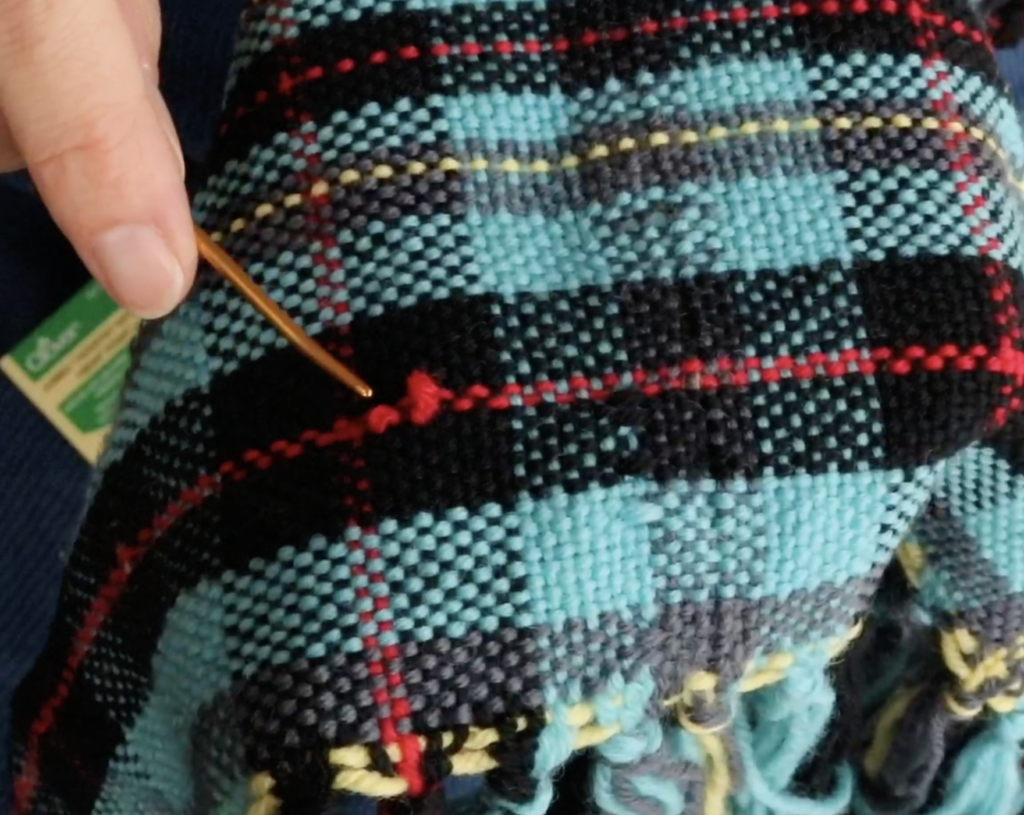
The first thing to do is to have a look at the loop so that you can determine which row of your weft has been affected. We want to work on this row to redistribute the slack that occurred when the weft was snagged. Have a look at the way the weft row is running. This will tell you the direction in which you need to work.

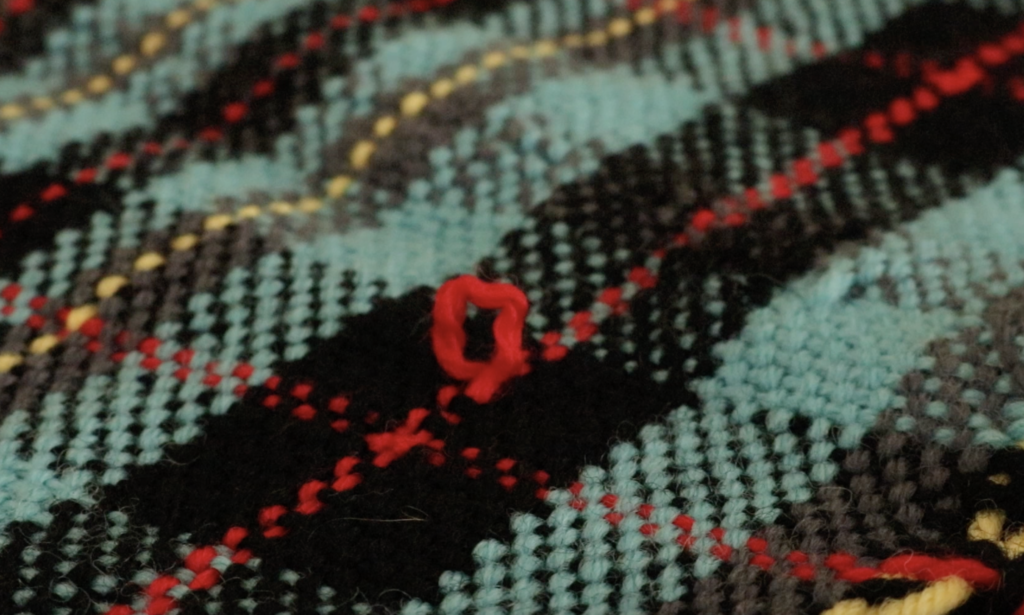
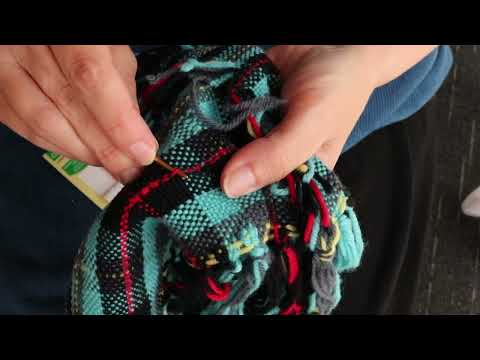
Here you can clearly see the loop and the way in which it runs through the cloth (horizontally, not vertically).

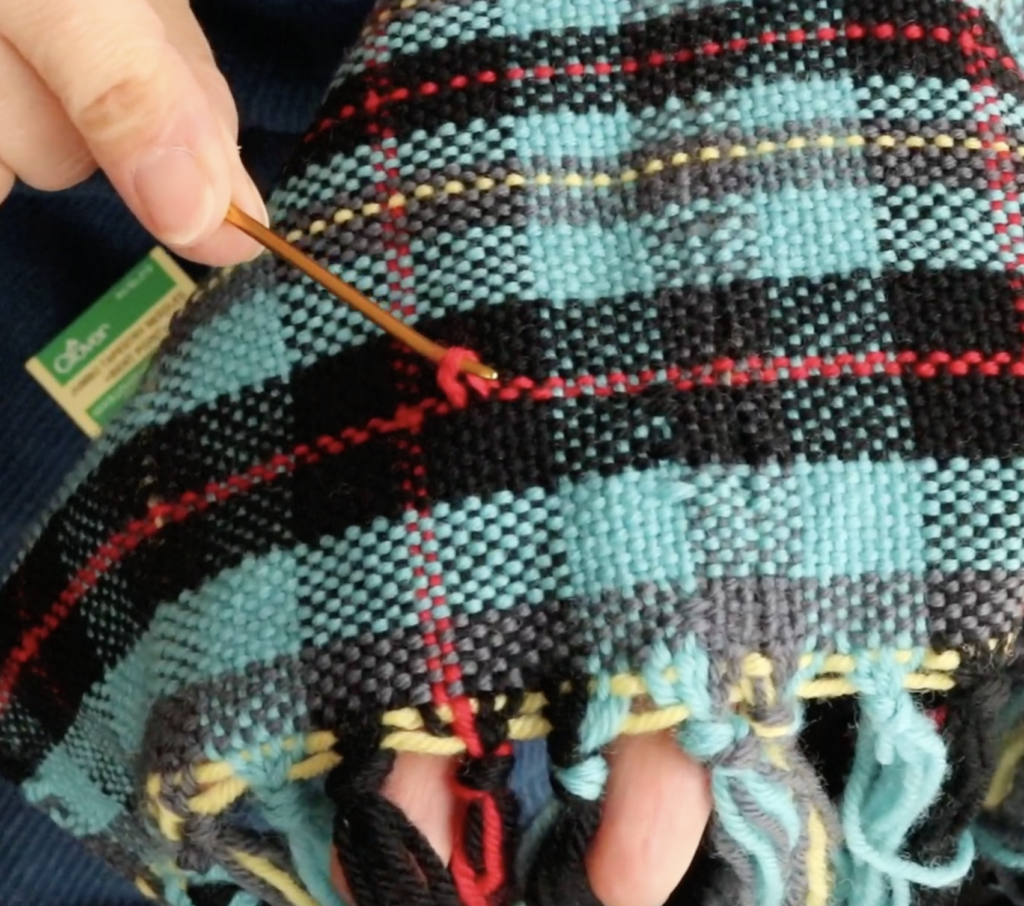
Using the tapestry needle, go to one of the weft stitches either side of the loop. It doesn’t matter which side at this point, as we’re going to be alternating.

Pull up gently on the weft stitch so that some of the slack goes out of the loop and into this stitch.

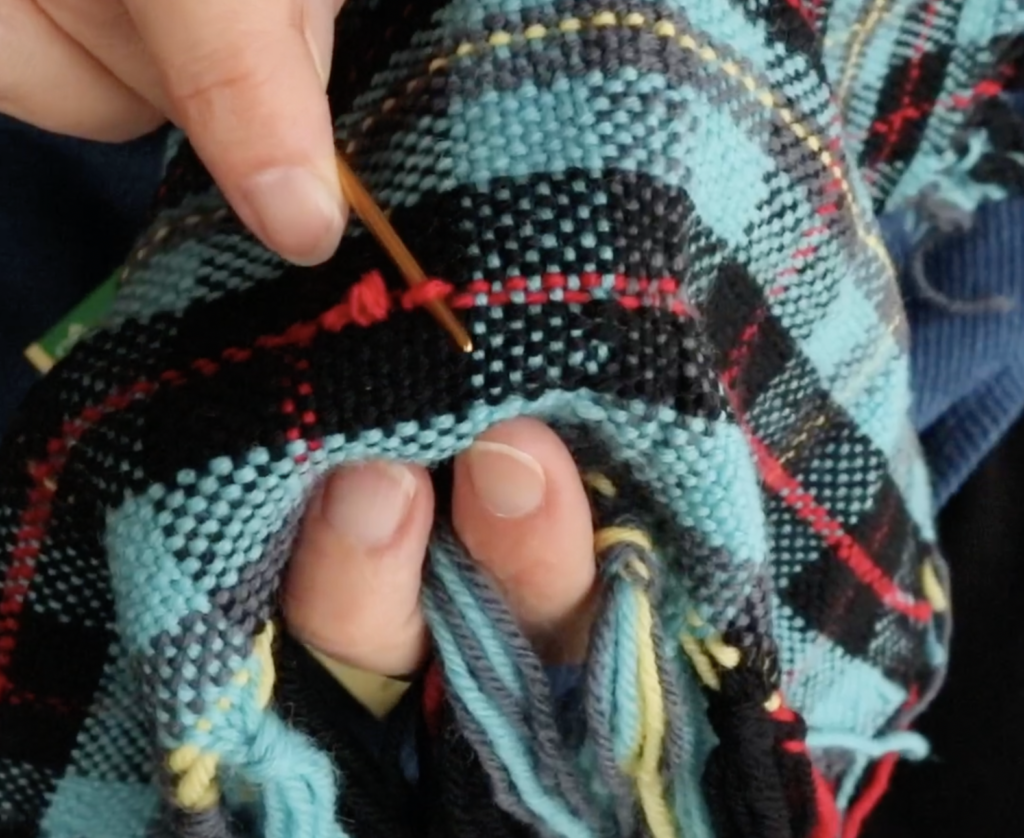
Now go to the opposite side of the main loop and repeat with the stitch next to it on this side. The aim here is not to pull up big loops, but just to begin to ease and decrease that main loop. The weft stitches you are working on will become looser as you do this – that is normal and expected.


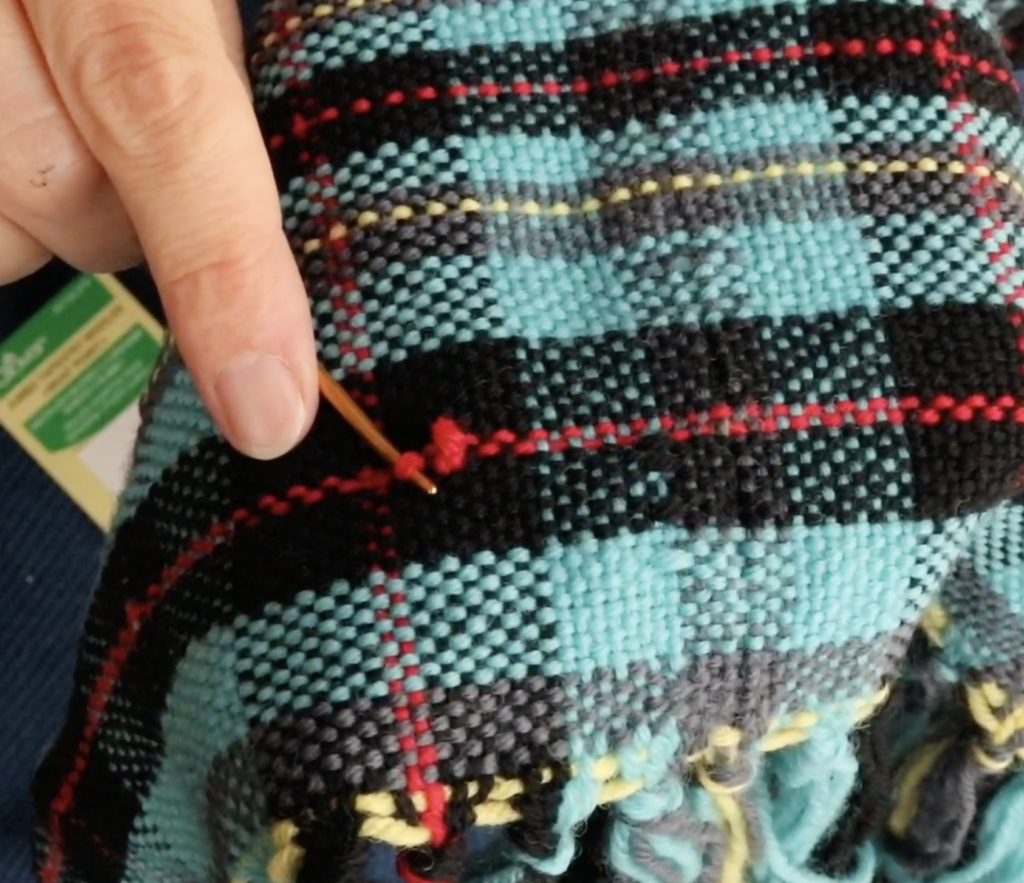
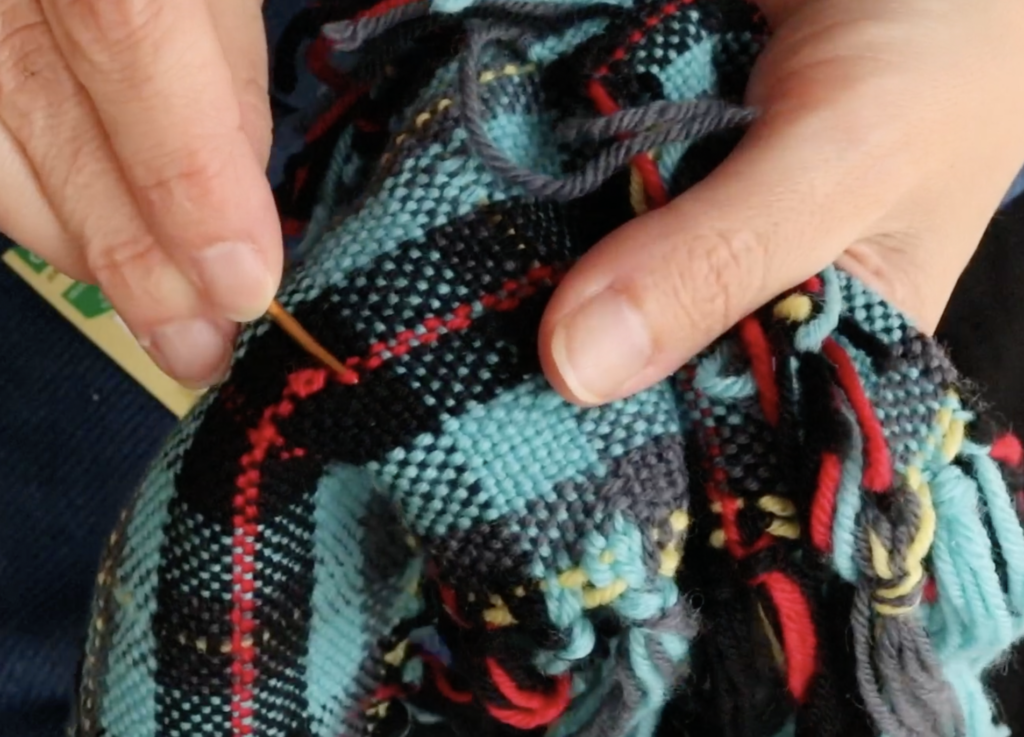
Once you have redistributed some of the slack among the other stitches (I started by doing 3 stitches either side of the main loop) it is time to get a bit rough on the fabric.
Holding onto the fabric either side of the main loop, pull it outwards, away from the loop. It is very helpful to use a “snapping” action for this. The idea is to shock the fabric and re-tension it in order to settle the weft back into the pattern it belongs in.

After snapping the fabric several times, you may see that the weft loop is now laying flat. If this is the case, your work here is done! However, if any of your wefts are still raised (either the loop itself or the weft threads around the loop) then more attention is required.
Simply go back in with your tapestry needle and gently repeat the process, including the fabric snapping afterwards.

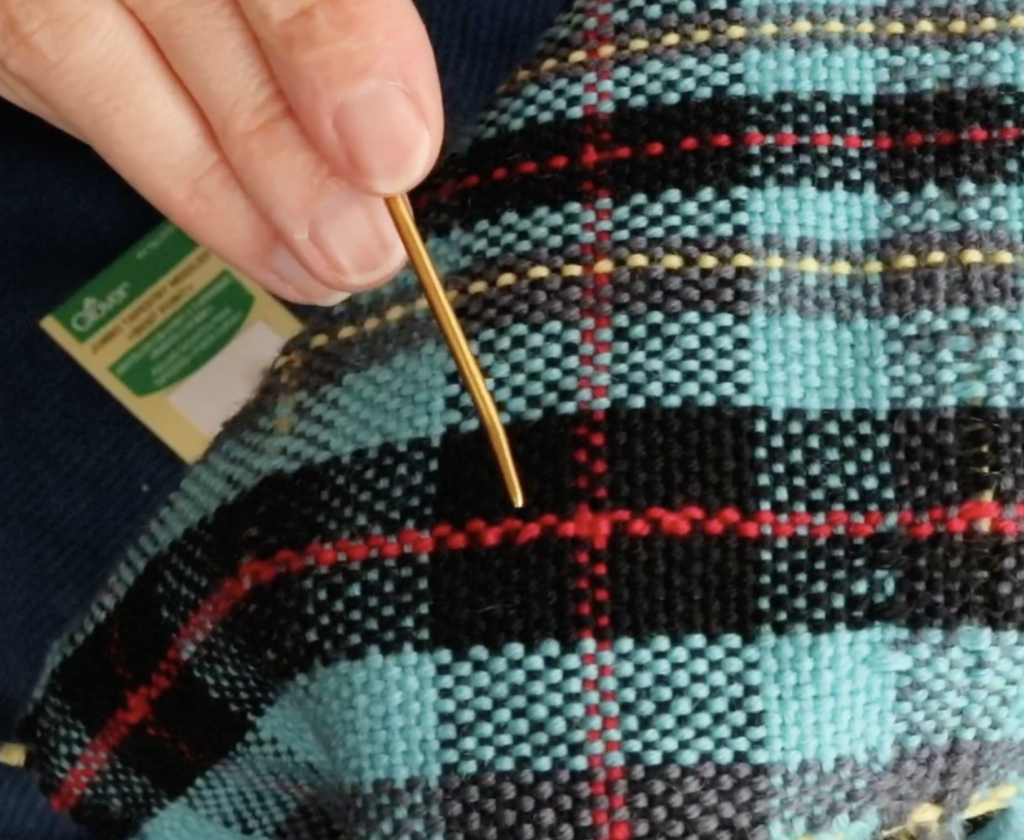
By this time your wefts should all be happily settled back into place and laying flat. Ideally, it is now hard to see that there ever was a weft loop. I am pointing to my original loop in the photo above.
If you want to see this whole process in the form of a video, please enjoy watching this one:
I hope this tutorial was really helpful to you! Thank you for visiting me today and until next time…
Happy Weaving!