
Threads that tend to stick to one another when you change sheds can be so frustrating!
Some yarns are prone to doing this more than others, and it also commonly occurs when you’re weaving with more than one heddle or are using additional aids (like pick up sticks and heddle rods) to create extra shafts on your rigid heddle loom.
For more information on threads that are notoriously sticky, visit this post.

*This post contains affiliate links. For further information, please see my disclosure policy.
Why is it a big deal if not every thread is exactly where it should be?
Well, it’s going to mess up your pattern. Your weaving pattern is created by the interlacement of threads – the weft going over some warp threads and under others. Now, if the weft ends up going over one or more threads that it should be travelling under, and vice versa, then you have a problem.

Floats will be created where they are not meant to be and this will show as a mistake in your pattern. If you have already checked that your threading and weaving sequences are correct, you don’t have crossed threads or anything else weird going on, the problem is very likely to be caused by unclear sheds and sticking threads.
Before looking at using clearing methods, ensure you have adequate warp tension. If your tension is too loose, threads may sag and interfere with your sheds. If your threads are loose on just some sections, you may need to try some wedging techniques to help your warp tension to be more consistent.
There are 2 main methods I use to ensure a clear shed when sticky threads are proving to be an issue.
The first method involves the use of a pick up stick, extra stick shuttle or even a paint stirring stick will do the trick! Basically, a flat, smooth stick.
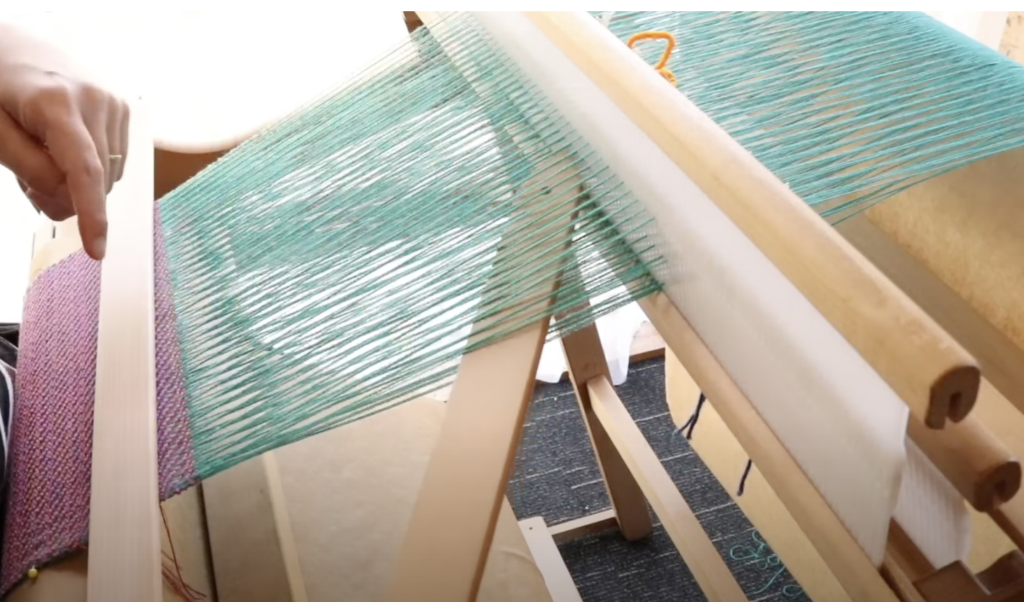
Before inserting the stick into the shed, ensure that all of your threads are in their correct places. The easiest way to do this is to understand where all threads should be at all times according to your threading and heddle/weaving sequence. For example, in this picture my first heddle is up and my pick up stick is forward. For the way that I threaded, this means that all the hole threads on heddle one should be up, and all the threads on top of the pick up stick will also be up. The rest of the threads will be down, forming the bottom layer of the shed.
Once you understand where all the threads should be and you are sure they are correct, you can insert your pick up stick into the shed. Be sure to insert close to your heddle, where the shed space is at it’s widest.

Once the stick is in the shed, hold it on either side.

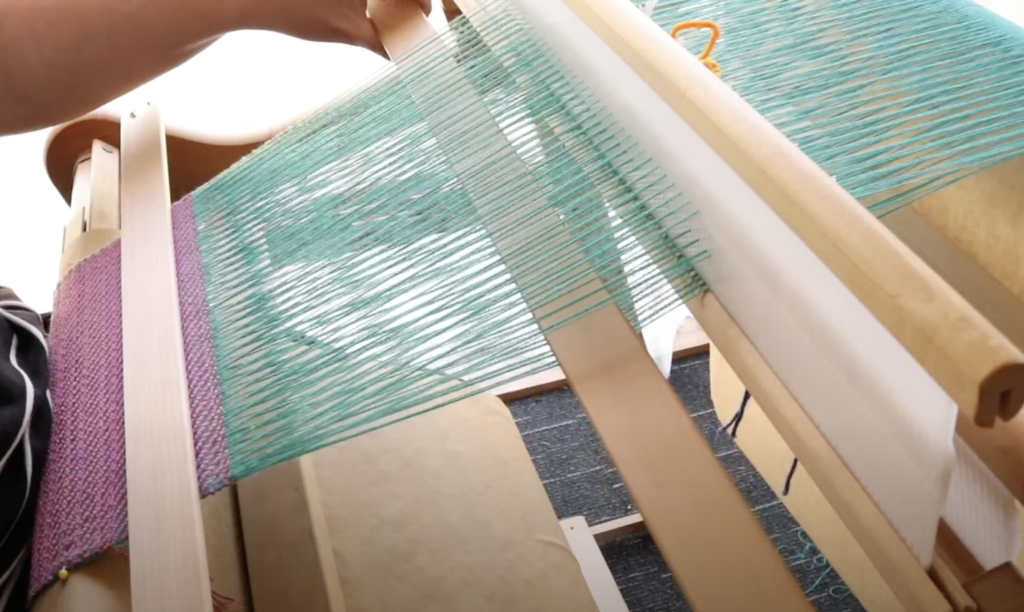
Pull the stick towards you, and towards the fell (edge) of your weaving and bounce it off the woven edge.


This action is firm and decisive, but doesn’t have to be a super hard whack. If there were any threads that were sagging or tending to want to stick together, this will shock them back into place.
If you prefer to see a video of this technique in action, you can view that here-

Now let’s have a look at the second shed clearing technique I mentioned.
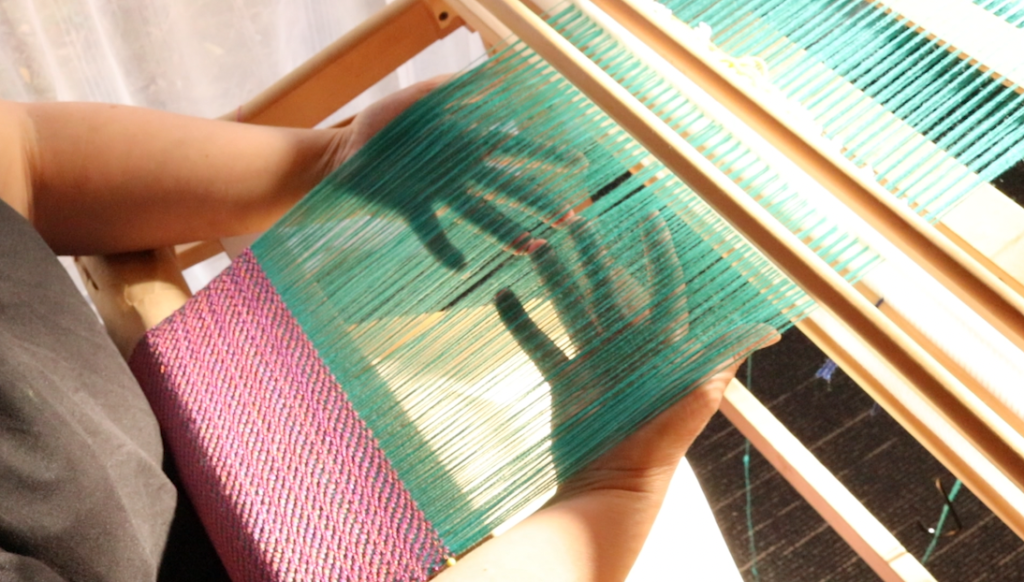
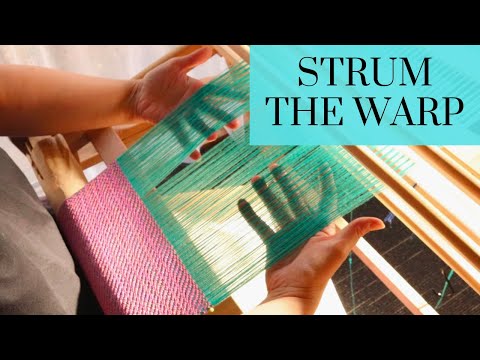
This technique is so simple and easy. No extra tools are needed, just your trusty hands and fingers. I call this “strumming the warp”, but it doesn’t have anything to do with playing the guitar!

Again, the first step is to ascertain whether the problem lies with your threading, sequence or tension.
Next up, place your heddles/rods/sticks in the correct position for the shed you want to weave. Once again, I’m using the front heddle up, pick up stick forward combination as this combination frequently has sticking threads.
Place both hands, from either side of the warp, into the shed so that your fingers roughly meet around the middle of the warp.

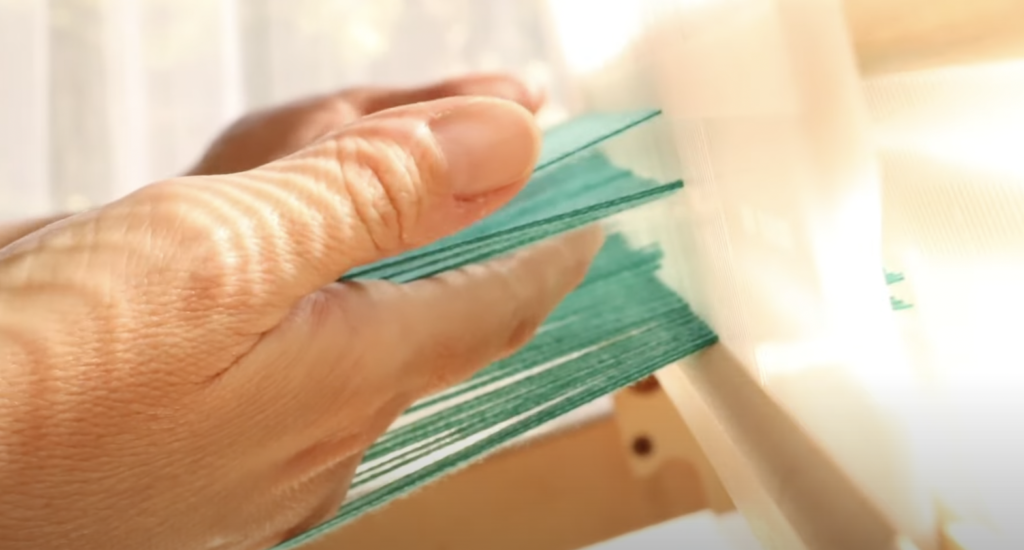
Tilt your fingers slightly upwards as you pull your hands apart and out of the shed. You want your fingertips to “strum” the threads on the way out.


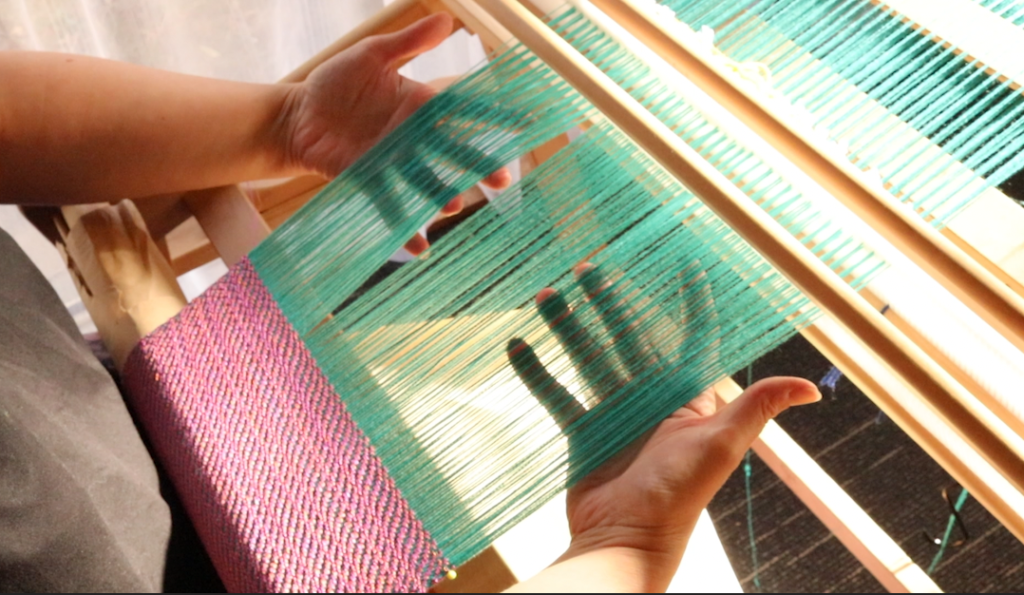
This is such a great technique for snapping threads into place with no ill effects on your warp. Give it a try!
If you would like to see this technique in action, check out this video:
You may have noticed the beautiful piece of weaving I have on the loom in these examples. You can find the PDF pattern for The Ripple Scarf in my Etsy shop. It’s a wonderfully luxurious scarf for rigid heddle weavers, you will love it!
I hope this article has been helpful to you, be sure to leave comments or questions down below, I love to hear from you.
Until next time…
Happy Weaving!