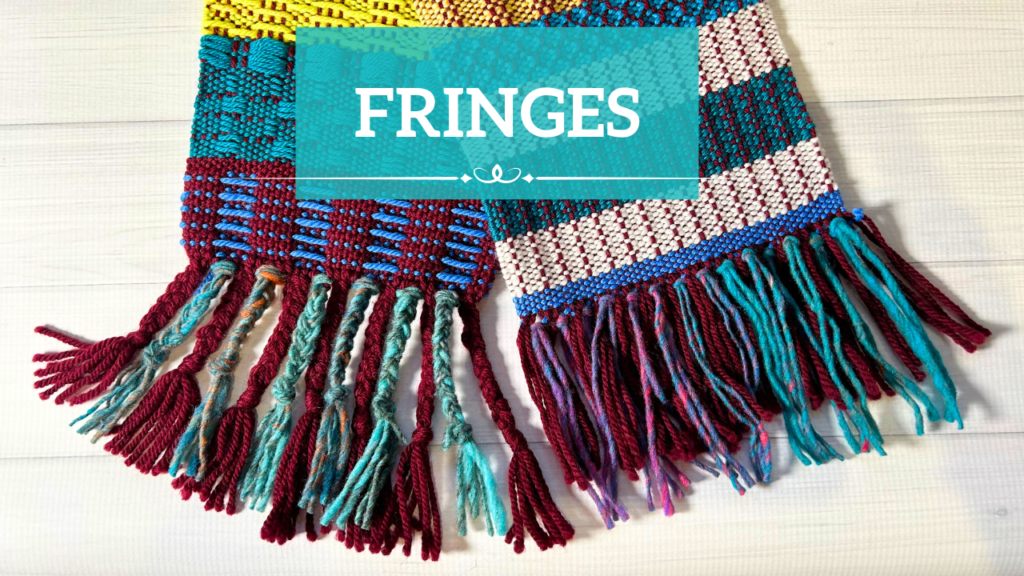
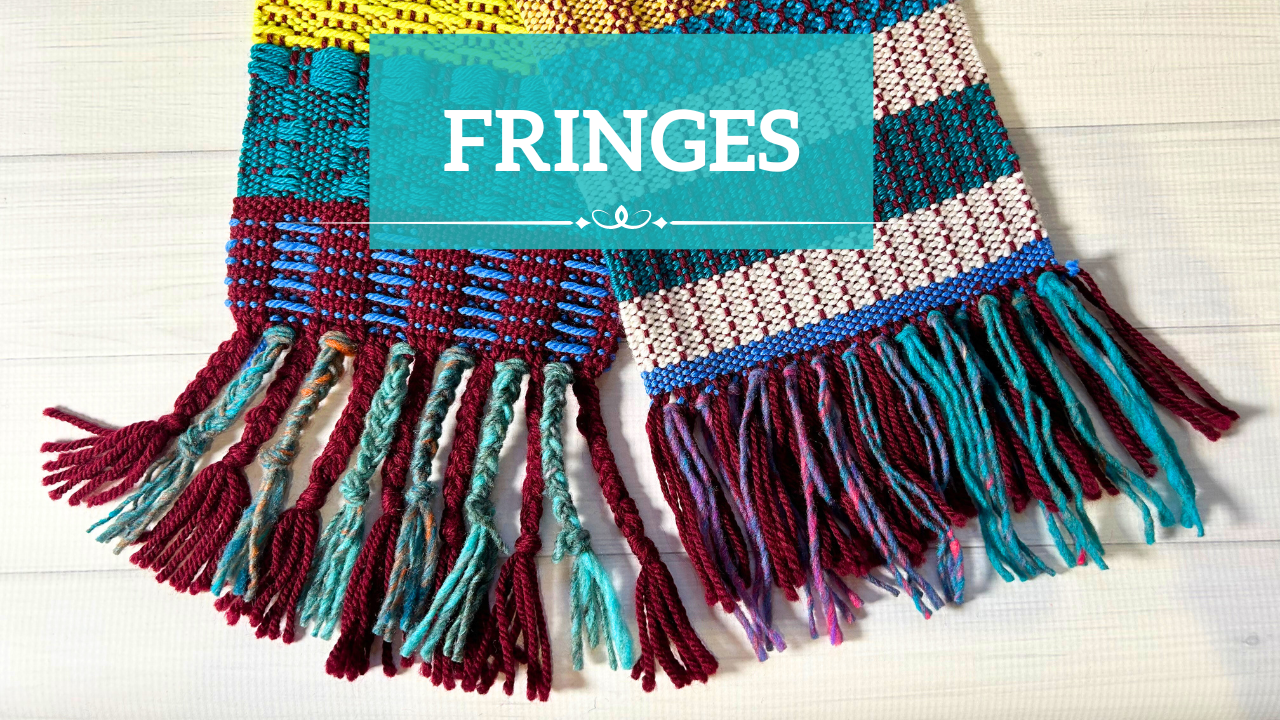
A supplemental fringe is simply some additional fringing that you as the weaver may decide to add in to a finished piece.
The supplemental fringe (that’s what I call it – I just mean that it’s extra fringe in addition to the original) can be brought in after the woven piece is off the loom. It’s fast and easy to secure to your weaving.
But you may be wondering – in what kind of situations would a supplemental fringe be used? And why would I want to add extra fringe when there is one already existing?
Well, sometimes when you finish a project, you might just feel like it needs a little something extra. You might feel that your existing fringe is a little sparse or even just a little bit dull.
If you’re stuck for how to pick colours for the supplementary fringe one idea would be to have a look at the colours that are in the actual piece. Are there any that stand out to you? And really pop? You could coordinate the colours from your piece with your supplemental fringe?
Or you could pick up a yarn that you just really like and you think would look great alongside existing fringe. No rules here!
It can be helpful to be able to practice the technique first on a sample piece (I used a sampler from the Pick Up Perfection online class) if you happen to have one just so that you can ensure you get the most pleasing results, it helps because it will show you things like what different yarn thicknesses and colours look like, how many repeats you want to do and also allows you to practice the knotting.
What you will need to incorporate a supplementary fringe:
- Yarn (I used Noro Ito, there is such a fantastic colour range)
- Woven piece to add the fringe to
- Crochet hook (size is not too important, it just needs to be able to go through your weaving and pick up the supplementary yarn
- A book or similar to use as a fringe template
- Scissors
Once you decided how long your want your supplemental fringe pieces to be, you can use a book as a template to quickly and easily wind off your pieces. Make them twice as long as the actual fringe length you need because we’re going to be doubling them over when attaching.
I chose to place my supplemental fringe every 4 warp threads of the existing fringe. Your choice may be completely different, it just depends on what you want to do.
I also chose to go in with the crochet hook 2 weft threads deep – again this is optional but I feel that having 2 weft threads makes for a sturdier edge for my extra fringe.
Grab your first fringe loop and hold it with the hook.
Pull the fringe loop through the 2 weft rows. Continue to pull through until you have a loop large enough to fit your fingers into, but not so large that the tail ends are pulled though.
About this sized loop is good.
Now you can grab the tail ends of the supplemental fringe and pull them through the loop you’ve made.
Tighten the knot up close to the woven edge and you’re done! Repeat across the rest of the weaving at your chosen intervals.
All that’s left to do is to trim your supplemental fringe, which can be longer, shorter or just the same length as your existing fringe.
There are lots of variations and possibilities with this idea. See the plaited (braided) fringe in the photo above? Well, if that interests you I suggest you watch my video tutorial for all the details on how to work that:
I hope you enjoyed this tutorial!
Until next time…
Happy Weaving!
This post contains affiliate links. For more information please see my disclosure policy.

