
Now for the really exciting part! Once you’ve finished your required amount of weaving (check the Essential Project Information free download here) you can cut your weaving from the loom. Yay!
If you missed the last post about weaving and advancing the warp, you can find that here.
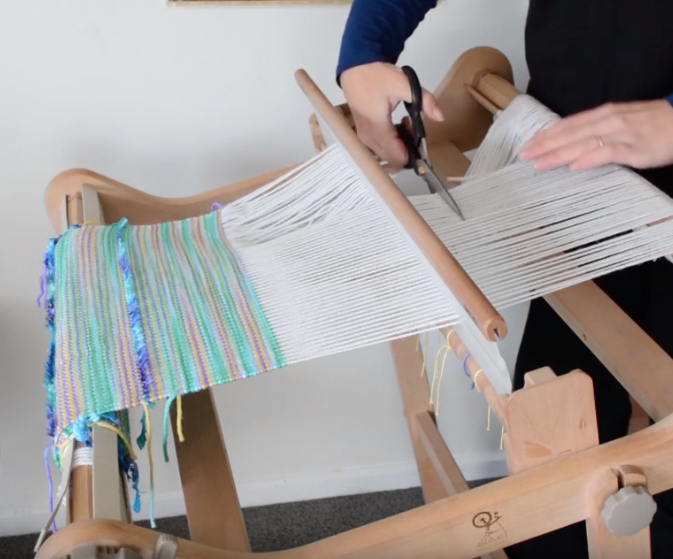
Release the warp tension at the back of the loom a little. If you want a fringe or are worried about your weaving unravelling at all, you can cut behind the reed which leaves plenty of fringe space.

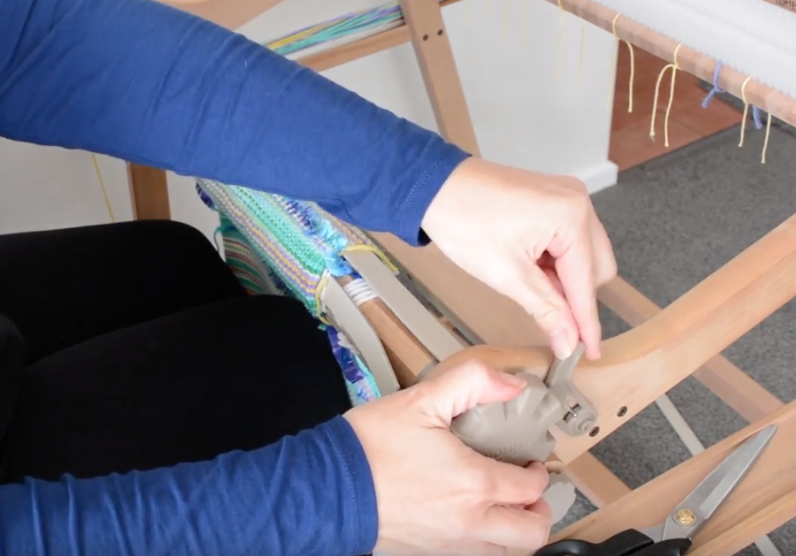
Then, back to the front of the loom to release the brake, allowing you to easily unroll your weaving from the front beam.

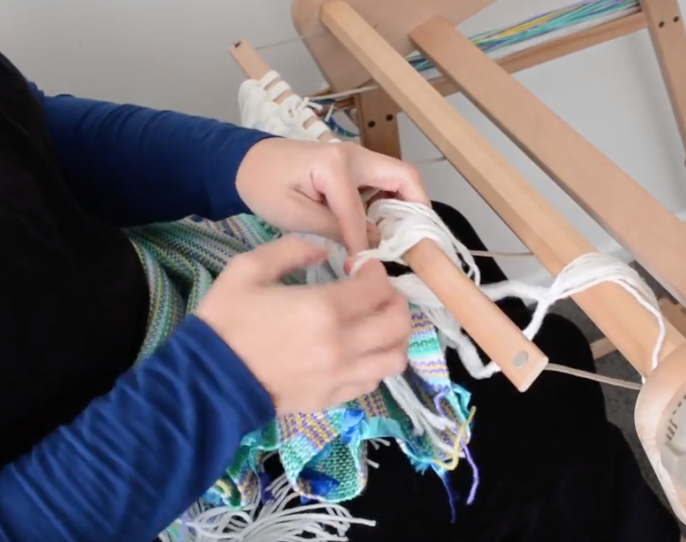
You can either cut or undo the knots from the apron rod. I usually prefer to undo the knots (especially important if you want a fringe). Also, if you wove in a header with waste yarn at the beginning, now is the time to take that out.
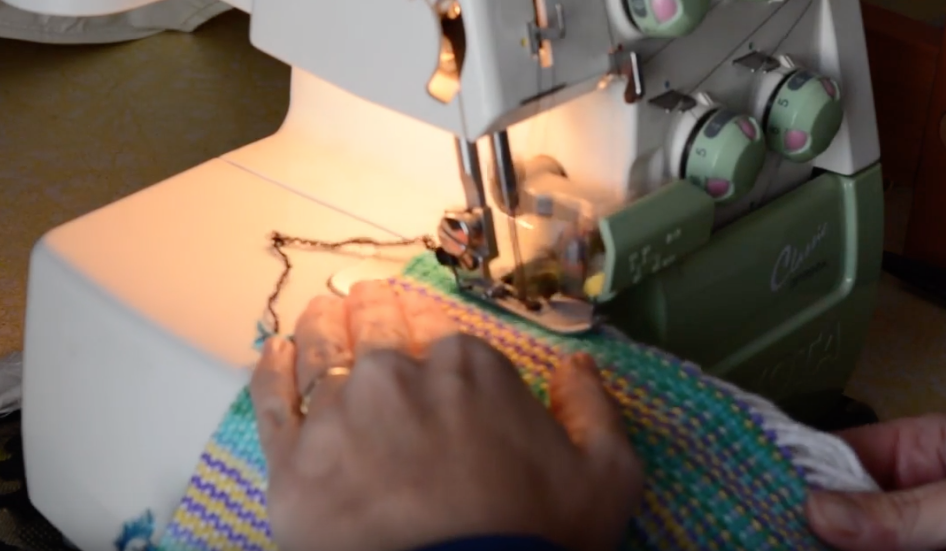
Before wet finishing, it is essential to secure the raw edges of your weaving. A serger will make this job super easy, or a sewing machine set on zig zag stitch is also good.

You can find basic wet finishing instructions at the end of this video:

Or more detailed instructions in this blog post or video:

At the end of wet finishing and drying, you have some beautiful woven fabric ready to use and sew with. That’s what we’ll be talking about next time, I hope you can join me for that!
Until then…
Happy Weaving!