
Changing colours in your warp allows you to jazz up your weaving, even if it’s a plain weave project. In this article, I’m going to troubleshoot some of the issues that may arise when you want a colourful or stripey warp when direct warping your rigid heddle loom.
*This post contains affiliate links
I’m specifically speaking to rigid heddle weavers who choose to direct warp today, as these issues either don’t occur or are more simply dealt with when using a warping board, or indirect warping.
The two main issues I want to discuss today are how to most effectively deal with a warp that has a lot of colour changes and what to do when your ends are uneven in number.
If you’re not sure of the difference between direct and indirect warping, I’ll briefly explain.
Direct warping your rigid heddle loom involves tying your yarn end onto the apron rod at the back of the loom, taking the yarn through a slot, around a wooden warping peg that is clamped at the desired distance of the warp away, back through the same slot and around the apron rod again. The process then repeats.

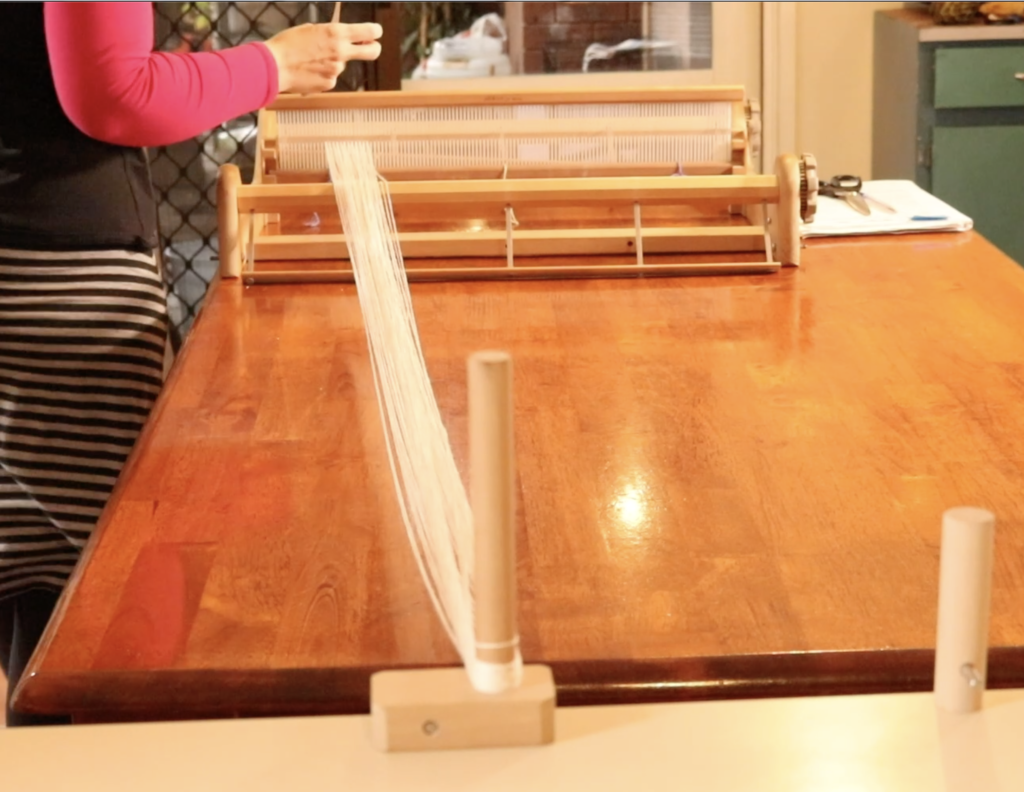
I personally love the direct warping method for my rigid heddle loom because it is such a quick and easy process.
Indirect warping is when you make your warp away from the loom, usually on a warping board or warping mill. You then transfer and “dress” the loom with the warp. It takes longer to warp away from the loom, but is necessary for floor and table looms.
If you’re interested in seeing a warping board in action, check out this video:

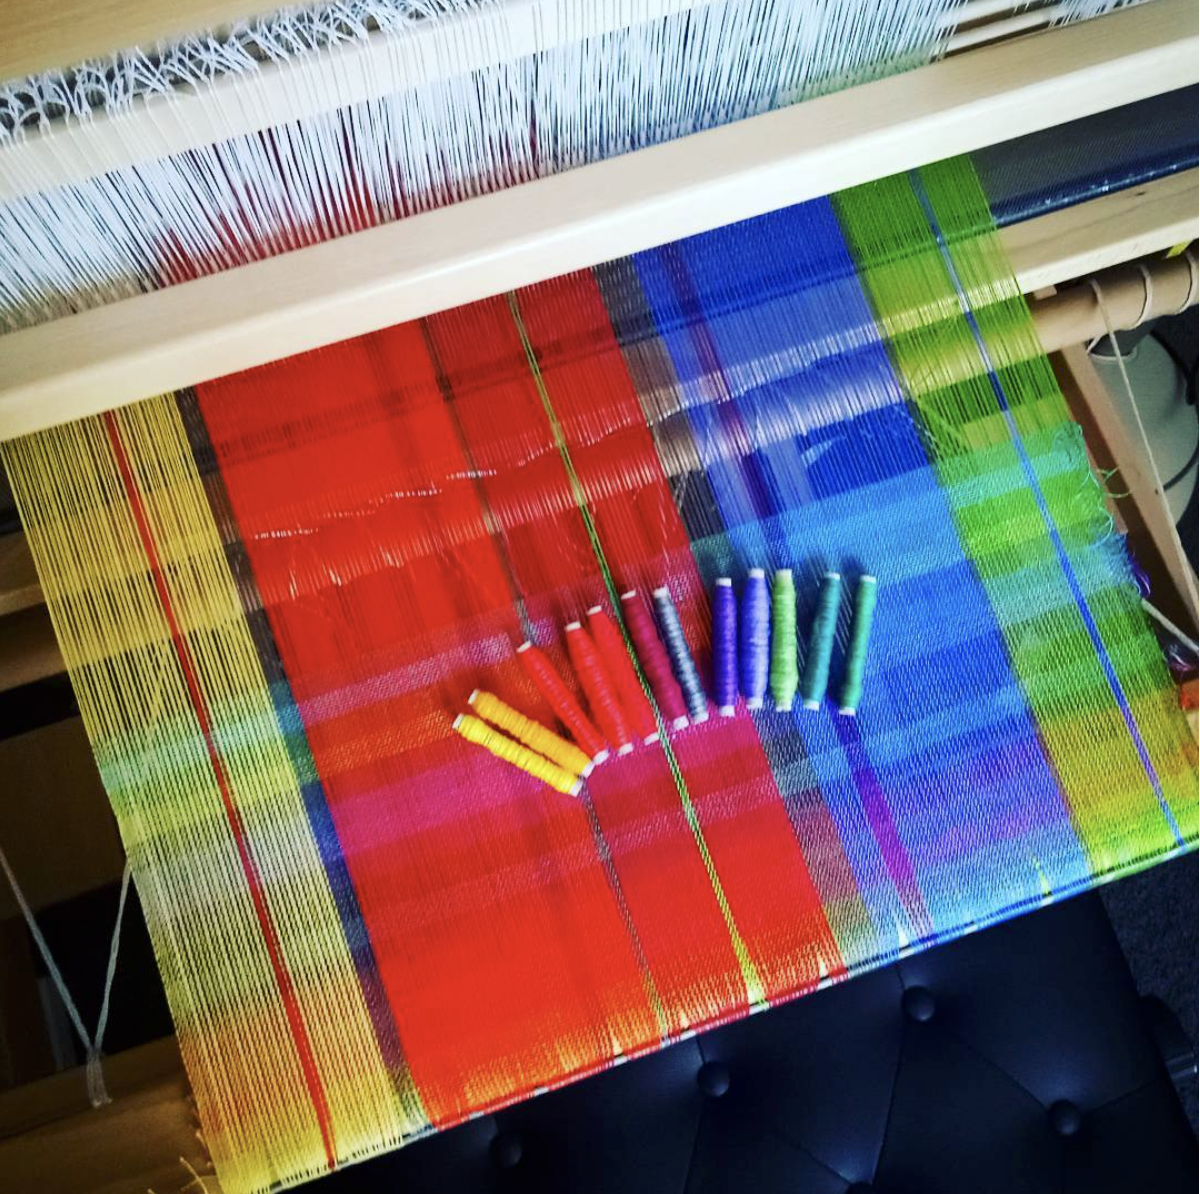
Let’s talk about the first topic I mentioned, the use of multiple colours in a direct warp. When you want to make a warp with stripes, you will need to warp sections of colour. This usually involves repeating sections of colour in a sequence, so even though you’re changing colours frequently, you are often coming back to a colour you’ve already used. Many weavers ask me the best way to do this – change warp colours frequently.
There are several options.
- Tie the colours as you need them on to the apron rod, go through the direct warping process, tie on new colours as you need them but don’t cut them off when you’ve finished with one section. Then when you need to repeat a colour, you pick it up where it was last used and continue on.
2. Tie on each colour to the apron rod and then cut and tie it off on the apron rod when you’ve finished that section. Tie on the new colour to the apron rod, then tie off again when finished with that colour. Continue on across the warp.
3. Tie on to the apron rod and begin to warp, when you need to change colours cut the existing colour close to the apron rod and tie on the new yarn to the old yarn, making a firm knot. This way your thread is continuous even though you are changing colours.


I’ll share which is my favourite option and why. Number 2, wins for me, hands down. Some people are surprised to hear this and wonder why I would take the extra time to do all that cutting and tying on rather than choose to run continuous threads.
It’s a fair question and some are still not convinced when I give my reasons, but that’s ok, we’re all different in our preferences and I encourage you to do what suits you the best.
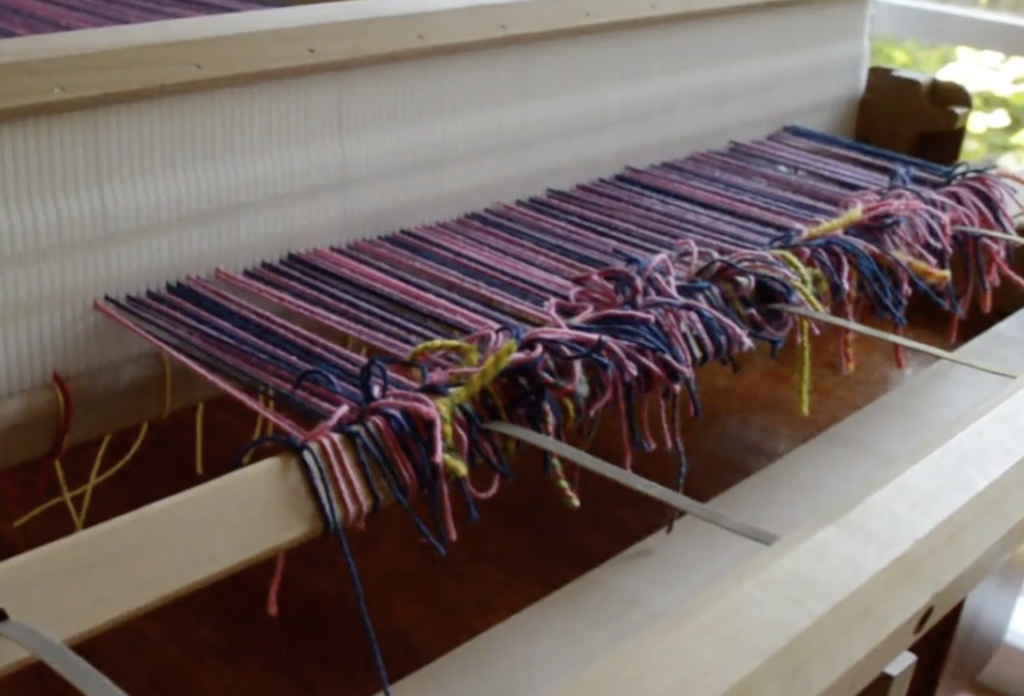
There are two main reasons why I like the tie on/ tie off method. No crossed threads. I don’t like crossed threads behind my heddle. They are messy and can cause issues like holding some threads down when they should be up and messing up my tension by crossing over the back beam in a higgledy piggledy manner – not my style at all! I can’t even show you a photo of what this looks like, as you will never see it on my loom. The second issue, as I mentioned, is the tension – I believe that my tension is compromised when those warp threads are all over the place at the back beam.
Having said all of that, there is one instance where I would consider using method one – if my colour repeats were extremely short. For example, if I was alternating between two colours every 2 ends, then I would look to decrease my warping time by continuous warping.
But I have found that most of my warps have been larger blocks of colour than that, so I always tie on/ tie off.

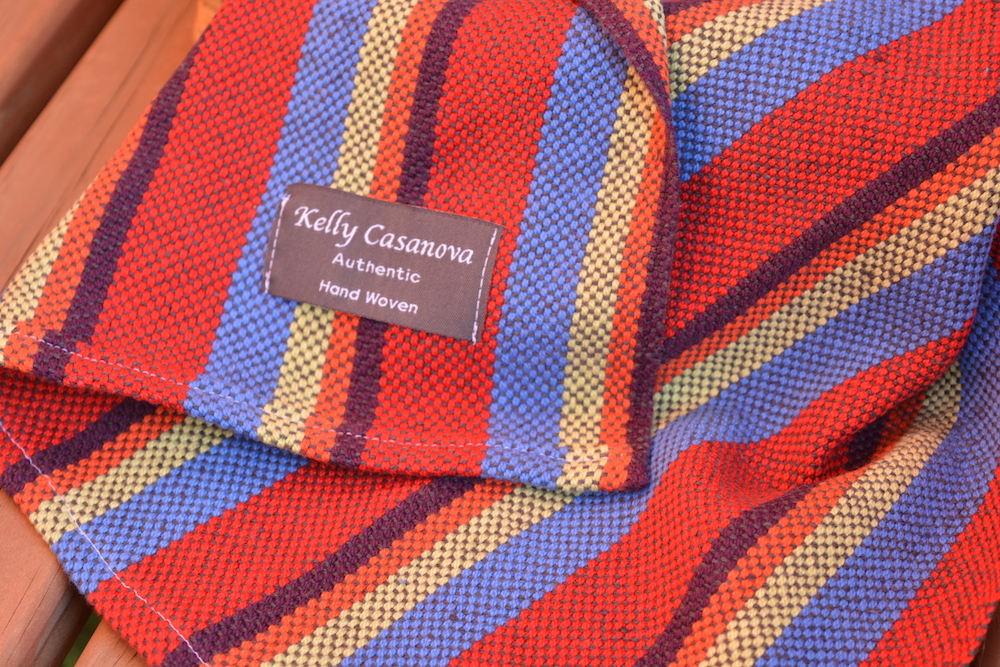
A perfect example where my favourite method is employed is in my Log Cabin Table Runner class. Yes, there is a lot of tying and cutting, but look at that tension! Another great example where I use the same technique is my free Wash Your Hands Towels project. I’ll readily admit that this method takes a great deal of extra time, but I also declare that the results are worth the trouble. Perhaps it’s because I’m also a floor loom weaver, and dressing the loom takes a really long time, that using the cut and tie method doesn’t feel excessively long to me. I always say to my students that extra time spent in getting a warp right is never time wasted – it will save you time later with mistakes or hiccups and you will be more pleased with the end results. Each tied section on the apron rod is like it’s own little warp with it’s own individual tension. When you come to wind them on as a whole, the tension is quite beautiful! All of those knots are on the apron rod and won’t move or affect your weaving as you advance the warp.
I didn’t tell you my thoughts on method three. I can speak from experience that it’s less than ideal. Firstly, the knots can slip or come apart, yes, even if you do them tightly. If your yarn is even slightly slippery (as in a soft cotton) you will likely have trouble. Secondly, tying yarn pieces together is more fiddly, in my opinion than tying on and off the apron rod. So, although I’ve tried this option, I now avoid it.
Now let’s discuss the second issue that frequently crops up when direct warping your rigid heddle loom, and that is what to do when your ends are uneven in number.
Sometimes you will come across a pattern or warping chart for your rigid heddle loom that may look something like the following colour sequence:
Blue – 12 ends
White – 8 ends
Red – 11 ends
White – 8 ends
Blue – 12 ends
Repeat from the beginning until you have _____ (however many ends the project calls for) ends.
It all looks good until you come to the “red – 11 ends”. 11 is an uneven number and it means that you can’t just make a loop of your thread for the last end, because then you would have 12 ends instead of the 11. Make sense?
The easiest way to get around this problem when direct warping your RHL is to not warp uneven numbers of ends! If you are designing the warp yourself, just ensure that every warp number is even so that you can loop every single thread. It might mean a little mathematical adjustment here and there, but it’s not hard and only requires basic math to figure out (I don’t say this lightly, you’re talking to a mathematics hater here!)

But what if you’re using somebody else’s patterns or instructions (by the way, you will notice that none of my patterns or classes have odd numbered ends 😉). Many patterns might be written for indirect warping, hence the odd numbers. Well, you can still adjust that pattern to custom fit it to your requirements without too much trouble.
Going back to my example colour sequence above, it would be a simple matter of rounding the “11” for red down to 10 or up to 12. Yes, you will have to rejig your initial pattern a little to allow for extra or less ends, but as I said, it’s not all that difficult.
But, if you really want to stick to the original pattern with the odd ends, there is something else you can do with your direct warp. If you warp the single colour end by itself, you will have trouble when it comes time to thread the holes. The hole thread will be missing in the place where you only took that single thread through the slot! This means that you have to use the thread from the slot, then shuffle over other threads in order to make sure all the holes and slots are threaded, thus reducing your warp size and possibly messing up your pattern if it’s meant to be threaded in a particular order. There is another way, but it has it’s own set of problems.

You take your single thread (say we’re doing the red and it’s thread 11) to the warping peg through the slot as normal. When you get to the peg, you cut the thread, leaving some spare to go around the peg and tie off. Tying off loosely with a gap is preferred, so that it comes off the peg easily when you want to wind on the warp. Then, instead of going straight back to the loom, you tie the next colour on to the peg. Following our example, that would be white. Take the white back through the same slot that the red was brought through, then back around the apron rod.
Hold up, what’s the problem with that? Well, if we take the white back from the peg, it then becomes a single. We need 8 ends of white, but now we’re going to end up with uneveness again! Further mathematical adjustments would be required or the warp will not be the width you planned for in initial calculations and once again, the pattern may be off.

You see what I mean? Isn’t it just way more simple to even out all of those numbers and save yourself a big headache? I surely think so, but if you have a different opinion or another workaround for the issue, I’d love for you to set me right by leaving me a comment 😄
OK, weavers, I think that’s quite enough for today, I hope I’ve helped rather than boggled your minds with all this!
If you haven’t already, you may want to check out my Online Weaving School, where there are many classes or memberships to choose from and catering to all different weaving levels. You will also find a range of digital download PDF weaving patterns in my Etsy Shop.
Maybe I should aim for a brief and easy going post next time!
Until then…
Happy Weaving!