
You know sometimes you do something with absolutely no notion of the possible future repercussions?
That is what happened when I made this freestyle tapestry series. I was really doing it for me, but I decided to turn the camera on and bring my Youtube audience along for the ride.

Since then, the 4 video series has gone viral on Youtube, with one of the videos winging it’s way towards 1 million views! Crazy!
These videos were recorded pre professional lighting and sound equipment. I was using my son’s camera.
This video series on Youtube began after a busy morning, a tired me and a desire to weave something that would be rewarding and yet didn’t take too much brain power.
I was too tired to sit down and calculate a project or go through my stash to see whether I had enough yarn to complete a project.

So instead, I found some bits and pieces of yarns left over from other projects, put a short warp of a fingering weight cotton, hand dyed and left over from a previous project, on my rigid heddle loom (which only took around 20 minutes to do), sat down with my bag of left overs, and just started weaving.
How often do we gift ourselves with this kind of luxury? To weave with no set plan, to invest in the process more so than in the expected outcome? I know that I definitely don’t do this enough!
This kind of weaving is so relaxing and free-ing. It is not a fast way to weave, but when you get in the groove it doesn’t seem to matter how long it takes.

With this kind of weaving we use the basic rules but we bend and stretch them. We say, “I want to do this!”, and we do it. We push the weaving around, we beat it up and down, we put in colour as we go, we use all kinds of yarns. And we love the process.
So, what do you need to get started?
*A rigid heddle loom
Well, a rigid heddle loom is really perfect. It will take care of our 2 sheds and our tension beautifully, so that once warped all we have to think about is the weaving. The heddle goes up, the heddle goes down. Repeat. Simple.
You could do this on a Sampleit or Cricket loom with no problems as you don’t need a wide width – you can make the piece whatever size you wish.
I used a 10 dent heddle for my piece.
You can also weave a piece like this on a simple frame loom or tapestry loom, but using a loom that has the ability to change sheds is really helpful. My Mirrix Big Sister is an example of a tapestry loom with a shedding device.
*A stick shuttle or two.
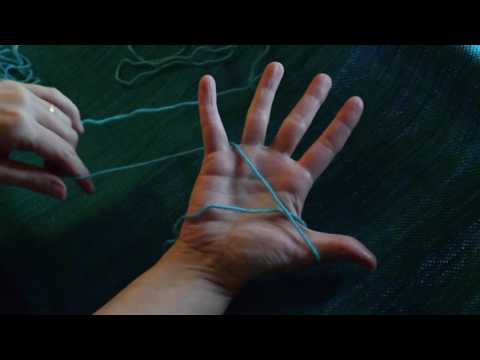
Using a lot of colours in one project doesn’t lend itself well to stick shuttles, as you would need a lot of them. Therefore, I usually use a couple of stick shuttles and for the rest of the colours I just pass them through with my hands and keep the weft yarn in either butterflies or little balls. Butterflies are neater though. I have a video tutorial on how to make them!
*A threading and reed hook
The reed hook is for pulling threads through the slots of the heddle/reed when you’re warping. The threading hook is to pull the threads through the holes in the heddle/reed when threading the loom after warping. I love and use these Ashford Double Ended Hooks, I have a bunch of them in case I lose any and use them constantly.
*A Tapestry Needle
This is really handy for if you intend to hemstitch your piece and also for needle weaving extra yarn into gappy sections if you want to. A tapestry needle with a bent tip is even better!
*Additional beater
You will need this because we are creating a weft faced weave here, meaning that we want the weft to totally cover the warp. The heddle/reed that we normally use for beating does not push the weft down enough as it is designed more for a balanced weave.
There are a number of options for an additional beater. A large fork works really well. I also have a little tapestry beater that I use. There are “proper” tapestry beaters available as well, but I would only purchase one if I was going to be doing this type of weaving a lot.
What about the warp calculations?
Well, as I pointed out, I didn’t calculate at all, but my warp was around 8 inches wide and 40 inches long.
And the yarns?
A variety of yarns were used, but I did use quite a lot of wool in light worsted/dk weight and also in an aran weight. Some were fingering weight. Some were hand dyed, some were commercial.
I also used some cottons in various weights.
Techniques used:
Mostly this type of weaving is just plain weave (1 pick in the up shed, 1 pick in the down shed, and so on) that is packed down tight.
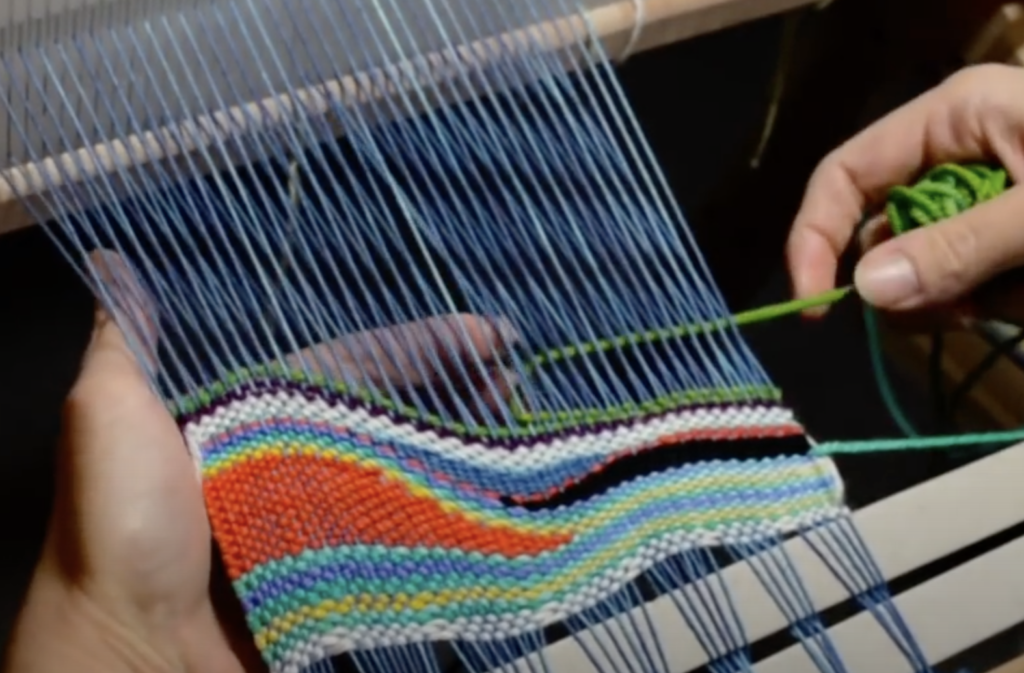
In some areas I would build up mounds or shapes by taking the weft part of the way through in one shed, change the shed and then take the yarn back the same way I just came in.

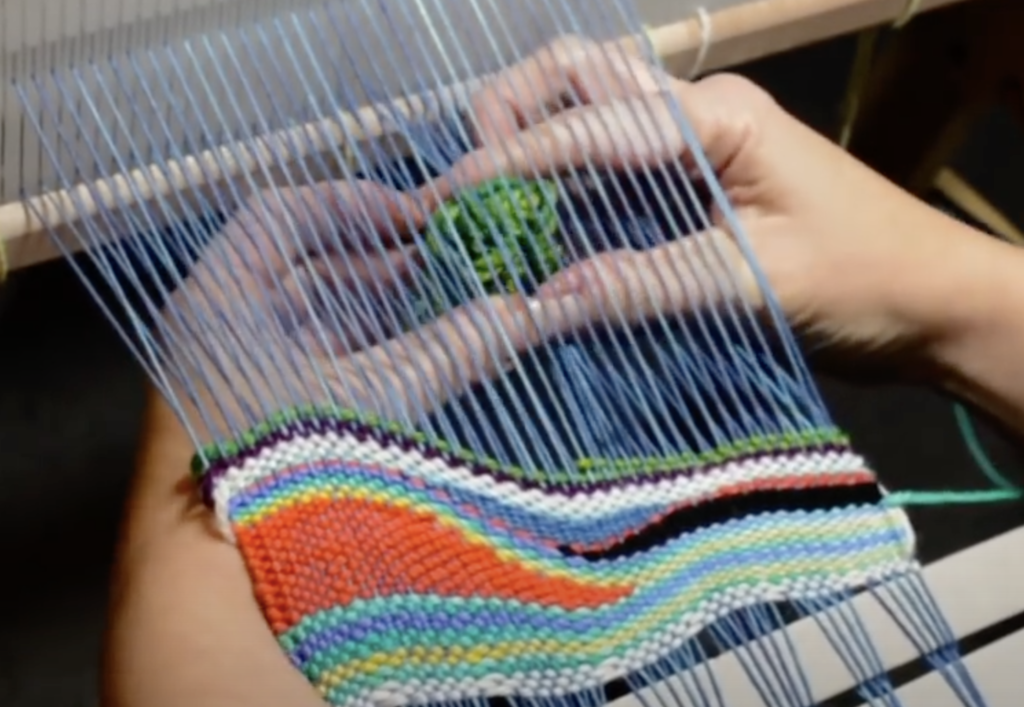
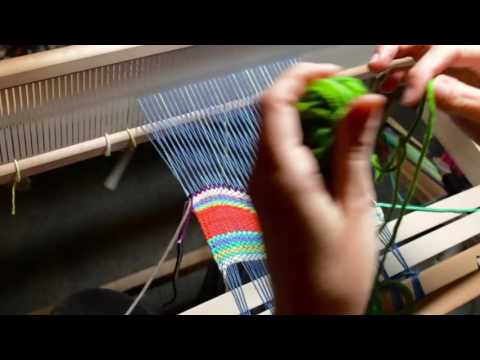
For example, I brought the green in from my right in the down shed. Roughly half way across I stopped and took the yarn down through the warp at the back rather than continuing it to the left hand side for a full pick.
I changed into the up shed and took the green back to the left.

This is a classic tapestry technique that allows the weaver to begin building up areas of colour, usually to make shapes.
If you keep ceasing the weft yarn and turning back in the same place each time, you will build a block or straight edged shape. Or, by varying the place in the warp where you turn back the weft, you can taper the shape to make it rounded.

The first and second videos of the series show in detail how this technique is used.
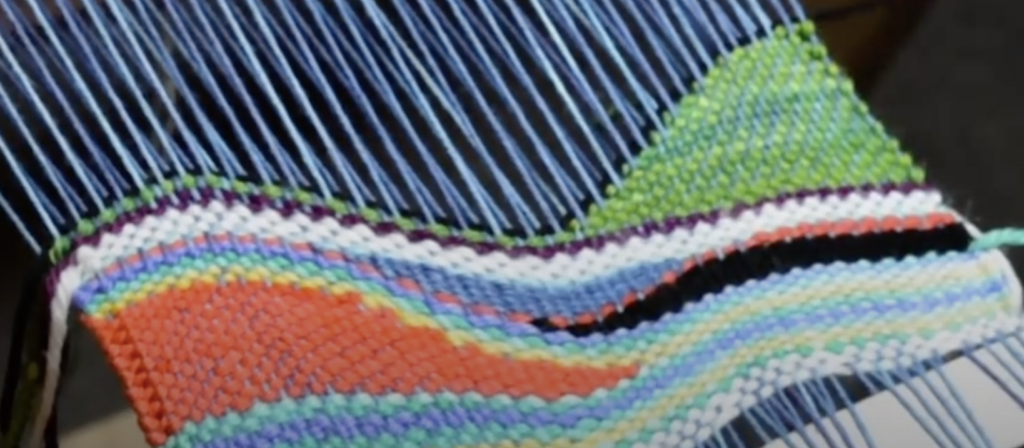
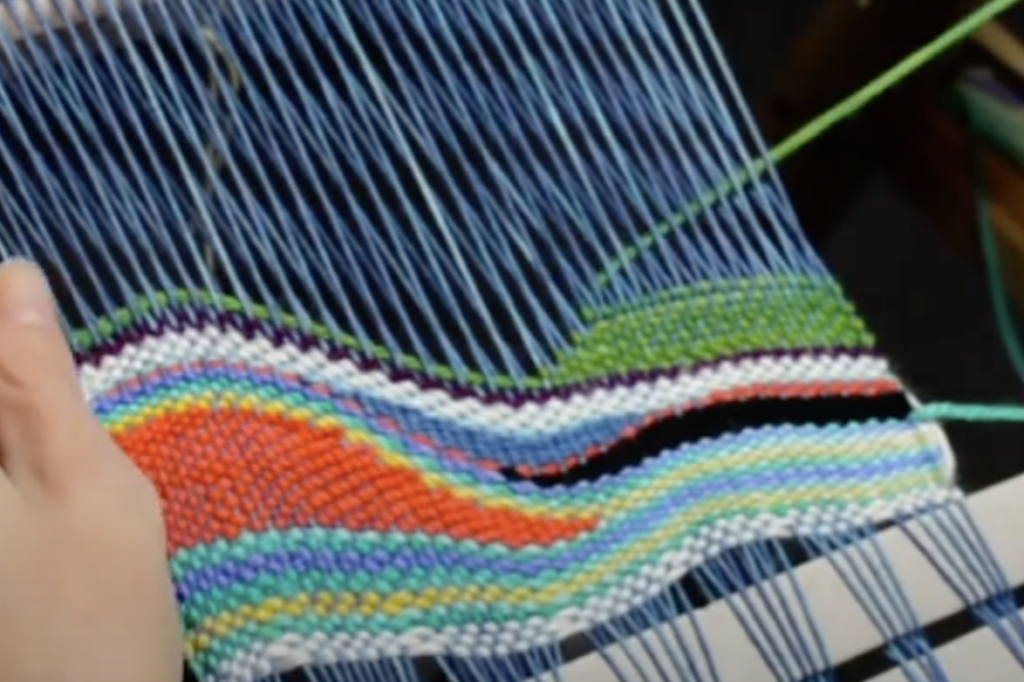
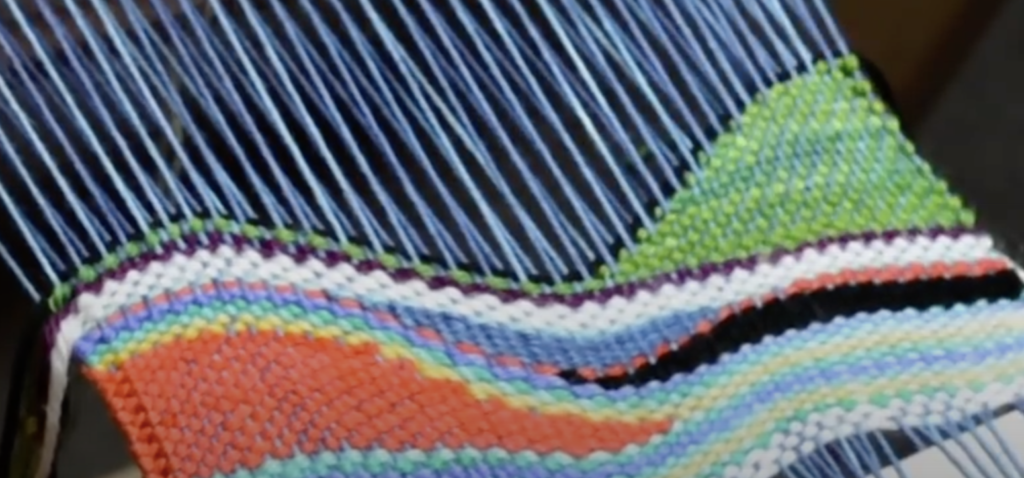
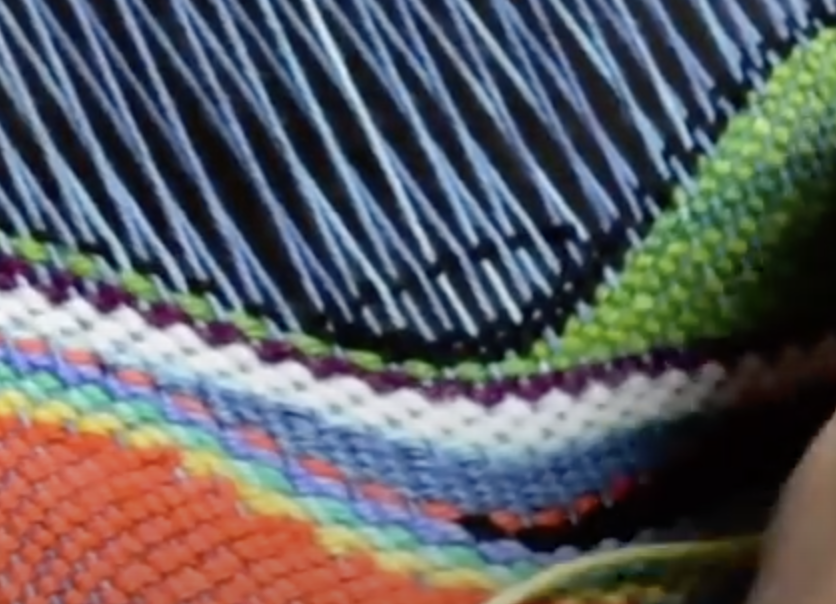
In a number of areas I have used outlining. This is basically putting in a darker weft that either outlines a shape you’ve made or just provides a good contrast between one colour and the outline colour. You can see here that I’ve used some black to outline a green section, and the contrast is very effective:

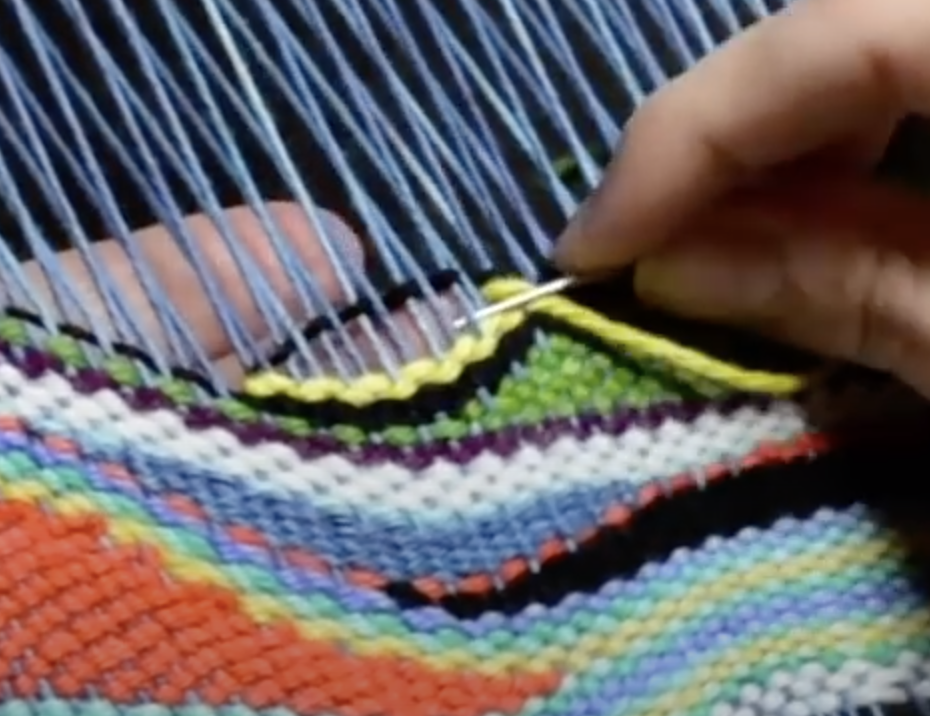
In some places I combined outlining with needle weaving. Needle weaving allows you get weft yarn into tricky spots. I had created a valley in the middle of my piece, but then I wanted to fill it with a small, highlighted section. I started by outlining a “jewel” shape with my black yarn and a tapestry needle:

Next, I brought in a brightly coloured and highly contrasting hand dyed wool with the needle, and wove that into the space that I had outlined with the black wool:

Needle weaving isn’t the only way to do this, but it’s easy to get exact smaller shapes and sizes within the piece.
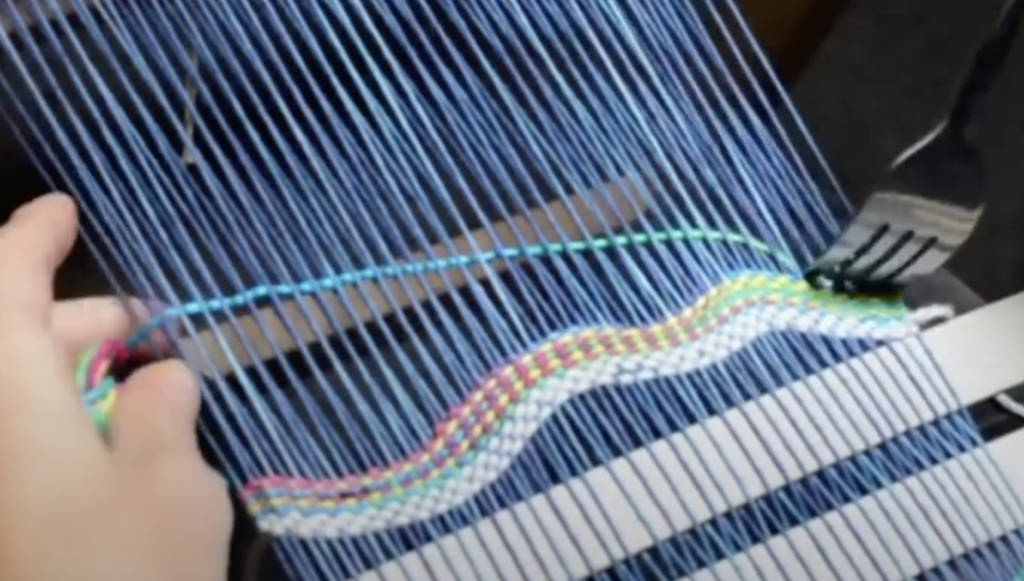
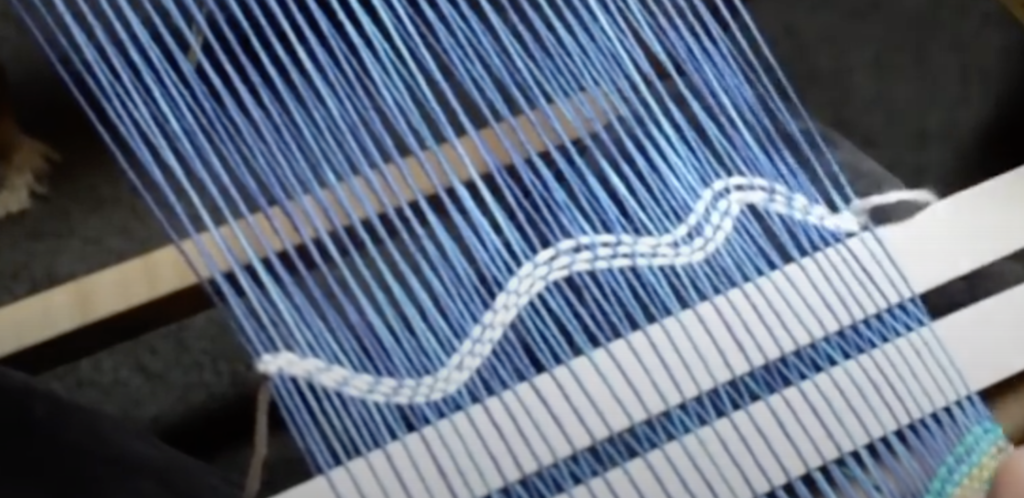
If you’re interested to know how the piece actually starts out and how you achieve all those cool curves, the 3rd video restarts another piece in order to show just how it’s done.

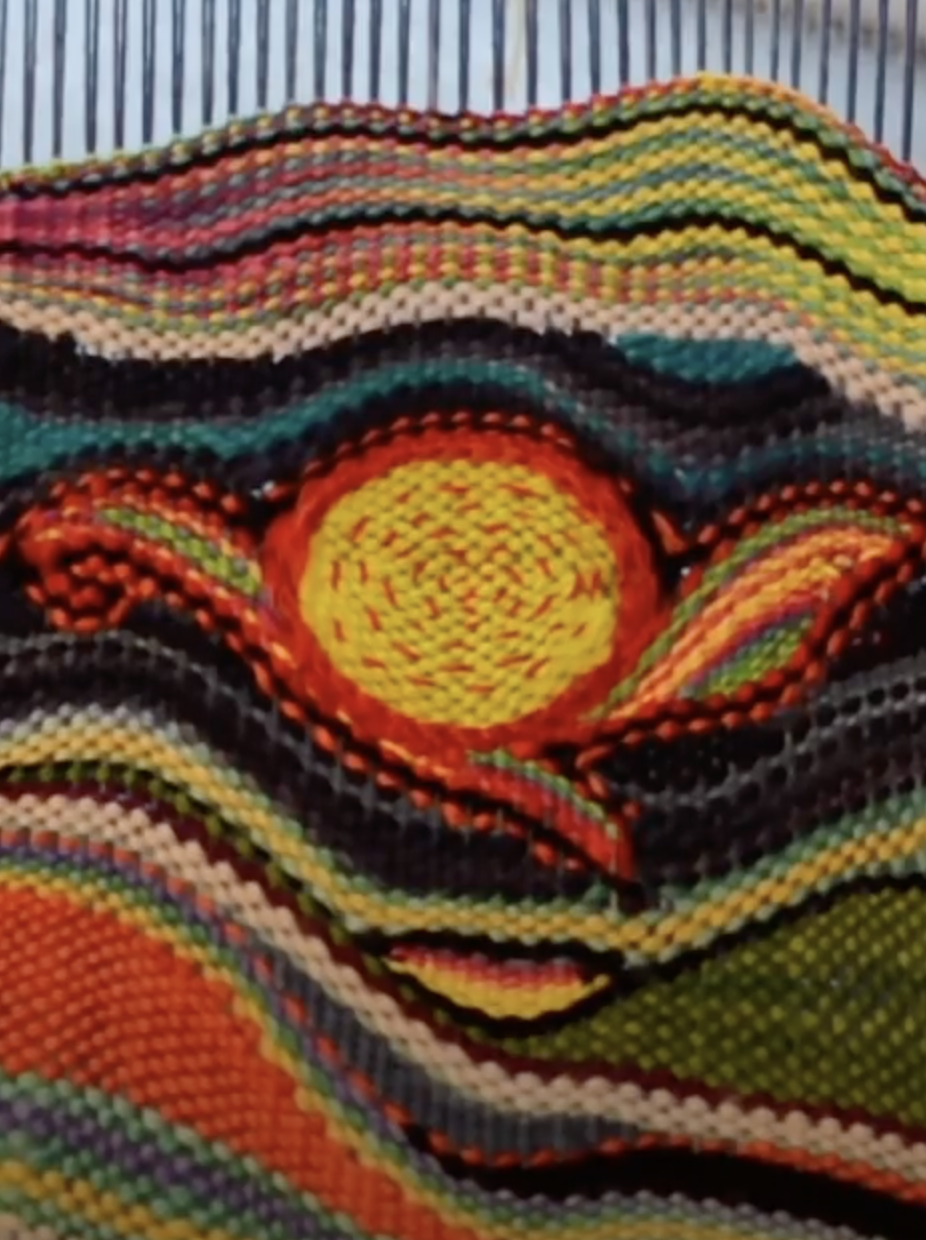
And then finally the 4th video has an added bonus of demonstrating how to weave a circle within your piece using a simple template. You can also embellish with embroidery, which I did in some sections of my finished piece. This is easier to do while your weaving is still on the loom.


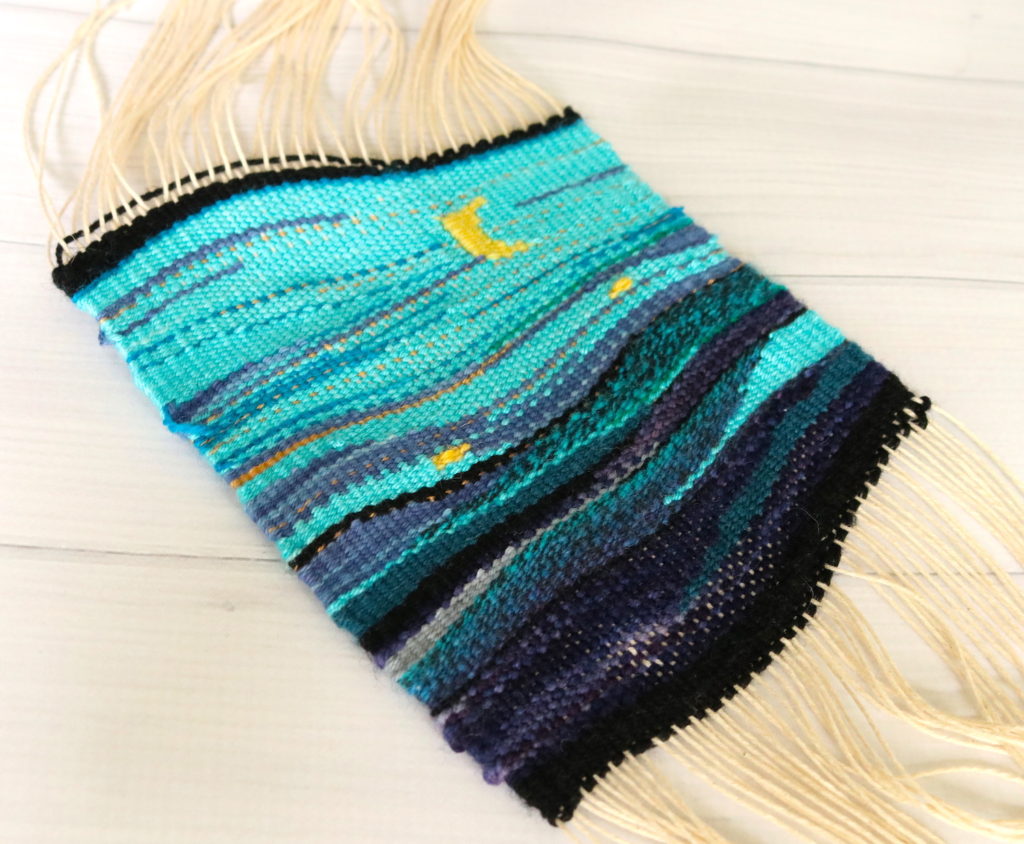
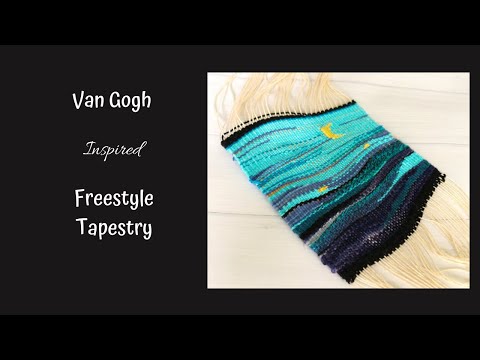
Due to the huge response from this video series, I decided to make a second freestyle tapestry series for Youtube. This one was inspired by the Van Gogh painting, Starry Night. The video series is filmed mostly in real time and is at a very relaxed, step by step pace.
And, of course you will want to check out the original 4 part video series beginning with part 1:
If you want to get a little more serious or delve into some more traditional techniques for weaving tapestry on your rigid heddle loom, I have an online course that will be just the thing for you.
Some of the topics covered in Tapestry on a rigid heddle Loom include soumak, interlocking, straight lines and how to use a tapestry cartoon. I’m sure you will love it!
Do you have any questions? Have you tried this type of freestyle tapestry weaving? Or do you intend to?
Let me know in the comments below, I love to hear from you!
Until next time…
Happy Weaving!