You have made the big leap and purchased your very first loom! You can hardly contain your excitement and you start to wonder whether it’s normal to have been stalking the delivery guy like you have been!
You are well prepared, you’ve done your research, watched a ton of Youtube videos and read a heap of weaving related articles. You just cannot wait to get your hands on that loom!
*This post contains affiliate links. Please see my disclosure policy for further information.

Am I over exaggerating here? Well, this was me waiting for my first loom to arrive so I’m sure many of you have felt the same.
Depending on the loom that you purchase, it can arrive to your door in any number of ways. I’ll discuss each of the main loom categories so that you know what to expect when your order arrives.
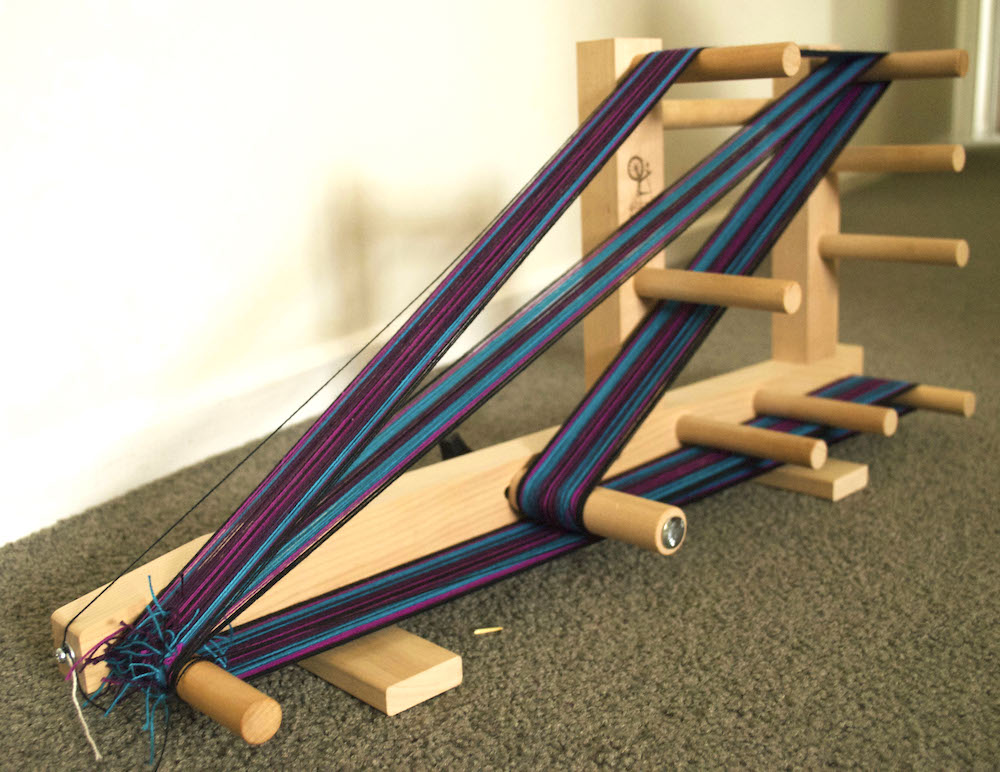
Inkle Loom
My Ashford Inkle Loom arrived with some assembly required. The assembly was very basic and did not require complicated tools to put together.
You need to glue and tap the pegs into place. That glue then needs to be left for 24 hours to completely dry, which is an important step in the future stability of your loom.

Then it’s a simple matter of installing the small pieces of hardware provided (the rubber feet, the tension peg etc).
Ashford do recommend to use a wax or other sealant on the wood of the loom once you have assembled to protect the wood from sun and moisture damage or other stains.
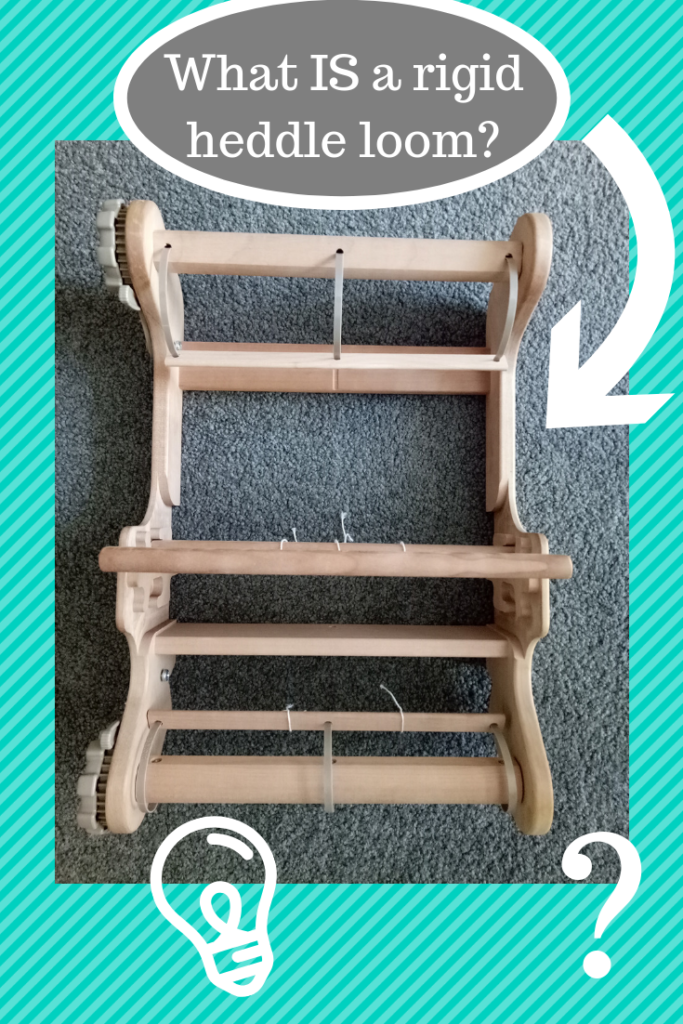
Rigid Heddle Loom
A rigid heddle loom will arrive flat packed in a box. Depending on the company, the loom pieces that are wood may or may not be finished. Ashford rigid heddle looms are not finished, so if you want to wax or lacquer your loom you will need to do that, then let the pieces dry before beginning to assemble.
The knitter’s loom, which I wrote about here, comes with the wood finished and ready to assemble, so that is something to bear in mind.

The length of time to assemble will vary and may depend on your aptitude to follow written instructions. I noticed that Ashford did recently upload this rigid heddle assembly video, which should be a good help to many.
A rigid heddle loom is not too difficult to put together and depending on the size you have purchased, should take 1 – 3 hours (not allowing for glue drying times where applicable).
Tapestry Loom
It’s more difficult to talk about a tapestry loom as there are many different types – some are made of wood and some of metal.

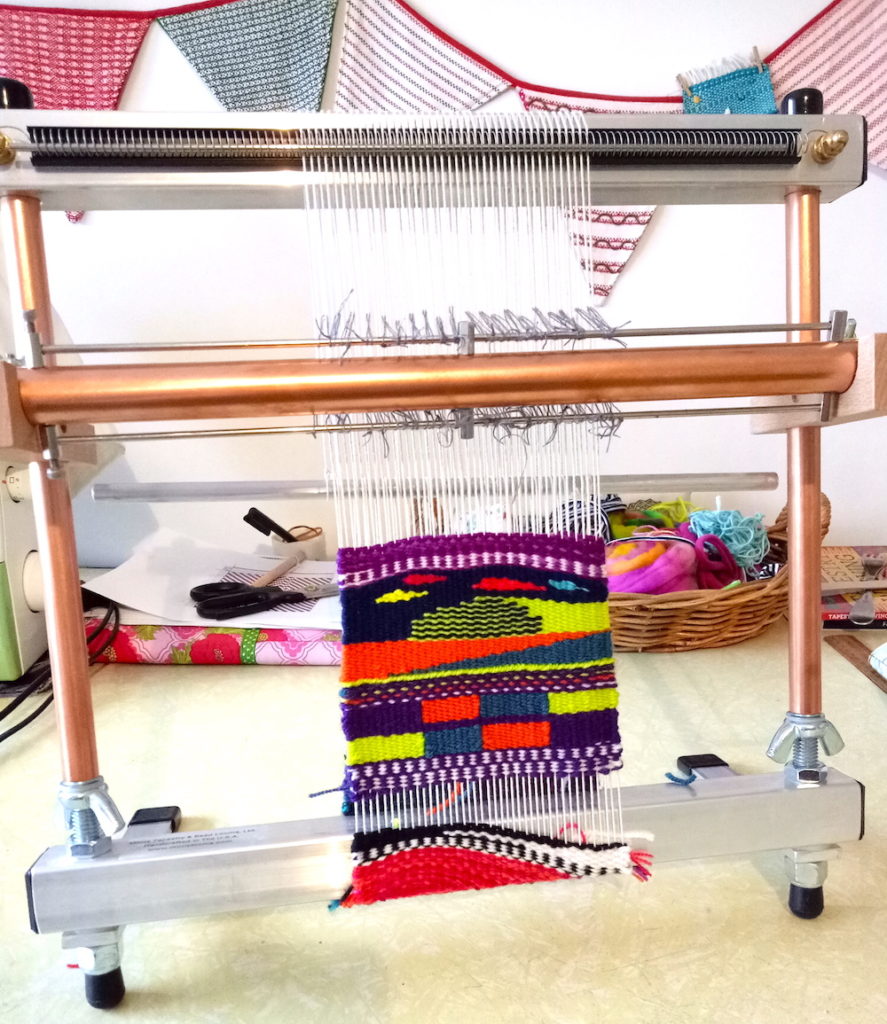
The assembly of my Mirrix Big Sister was a very simple affair as there really are not that many parts. There was no screwing wooden sections together, it was more just placing pipes within other parts and tightening up. So, even if you were challenged by written instructions, you could easily have this type of loom put together in under an hour.
If you are interested in this type of loom, I’ve written a review here.
Table Loom
Table looms will also mostly come flat packed in boxes and the pieces are all finished and ready to assemble. There are a lot more parts to a table loom than a rigid heddle. I remember the first time I bought a table loom, those boxes were very exciting but quite confronting as well!
Luckily for you, if you have purchased or intend to purchase an Ashford table loom, my husband and I have put together two detailed videos that take you step by step through the assembly process.
I have loved to have a video like this for my first table loom assembly, but I’m very happy to think so many new weavers don’t have that same headache and can instead follow our instructions to get it done.
You can watch the first video here:
I recommend that if your table loom has just arrived, set aside a day where you don’t have much happening to put it together. With drying times, you may find it easier to work on it over several days, getting a few steps done on each day.
That makes the process not too overwhelming and tiring. Don’t worry if it takes you a bit of extra time to put together, you will get it done and it will be worth it.
Floor Loom
This is a biggie. Literally! The size of a floor loom means that the pieces are plentiful and large. Floor loom pieces should come finished and ready to assemble. Most of the time they will be flat packed, but not always.

Of course, if you purchase second hand, or are lucky enough to get a floor stock loom from a shop, it will be either fully or partly assembled.
If your floor loom is new and in pieces, it is super helpful to lay out all the pieces in the approximate correct shape of the frame of the loom on the floor. This helps you get a good look at how and where the pieces will go.
Don’t expect to get assembly done quickly, it can easy take several days and you will need a good amount of space where you can leave partly assembled parts and non assembled parts laid out where they won’t be disturbed.

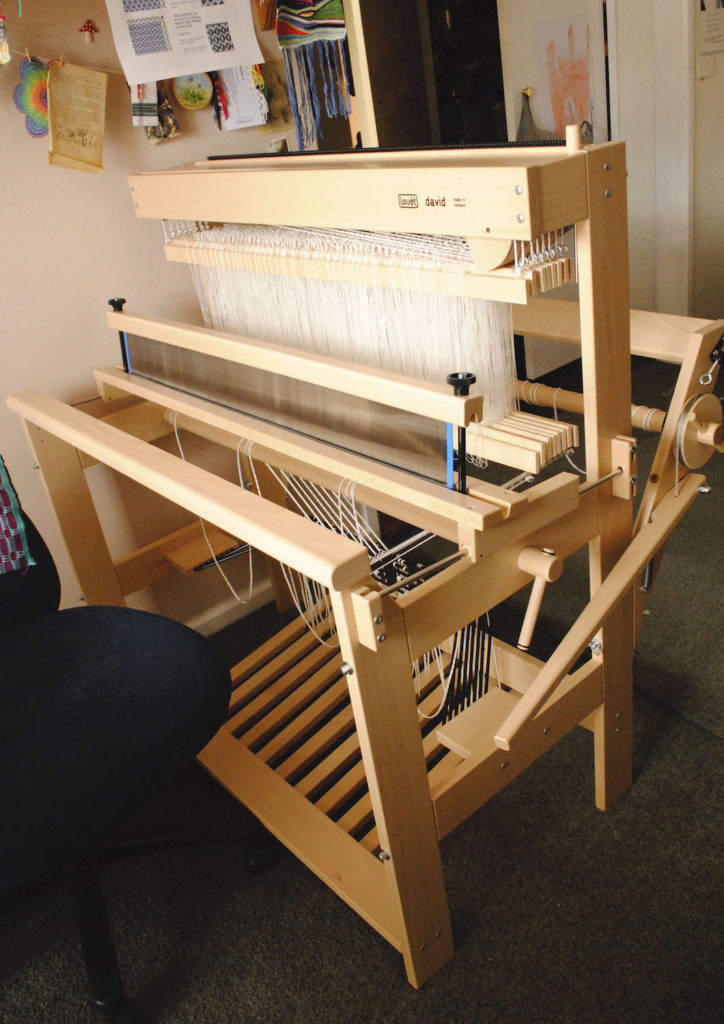
My Louet David was laid out on a carpeted floor in a non foot traffic area of our home, which made it all so much easier and meant that none of that beautiful, smooth wood got scratched or damaged in any way.
General Assembly Tips
- When your loom arrives and you unbox it, keep all like pieces together (screws of a certain size etc).
- Using the instructions provided, go through every piece to ensure it is there. Factories can make mistakes, it happens occasionally that a piece will be missing. If that happens, you want to know about it before you begin assembly rather than half way through.
It also means you can contact the company right away and tell them a piece was missing in the beginning. If you find a piece is missing part way through assembly, you can’t be absolutely sure whether you may have lost a small piece yourself. Trust me, it’s worth checking!
- Lay all the pieces out in a space, if you have the space. This helps you to visualise how the loom will look and gain an understanding of what the parts do.
- Teamwork is awesome! If you have a spouse or someone else who can assemble the loom with you, that is very helpful. Not only are four hands better than two, two brains are much better than one! It can make all the difference to have another mind at work beside you, to see things from a different angle to you.
- Take your time. You will only need to put the loom together once, so it’s worth doing it properly and not to rush. You will get to weave on it, you just have to be patient!
Are there any other tips you would add to these? Please share them in the comments for the benefit of other readers. Thank you for your contribution!
Until next time…
Happy Weaving!