A “float” in weaving is a skipped thread or threads.
They usually occur at the back of the fabric and therefore are not noticed until you remove your piece from the loom.
While the discovery of a float can be disappointing for the weaver, thankfully they are fixable without too much trouble.
*This post contains affiliate links. For more information, please see my disclosure policy.
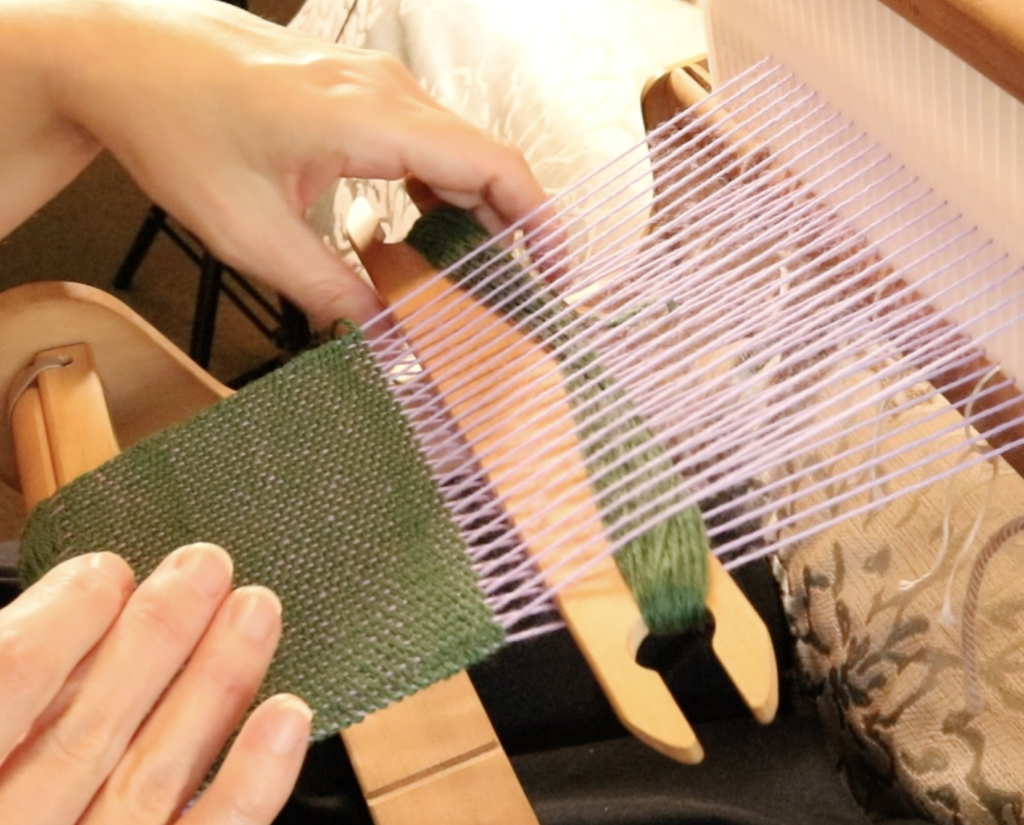
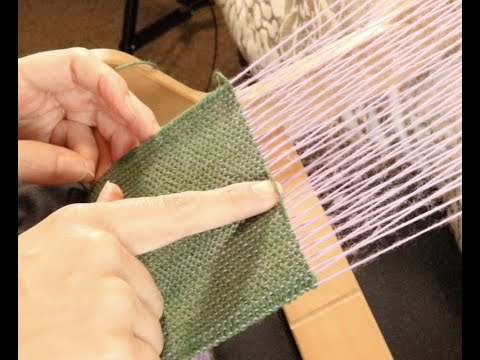
I’m using a plain weave sample, as it is the most straightforward to fix and so makes a suitable introduction to a weaver who hasn’t come across floats before. I’m weaving on my Sampleit Rigid Heddle Loom for the purposes of this tutorial, but floats can occur in any type of weaving.

We’re going to look at the three main culprits for a float happening in your weaving:
- Loose or inconsistent warp tension
- The angle of your shuttle as you enter the shed
- Sticky threads
WARP TENSION
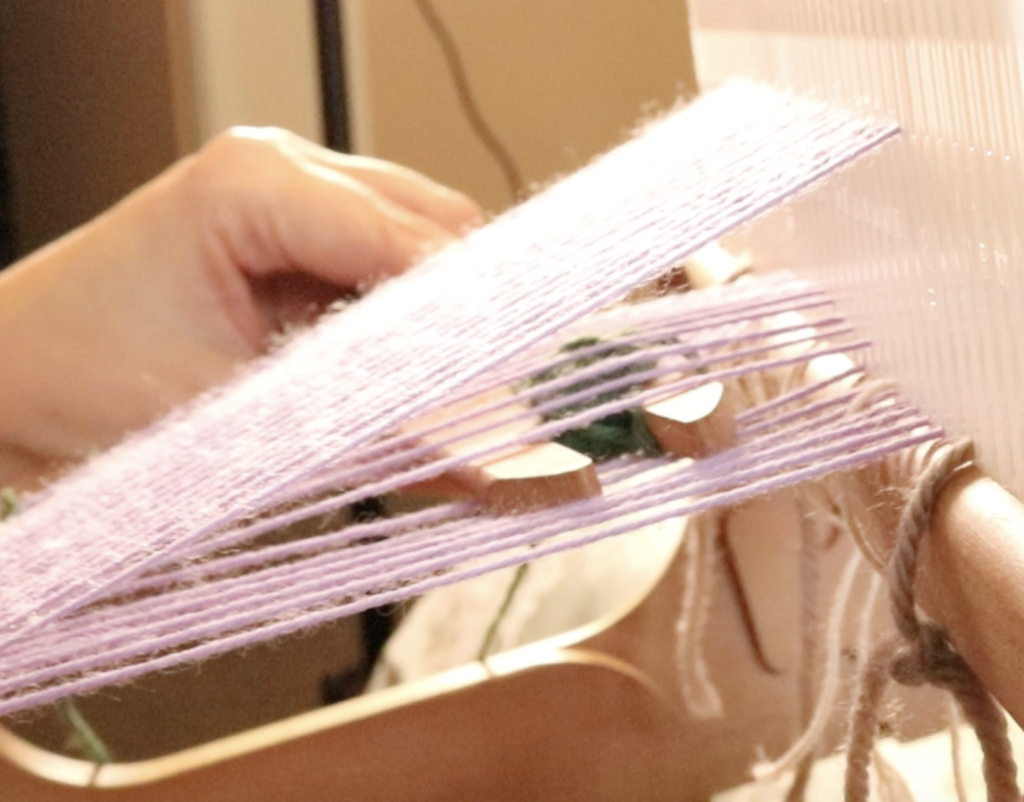
I know, I talk all the time about warp tension, but that is because it is SO important on so many levels to the success of your project. In relation to floats, a warp tension that is either too loose or has loose sections is a place for your shed to get messy. If your shed is not well tensioned and clean, that invites the potential for your shuttle to go over or under threads that it is not supposed to.
SHUTTLE ANGLE
This relates pretty closely to my first point about warp tension, because if your shuttle is at a weird angle when it enters the shed, it may either snag on a warp thread or just skip over it entirely, and then you have yourself a float. Again, we want to aim for a clean shed that leaves no guess work about the path your shuttle should be taking.

STICKY YARN
This is a bit of a pet topic for me it seems, but once again, it has a huge impact on the success of your weaving. Sticky yarn will cause all sorts of trouble and floats are definitely one of them. If you want to know more about which yarns have the potential to give you a rather large headache, check out these posts:
Tip for dealing with sticky yarns:

Now that we know the reasons why you might see floats occurring in your work, let’s get on to how to fix them!
*Note – Any float fixing should be done prior to wet finishing. If you have already wet finished but want to fix some floats, you can, the results just may not be quite as good.


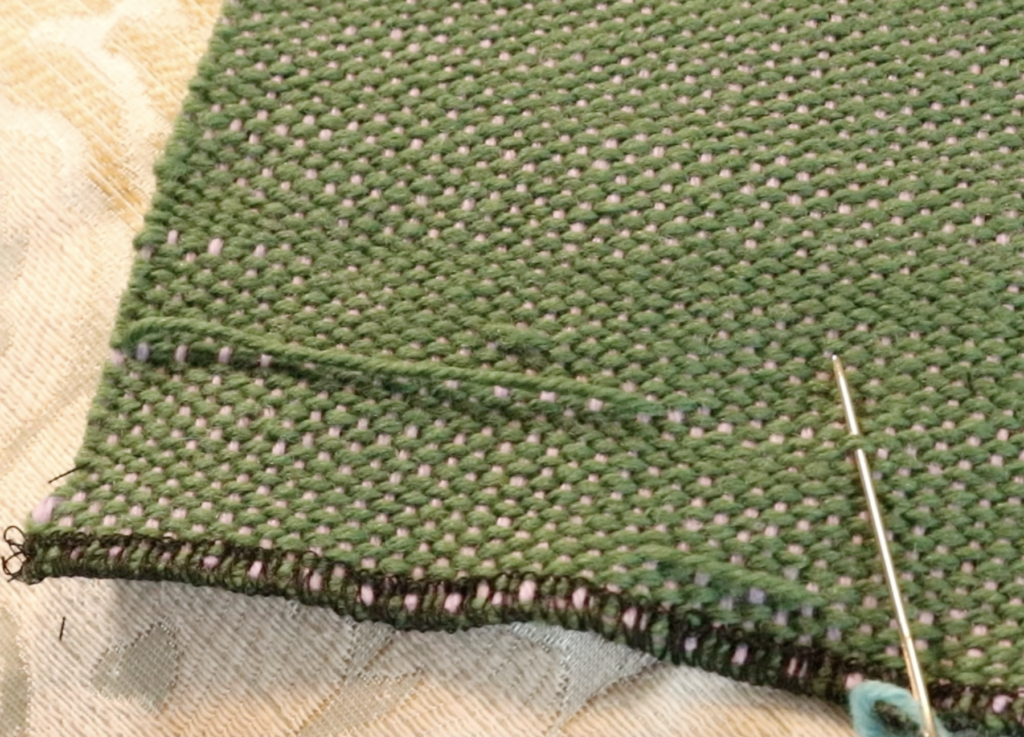
You will need a tapestry needle and a length of your weft yarn. I used a blue colour instead of my weft green, but only to make the tutorial super clear. You should use the exact same yarn in the exact same colour as your weft.
Normally, I would use my favourite tapestry needle, my Clover Bent Tip Needles, but as we are currently packing up our home to move, I couldn’t find them and just used an ordinary tapestry needle.
There is no need to knot the end of your threaded yarn.

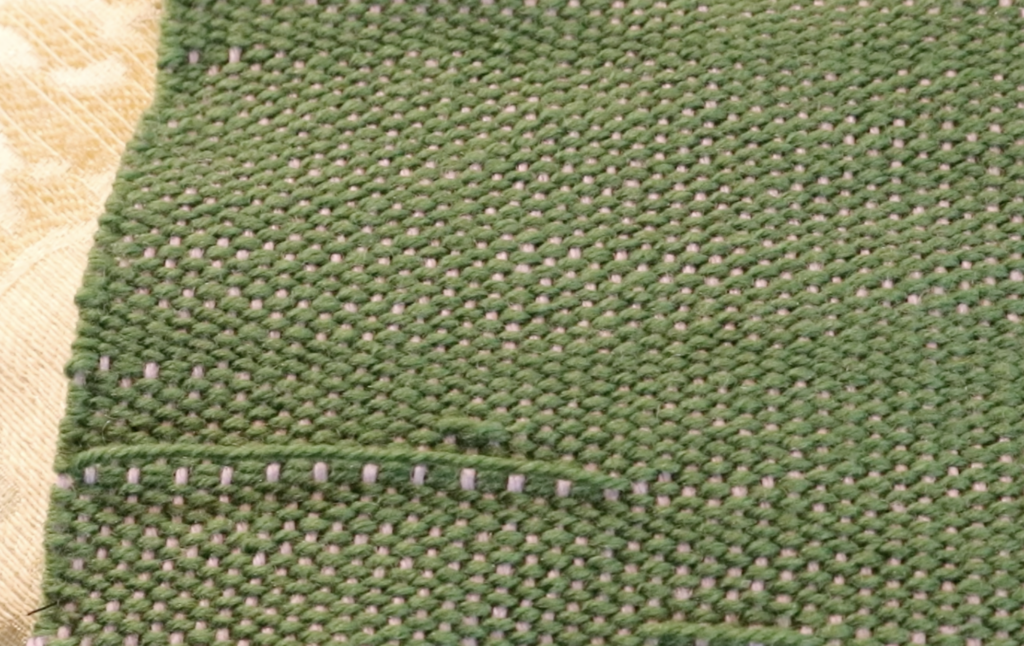
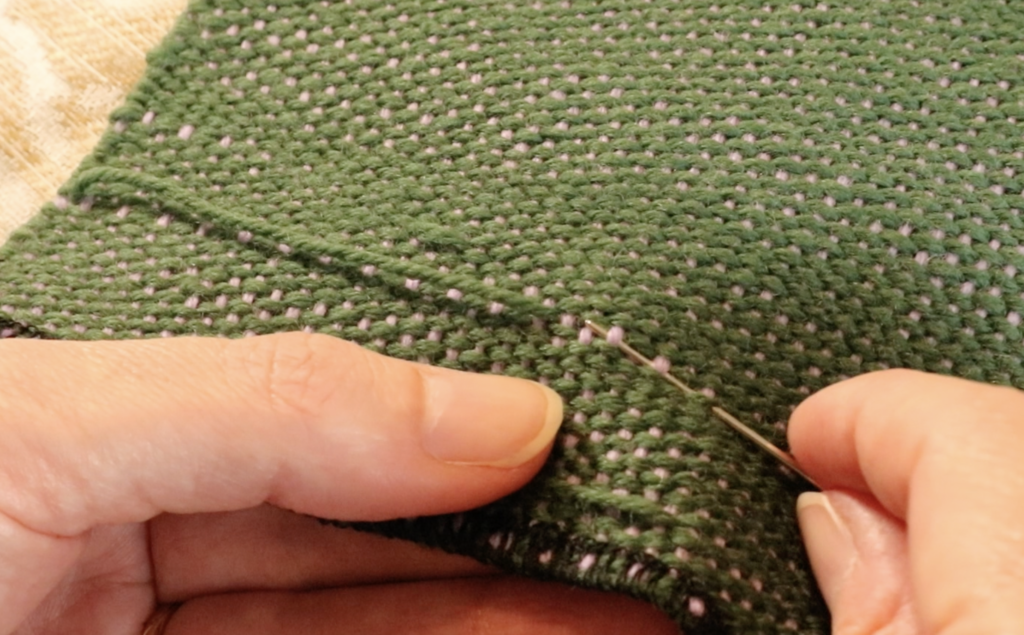
Begin by locating the path that your float yarn is travelling, around an inch away from the actual float. You can see that initially the yarn travels on the over/under path of plain weave, and then we have all those skipped threads where the weft strayed off course. We want to replace that section with a weft thread that is on course.

Next, we want to follow or mimic the exact same path that the weft was taking before it strayed off course. Keep your eyes on the correct weft thread and copy it exactly with your needle, right up to where the float begins.

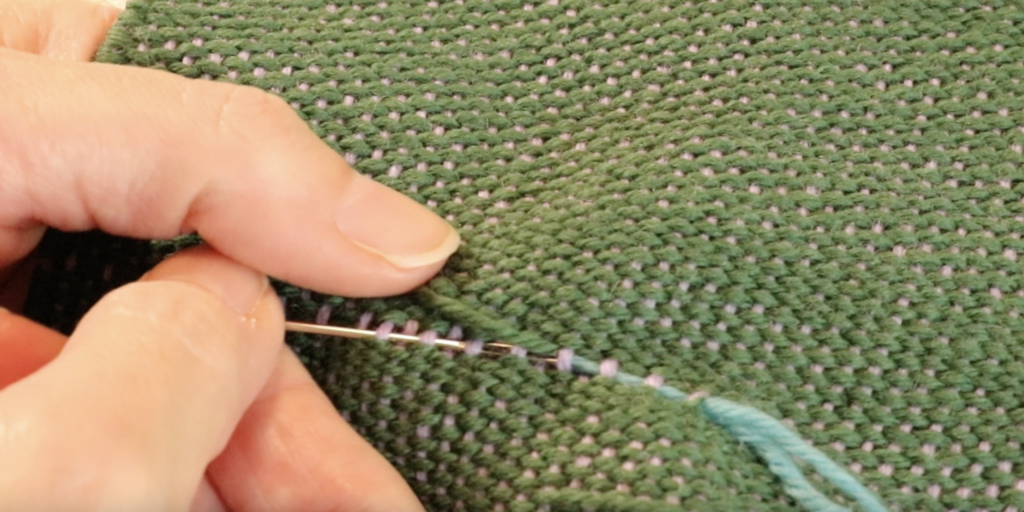
When you run out of needle, pull your yarn through, but leave a tail of a couple of inches hanging out from where you began. Don’t cinch the thread up tightly, just pull it through so that it lays in place.
When you reach the float, push it aside so that you can see and continue following the over/under path based on where you were up to. Was your last thread under a warp thread? Then the next one should travel over – or vice versa. What you are doing now is placing the thread where it should have been in the thread, before the skipped threads happened.

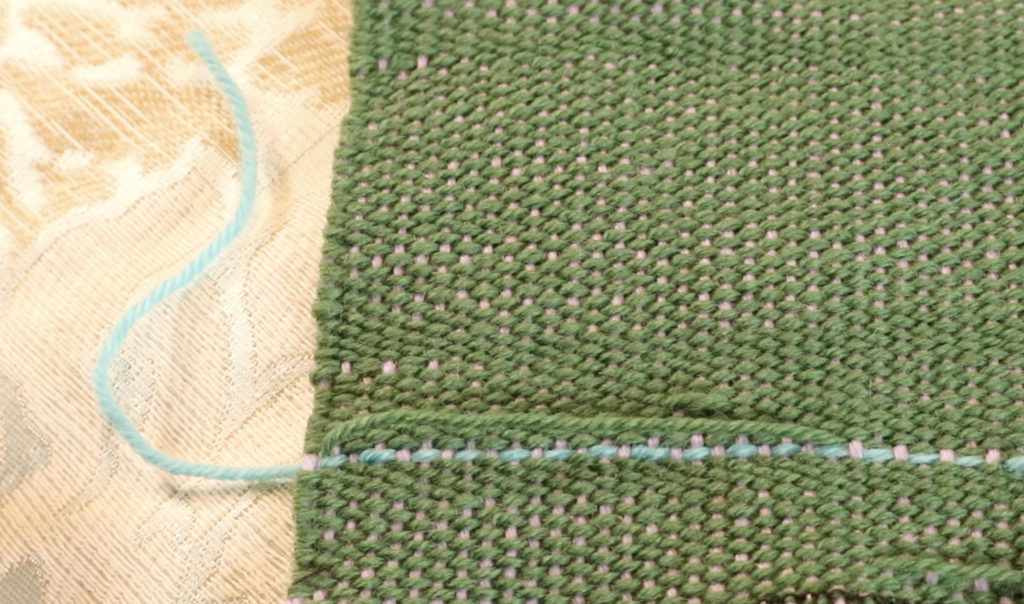
When you reach the end of the float, continue to needle weave for another inch or so. This picture is not the best example of this, as my float was close to the edge of the work. Whatever the case, continue needle weaving past the end of the float, then leave a tail of a couple of inches like you did at the beginning.
When you have repaired all your floats in this fashion, it’s time to wet finish. Do not cut your tails or floats at this point, leave it all just the way it is. Wet finish and dry completely.

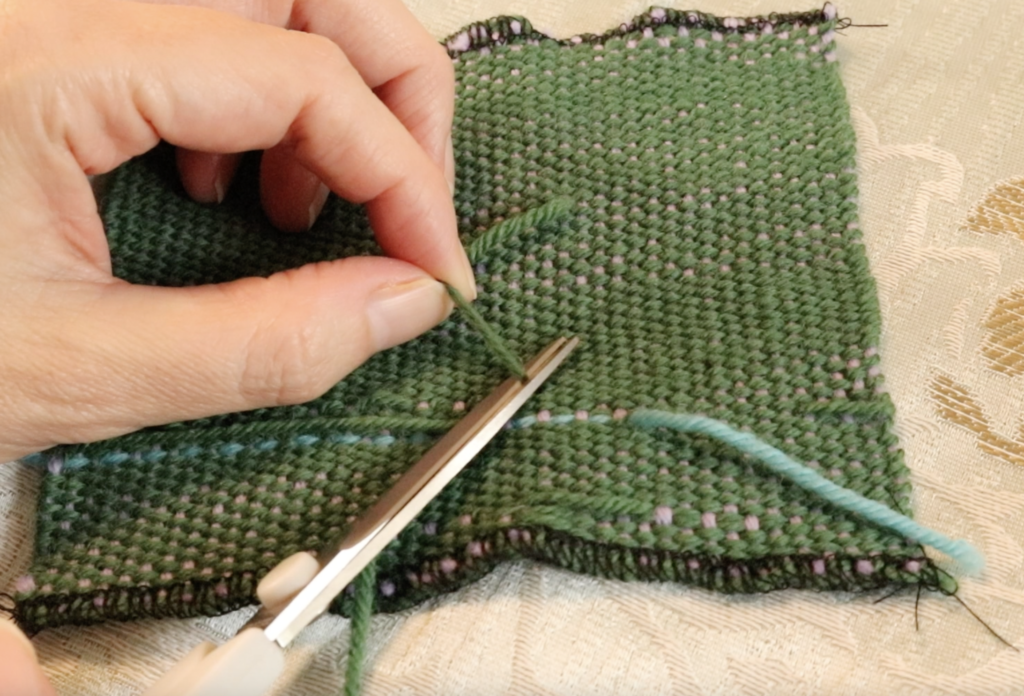
When your weaving is completely dry, it’s time to cut the tails. Use a small, sharp pair of scissors and cut close to the fabric, being very careful not to cut the fabric itself! You can also cut the floats at this point, in the same way you cut the tails.

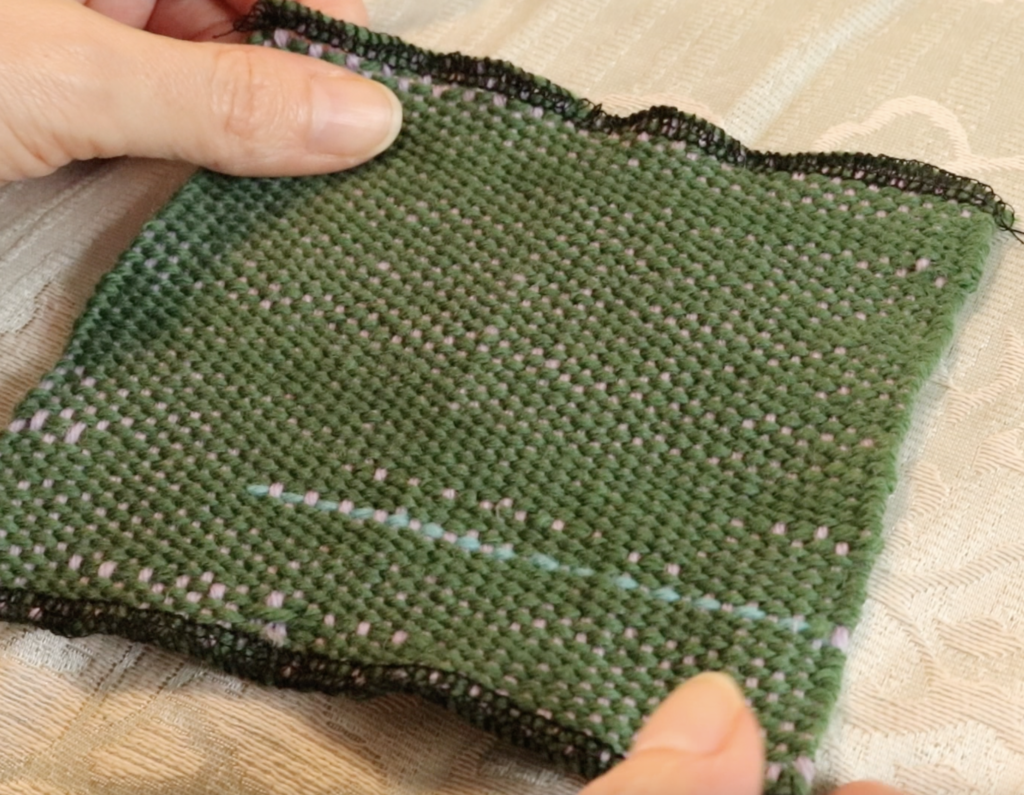
And that’s it, floats are fixed. I left one float in place over at the left edge for comparison.
If you would like to see this tutorial in a step by step video format, please visit my Youtube channel.
Until next time…
Happy Weaving!