What is a supplementary weft?
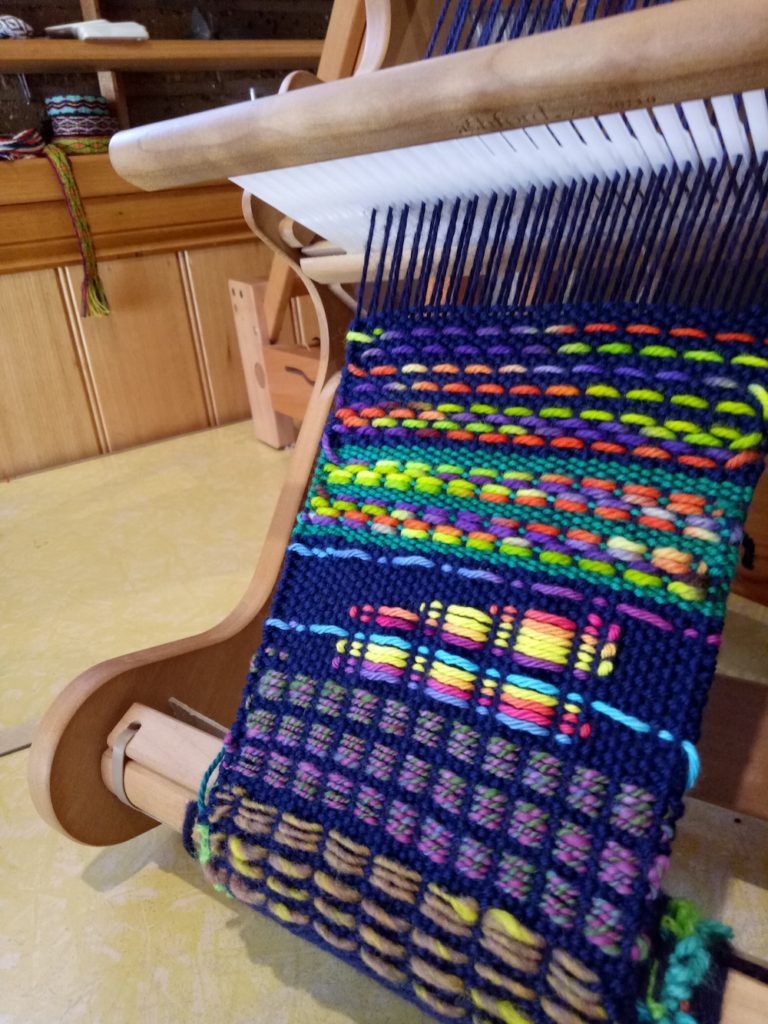
It is simply a weft that is introduced to your weaving, in addition to your regular weft yarn, usually on a plain weave background.
This supplementary weft is often known as a “pattern weft”, which makes sense because it often creates a pattern (think overshot).
A supplementary weft will usually be thicker yarn than the plain weave or tabby yarn, which is normally the same thickness as the warp yarn.
*This post contains affiliate links. For further information, please see my disclosure policy.


This technique is a great way to use a handspun or novelty yarn to really highlight the beauty of the yarn and is also an excellent way to use up leftovers.
A pick up stick is usually used with a supplementary weft – this helps to make a pattern through the use of weft floats.
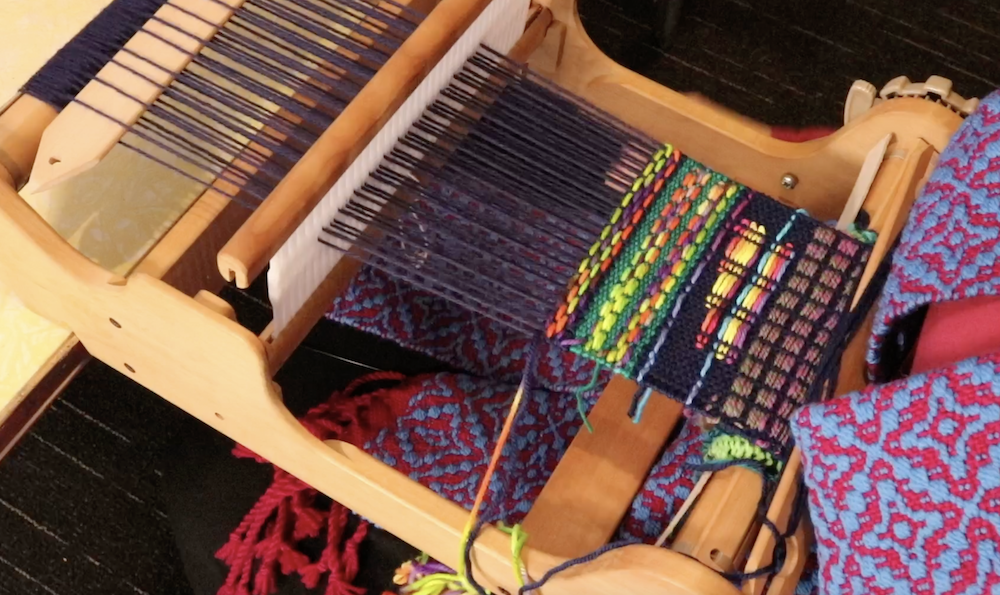
Using supplementary wefts is a really versatile way to showcase pretty yarn and weave a truly unique piece. I love to design on the loom, trying out different pick ups and different yarns, it’s so much fun and it suits my creative preferences to not have to plan ahead too much.
To weave a sample like I have in the tutorial, you will need the following materials:
- A rigid heddle loom (I used my Sampleit loom)
- A 7.5 dent heddle (of course, you can adapt this by using a different sized heddle with a different yarn weight)
- A stick shuttle or several (use one that is the right size for your loom)
- A pick up stick (again, use the size that is suitable for your loom or the width of warp you have on)
- Something to separate your warp (cardboard stick separators, thick craft paper on a roll etc)
- Scissors

Yarn Requirements:
I’m not giving exact yarn amounts, obviously you need more yarn for your warp and tabby (plain weave) than you do for the supplementary weft, but just experiment with what you have.
For my warp I used Bendigo Woollen Mills Luxury 8ply (this is a dk weight wool) in Navy. I used this same yarn for the majority of my tabby.
For supplementary wefts I used Noro, handspun and some of my hand dyed wool and cotton – most of these were around a dk to aran weight.
Sampler size suggestion:
When I warp for a sampler like this one, I like to warp around 8-10 inches in width and at least 30″ in length (total length of warp). For my 7.5 dent heddle this was 47 ends.
Weaving and Pick Up Sequences:
You will find all the information you need to follow the video sampler in this downloadable, printable PDF.

There are three ways to use this tutorial. You can either:
- Warp your loom and then follow my examples exactly according to the video and PDF.
- Warp your loom and follow some of my examples to gain confidence, then try some of your own designs.
- Use my designs as inspiration but go your own way by using the techniques and ideas to create your own unique fabric.
Whatever you decide to do with this tutorial, don’t forget to relax and have fun – that’s what it’s all about!
The 45 minute video tutorial is available here-
As always, comments and questions are very welcome in the section below.
Until next time…
Happy Weaving!