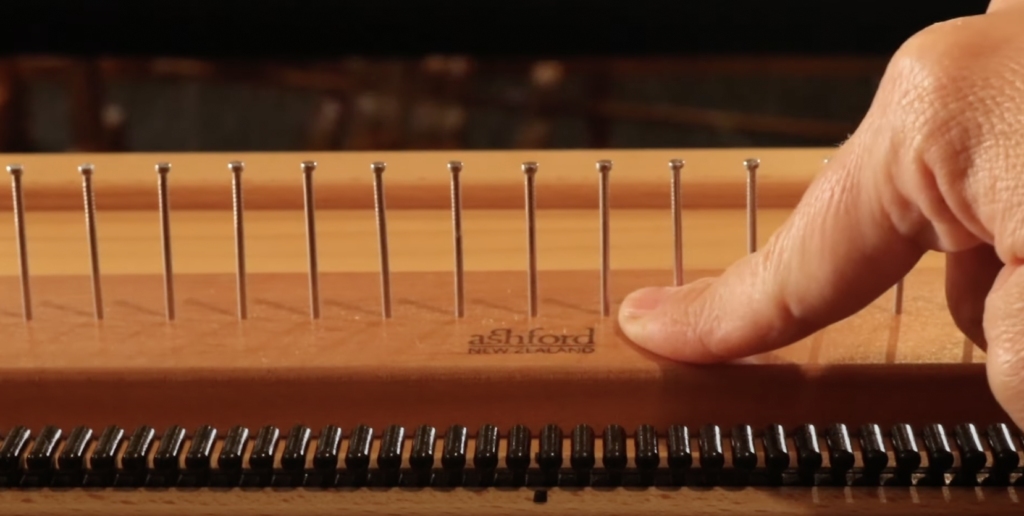
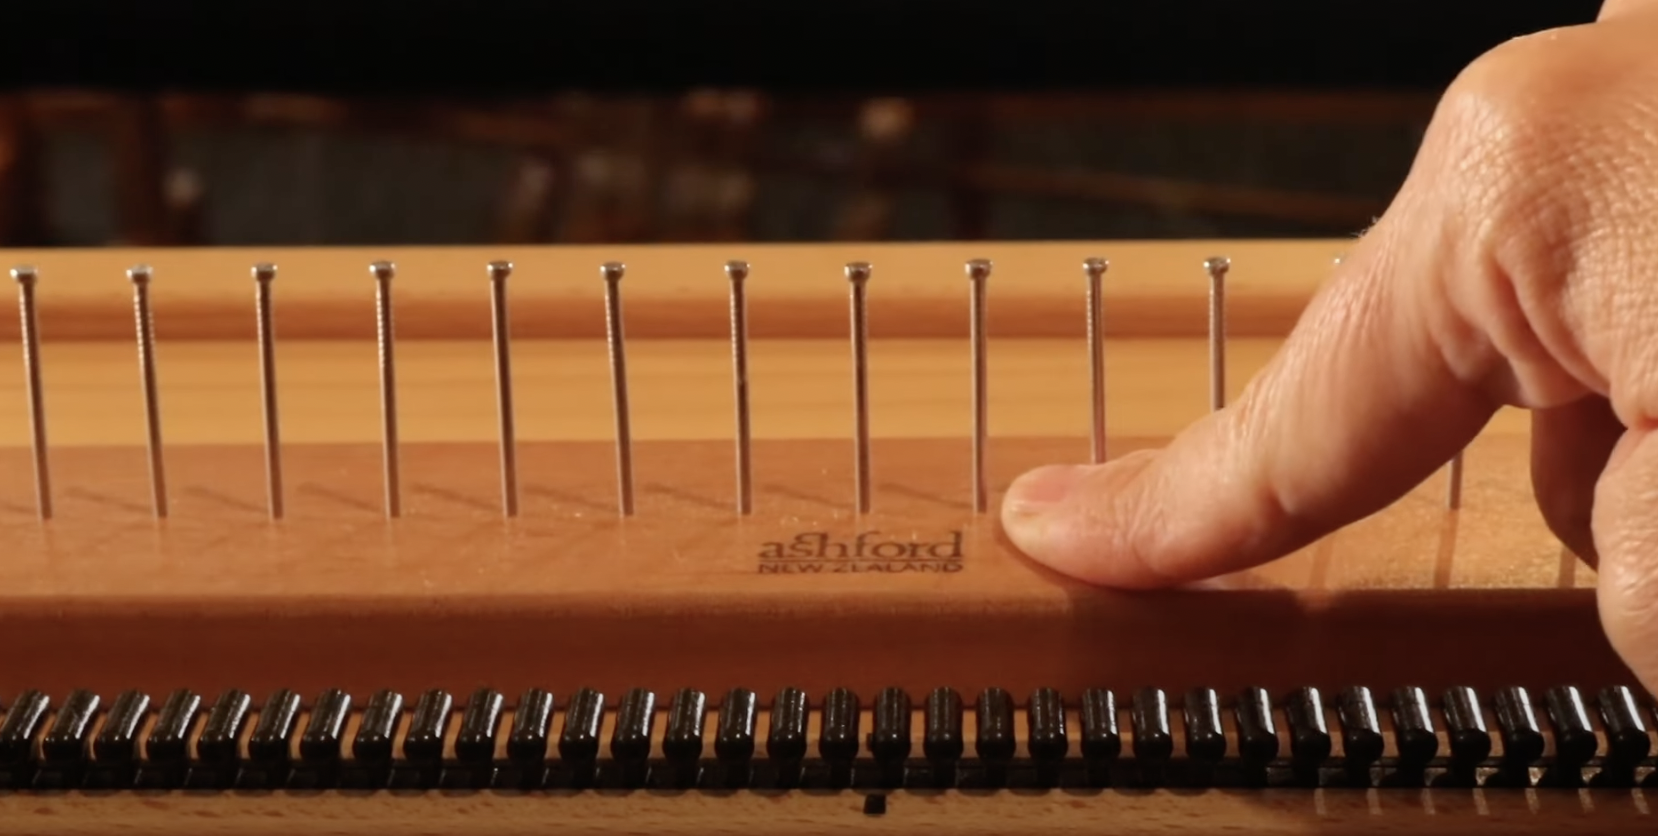
A raddle is a simple device that allows the weaver to space out warp threads in order to dress the loom at the desired warp width.
Most available raddles are based on imperial methods, so it can be a surprise when you find yourself the proud owner of a metric one!
*This post contains affiliate links. Please see my disclosure policy for further information.
Louet looms, like my Louet David come with a metric raddle built into the top of the loom. The Ashford raddle kit, which I use with my Ashford table loom, has an imperial raddle.
Personally, I find the imperial measurements easier to use in weaving (even though I was brought up using the metric system) just because most weaving information is formulated for the imperial system.
Today I’m going to show you my process for easily spacing my warp threads in my metric raddle.
I have two yarns to use as an example –
- 8/2 cotton
- Fingering weight wool
The first step to starting a new project is to do the calculations. If you’re a rigid heddle weaver, I have a free printable calculations sheet, plus a short class on how to use it.
Included in your calculations are the width of the item on the loom and the ends per inch (sett) you intend to weave at – these calculations are particularly relevant to the raddle.
You can determine your ends per inch by doing a wrap test with your desired yarn. Then, if you are weaving plain weave, you simply divided the wraps per inch in half to get your ends per inch. This determines how close together your warp yarn will be on the loom.
The 8/2 cotton wrapped 28 times around the inch ruler. My equation then looks like this –
28 ÷ 2 = 14
Now, as a little disclaimer, and because I’ve used 8/2 cotton extensively in my own weaving, I want to point out that I would not normally weave at 14 ends per inch, it would be more like 20-24.
But let us use that figure of 14 for our example.
What it means is that, when my warp is spaced out in the raddle, ready to be wound onto the loom, I want to have approximately 14 ends of yarn in every 1 inch increment.
If I was using an imperial raddle with half inch dents, all I would need to do to space my warp is place 7 threads in every raddle space. Over 1 inch, that would give me 14.
But the metric raddle has many more, smaller spaces, so here is how we deal with that:
From the middle of the raddle, use a tape measure to measure out 1 inch along the raddle. Place a marker, like a piece of waste yarn to keep the spot for you.
Now you can count the number of raddle spaces that are within that one inch of measurement. I counted 5 spaces on my raddle. The next step is to be able to place my 14 ends into those 5 spaces.
You have probably figured already that it’s not going to be exact, but that is just fine. The raddle is to space our threads to the width we want our item to be on the loom, but that doesn’t mean that every raddle dent has to contain the exact same amount of threads. We have some wiggle room here 😉
You can either calculate the number of threads first, or you can “wing it”. I’ll explain both ways.
To calculate, I would divide 14 by 5, which gives me 2.8.
I cut some short lengths of my yarn to simulate an actual warp. I began by laying in 2 threads in each raddle dent (as the “2” in the 2.8 figure lets me know that at least 2 threads are needed in each dent initially).
After all my spaces were full, I had 4 threads left over. So, I started laying them in, one at a time, until I ran out. This meant that I had 3 threads in all the spaces except for the last one, which just had 2.
Doing this showed me an established pattern I could follow for accurately spacing my threads across the desired width. 4 spaces with 3 threads, 1 space with 2 threads. That becomes the spacing pattern to repeat over and over until all the threads are in the raddle.
Now we will look at the fingering weight wool. The wrap test showed me that I could wrap this yarn 18 times, so that is 18 wpi (wraps per inch).
Using a plain weave example again, I divide the 18 in half to get my ends per inch, which is 9. I need to do the same as before, make those 9 ends fit as evenly as I can into the raddle spaces.
9 ÷ 5 = 1.8
That tells me that I need at least one thread in every raddle space, and I’m going to have some left over to figure out afterwards.
Using the exact same method as before, I lay in those ends one at a time, then go back and lay in the leftovers. For this yarn, that meant that I had two in every space, except for the last space which only had one. So once again, I’ve established my pattern for spreading the yarn in the raddle.
Now, a couple of things I need to mention:
I did say earlier that you can use a “wing it” method, but this is best done in practice, with short pieces of your yarn as I have done here. That way you can visualise how the yarn will be laid out prior to actually doing it with a real warp. For a real warp, you really should have all of your calculations done first so there are no surprises.
To “wing it” you would simple cut your little lengths of yarn, as many as you need for the inch space (you get this figure from your “ends per inch”). Then you can measure out your inch on the raddle and just start laying your yarn pieces in, one at a time, continuing back and forth across the inch until they are all laid in, then count them up and see how many you end up with in each space.
The next thing I want to mention is odd numbers. I’m not a fan of using odd numbers in weaving, I always find it easier to round things up or down to simplify. An example is that for the fingering weight I used in this example, instead of 9 ends per inch I could have chosen to round up to 10.
This would simplify the raddle process, as I would be able to place 2 threads in every heddle space (given that there are 5 raddle spaces in and inch and 2 multiplied by 5 is 10 😊)
These are the kind of decisions I make in the planning and calculating process before I actually begin the warp.
If you would prefer to view this article in video format, please watch here-
I hope that this article was useful in showing you how you can use a metric raddle in a simple way. Feel free to leave your questions or comments down below!
Until next time…
Happy Weaving!

