I’ll be the first to admit that hemming a project is not my favourite past time, I would prefer if it could just be magically done for me (picture the elves and the shoemaker and you’re on the right track!)
What I do love though, is the crisp, professional finish that hemming hand wovens with a sewing machine gives. Not only does it look really, really good, it is also highly functional with a strong edge.
*This post contains affiliate links. For further information, please see my disclosure policy.
I have my own particular ways of hemming hand woven fabric on my machine and I’m going to take you through the process step by step today with some of my kitchen towels!

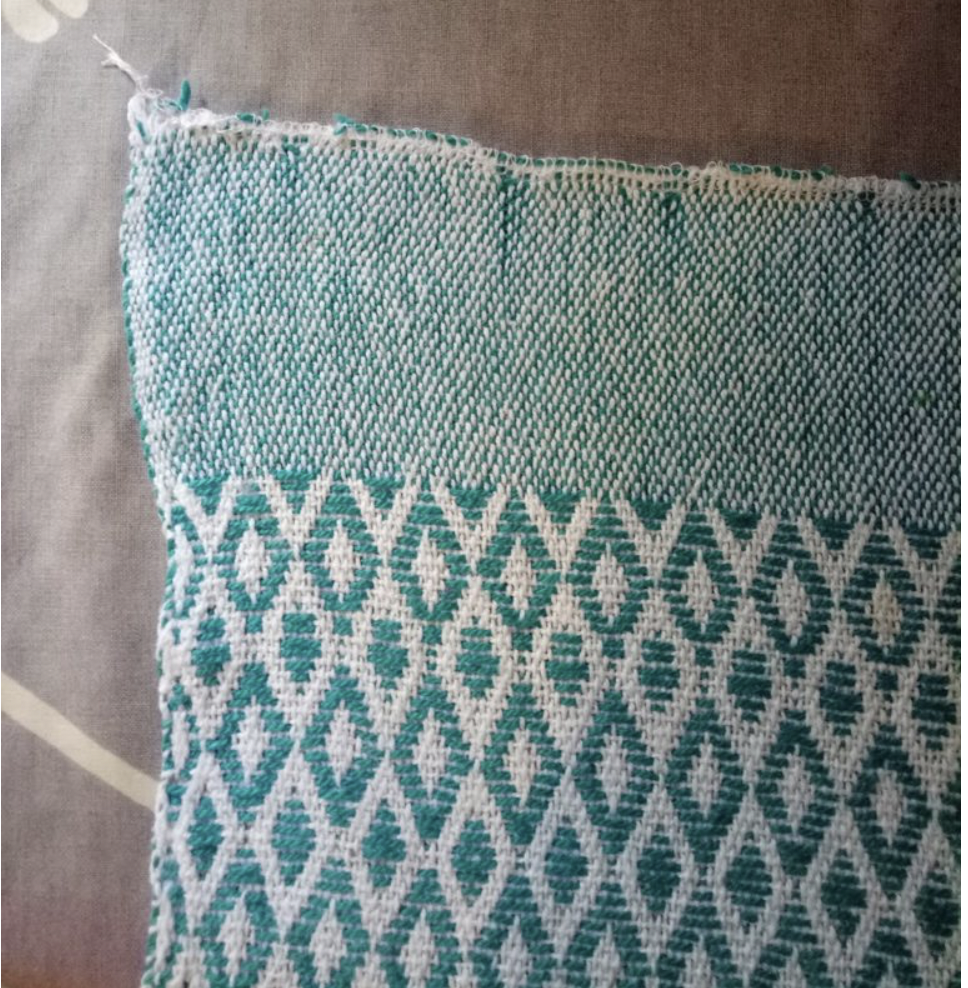
You can see that my raw edge is secured on a serger to prevent any unravelling during the wet finishing process. It is helpful to give the whole woven piece a good press before beginning, it’s always easier to work with pressed fabric.
For some of my towels I will weave a band of plain weave on either end of my towel (this does help to reduce bulk a little and can be a very effective look). For other towels, I will just weave the pattern throughout the whole towel. This also works just fine for hemming as long as the fabric is not super bulky.

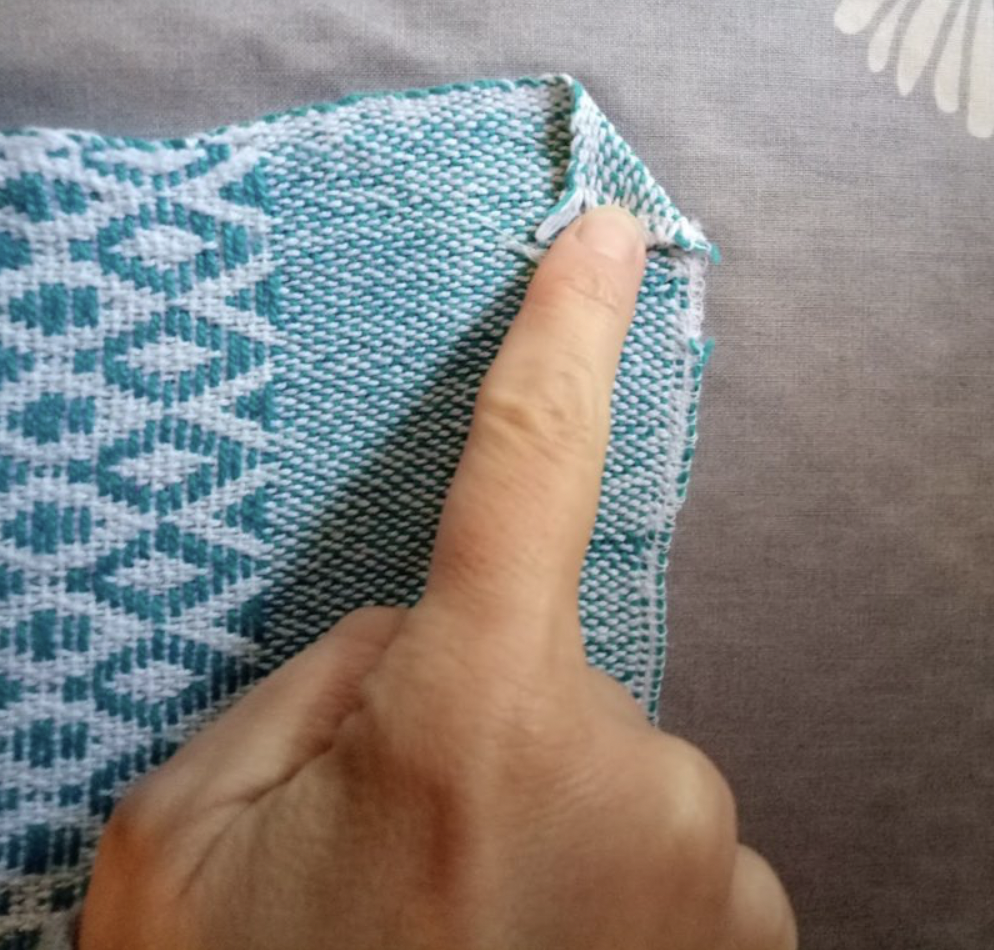
This is what I call my “dog ear” technique. Fold in a corner on each side of the hem and press down with an iron. There are 2 reasons for this –
1. The corners can get ugly and a bit ragged in the washing process – I want to hide them!
2. Towels have a tendency to be wider at each end. This reduces a little of that “flared out” look.

Once my dog ears are pressed down neatly, I take the raw edge and fold it over, usually around 1/4″ but more if it’s particularly raggy. I try to make this folded edge nice and straight. Press with the iron.

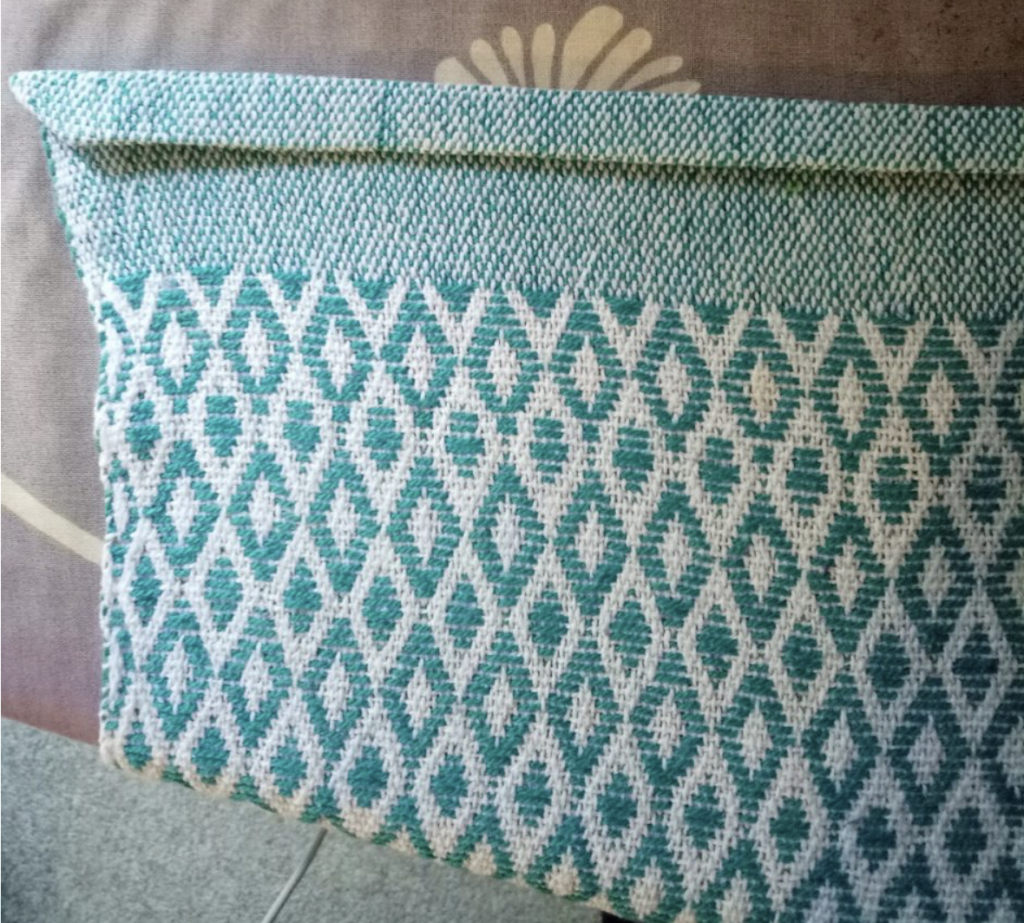
Now I fold again, this time 1/2″ or more and press. Now all raw edges and corners should be completely encased and hidden. Once pressed, you can also place pins along to hold everything in place if you wish.

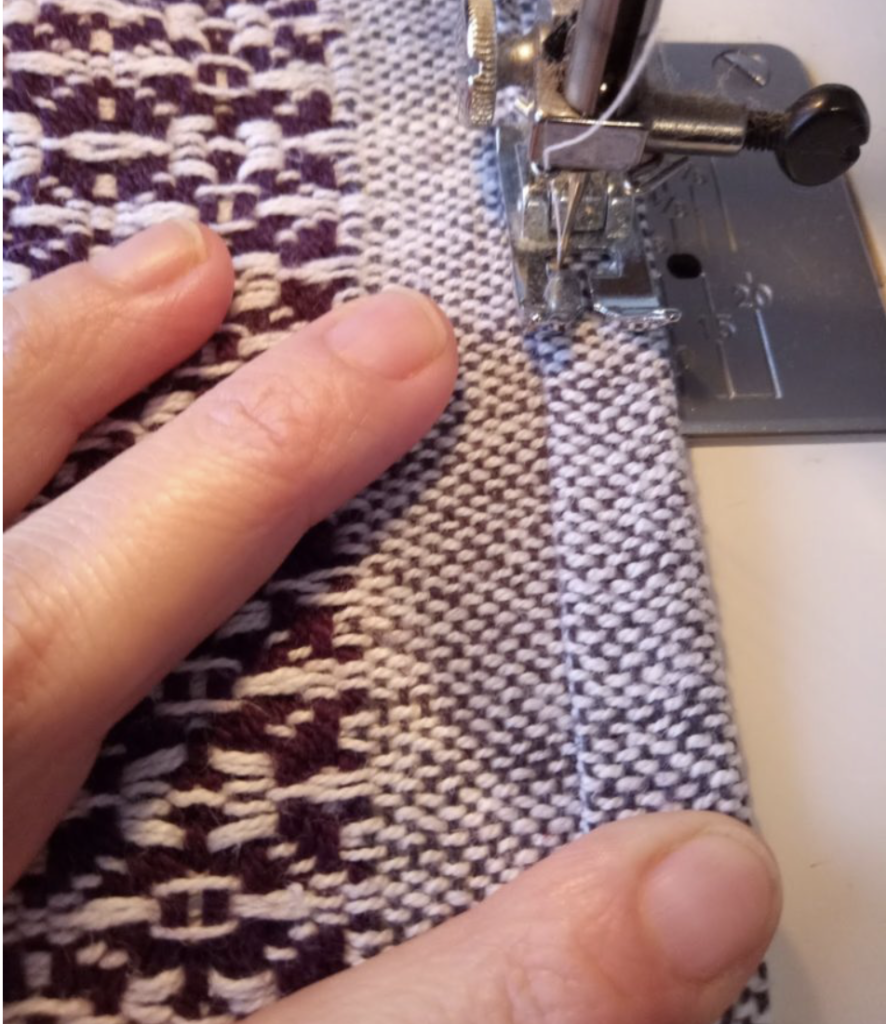
Take it to the sewing machine (different towel in this photo but the same process). I use Gutermann sewing thread. I learned early in my sewing journey that life is too short to sew with cheap threads that will break over and over! Sew with a straight, medium stitch close to the folded edge (roughly 1/4 – 1/8″).
Sometimes I will choose to do a medium zig zag stitch, which also looks great. Again, stitch close to the folded edge but not over it. Don’t forget to reverse stitch at the start and finish.
For an almost invisible finish, you can hand hem with a needle and thread, you can find that tutorial here.
What about the long edges?
Sometimes you may also wish to hem the long edges, particularly if the woven piece is a towel. For most of my own kitchen towels, I don’t do this extra step, as I’m usually happy with my edges the way they are.
However, if you find that your long edges are not as presentable as you would like, a simple solution is a single fold hem. The edges are technically already “finished” ie. they won’t unravel, so folding them over about 1/4″ and sewing close to the edge will provide an attractive, straight edge.
There are two things to note if you intend to use this method though:
- It is best to plan for this extra hem so that it can be calculated into the project in the beginning. This will ensure that your project is the width you intended.
- I find it best to complete the side hem first, before completing the end hems. This way the less bulky hem (the long sides) can tuck neatly into the double folded hem at the ends.

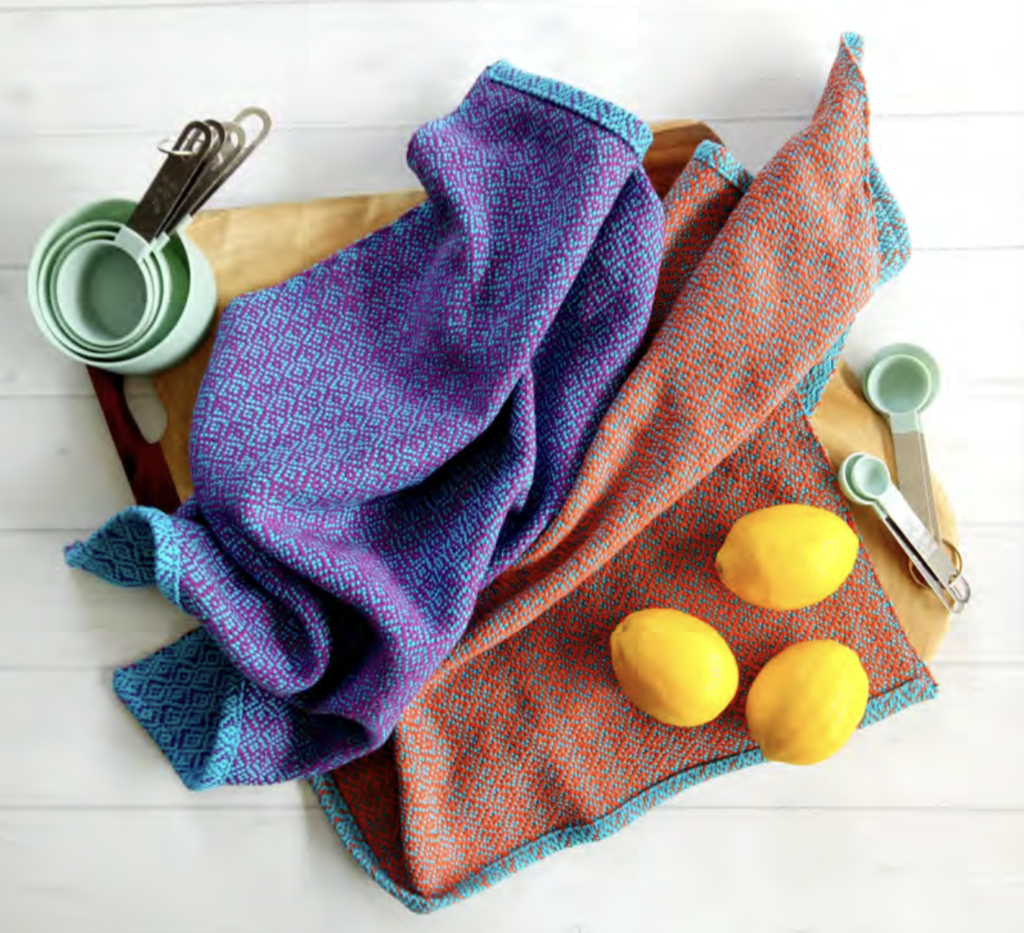
While we’re talking about towels, perhaps you will be interested in the towel projects I have on offer!
Online class:
Diamond Stripe Towel Weave Along (currently only open to members of the Online Weaving School)
PDF Patterns:
Until next time…
Happy Weaving!