
String heddles are commonly made of texsolv nowadays, making them very strong and simple to use.
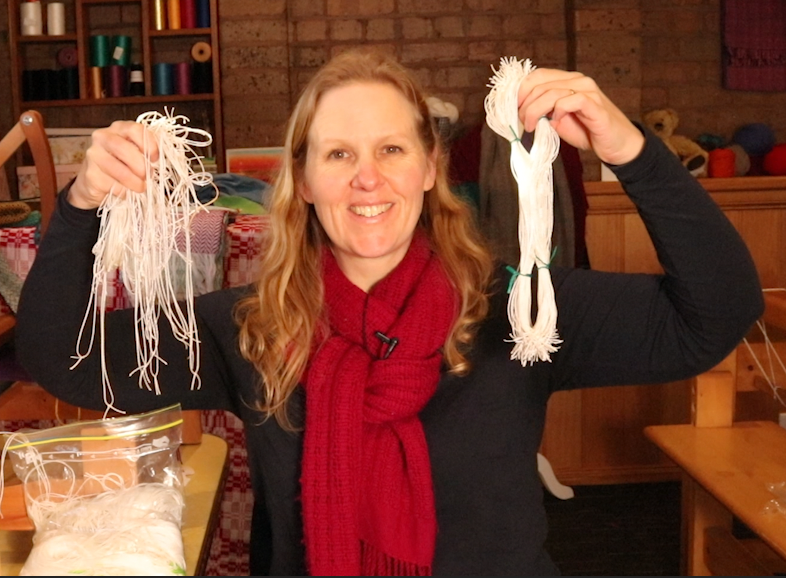
String heddles will generally arrive tied in neat bundles when you purchase them brand new. These bundles are very orderly and can just be slipped right on to your shafts. They can then be cut apart and ready for use
But there are times when your string heddles may be less than organised. I call this “string heddle spaghetti!” Having your string heddles in a pile and out of order is not ideal (not to mention a bit of a time waster) but there is a simple way to get them organised into lovely neat bundles once more.
*This post contains affiliate links. For more information, please see my disclosure policy.
Once you know how to make these bundles, you can continue to use the technique to ensure that your string heddles are always in order and ready to use.

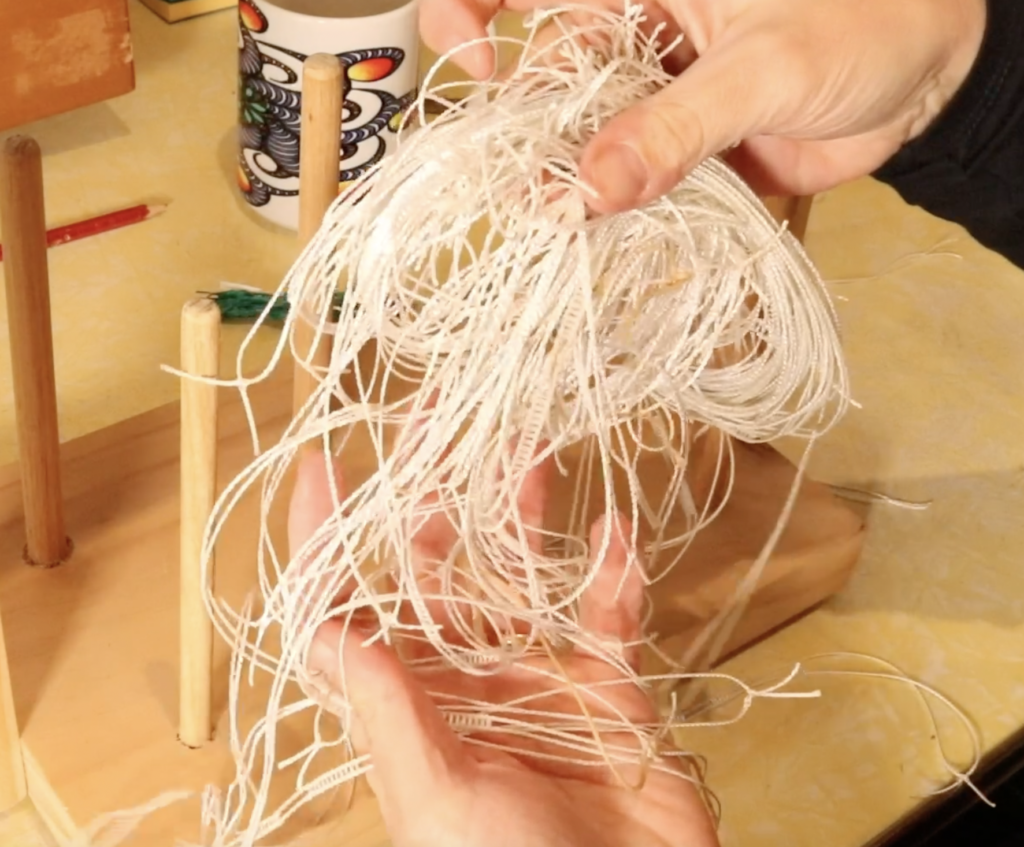
I recently purchased some used string heddles, and many of them arrived packed into a bag singly and without order. Time to make some bundles!
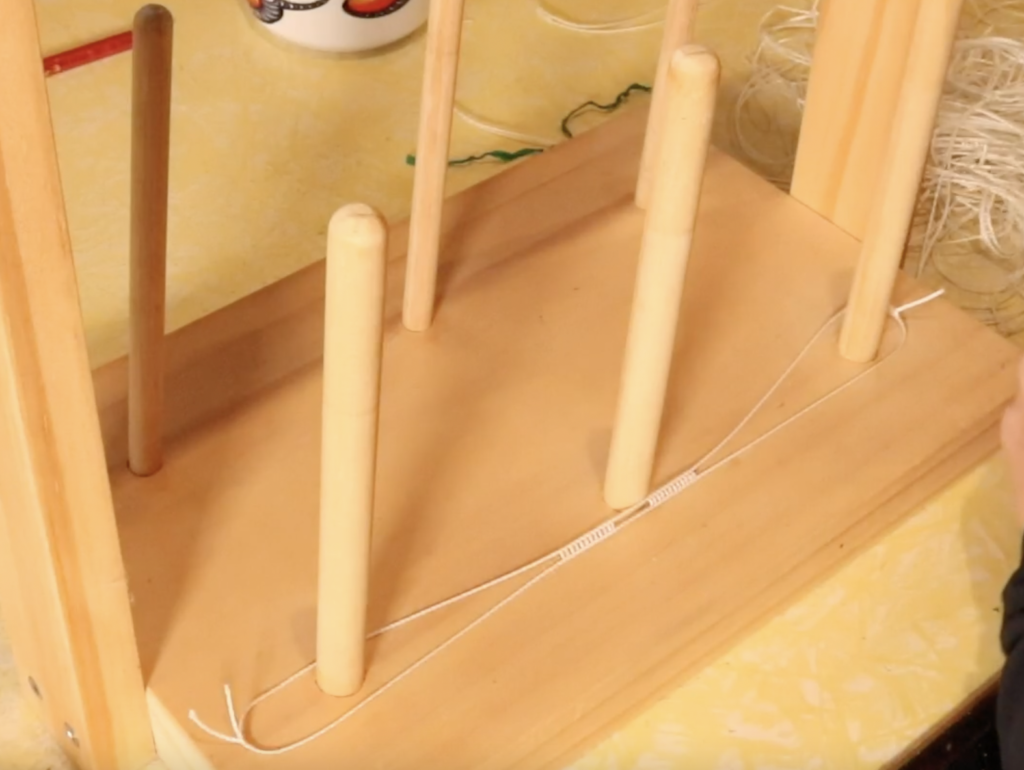
I use my warping stand (if you’re interested in making your own, check out this tutorial). A raddle also works really well if you have one. Two warping pegs, clamped to a table would also work. Even a box with 2 chopsticks is a suitable alternative!
You also need some twisty ties. If they are a different colour to your string heddles, that improves visibility, but if they are the same colour, don’t worry, you can still use them.


If your string heddles are already separated, grab one and have a look at it. There should be 2 large loops on either side that you can hold on to. There should be the eye of the heddle in the middle of these loops. When you hold the loops, you want the whole string heddle to lay flat – no twists!

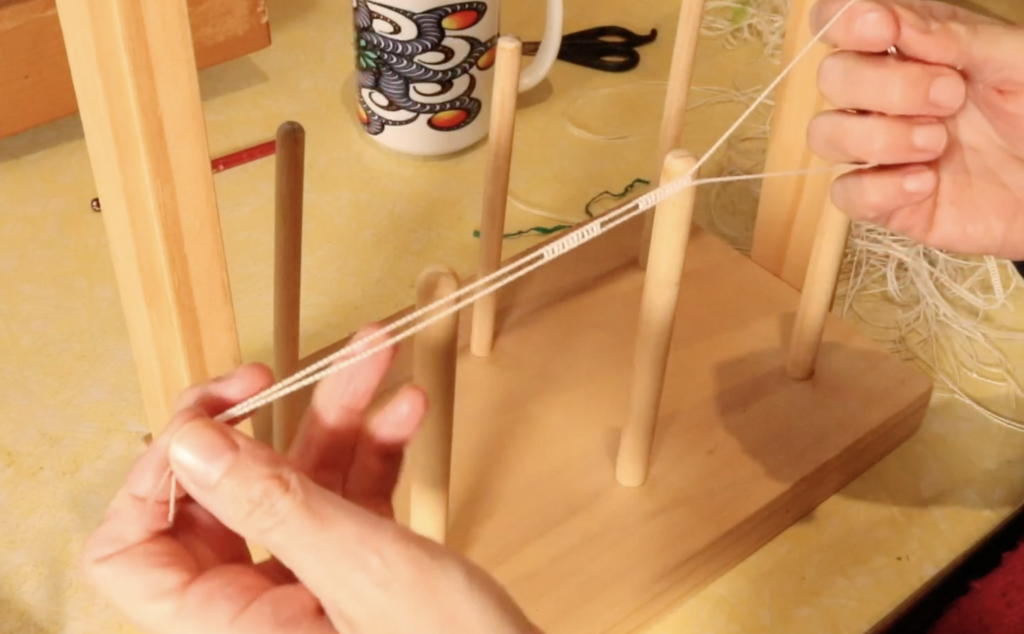
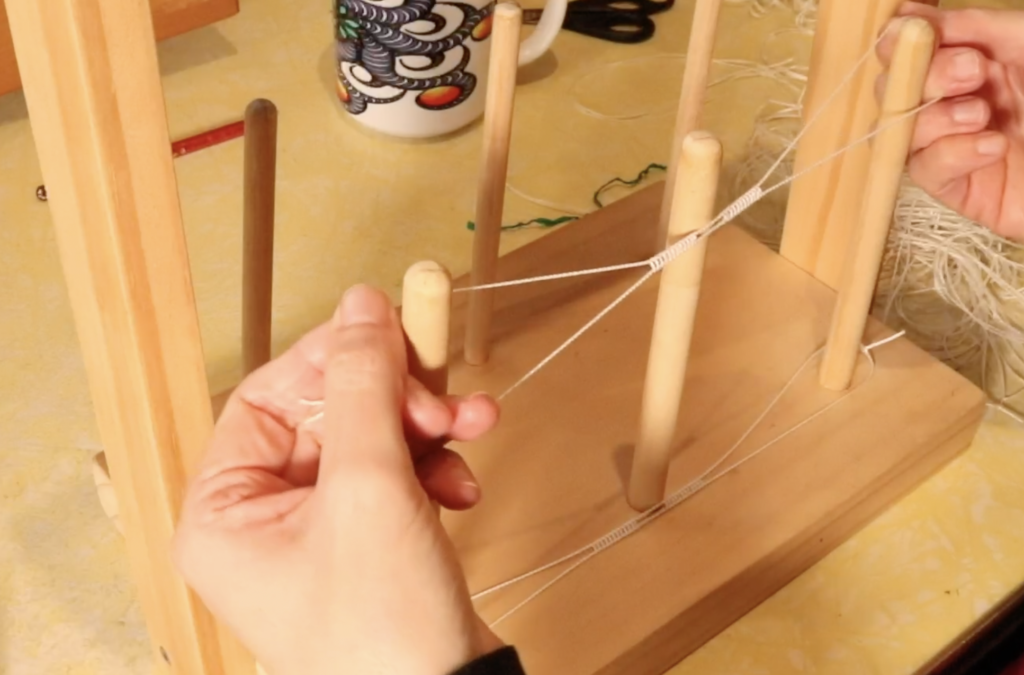
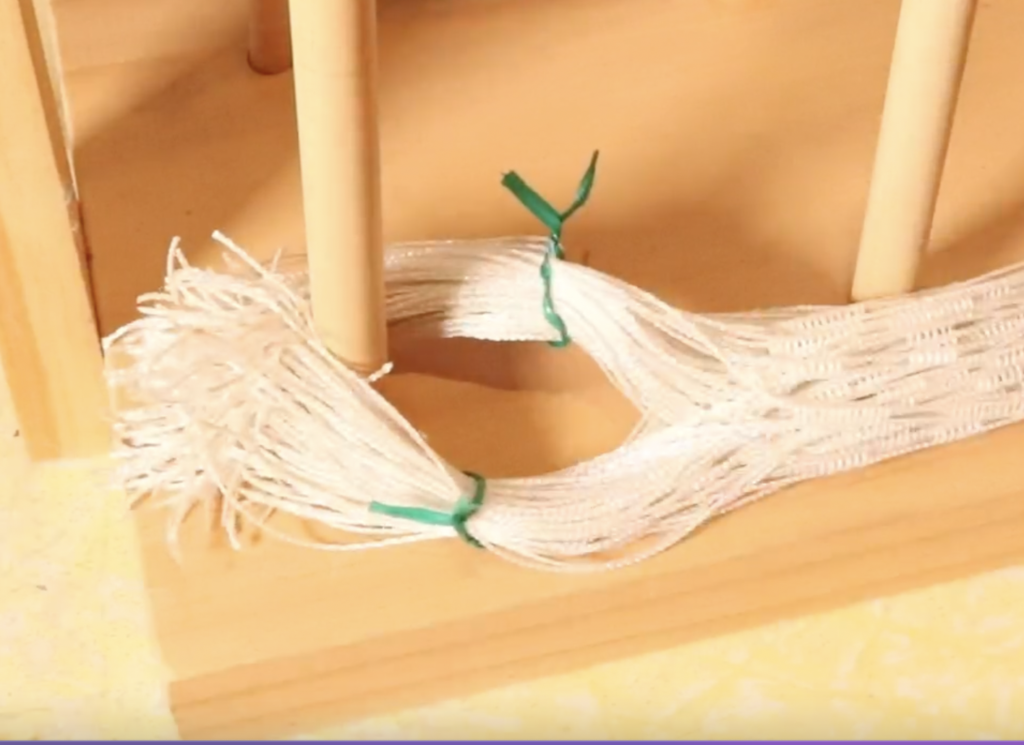
Keeping the string heddle flat, place one of the looped ends over the left peg (or raddle nail or chopstick).

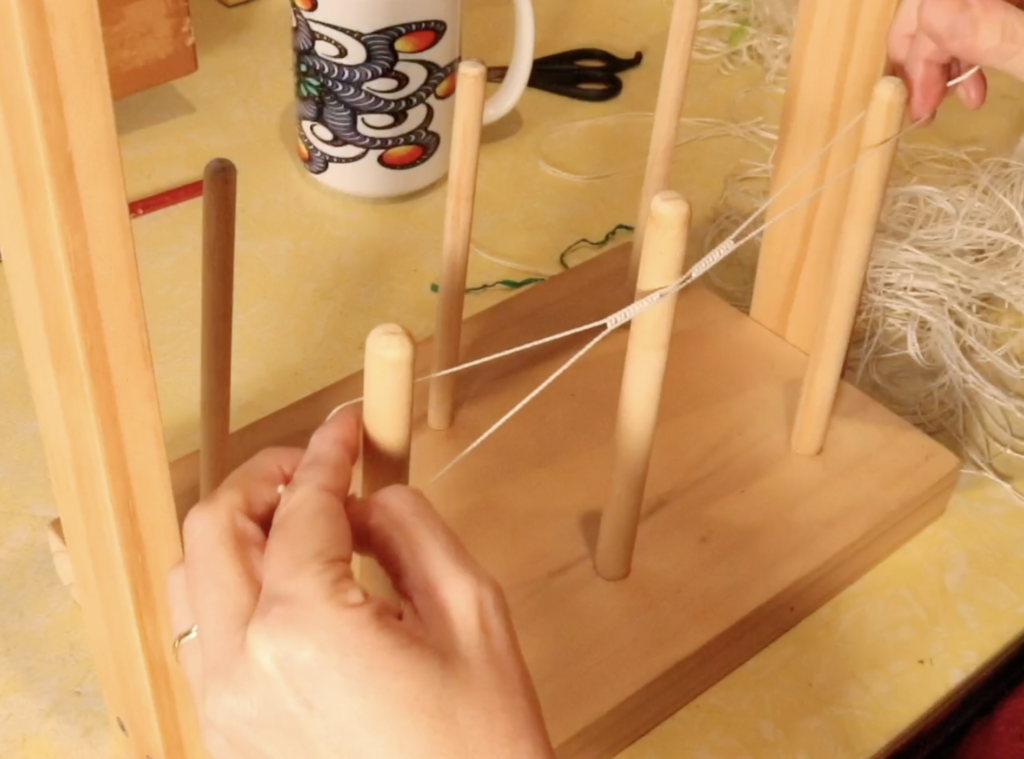
Place the loop at the other end over the right hand peg. If you have a central peg like I do, it doesn’t matter which side of it the eye of the heddle rests against. It is best however, to have it rest on the same side of the central peg for each heddle, to keep the laid out order the same.

Drop the loops so that the string heddle rests on the base of your pegs.

Grab your next string heddle and repeat the same action of holding the loops and placing them on the pegs. Pretty simple? 👍 I like to keep going until I’ve laid out around 100 heddles.

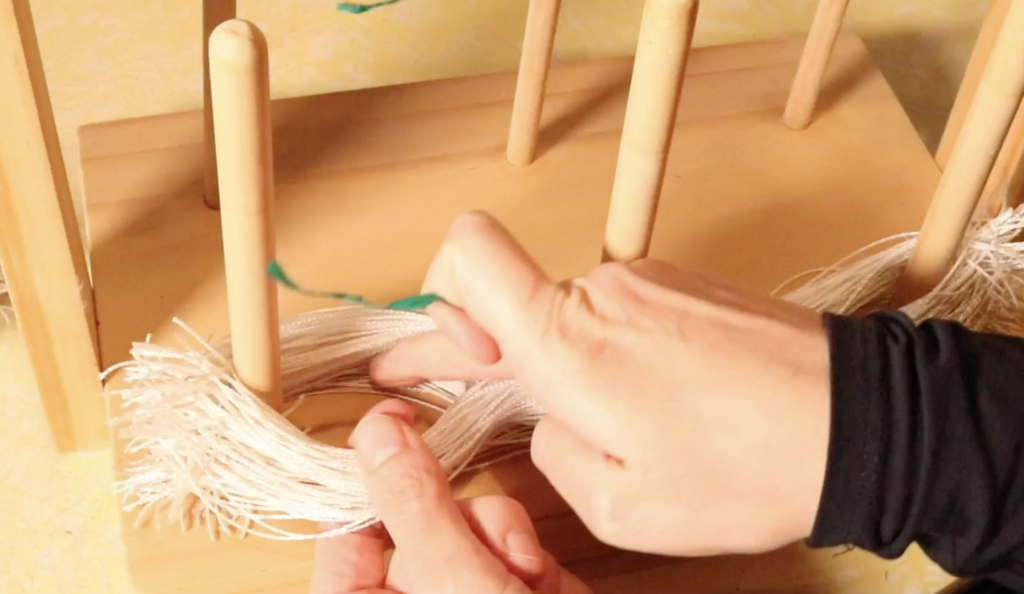
When you have enough to make a bundle, take a twisty tie and take one side of the larger loops on one end of the bundle. Because of the way the heddles are laid out, you will easily be able to see the separated sections.

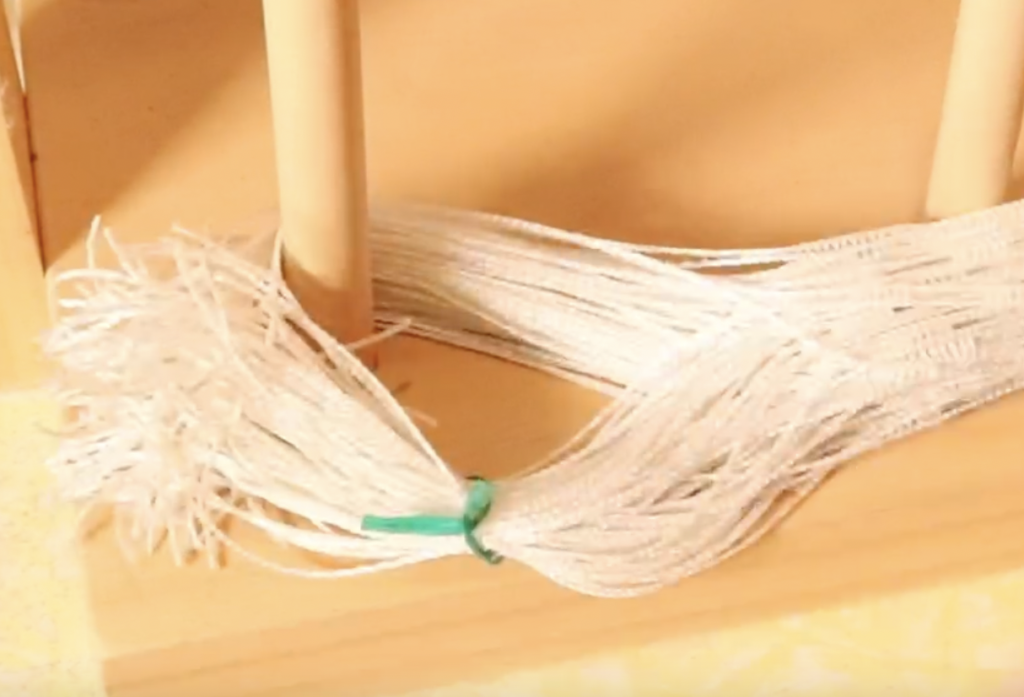
Take the tie and twist it around this section, twisting the ends of the tie together to secure it.

Take another tie and do the opposite side of the same loop, securing it in the exact same way. Do the same for the loop at the other end of the bundle so that you have 4 ties total.

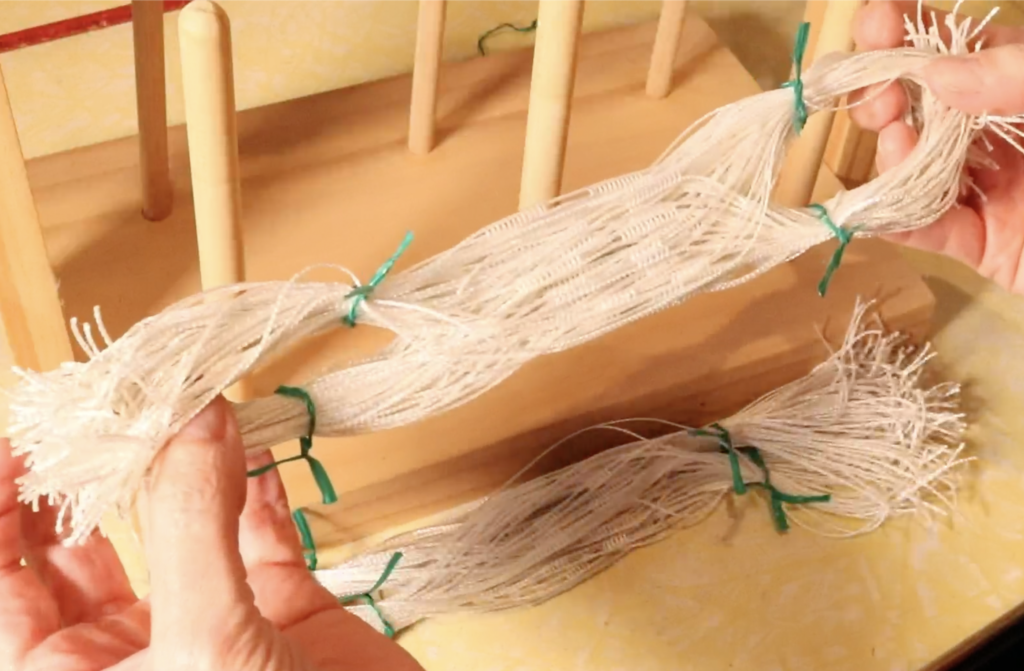
Slip your bundle off the pegs and it’s ready to use!
If you would like a video tutorial on how to make bundles, check out the one below:

I hope this tutorial was useful to you, please leave your questions or comments down below.
Until next time…
Happy Weaving!