• Skip to main content
  • Skip to primary sidebar

Kelly Casanova Weaving Lessons

  • Hi! I’m Kelly!
    • Disclosure
  • Online Weaving School Class Index
    • Common account issues
    • Common technical issues
    • What do I get with a membership?
  • New to rigid heddle weaving? Start here!
    • Never heard of the rigid heddle loom?
    • How to weave neat edges on the rigid heddle loom
    • Rigid heddle weaving
    • Rigid Heddle Weaving Patterns
  • Patterns
  • Subscribe

Free embroidery design and tute!

by Kelly 4 Comments

PinShareEmail
Save
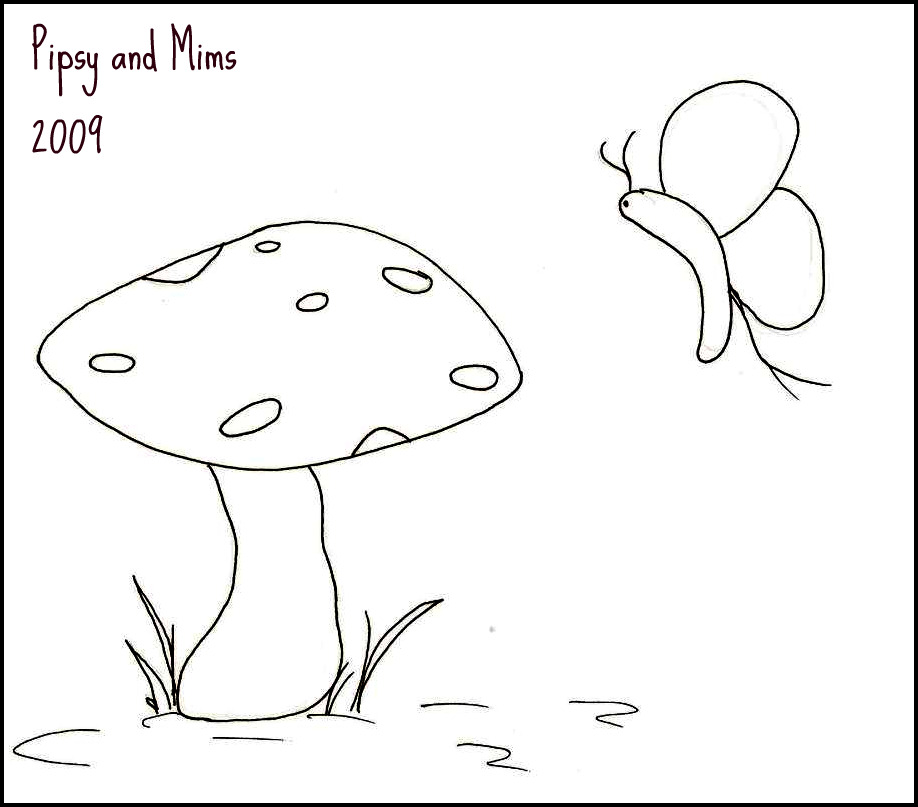
Here is the design for you, I tried making a pdf for easy printing, but my technological un – savvy brain wouldn’t comply, so what you can do is right click on the image, save it in a folder, then print it out to transfer to your fabric. Please let me know if it doesn’t work!

This design can be done entirely in stem stitch, so its easy for beginners. Just ensure when you’re going around tight curves to vary your stitch length to very small.

Use whatever fabric you like, I used homespun just because I like it.
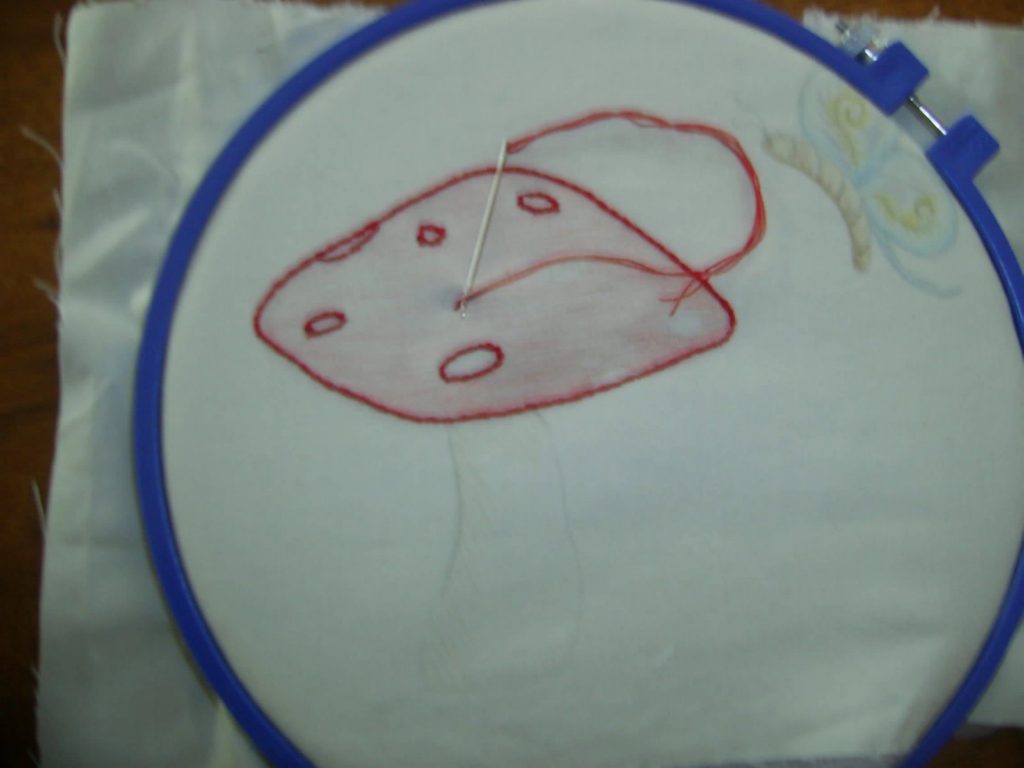
Before you start stitching, shade in the areas you want coloured with a coloured pencil or I used my watercolour pencils. You can see in the picture below the areas I’ve shaded. You can always shade more when you’re done stitching, but go lightly to begin with and layer it. Back your fabric with fusible Pellon before you start stitching.

Save
Stem stitch around the mushroom top and spots in red. Do the same around all the outlines, using my pictures as a guide. You can be adventurous with your colours.

Save

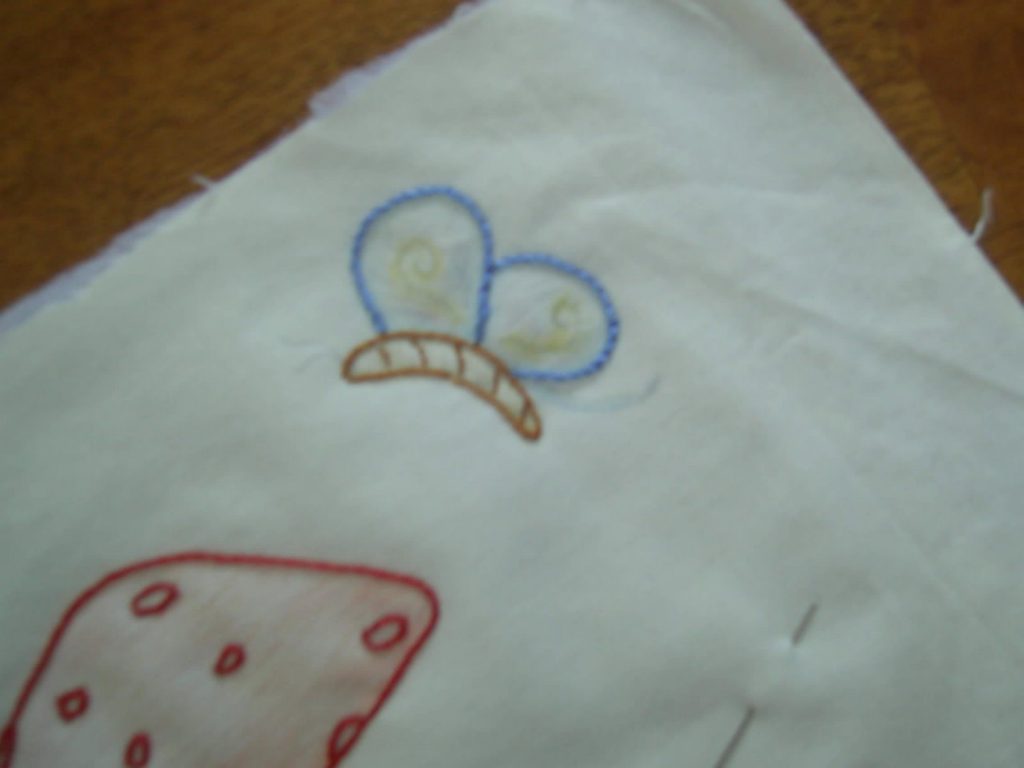
Continue outline stitching and don’t forget the details on the butterfly’s body and wings.

Save

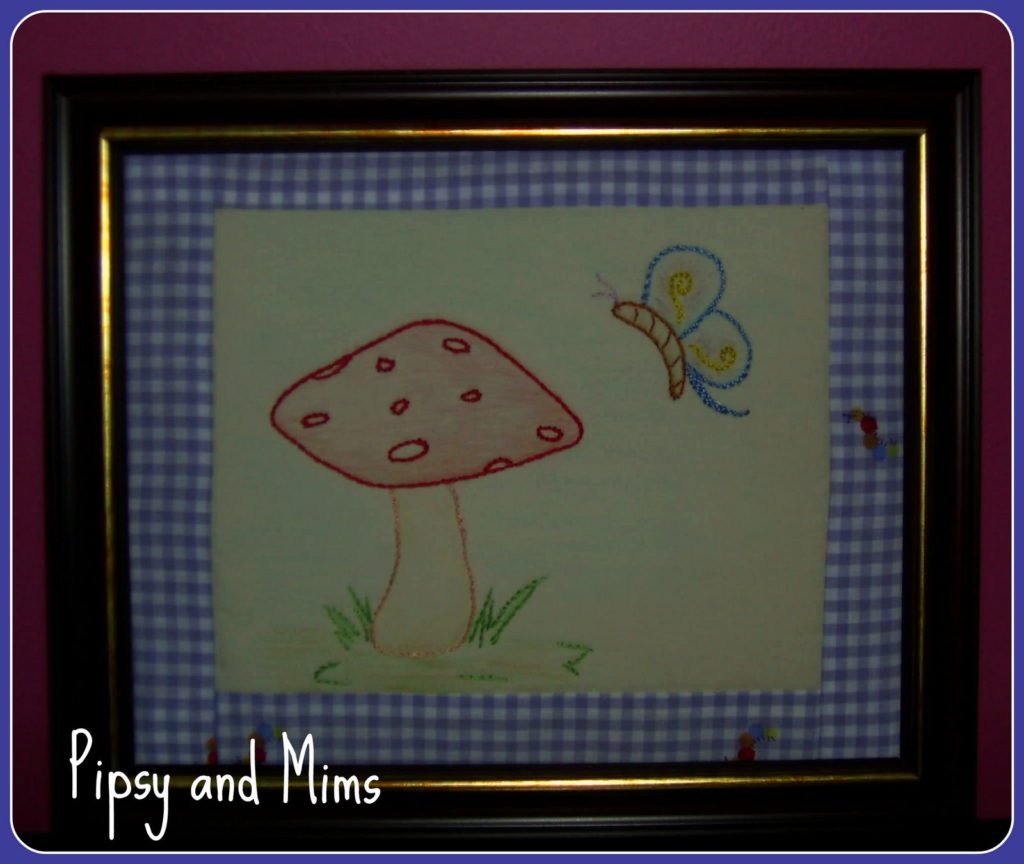
Here is my finished stitchery, I did some extra pencil shading when I finished stitching (blue for the sky, green and brown for the ground. I then sewed on a fabric border, backed it with some wadding and put it in a frame without the back on.
You don’t have to frame yours, it could go on a cushion etc. but keep in mind it can’t be laundered due to the pencil!
Voila! A cute and quaint stitchery!
Please respect my creativity by only using this image and instructions for personal enjoyment.
I’d love to see pictures of your stitchery when you’re done and receive some feedback on the instructions.

PinShareEmail

Filed Under: Uncategorized Tagged With: embroidery tutorial

Previous Post: « Getting ready for a little one
Next Post: Got some sewing done today :) »

Reader Interactions

Comments

  1. Kelly

    at

    Wonderful Desi, can't wait to see it!

    Reply
  2. Desi

    at

    Thank You!!! I plan on using this in a Doll Quilt I am making for a swap I joined. I will send you a link with the picture when I can. Thanks again!!!

    Reply
  3. Anonymous

    at

    Gorgeous! Thanks for sharing šŸ™‚

    Reply
  4. ayelet(nishale)

    at

    Thats lovely and great!!!!!

    Reply

Leave a Reply Cancel reply

Your email address will not be published. Required fields are marked *

Recipe Rating


Primary Sidebar

Categories

Archives

Meta

  • Log in
  • Entries feed
  • Comments feed
  • WordPress.org

Copyright © 2025 Kelly Casanova Weaving Lessons on the Foodie Pro Theme