• Skip to main content
  • Skip to primary sidebar

Kelly Casanova Weaving Lessons

  • Hi! I’m Kelly!
    • Disclosure
  • Online Weaving School Class Index
    • Common account issues
    • Common technical issues
    • What do I get with a membership?
  • New to rigid heddle weaving? Start here!
    • Never heard of the rigid heddle loom?
    • How to weave neat edges on the rigid heddle loom
    • Rigid heddle weaving
    • Rigid Heddle Weaving Patterns
  • Patterns
  • Subscribe

embroidery tutorial

Wool felt donut tutorial

by Kelly 2 Comments

List of requirements for 1 donut:
30 x30cm piece mushroom coloured wool felt
15 x15cm piece of wool felt for icing
Carded wool or polyfil for stuffing
Embroidery floss
Sewing thread
These can be sewn either by hand or machine. Machine will give a neater finish, but I have made them both ways.
Print out the pattern from here. Make sure your printer settings are at 100%.
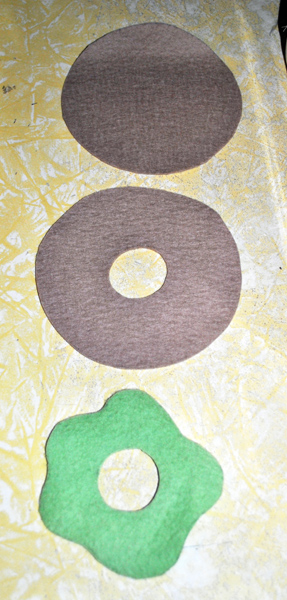
Trace pattern pieces onto felt and cut out. This picture has a mistake! The top piece should also have a hole, I took the photo before I cut out the hole, sorry about that!

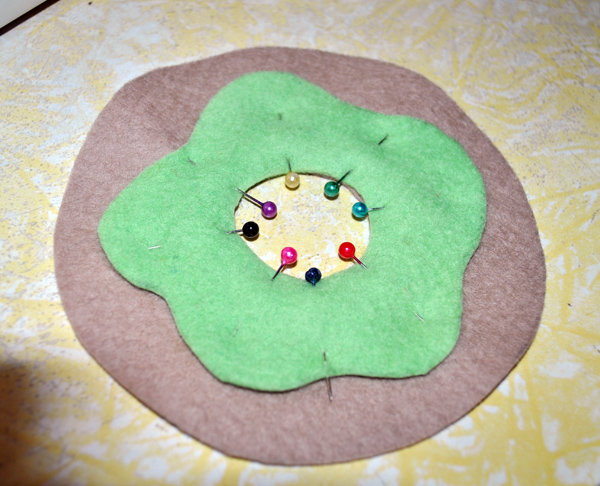
Pin the icing onto one piece of the mushroom wool felt.

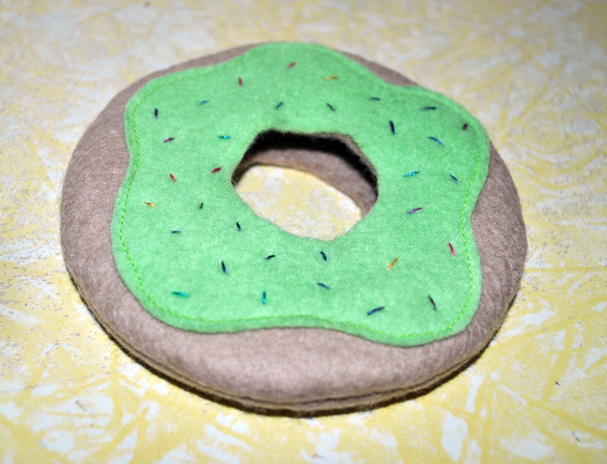
Sew around the outside of the icing, either on the machine or with a running stitch or backstitch by hand to secure it.

For sprinkles, use your choice of embroidery floss (here I’ve used a variegated one by DMC) to make short, straight stitches randomly on the icing.

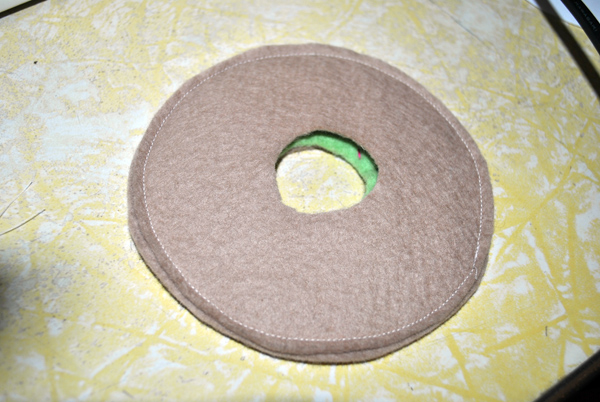
Put your undecorated piece of wool felt on top of the decorated one so that right sides are facing. Sew all the way around the outside (backstitch if you’re hand sewing).

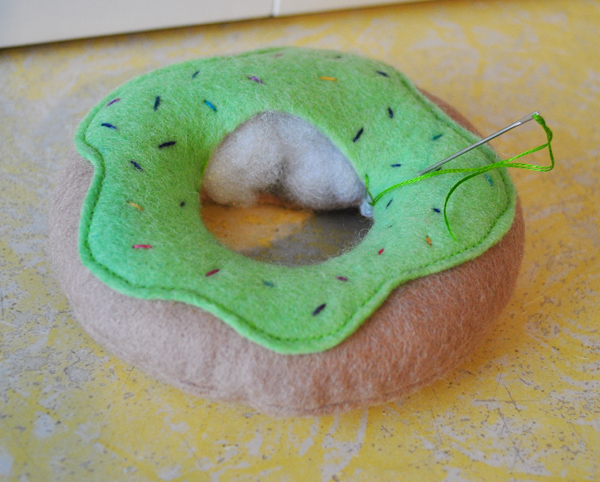
Turn the donut right sides out so it looks like this šŸ™‚

Starting from anywhere around the centre hole, close to the edges blanket stitch by hand with a floss matching the icing, 3/4 way around. *Note – if you’re not confident with blanket stitch you can do either a small running stitch or backstitch. The reason I like blanket stitch is it looks extremely neat and leaves no holes.
When 3/4 of the way round begin to stuff. Poke the stuffing with your fingers to ensure a firm donut with even consistency right around. When you’re happy with the stuffing, continue to stitch around the inner circle until completely closed, knot and sink the finished end in.

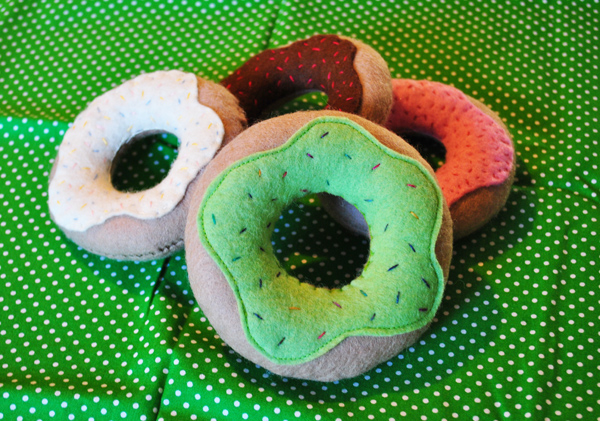
Ta da! Isn’t that easy? Don’t you want to make heaps and heaps? 
If you need a wool felt stockist Winterwood Toys is my favourite.

Please respect the fact that I am the original author of this post, that I have spent time and care in putting together this tutorial and drawing a pattern to share with you. Therefore, I ask that you do not steal from me or fail to give credit. Thank you!

*If you have any trouble printing the pattern or following the instructions please take the time to let me know -I can’t fix it if I don’t know about it!

Filed Under: Uncategorized Tagged With: embroidery tutorial, Toymaking, Tutorials, wool felt

Needle felted heart brooch tutorial

by Kelly 2 Comments

I’m on a bit of a roll with the tutes lately! In case you didn’t know already, Valentine’s Day is next month so I’m seeing hearts everywhere! I hope you enjoy this tutorial and I apologise in advance for the not-so-great night time photos, but as all crafty Mums know, night time is when the magic happens!

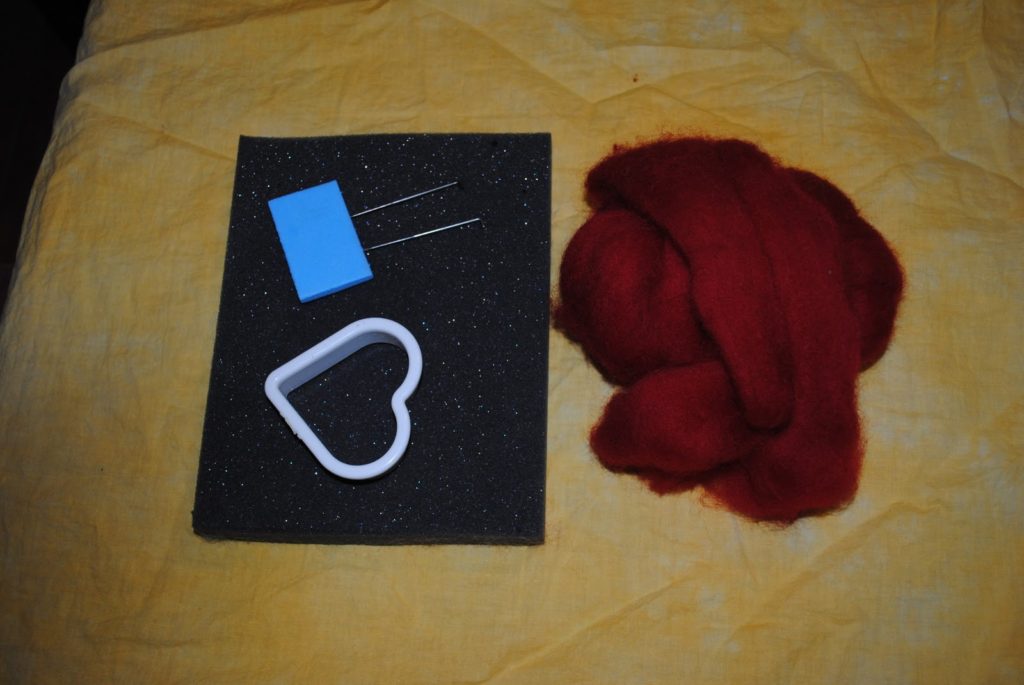
You will need: 
Red wool roving (you don’t need all that much
Heart shaped cookie cutter
Needle felting mat and needle
Embroidery floss
Brooch back

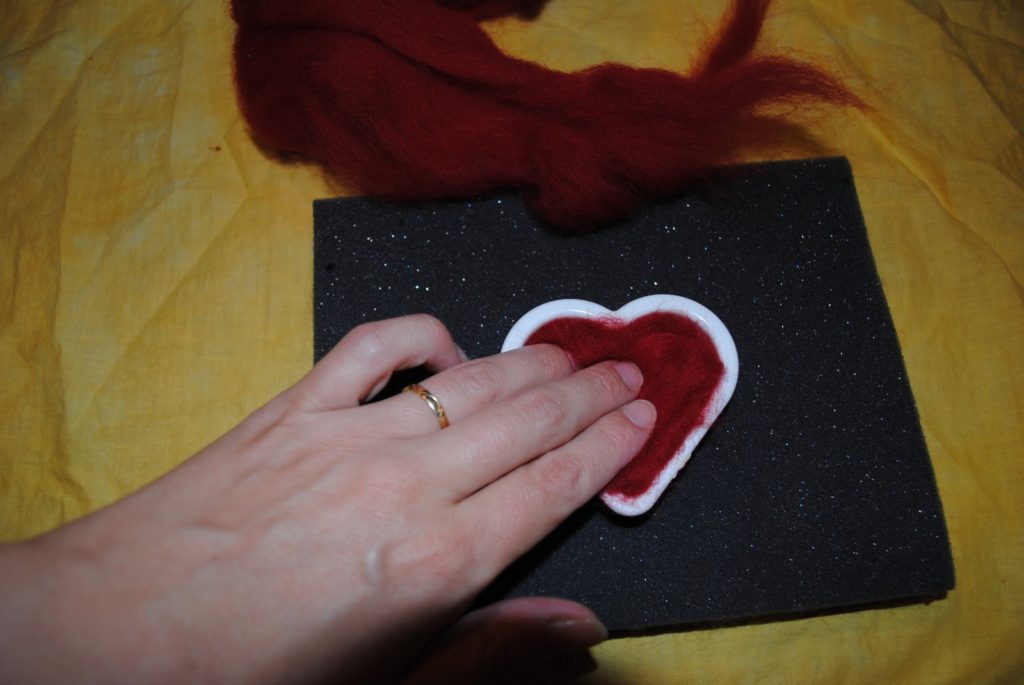
Pull off a piece of wool and tease it out a little so it’s nice and fluffy. Place the cookie cutter on the mat and stuff the wool into it.

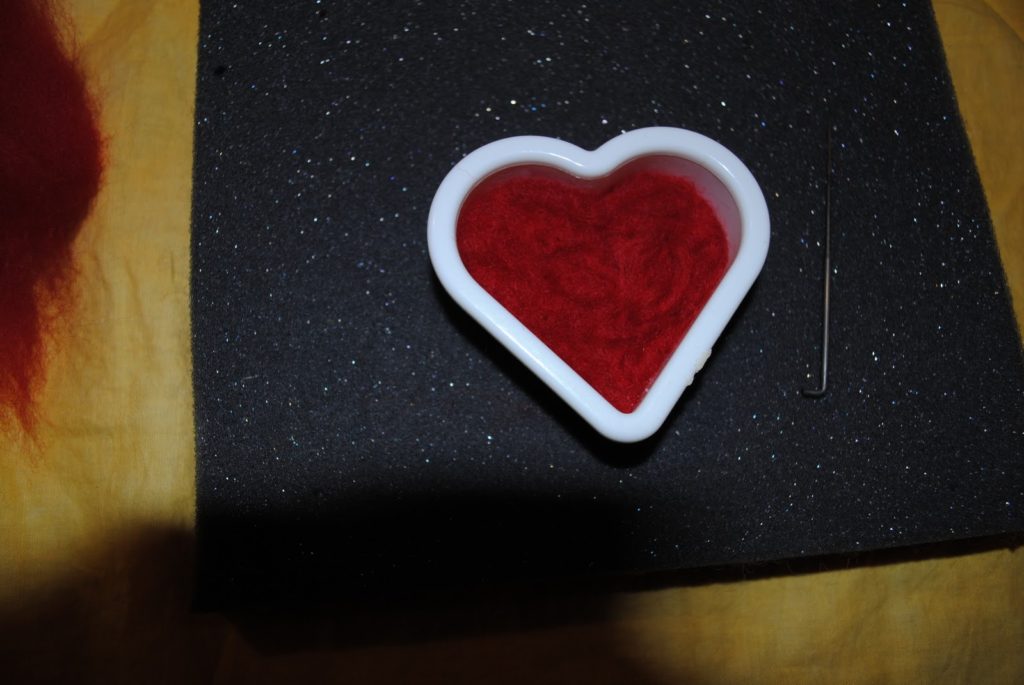
Using your felting needle, begin to felt the wool by pushing the needle up and down all over the wool. Hold onto the cookie cutter to avoid needle felting your finger. It hurts. I repeat. It hurts! When the wool seems matted add another, thinner layer of wool and repeat the process.

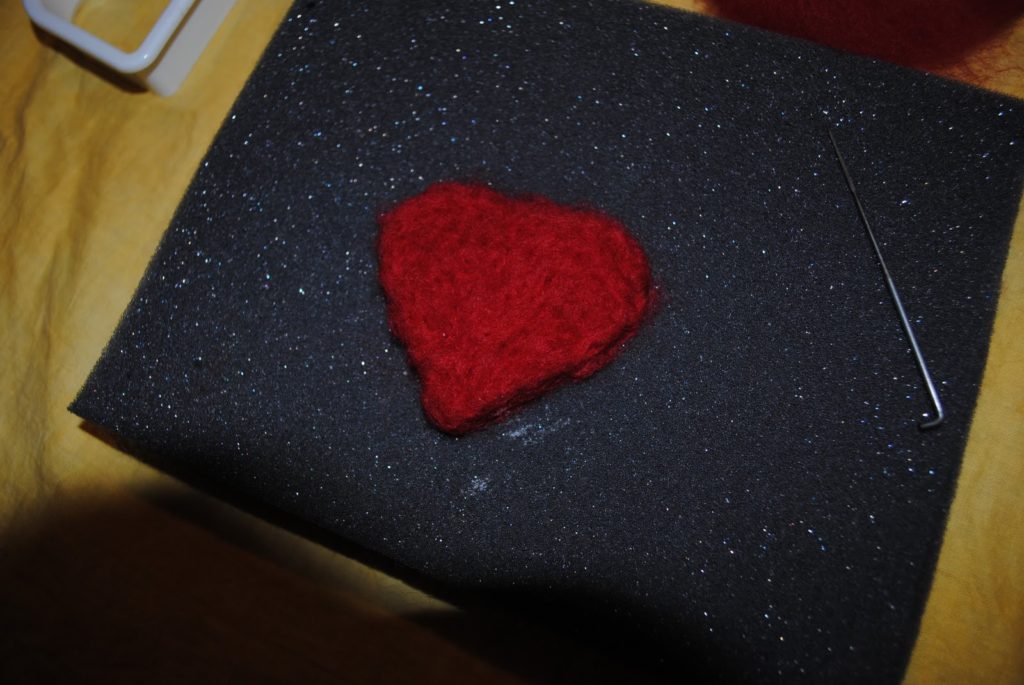
When the wool seems to be matted down nicely, turn it over to the other side. Replace the cookie cutter to keep your heart shape and continue to felt, paying particular attention to the edges and the fold in the top middle of the heart.

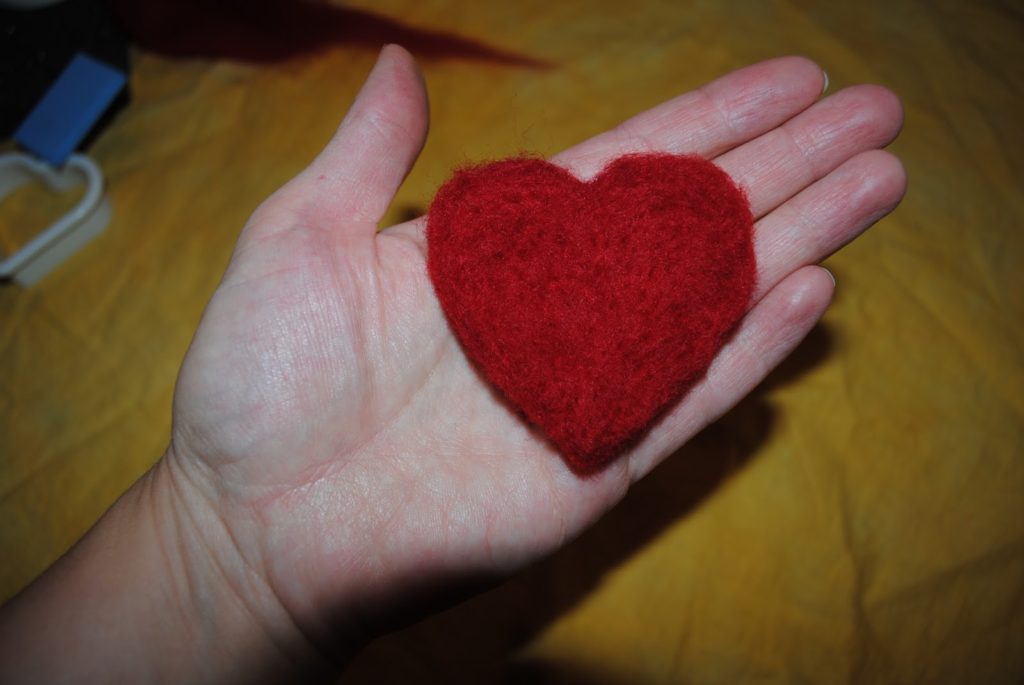
Take your heart out and turn it over again. If it doesn’t seem matted enough just repeat until you’re happy with it.

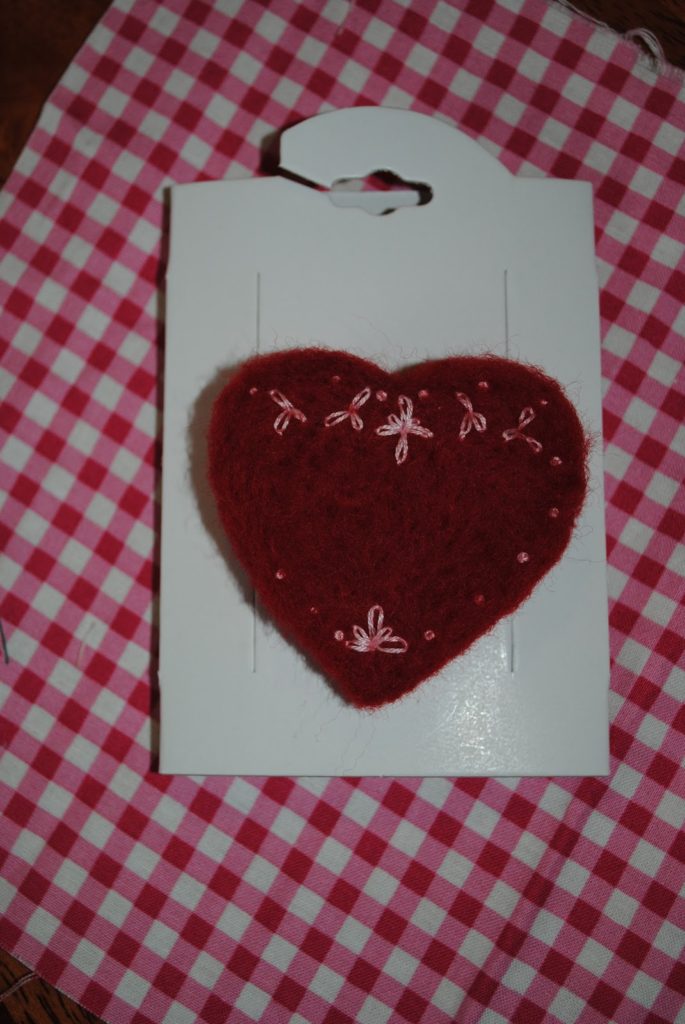
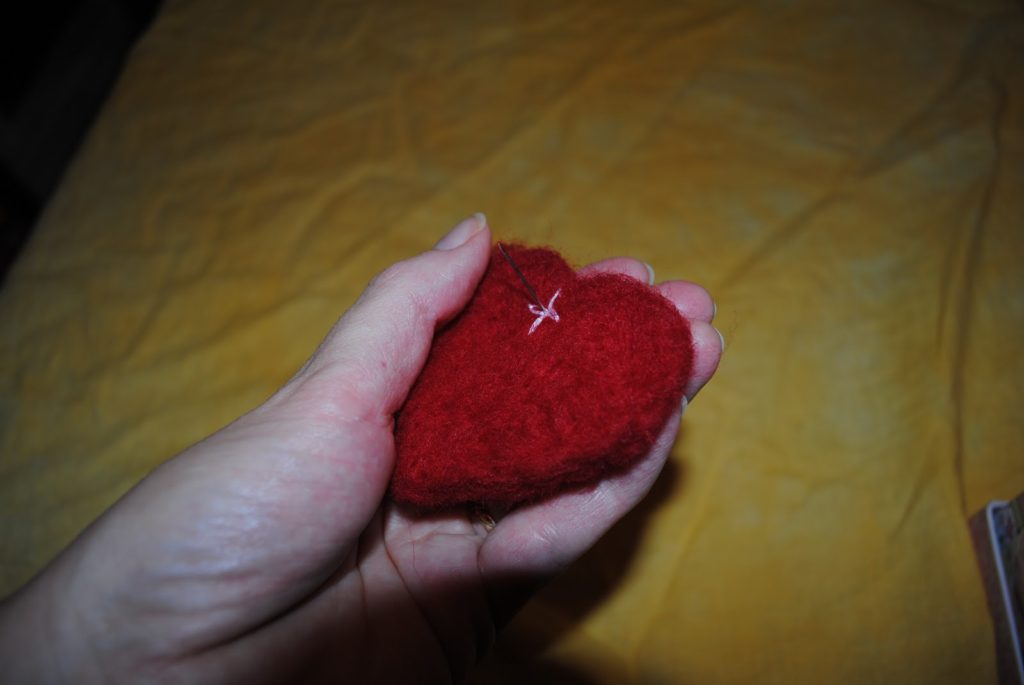
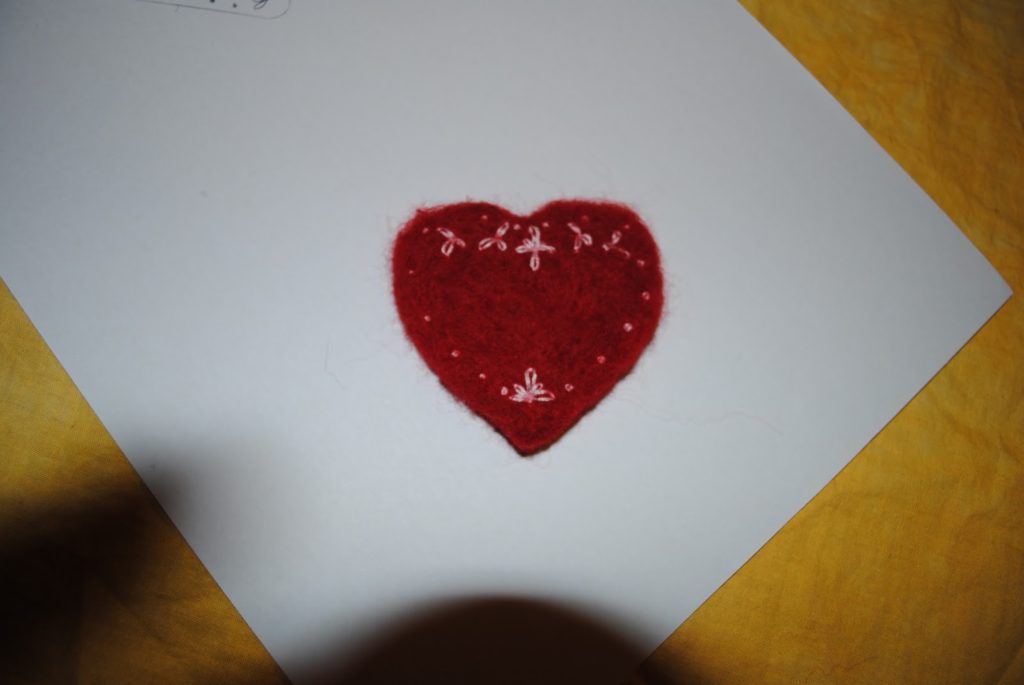
Using the design I’ve provided (at the end of this post) as a guide begin the embroidery. All of the loop stitches are worked in lazy daisy stitch and the spots are french knots. Use a light colour such as cream or light pink as I have used here. Use 2 strands of floss. Knot your thread at the back and use a light tension for your stitches so that they float on the surface rather than sinking into the wool.

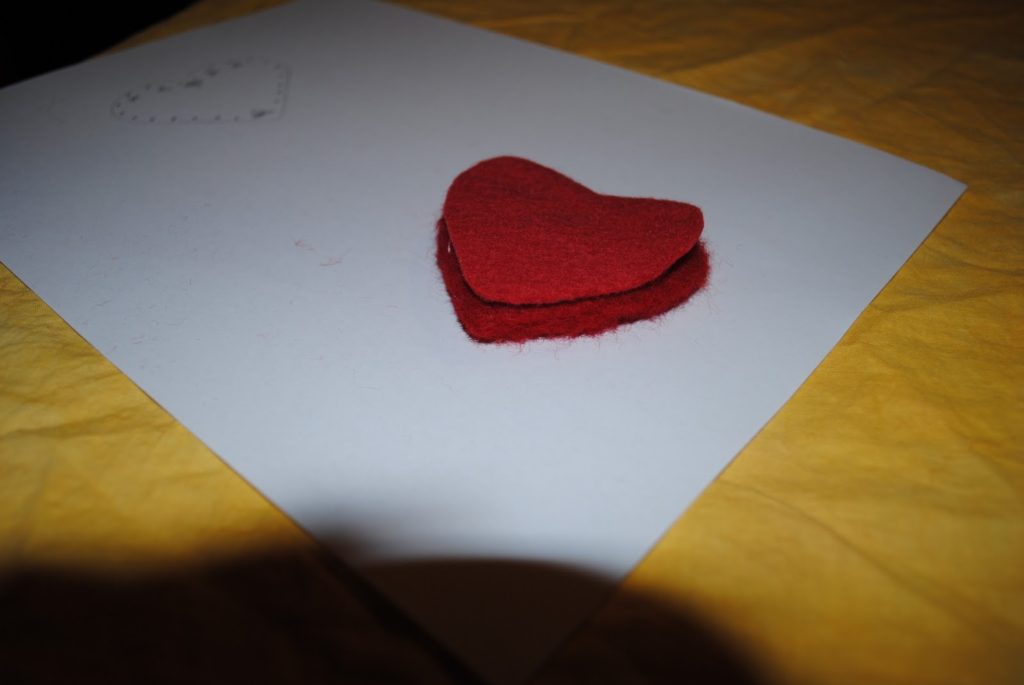
Use your cookie cutter to cut a heart shape out of wool felt. I’ve used a lovely hand dyed red wool felt. Slip stitch around the felt and wool hearts with a matching coloured embroidery floss to attach them together with almost invisible stitches.

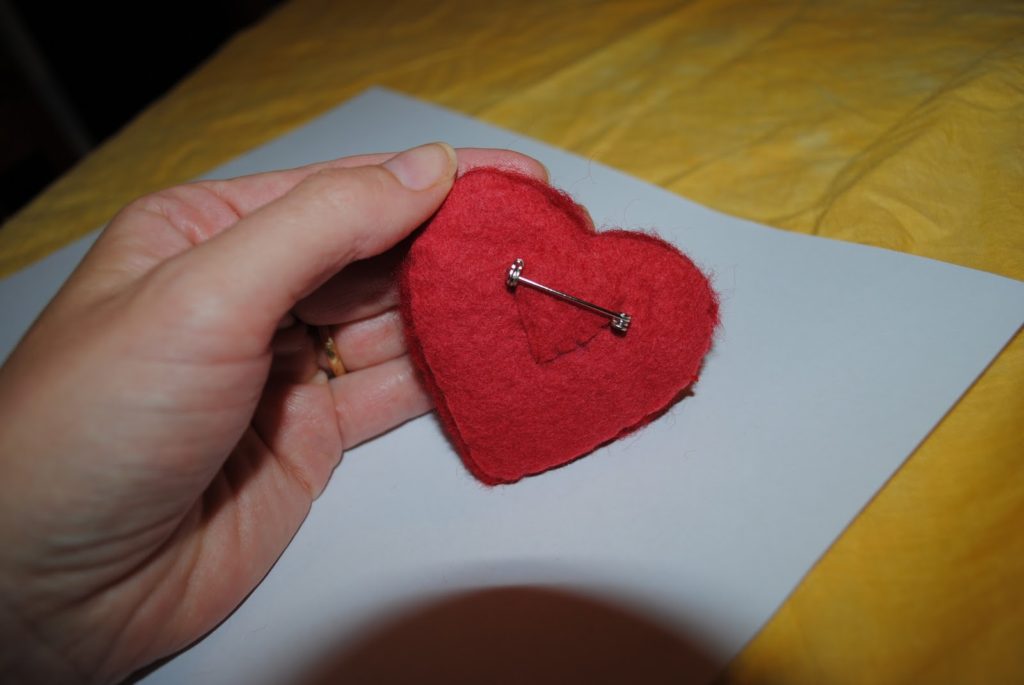
Stitch your brooch back onto the back of the heart, then, as a cute little touch, cut out a small heart shape from the wool felt and stitch it over the stitched brooch back. This neatens up the back too.
If you make one I’d love to see it, and please let me know if there are any mistakes or if you need more information.
By the way, if you like the brooch but can’t be bothered making one yourself, I have one available for sale, contact me if you’re interested šŸ™‚
This is my own design and for personal use only. Please do not copy this design or blog post in any way.
Heart Brooch Design002

Filed Under: Uncategorized Tagged With: embroidery tutorial

Silk ribbon flower tutorial

by Kelly 4 Comments

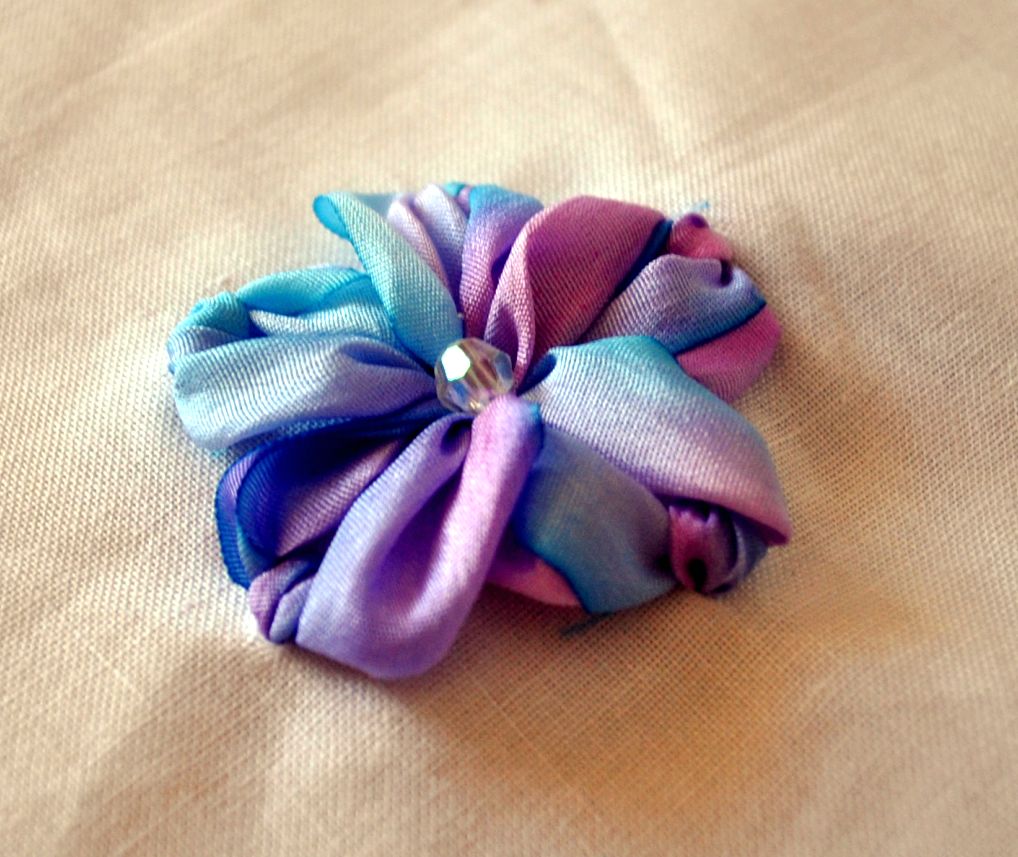
These make a great embellishment and are so delicate and pretty.
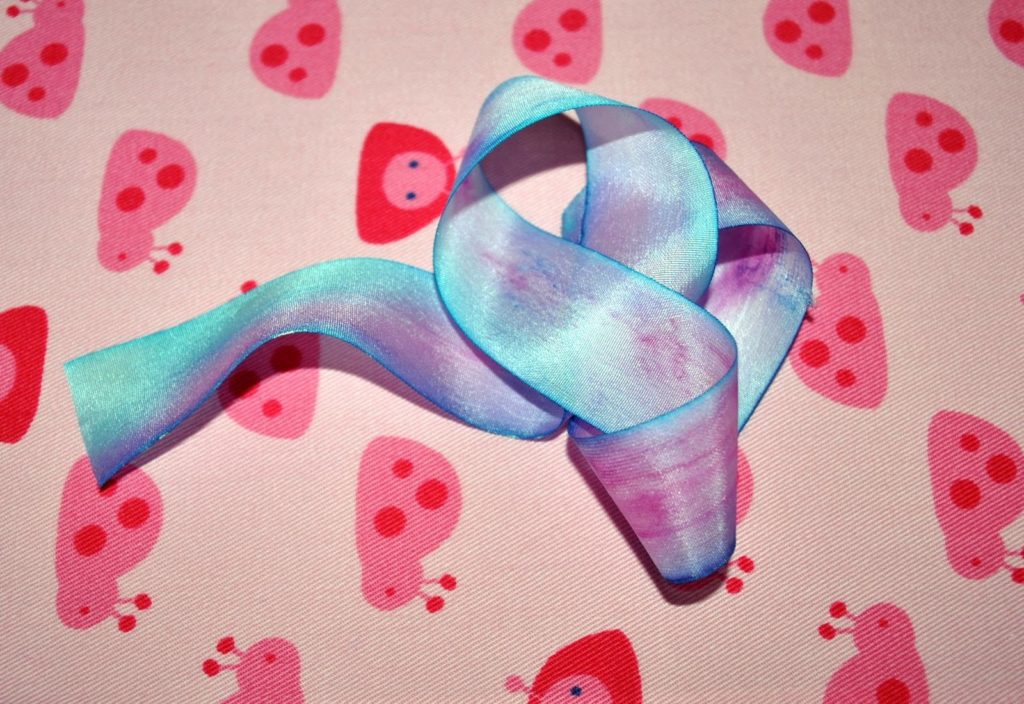
I’ve used some 1 inch wide silk ribbon which I handpainted. It’s a good idea to have 1 metre though you shouldn’t need that much – it depends how many petals you want.
I’ve used white homespun. Silk ribbon looks extra wonderful on silk fabric.
You will need a large needle (mine is a chenille needle) with a large eye.
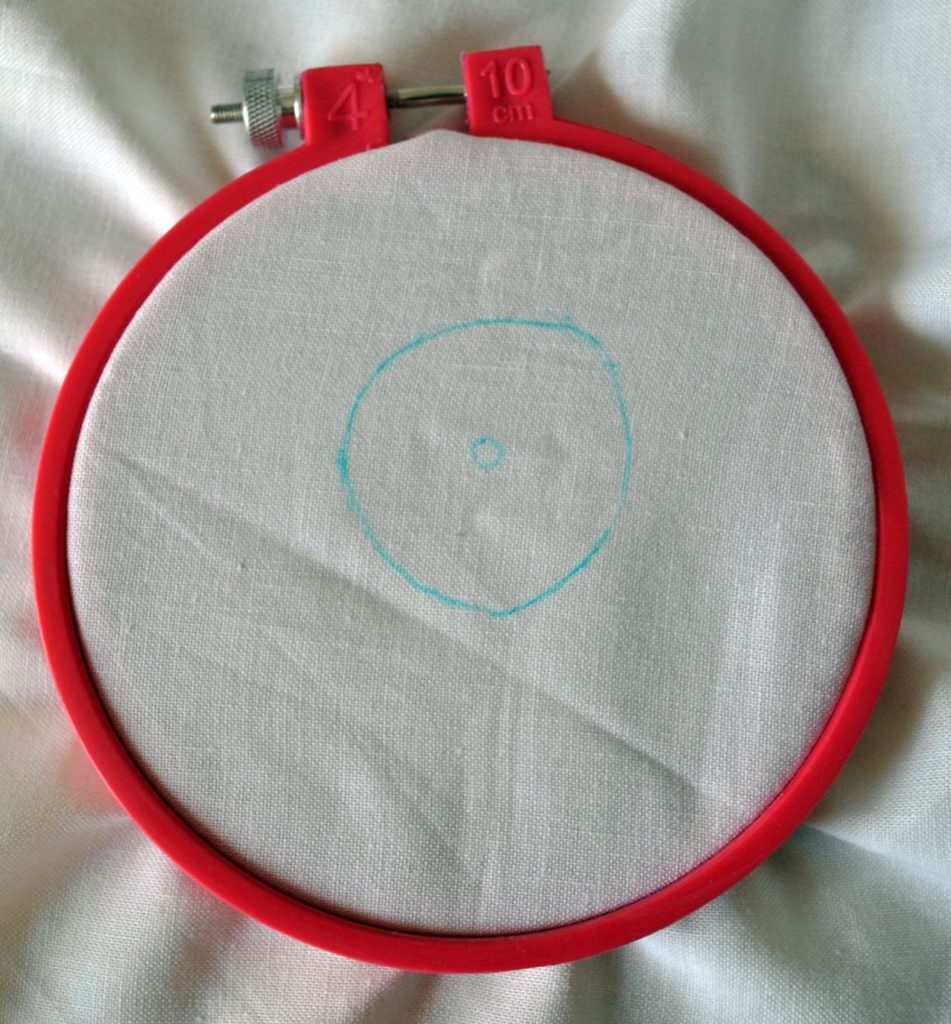
Draw an approximately one inch circle in either disappearing or water erasing pen.
Inside this circle, draw a much smaller circle.

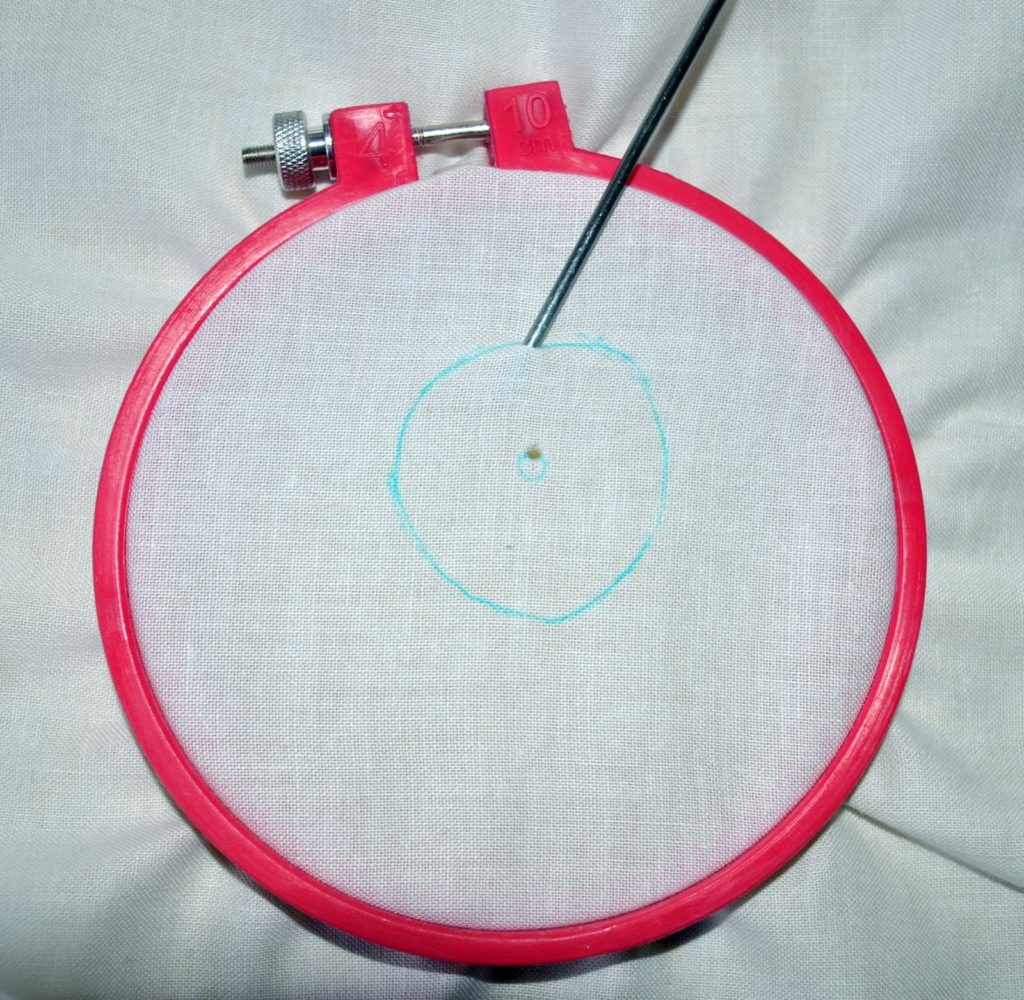
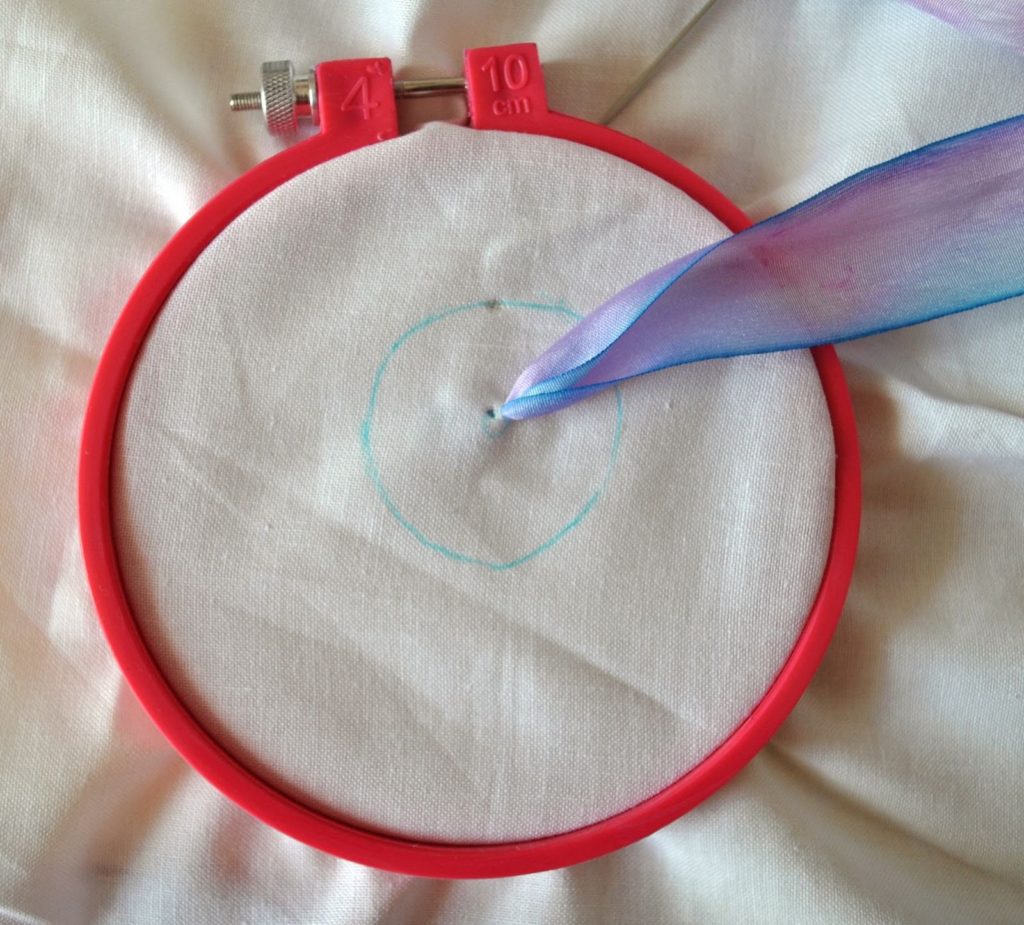
Because the ribbon is 1 inch thickness you will need to make some holes in the fabric in order to pull it through. If you have an awl, use that – I’ve used a kitchen skewer which also works fine.
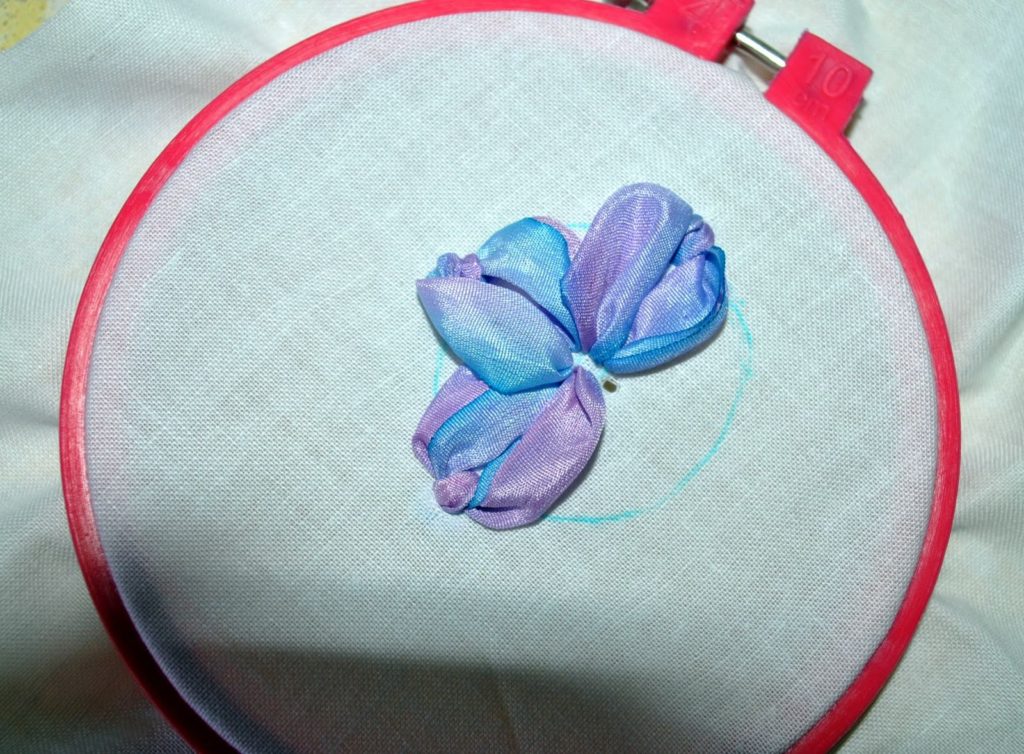
Make one hole on your inner circle and one on the outer as shown.

Pull the needle and ribbon through from the back.
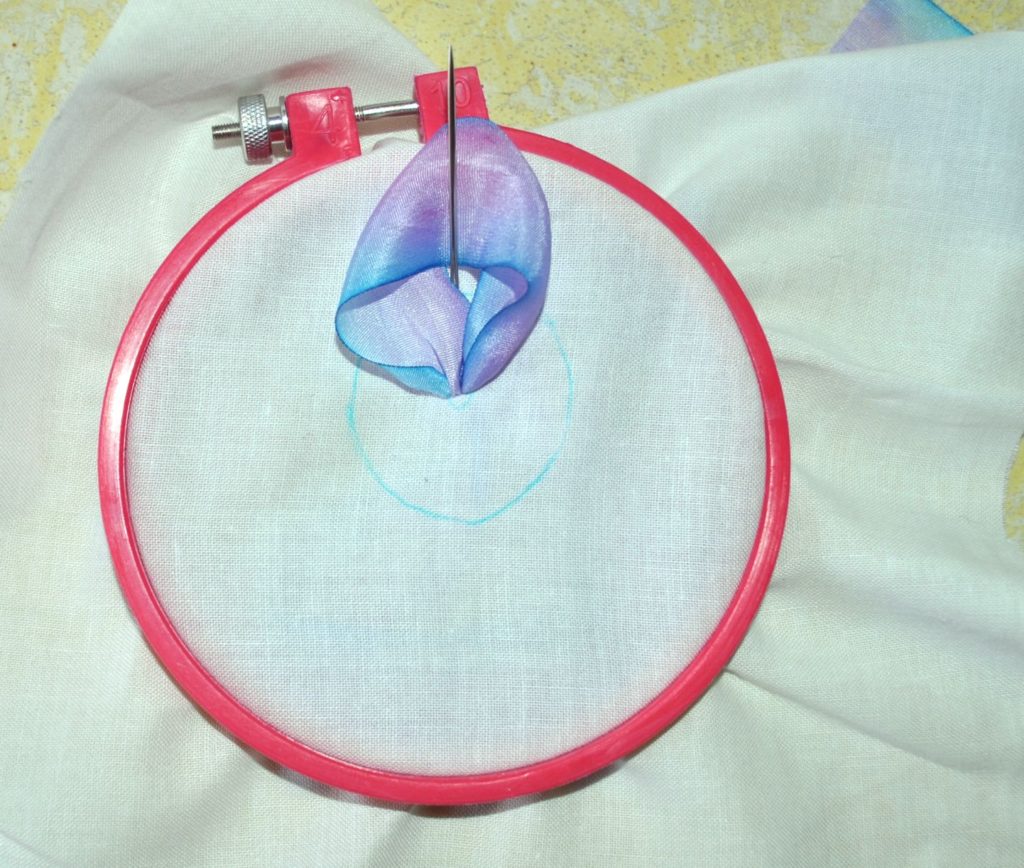
Loop back to the inner circle hole and make another hole right next to the first one. Take the needle through this second hole to the back. 

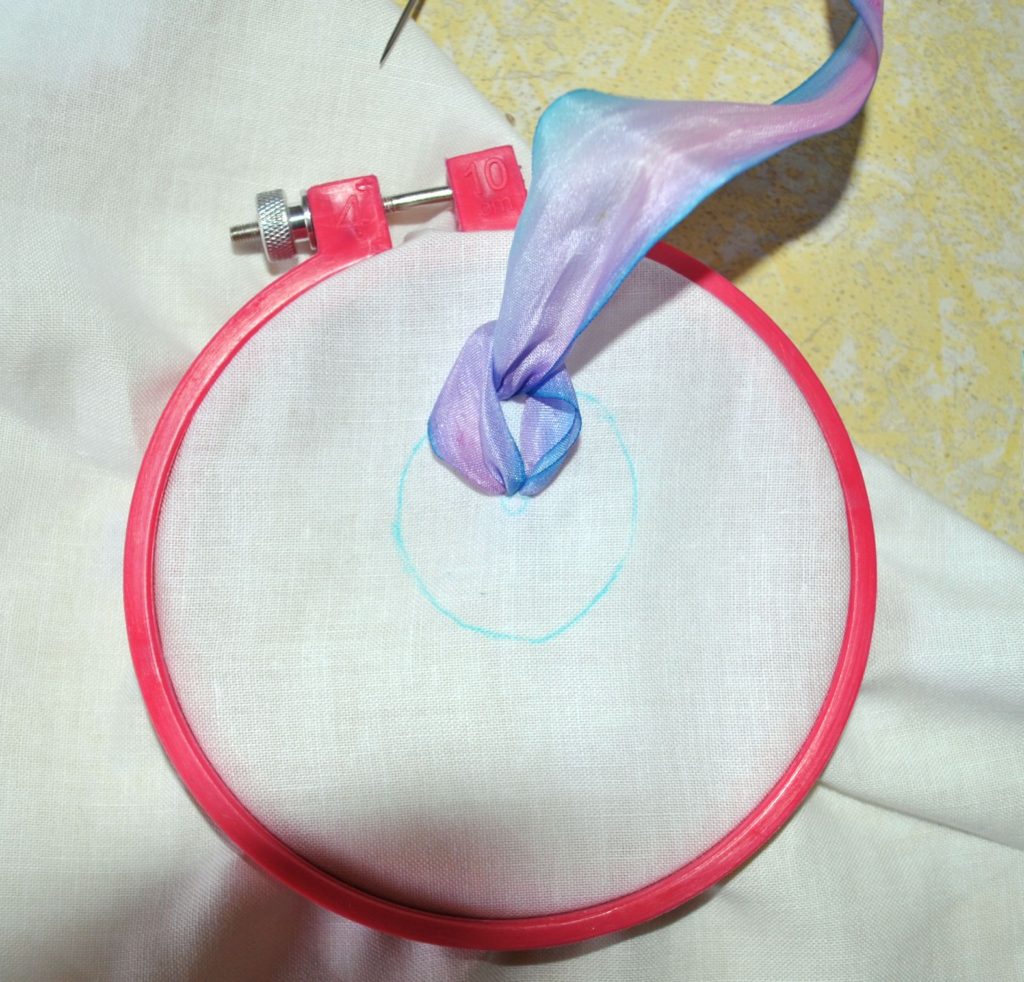
Now bring the needle up through the outer circle hole you made before. Pull the ribbon through. Make another hole near your outer circle hole and take the needle down through it to the back.
If you’re having trouble understanding it may be helpful to google “lazy daisy stitch”.
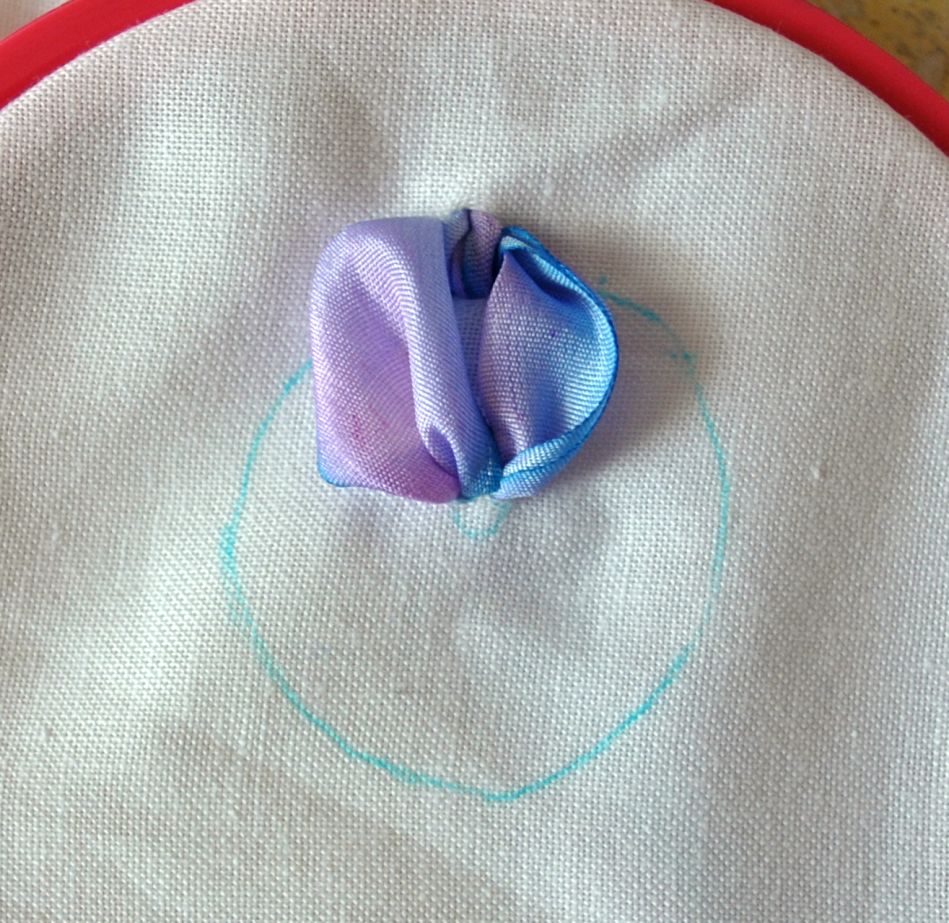
This is your first petal!

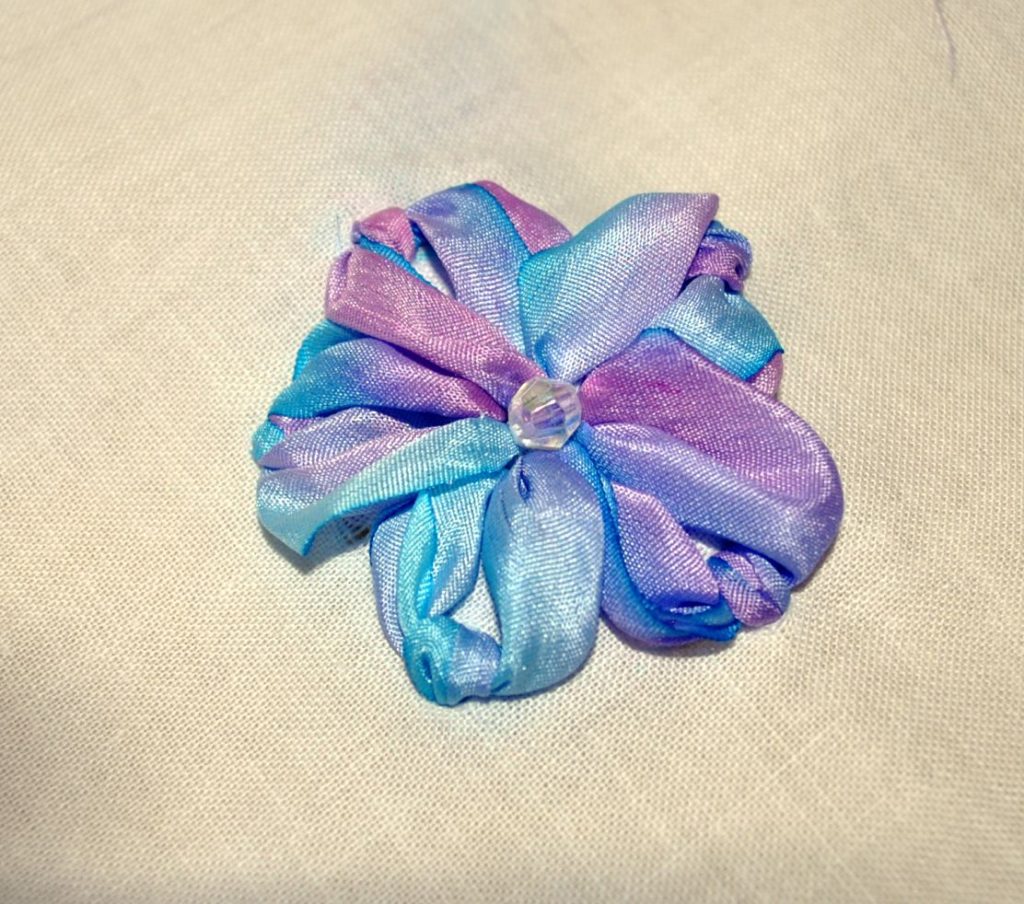
Continue around the circle in this fashion, doing as many petals as will fit (generally 5).
Adjust your petals and “plump” them with your fingers as you go.

Sew a bead or button in the middle and voila!

Filed Under: Uncategorized Tagged With: embroidery tutorial

Free embroidery design and tute!
by Kelly 4 Comments

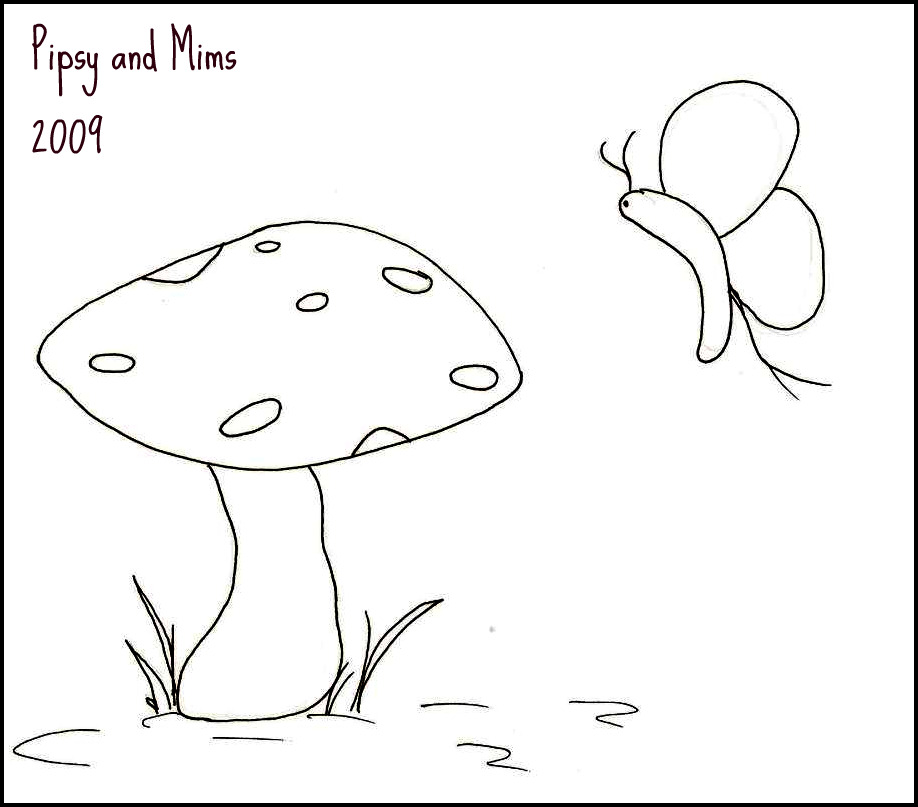
Here is the design for you, I tried making a pdf for easy printing, but my technological un – savvy brain wouldn’t comply, so what you can do is right click on the image, save it in a folder, then print it out to transfer to your fabric. Please let me know if it doesn’t work!

This design can be done entirely in stem stitch, so its easy for beginners. Just ensure when you’re going around tight curves to vary your stitch length to very small.

Use whatever fabric you like, I used homespun just because I like it.
Before you start stitching, shade in the areas you want coloured with a coloured pencil or I used my watercolour pencils. You can see in the picture below the areas I’ve shaded. You can always shade more when you’re done stitching, but go lightly to begin with and layer it. Back your fabric with fusible Pellon before you start stitching.
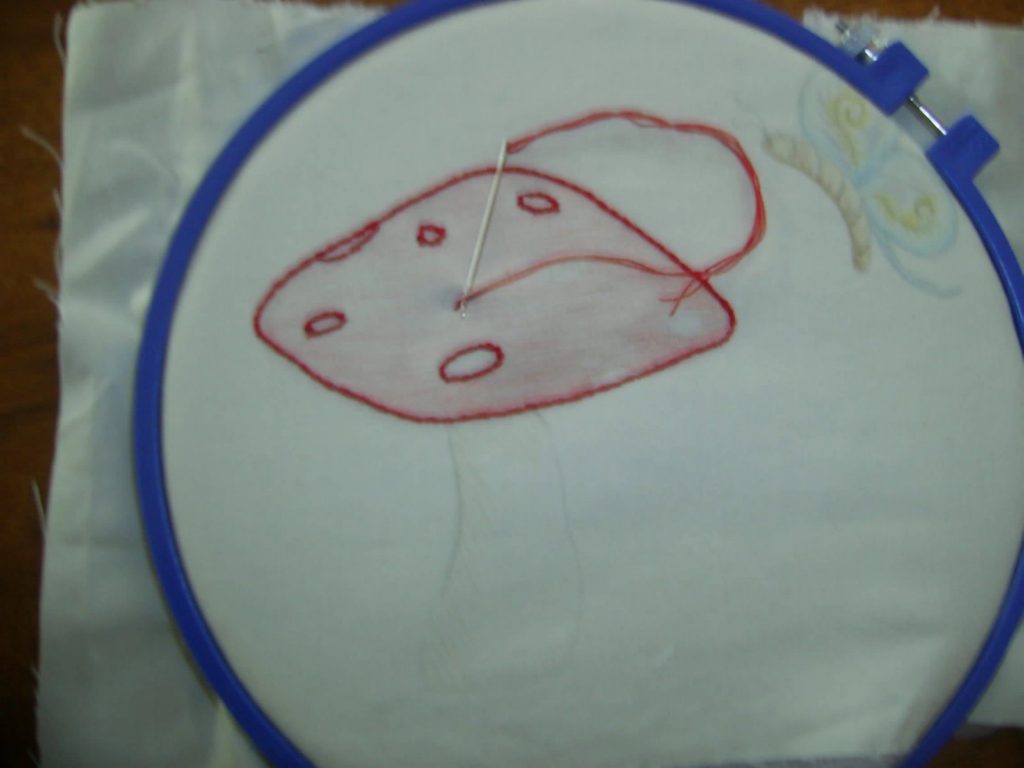
Stem stitch around the mushroom top and spots in red. Do the same around all the outlines, using my pictures as a guide. You can be adventurous with your colours.
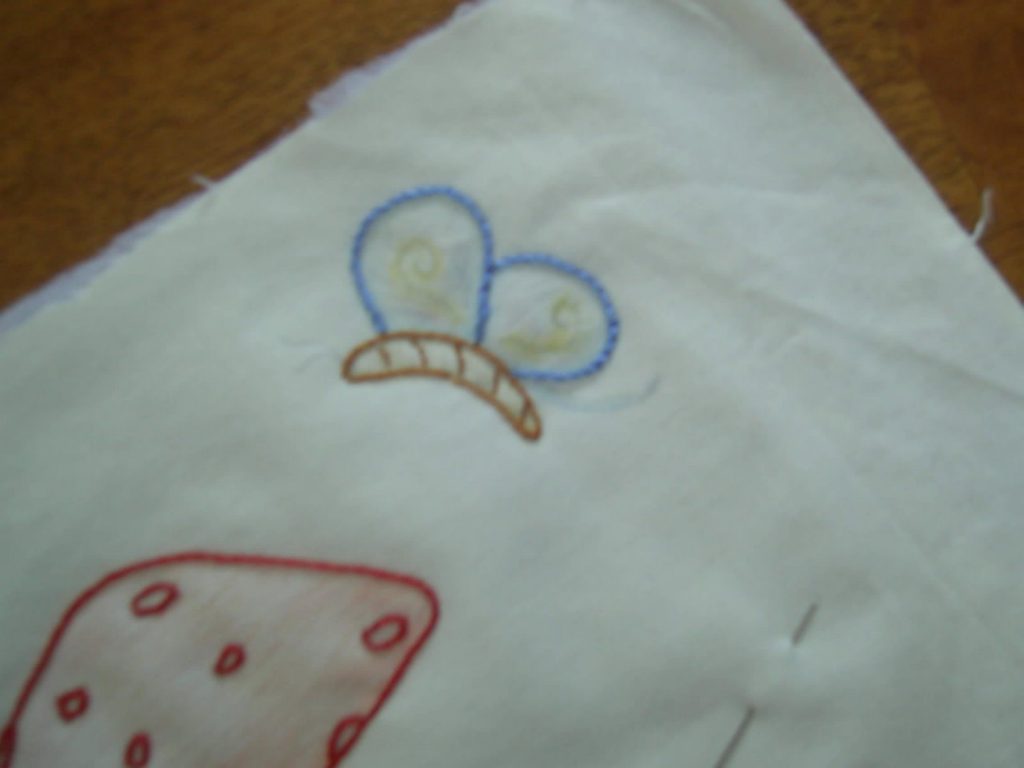

Continue outline stitching and don’t forget the details on the butterfly’s body and wings.
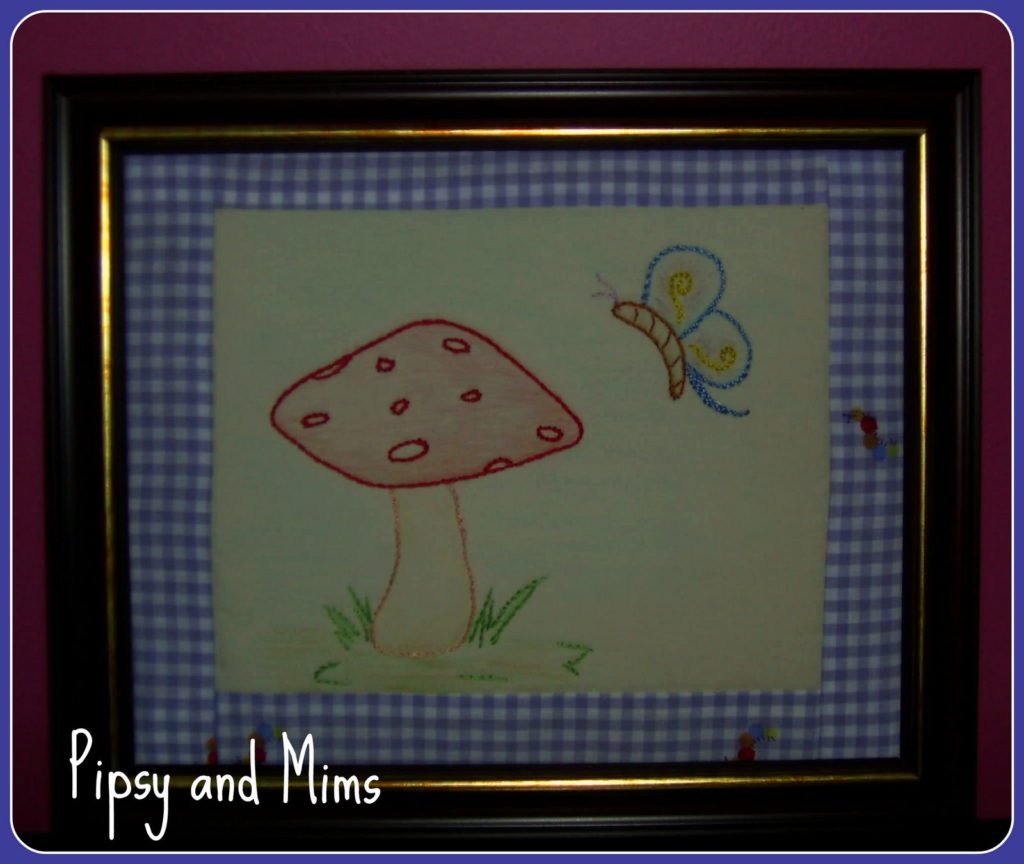

Here is my finished stitchery, I did some extra pencil shading when I finished stitching (blue for the sky, green and brown for the ground. I then sewed on a fabric border, backed it with some wadding and put it in a frame without the back on.
You don’t have to frame yours, it could go on a cushion etc. but keep in mind it can’t be laundered due to the pencil!
Voila! A cute and quaint stitchery!
Please respect my creativity by only using this image and instructions for personal enjoyment.
I’d love to see pictures of your stitchery when you’re done and receive some feedback on the instructions.

Filed Under: Uncategorized Tagged With: embroidery tutorial

Primary Sidebar

Categories

Archives

Meta

  • Log in
  • Entries feed
  • Comments feed
  • WordPress.org

Copyright © 2025 Kelly Casanova Weaving Lessons on the Foodie Pro Theme