
List of requirements for 1 donut:
30 x30cm piece mushroom coloured wool felt
15 x15cm piece of wool felt for icing
Carded wool or polyfil for stuffing
Embroidery floss
Sewing thread
These can be sewn either by hand or machine. Machine will give a neater finish, but I have made them both ways.
Print out the pattern from here. Make sure your printer settings are at 100%.
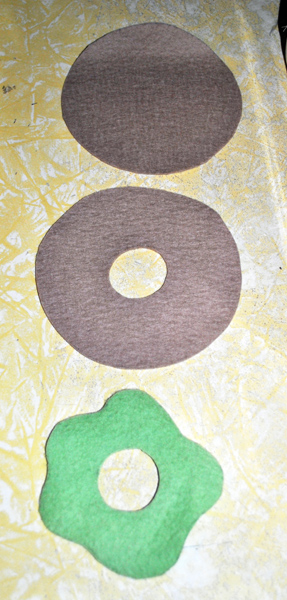
Trace pattern pieces onto felt and cut out. This picture has a mistake! The top piece should also have a hole, I took the photo before I cut out the hole, sorry about that!
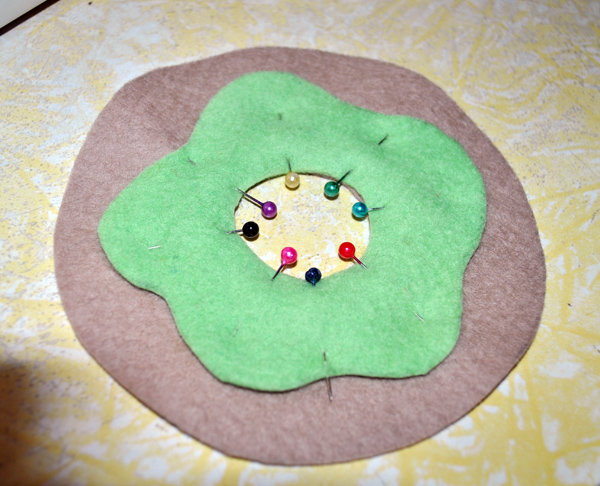
Pin the icing onto one piece of the mushroom wool felt.

Sew around the outside of the icing, either on the machine or with a running stitch or backstitch by hand to secure it.

For sprinkles, use your choice of embroidery floss (here I’ve used a variegated one by DMC) to make short, straight stitches randomly on the icing.
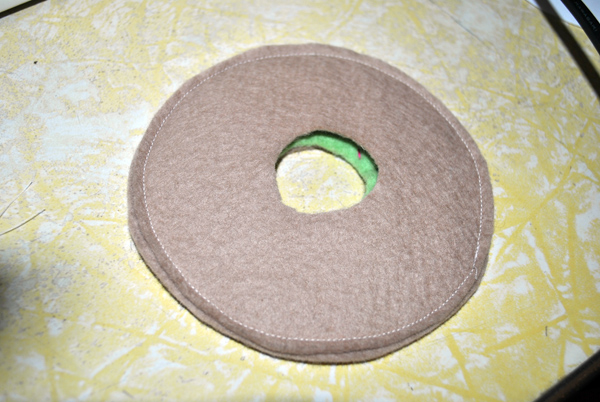
Put your undecorated piece of wool felt on top of the decorated one so that right sides are facing. Sew all the way around the outside (backstitch if you’re hand sewing).
Turn the donut right sides out so it looks like this 🙂
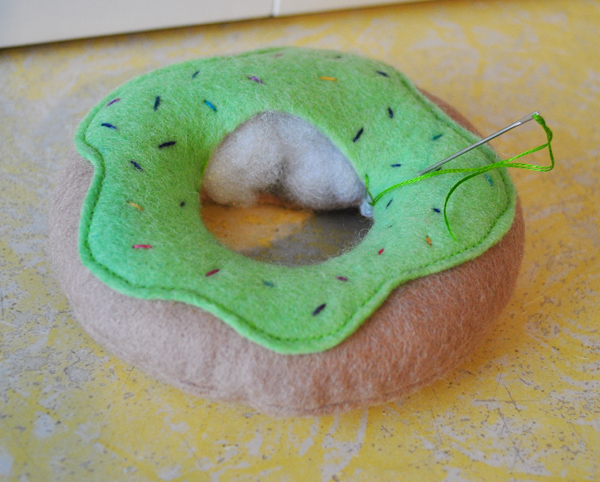
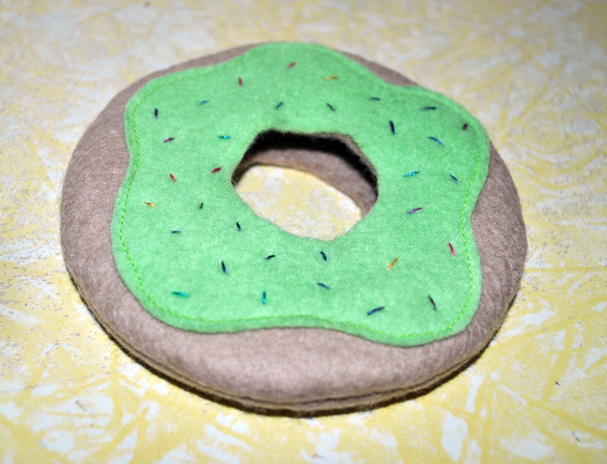
Starting from anywhere around the centre hole, close to the edges blanket stitch by hand with a floss matching the icing, 3/4 way around. *Note – if you’re not confident with blanket stitch you can do either a small running stitch or backstitch. The reason I like blanket stitch is it looks extremely neat and leaves no holes.
When 3/4 of the way round begin to stuff. Poke the stuffing with your fingers to ensure a firm donut with even consistency right around. When you’re happy with the stuffing, continue to stitch around the inner circle until completely closed, knot and sink the finished end in.
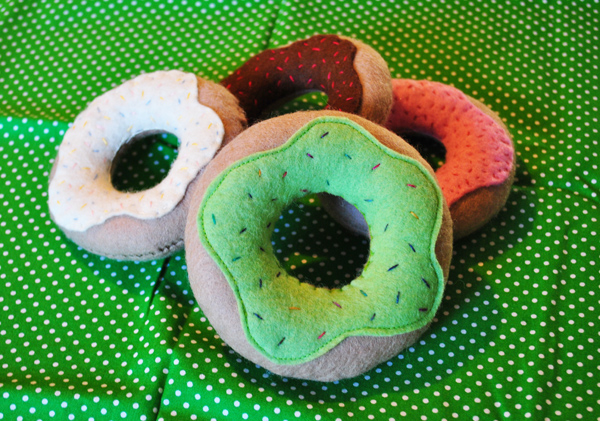
Ta da! Isn’t that easy? Don’t you want to make heaps and heaps?
If you need a wool felt stockist Winterwood Toys is my favourite.
Please respect the fact that I am the original author of this post, that I have spent time and care in putting together this tutorial and drawing a pattern to share with you. Therefore, I ask that you do not steal from me or fail to give credit. Thank you!
*If you have any trouble printing the pattern or following the instructions please take the time to let me know -I can’t fix it if I don’t know about it!
Hi, Kelly
I follow so many of your weaving videos. Your patience and incredible teaching have helped me immensely. could you send me the pattern for the wool “donuts”? I can’t seem to get the pattern to work. Thank you
Karen Wolken
Hi Karen,
I’ve emailed the pattern to you, please do let me know if it doesn’t reach you 😊
these are cute
Hello, I don't seem to be able to access the pattern – have requested access to it via google….. Many thanks.