
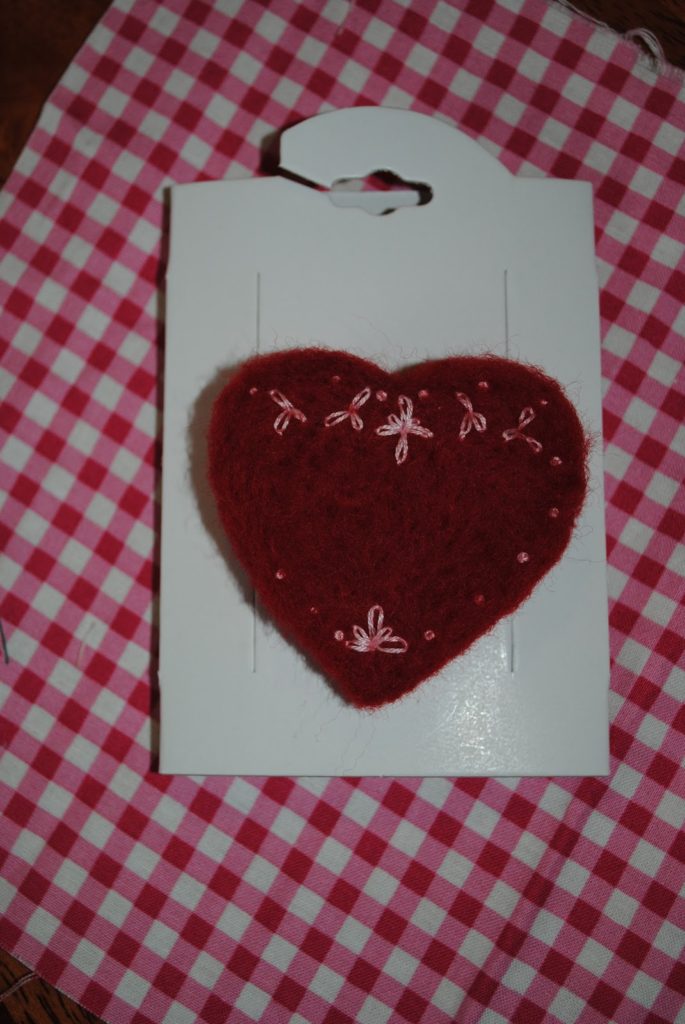
I’m on a bit of a roll with the tutes lately! In case you didn’t know already, Valentine’s Day is next month so I’m seeing hearts everywhere! I hope you enjoy this tutorial and I apologise in advance for the not-so-great night time photos, but as all crafty Mums know, night time is when the magic happens!
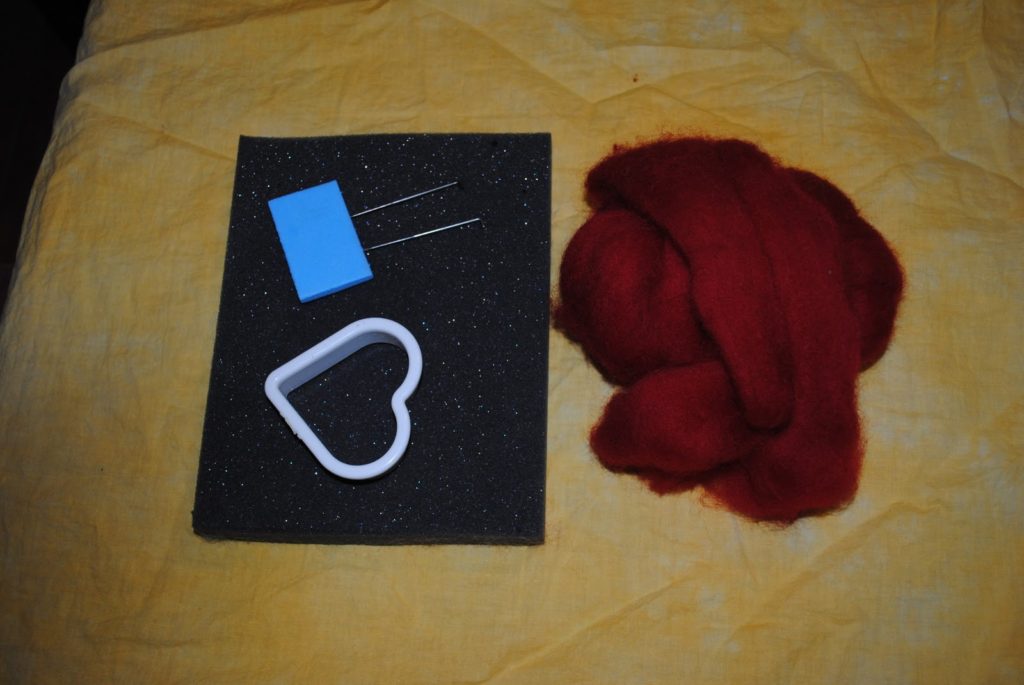
You will need:
Red wool roving (you don’t need all that much
Heart shaped cookie cutter
Needle felting mat and needle
Embroidery floss
Brooch back
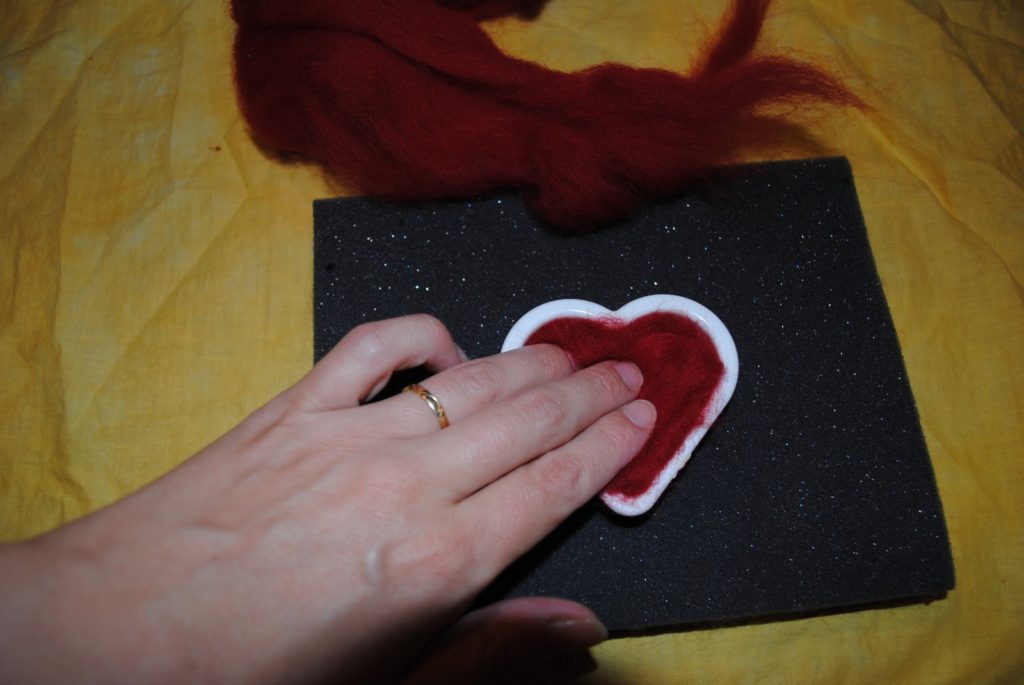
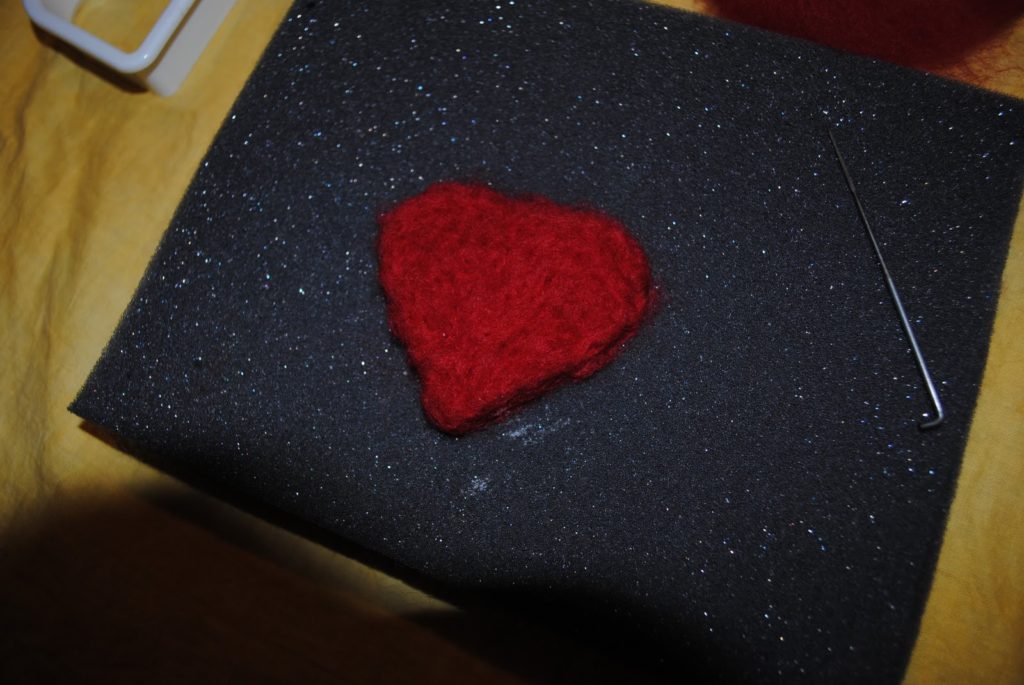
Pull off a piece of wool and tease it out a little so it’s nice and fluffy. Place the cookie cutter on the mat and stuff the wool into it.
Using your felting needle, begin to felt the wool by pushing the needle up and down all over the wool. Hold onto the cookie cutter to avoid needle felting your finger. It hurts. I repeat. It hurts! When the wool seems matted add another, thinner layer of wool and repeat the process.
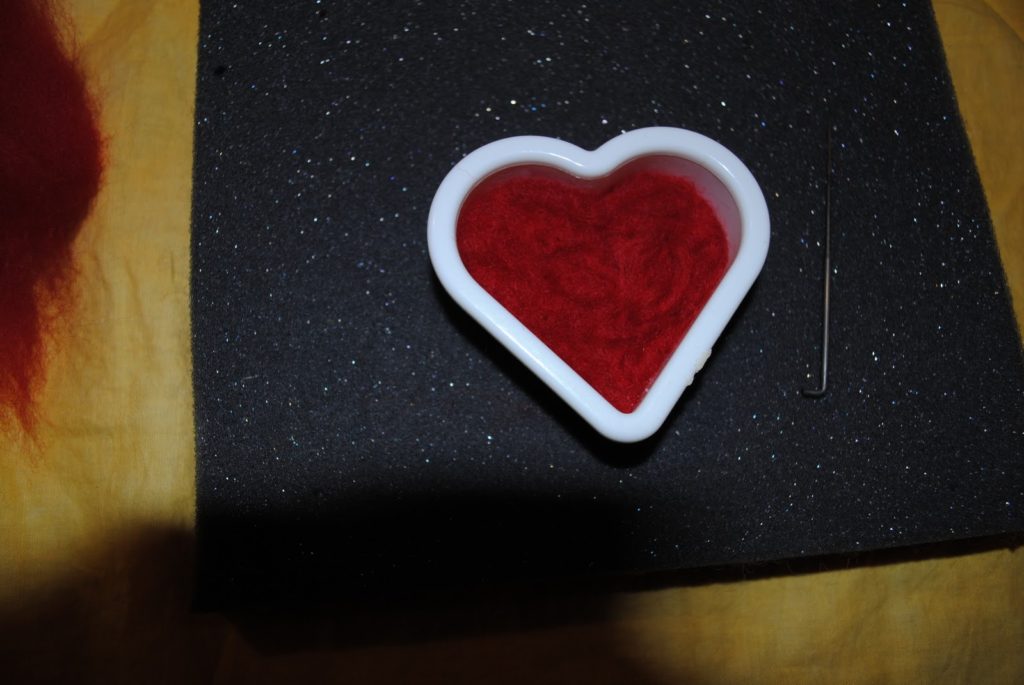
When the wool seems to be matted down nicely, turn it over to the other side. Replace the cookie cutter to keep your heart shape and continue to felt, paying particular attention to the edges and the fold in the top middle of the heart.
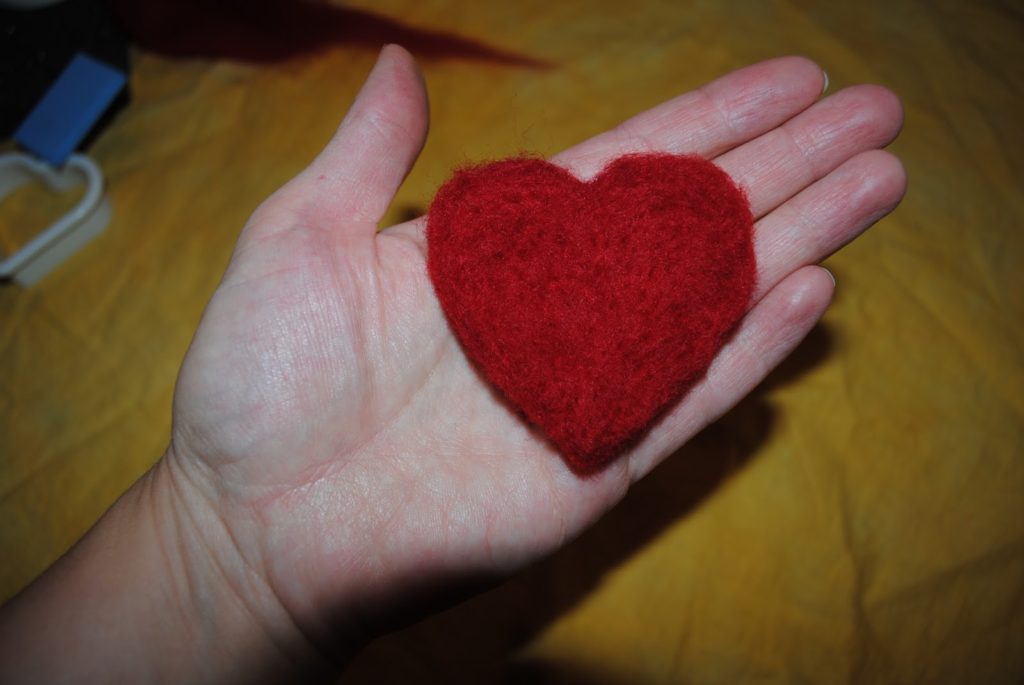
Take your heart out and turn it over again. If it doesn’t seem matted enough just repeat until you’re happy with it.
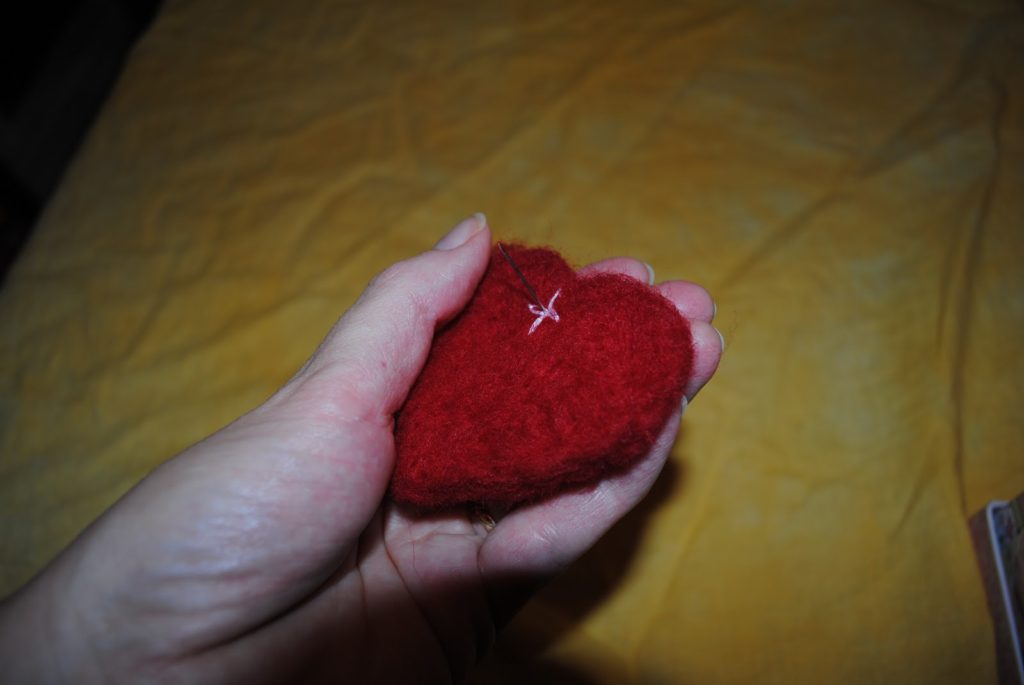
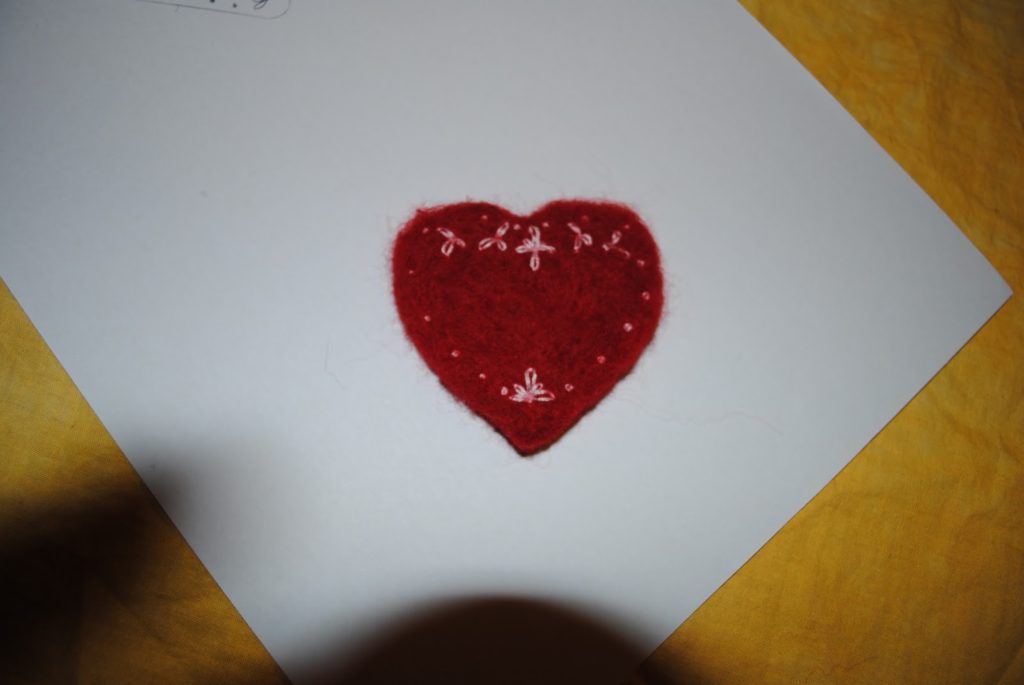
Using the design I’ve provided (at the end of this post) as a guide begin the embroidery. All of the loop stitches are worked in lazy daisy stitch and the spots are french knots. Use a light colour such as cream or light pink as I have used here. Use 2 strands of floss. Knot your thread at the back and use a light tension for your stitches so that they float on the surface rather than sinking into the wool.
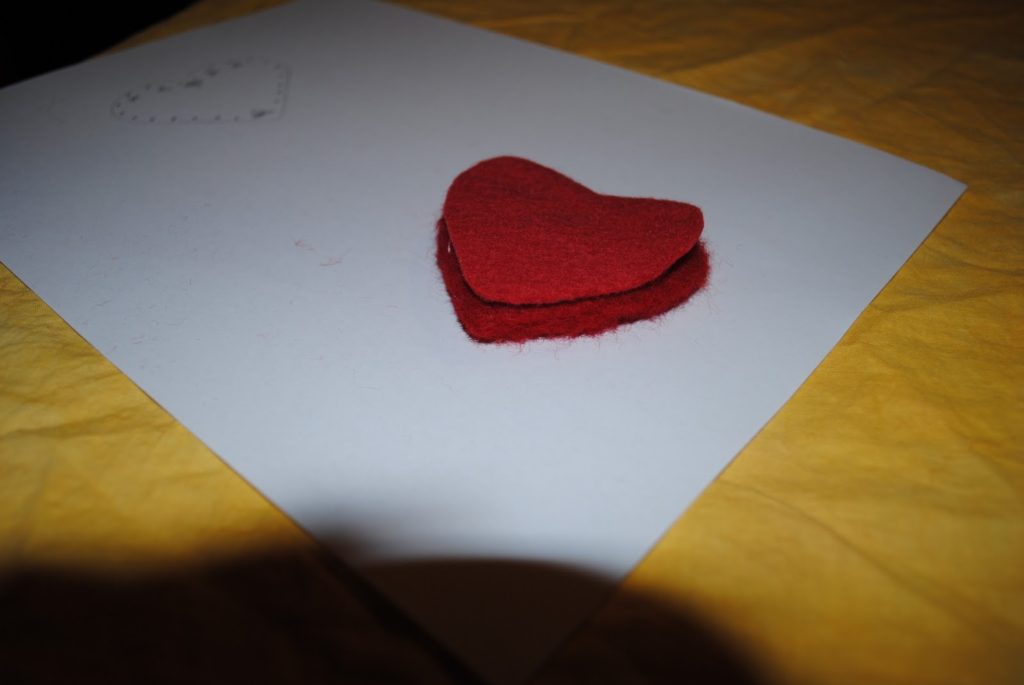
Use your cookie cutter to cut a heart shape out of wool felt. I’ve used a lovely hand dyed red wool felt. Slip stitch around the felt and wool hearts with a matching coloured embroidery floss to attach them together with almost invisible stitches.
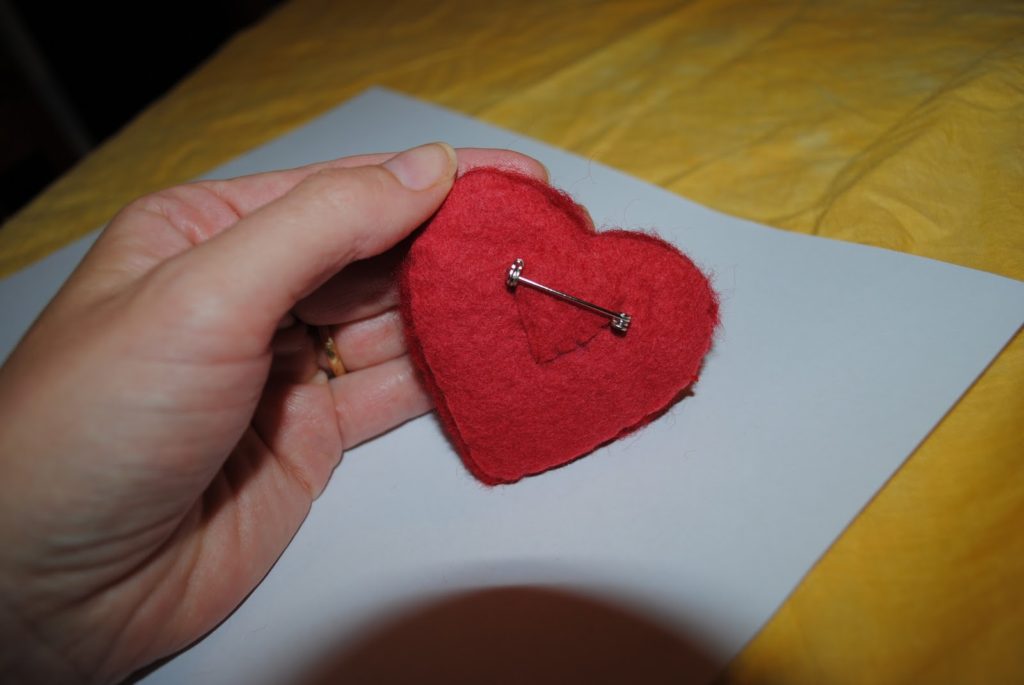
Stitch your brooch back onto the back of the heart, then, as a cute little touch, cut out a small heart shape from the wool felt and stitch it over the stitched brooch back. This neatens up the back too.
If you make one I’d love to see it, and please let me know if there are any mistakes or if you need more information.
By the way, if you like the brooch but can’t be bothered making one yourself, I have one available for sale, contact me if you’re interested 🙂
This is my own design and for personal use only. Please do not copy this design or blog post in any way.
Very cute you are so talented
Beautiful!