
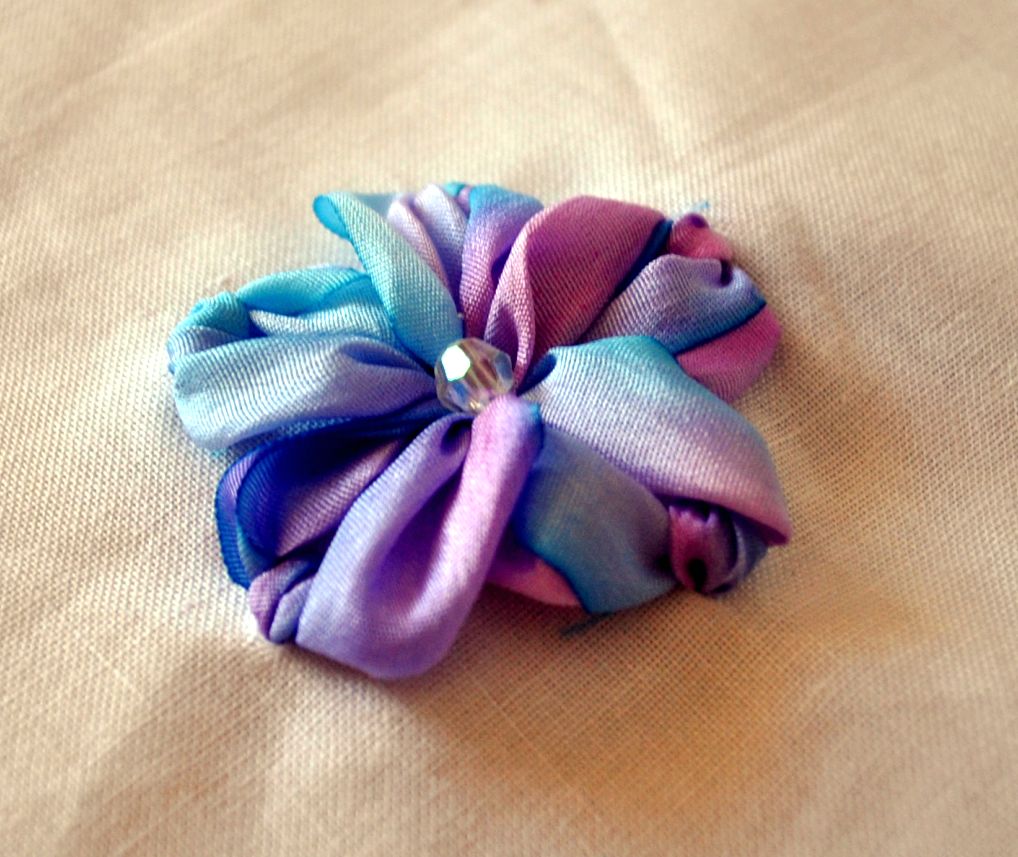
These make a great embellishment and are so delicate and pretty.
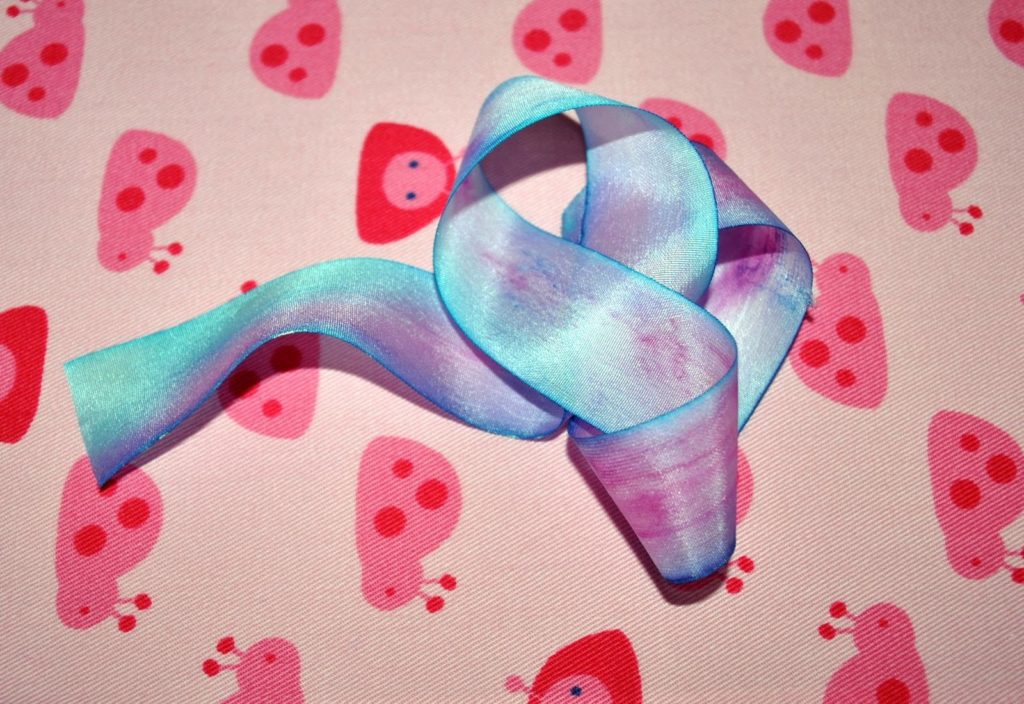
I’ve used some 1 inch wide silk ribbon which I handpainted. It’s a good idea to have 1 metre though you shouldn’t need that much – it depends how many petals you want.
I’ve used white homespun. Silk ribbon looks extra wonderful on silk fabric.
You will need a large needle (mine is a chenille needle) with a large eye.
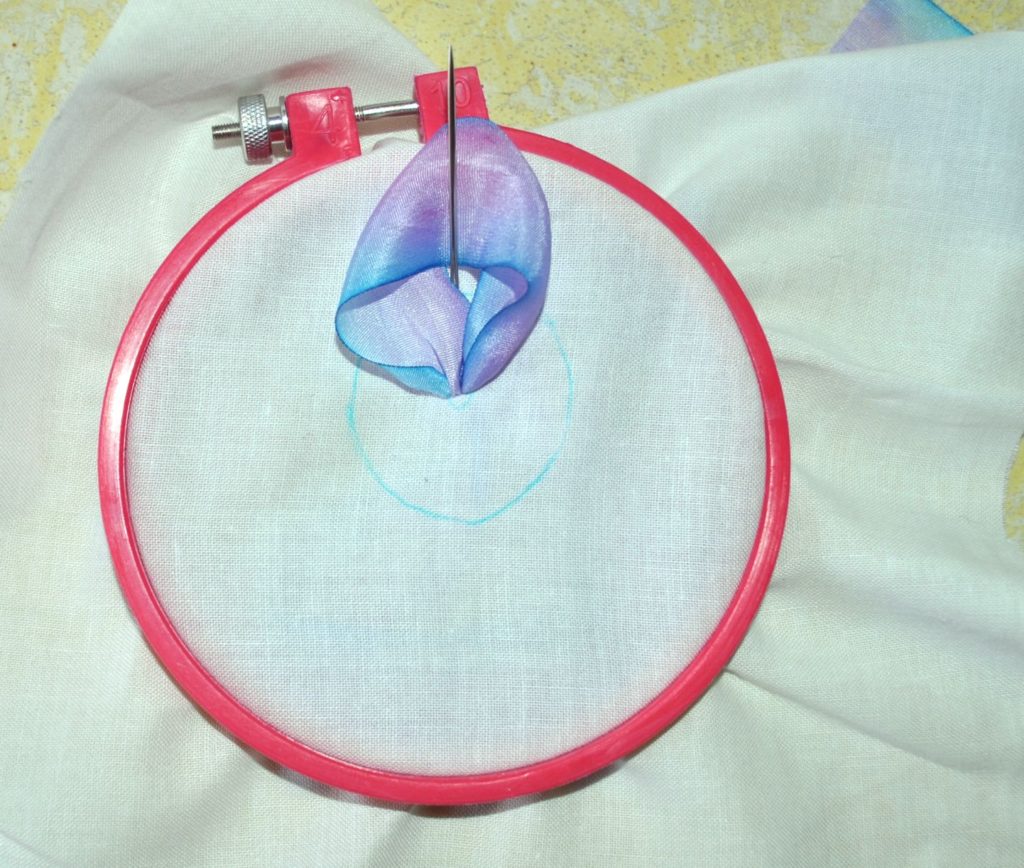
Draw an approximately one inch circle in either disappearing or water erasing pen.
Inside this circle, draw a much smaller circle.

Because the ribbon is 1 inch thickness you will need to make some holes in the fabric in order to pull it through. If you have an awl, use that – I’ve used a kitchen skewer which also works fine.
Make one hole on your inner circle and one on the outer as shown.

Pull the needle and ribbon through from the back.
Loop back to the inner circle hole and make another hole right next to the first one. Take the needle through this second hole to the back.
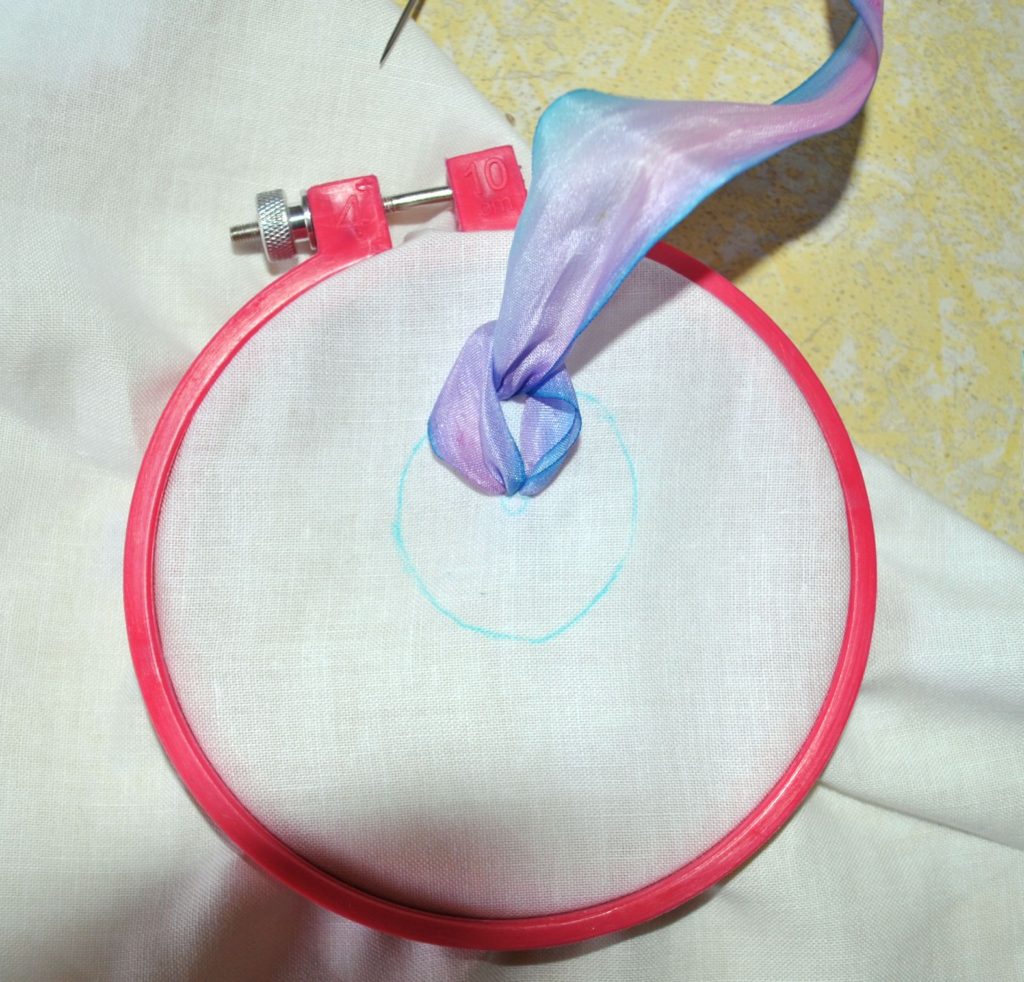
Now bring the needle up through the outer circle hole you made before. Pull the ribbon through. Make another hole near your outer circle hole and take the needle down through it to the back.
If you’re having trouble understanding it may be helpful to google “lazy daisy stitch”.
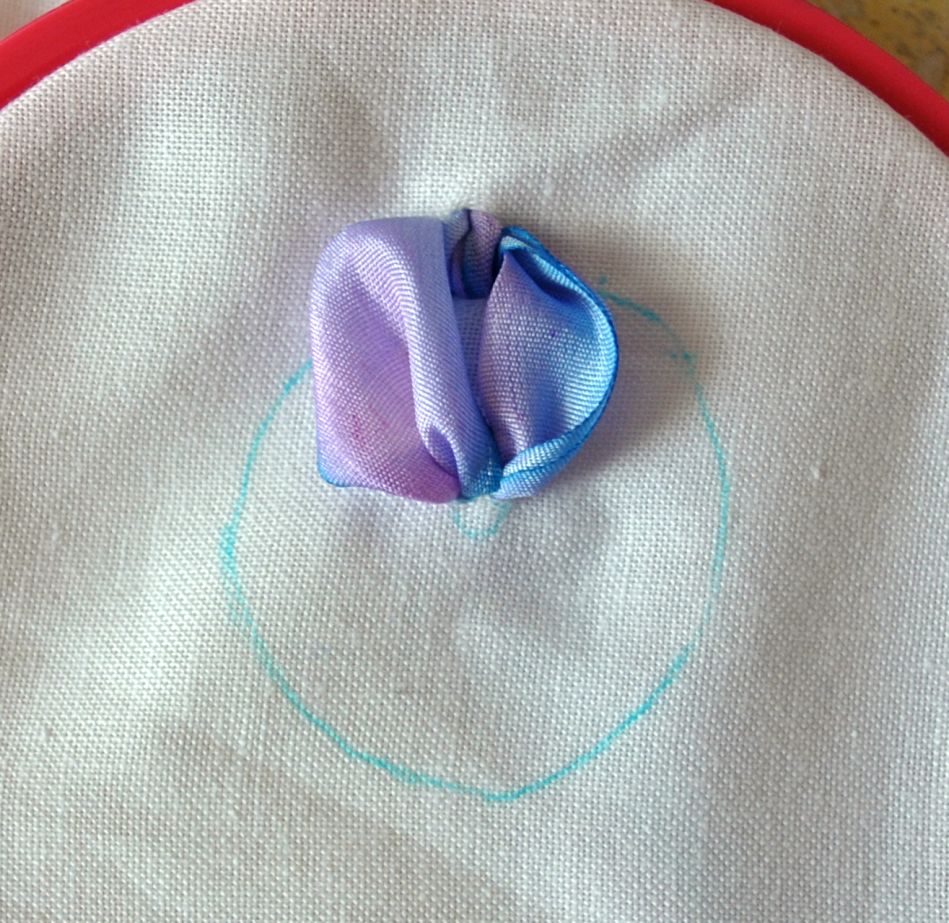
This is your first petal!
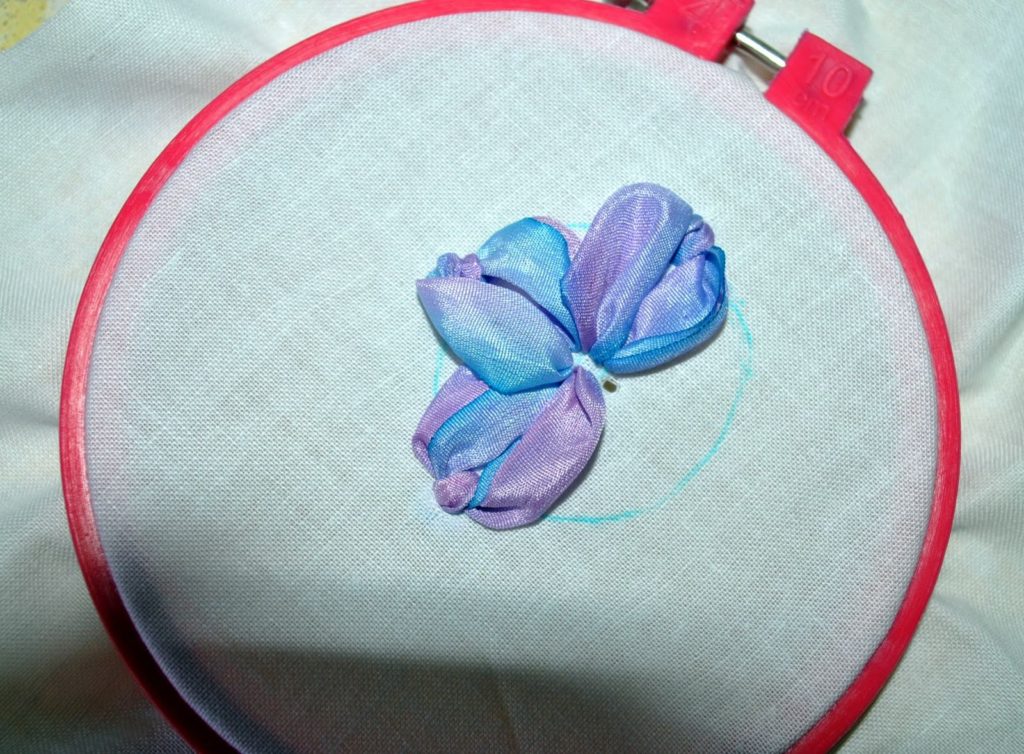
Continue around the circle in this fashion, doing as many petals as will fit (generally 5).
Adjust your petals and “plump” them with your fingers as you go.
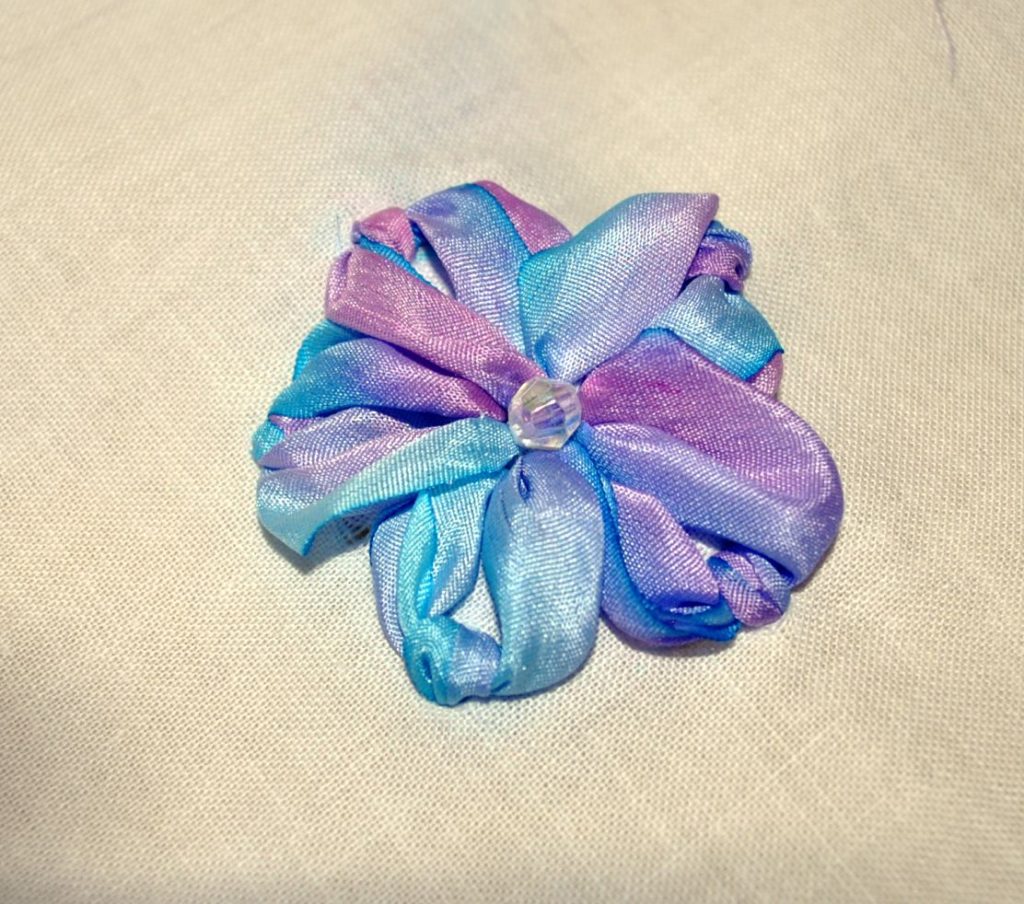
Sew a bead or button in the middle and voila!
LOVE IT!!! Finally directions I can understand….super easy.
Was just killing time floating around blogland (when I should be sewing) and happened across your blog – I LOVE it! These flowers are gorgeous… I love how the multicoloured ribbon looks once stitched up!
Am off to follow you about and check out more of your craftiness… Come by and say hi (and have a look around) when you get a chance…
The Spangler @
The Quick Unpick
So beautiful and very effective yet quite simple to do. Just wonderful! Thanks for sharing, Kel. 🙂
I am going to give this a go. I love it. Thanks for sharing,
Tanya