
For one angel you’ll need the following:
1 wooden bead with a hole through the centre (I used a 14mm bead, you can go larger if you wish)
A white chenille stick, 4 inches long
Small wool felt pieces
Scraps of yarn for hair, or you can use carded wool
Beads, sequins etc for embellishing or embroidery floss
Pigma pen or paints
Craft glue
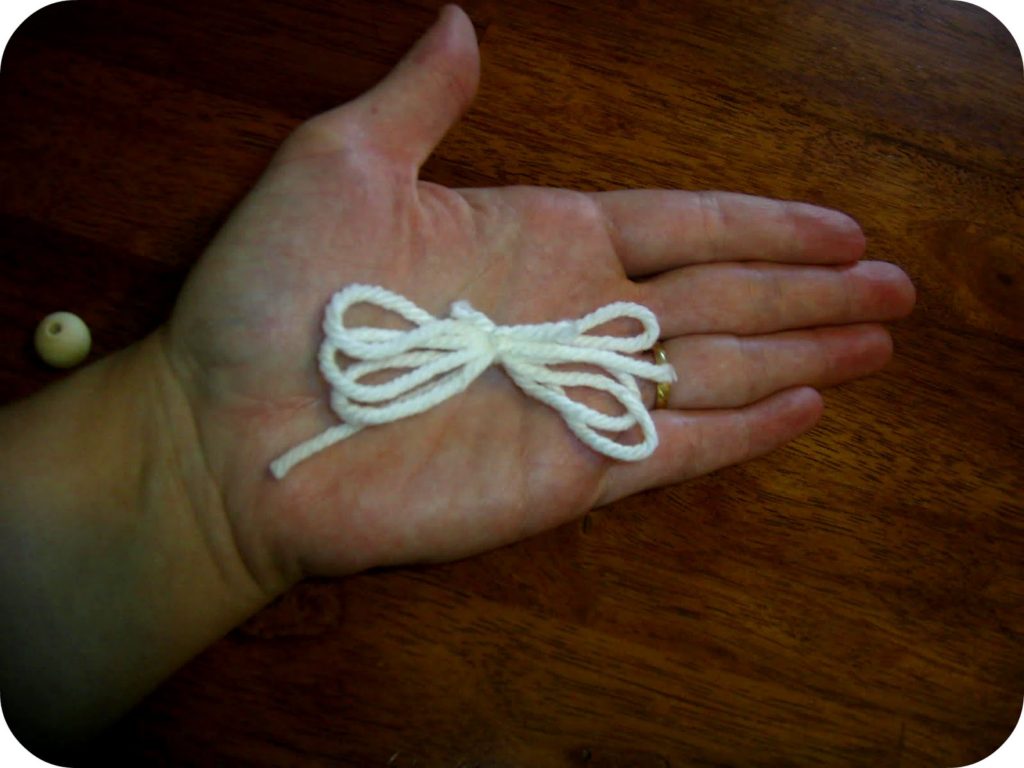
Gather your yarn into 3.5 inch long lengths and tie in the middle with a piece of yarn, double knot it.
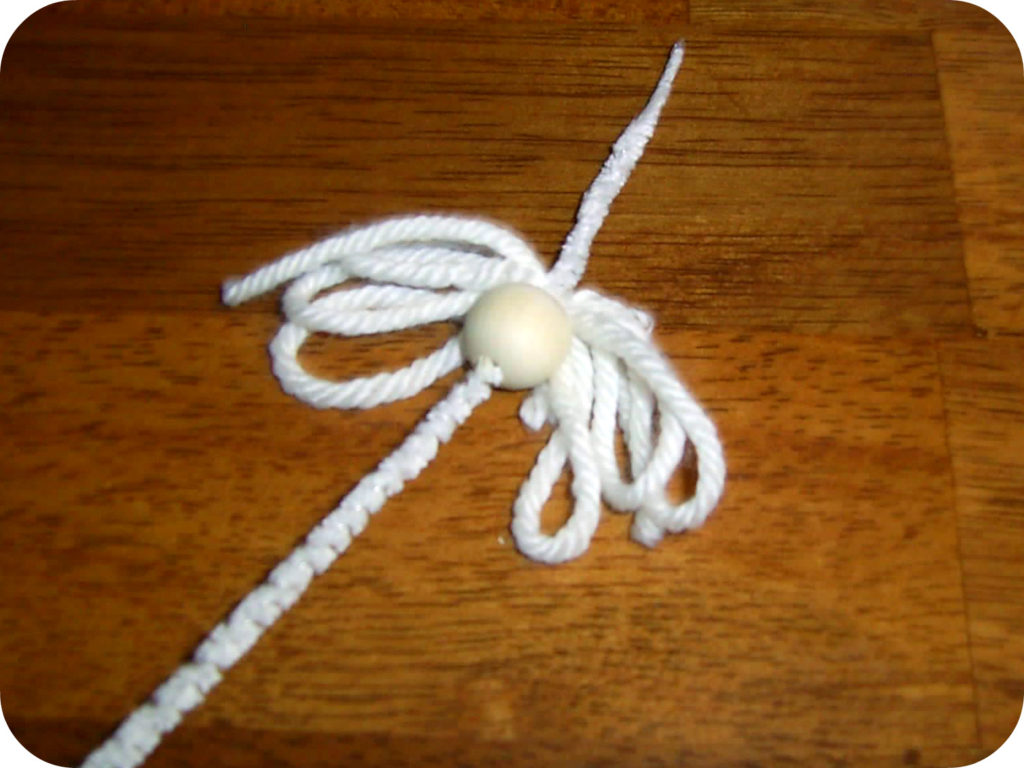
Glue hair on head towards the back so it doesn’t cover the hole. While the glue is still wet, push chenille stick through the hole in the wood bead so that it protrudes 2 inches out of the top of the head. Allow to dry.
On a piece of paper draw a circle with a 4 inch diameter, it’s easiest to do this with a compass or by tracing around a circular object. Cut this out as your template. Fold the circle in half and cut again.
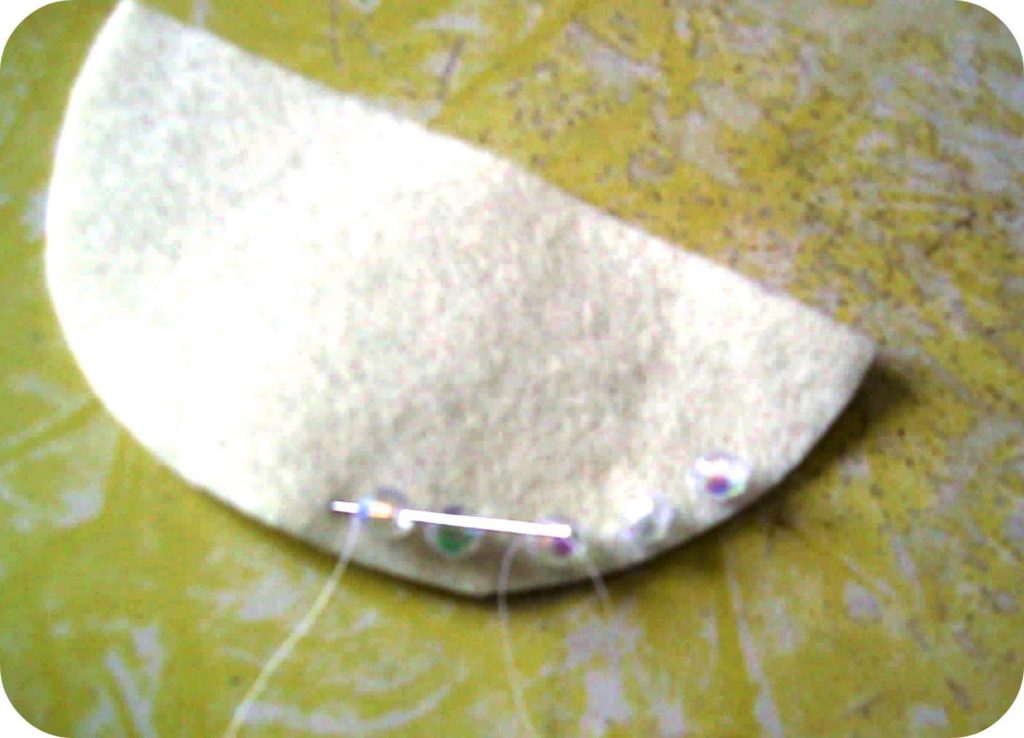
Now cut out 1 piece of white wool felt and 1 contrasting colour using your half circle template. Embellish the white piece as you wish. As you can see, I stitched beads onto mine.
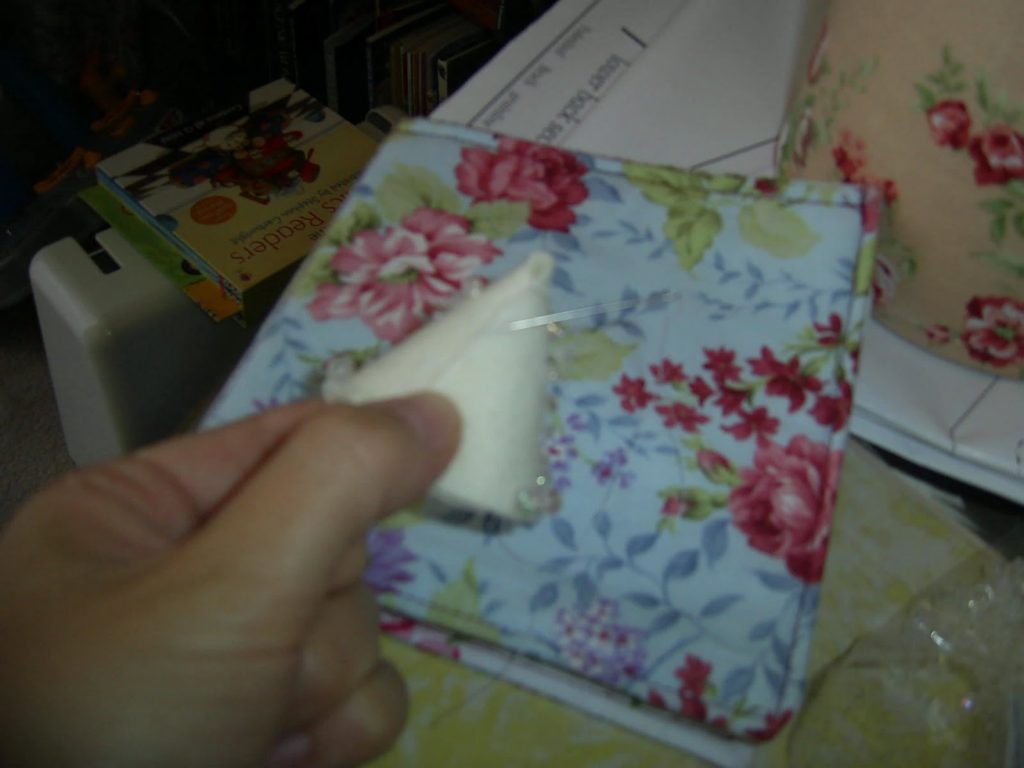
When you’ve finished embellishing, bend the piece of wool felt around into a cone shape so that the straight edges meet, leaving a small opening at the very top. Sew along the straight edges to hold the cone shape.
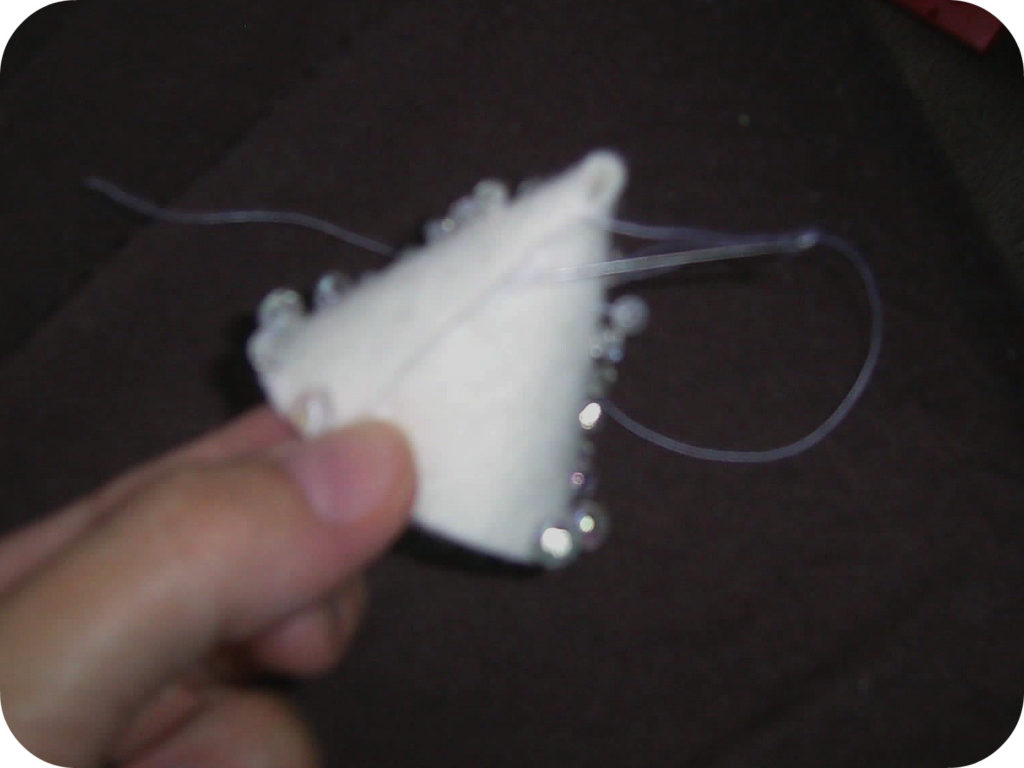
Add a little glue to the hole in the top of the cone, then push your chenille stick and head down into the hole so the head bead sits nicely on top. Sew up securely at the nape of the neck and around the neck if necessary. I added some more beads around the neck too.
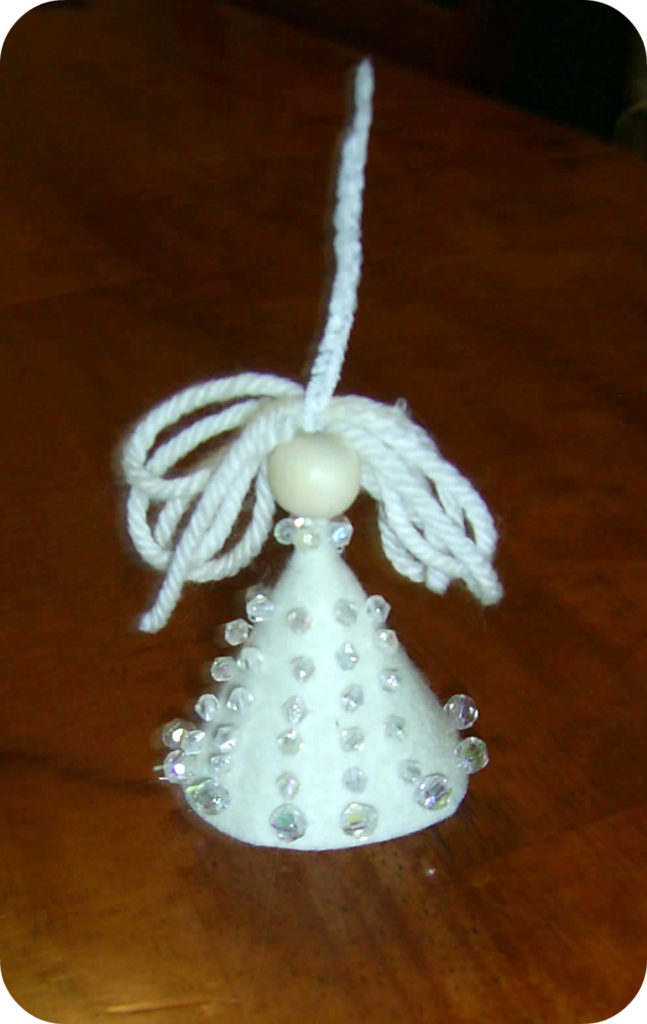
Your angel should look like this. Take the top of the chenille stick and bend it around your finger into a hook shape for hanging. Now draw with Pigma pens or paints a little simple happy face.
The last step is to take your contrast colour half circle and place it at the back of the angel so that the straight edge runs along as you can see in the picture (I cut some little wavy bits on the curved edge to make them look more like wings). Take a running stitch up the centre of the back of the angel to secure the wings.
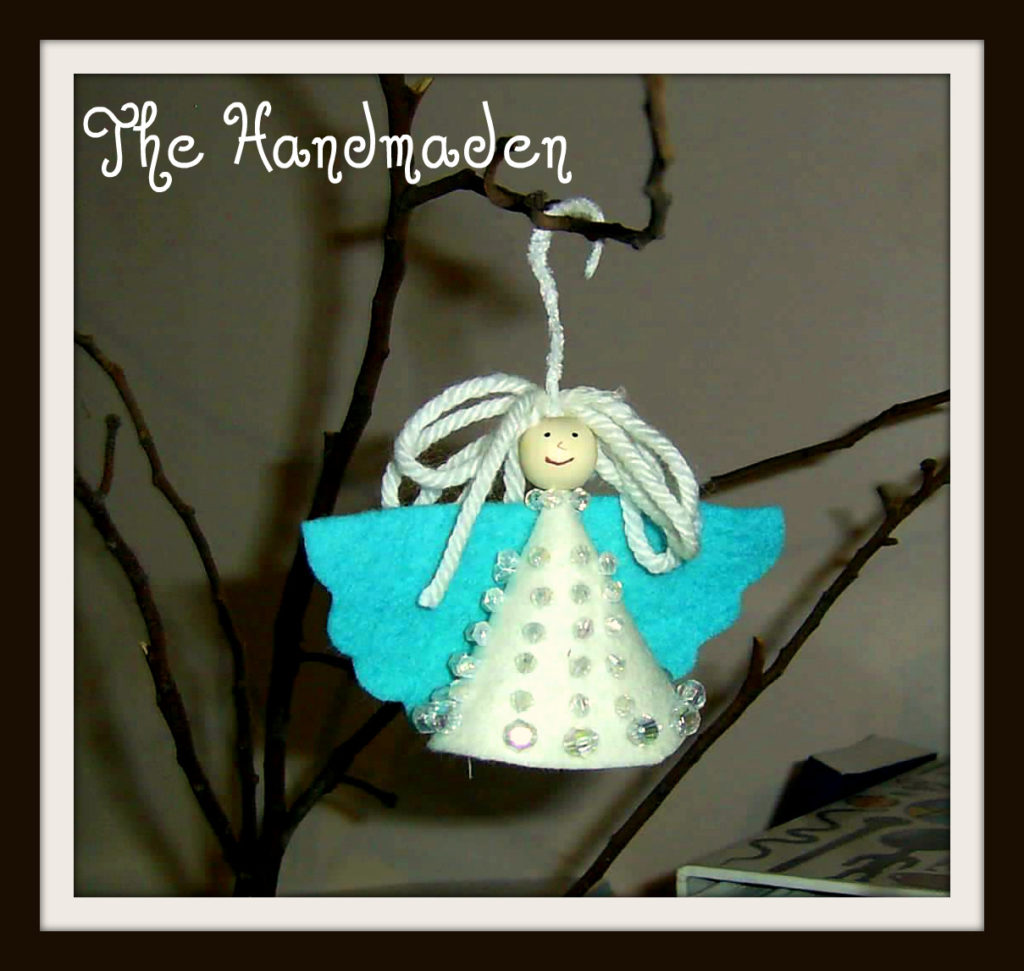
Now you can go make her some sisters to hang on the tree!
If you make an angel or any of my tutorials I would love to see the results, please email pictures to me or send a link of your blog so I can see! I’m happy to answer queries too.
thats a great idea………
Gill in Canada
That is lovely , thankyou so much !
oh lovely!
I somehow don't think i'll get to it anytime soon at the moment! But I might need to bookmark for next year 🙂
Very clever!! 🙂
how cute is that angel, thank you for the tutorial. I'm off to get supplies. I love checking out Retro Mummy blog and dashed on over to see yours, glad I did. What I would buy in the shop, mmmmmmmmm sooooo much to pick, I think it would have to be Heather Ross fabbie, no the Russian dolls, or fairytales, ooooooh cannot decide, alright then Heather Ross. Happy Stitching
Clever angel… Thank you for the tute… Rainbow smiles… Gloria
PS can't guarantee that I will make any for this year!!!
oh gosh, so sweet and adorable!