To fit approximately size 5, but is also multi fit.
Start with:
From main fabric –
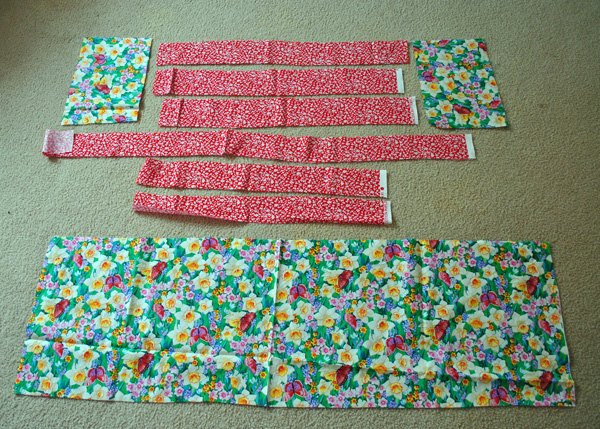
11 x 7.5 ” – Cut 2 (bodice)
45 x 13.5″ – Cut 1 (skirt)
From contrasting fabric –
25.5 x 3″ – Cut 1 (waist band)
45 x 2.5″ – Cut 1 (bottom of skirt)
24 x 3″ – Cut 2 (waist ties)
22 x 2.5″ – Cut 2 (neck ties)
*Please note that I refer to serging as overlocking throughout the tute (cos I’m Aussie!)
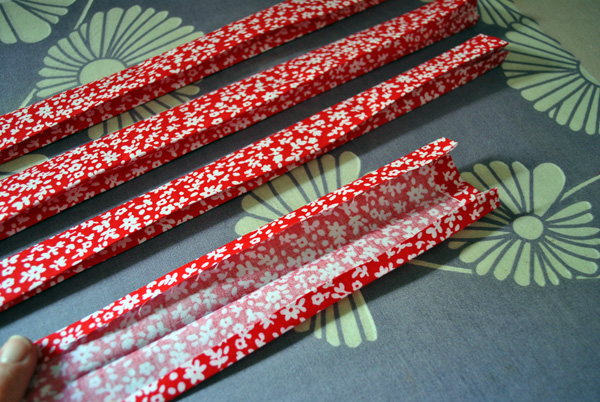
Take all the ties and press them in half. Open out, then press each long edge in 1/4 inch. Press one end in 1/4 inch also. Fold over in half again.
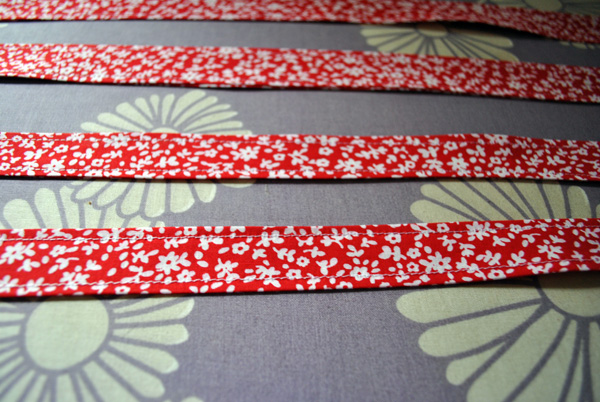
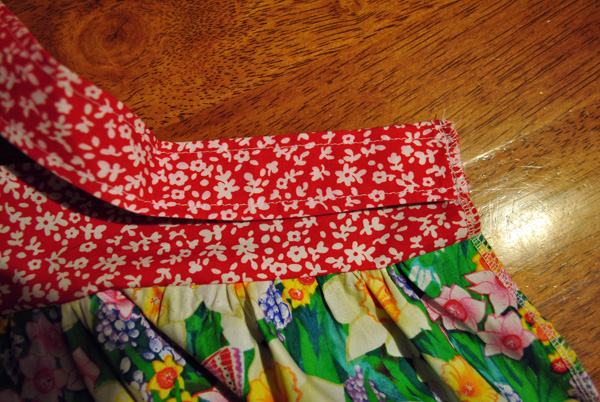
Topstitch down the length of both sides of each tie (including across the short edge you folded in) Overlock the short raw edges that you didn’t fold in on each tie.
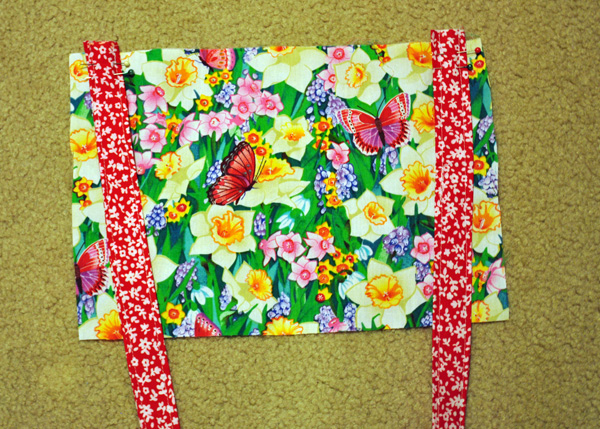
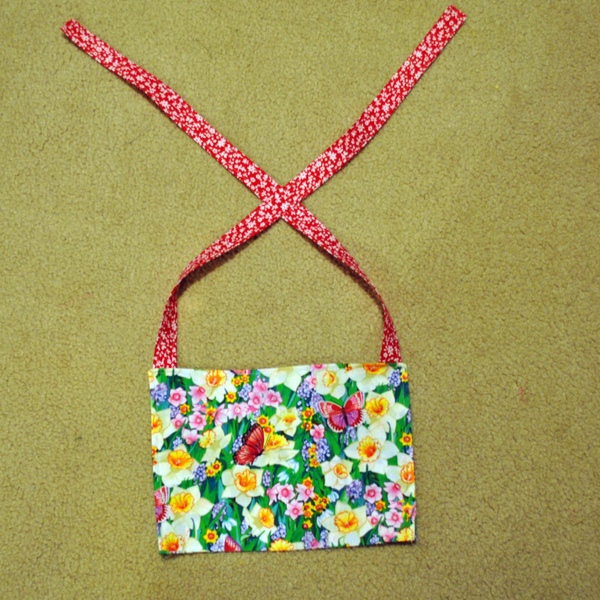
Pin the neck ties 1/2″ in from the sides of one of the bodice pieces. Place the other bodice piece on top with right sides facing. Pin, then stitch around 3 sides, leaving the bottom open.
Turn right sides out and press. Topstitch around the 3 sides.
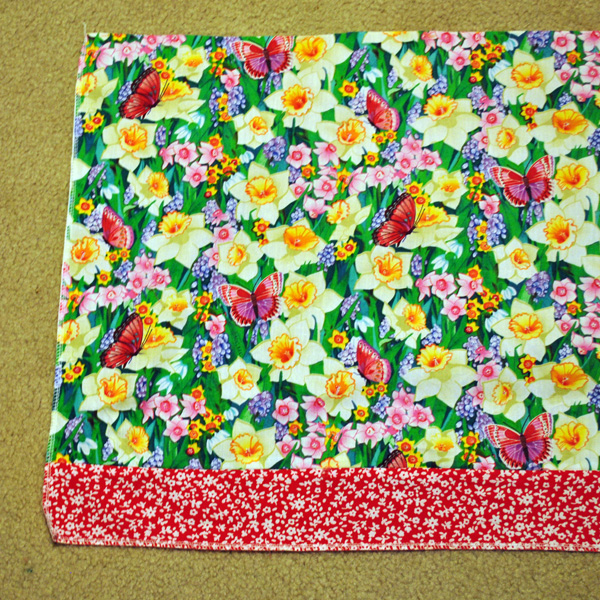
Take the skirt piece and the bottom skirt piece. Sew them together, right sides facing. Overlock the raw seams, then press open. Overlock the sides and bottom of the skirt also.
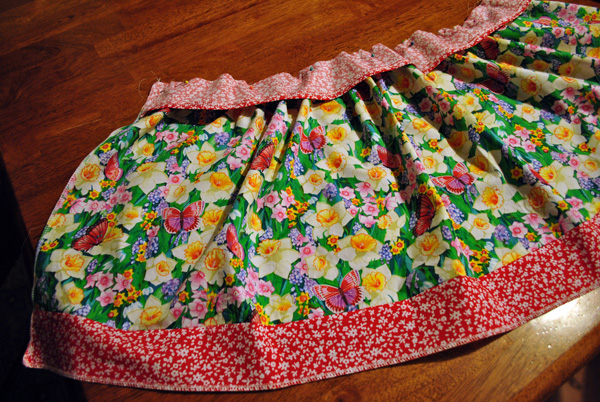
Run 2 lines of gathering stitches along the top of the skirt. Gather up until it is the same length as the waistband. Pin the waistband to the top of the skirt, right sides together.
Now take the bodice. Measure and mark the centre of the skirt and place the bodice in the centre, on top of the waistband which will be wrong side up. The bodice will be right sides facing with the skirt. Pin on and remove pins from underneath where you pinned on the waistband so that you don’t sew over them!
Sew along the waistband and over the bodice from one edge of the skirt to the other. Overlock the raw seams.
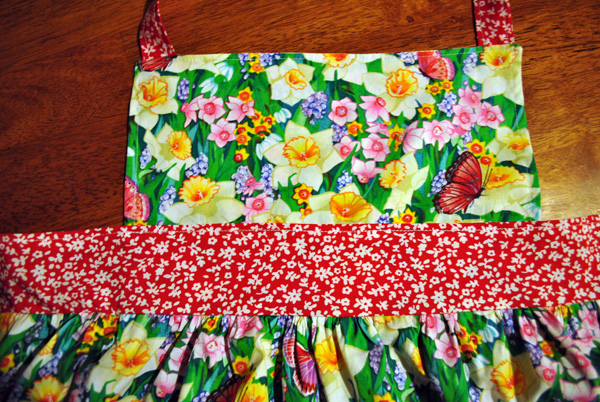
Press. Now topstitch the top of the waistband to the bodice, sewing along the line you made previously. No need to topstitch the full length of the waistband, just at the bodice to attach them together.
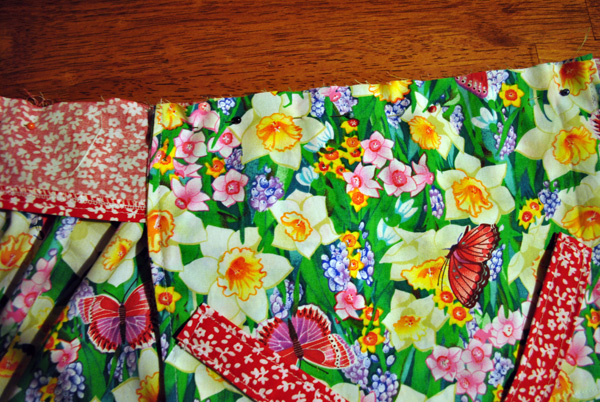
Take the waist ties and sew to the edge of the waistband on each side.
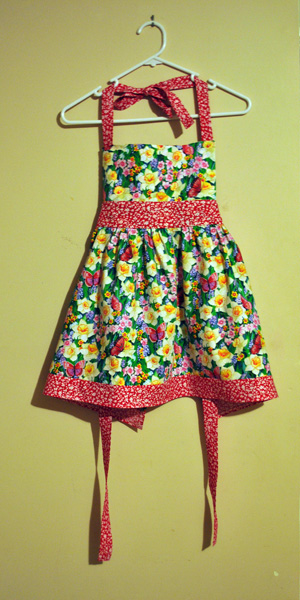
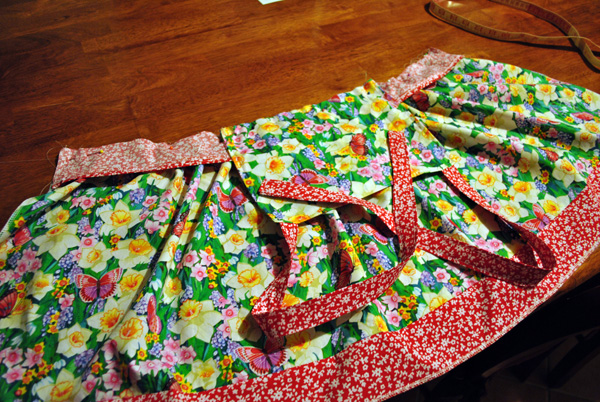
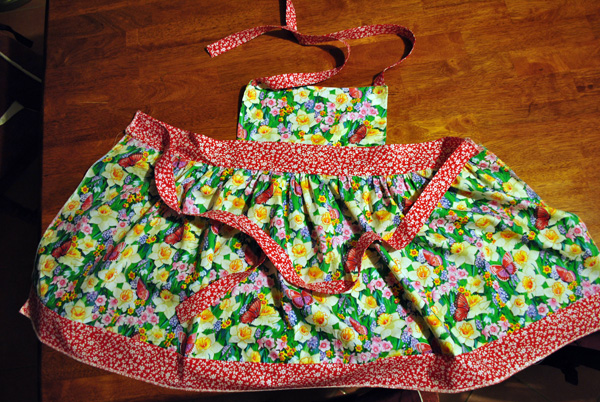
Your apron now looks like this. The last step is to fold in the overlocked edges on each side of the skirt and topstitch. When you fold in the edges the ties will face outward and will be caught in the stitching. Add an extra short line of stitching to the tie to secure it more to the waistband if you wish.
Now fold up the hem and stitch.
Lastly, give it to a little girl and make her smile!
I hope you enjoy this tutorial and make lots of pretty little aprons. I’d love to see what you make 🙂
You can use this tute for personal use and to make aprons to sell, provided you acknowledge me, Kelly Casanova as the original author.
I’d really appreciate you letting me know of any mistakes or improvements – I’m no expert at writing tutes!

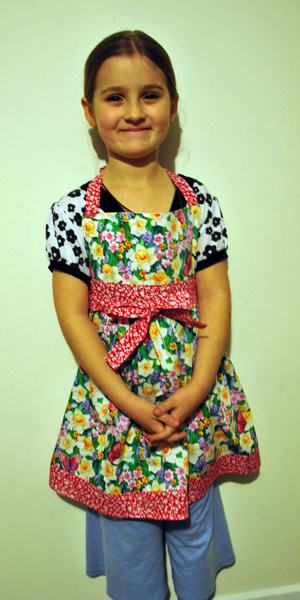
Baukje, it would be too big for a 2 year old – my 7 year old is wearing it in the photo. I have made it in all different sizes though, just by changing the measurements. If you would like me to email measurements for a 2 year old just let me know 🙂
This apron is adorable! I'm thinking I could make one for my daughter and niece for the holidays! Love it!
I love it. Do you know for what age size 5 is? I would love to make one for our granddaughter but she is only 2. I think I better wait some years??????
I love it. Do you know for what age size 5 is? I would love to make one for our granddaughter but she is only 2. I think I better wait some years??????