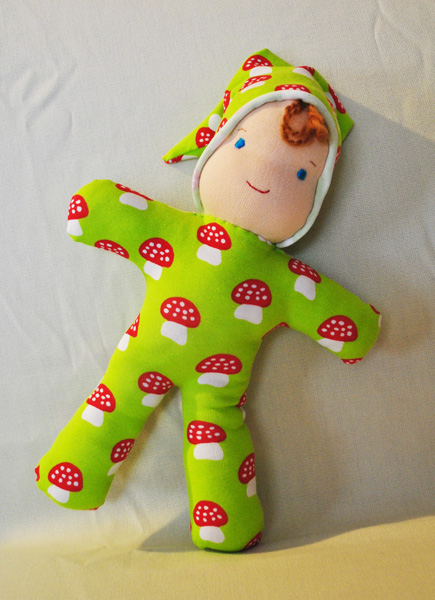
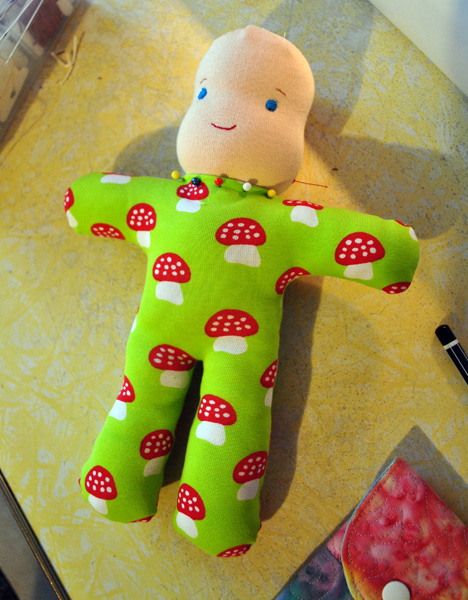
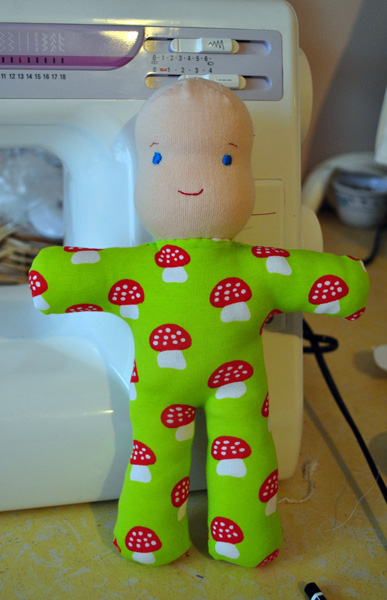
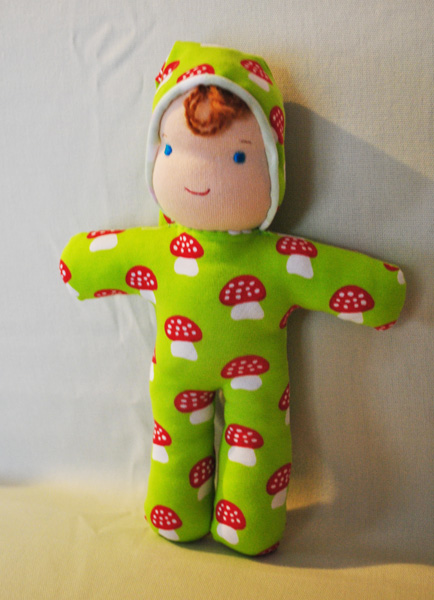
Just a little heads up. I’m approaching 800 blog posts and am in the mood to celebrate with a little giveaway. I’m thinking this mushroom doll may be featuring. Ssshhh!
Reader Interactions
Comments
Trackbacks
-
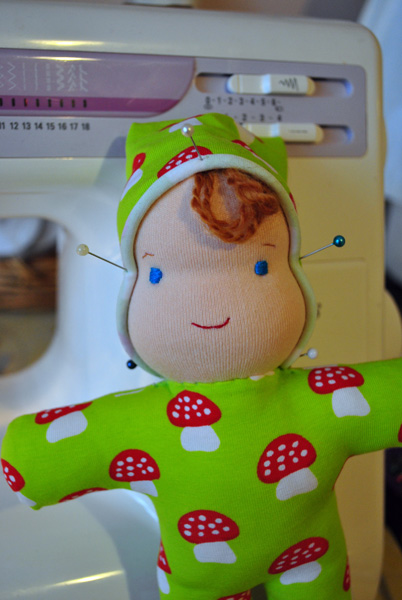
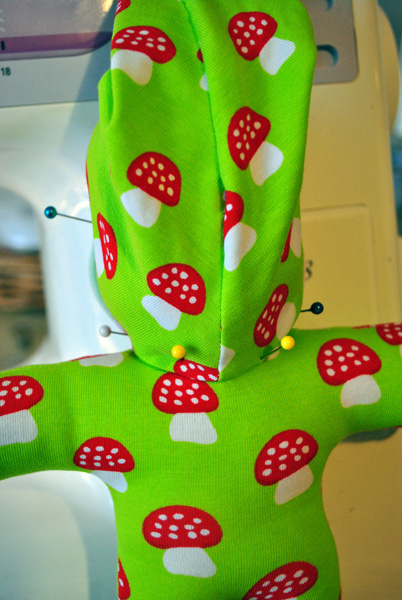
[…] Fit over the inner head like so. A little peak of tricot will stick up at the top, pin it back. Using your strong thread as before tie tightly around the neck with the knot to the back. Using a few pins, play around with the placement of the facial features. See how close set eyes differ to…. ..widely set eyes. Your choice. Using the pins as your guide, draw some small circles at the eyes and mouth. Use a disappearing or water soluble pen, it makes life much easier when mistakes can be removed! Using 2 strands of embroidery floss (knotted end) and entering from the back of the head come out at the top of one eye. Work sating stitch to fill in eye. Let the stitches float on the surface of the skin rather than pulling tight. Here’s a tip for needlework facial features: Use a larger (doll) needle to take the thread through the head. Once through, switch to a normal embroidery needle with a smallish eye. This works in 2 ways – you don’t make too many larger holes in the skin so your stitches look neater and you never lose a needle inside the head! For the mouth you really only need one straight stitch. Using matching thread, sew down that little peak at the top of the head I mentioned earlier, just some small, neat stitches to hold it down. Well, there is your part 1, I really appreciate feedback for tutorials – even if it’s just pointing out mistakes! So, let me know what you think. Part 2 is now available! […]




Thank you Heather! Let me know how you go and if you need any help 🙂
This is fantastic! Thank you so much! I will be working on my first attempt tonight!