
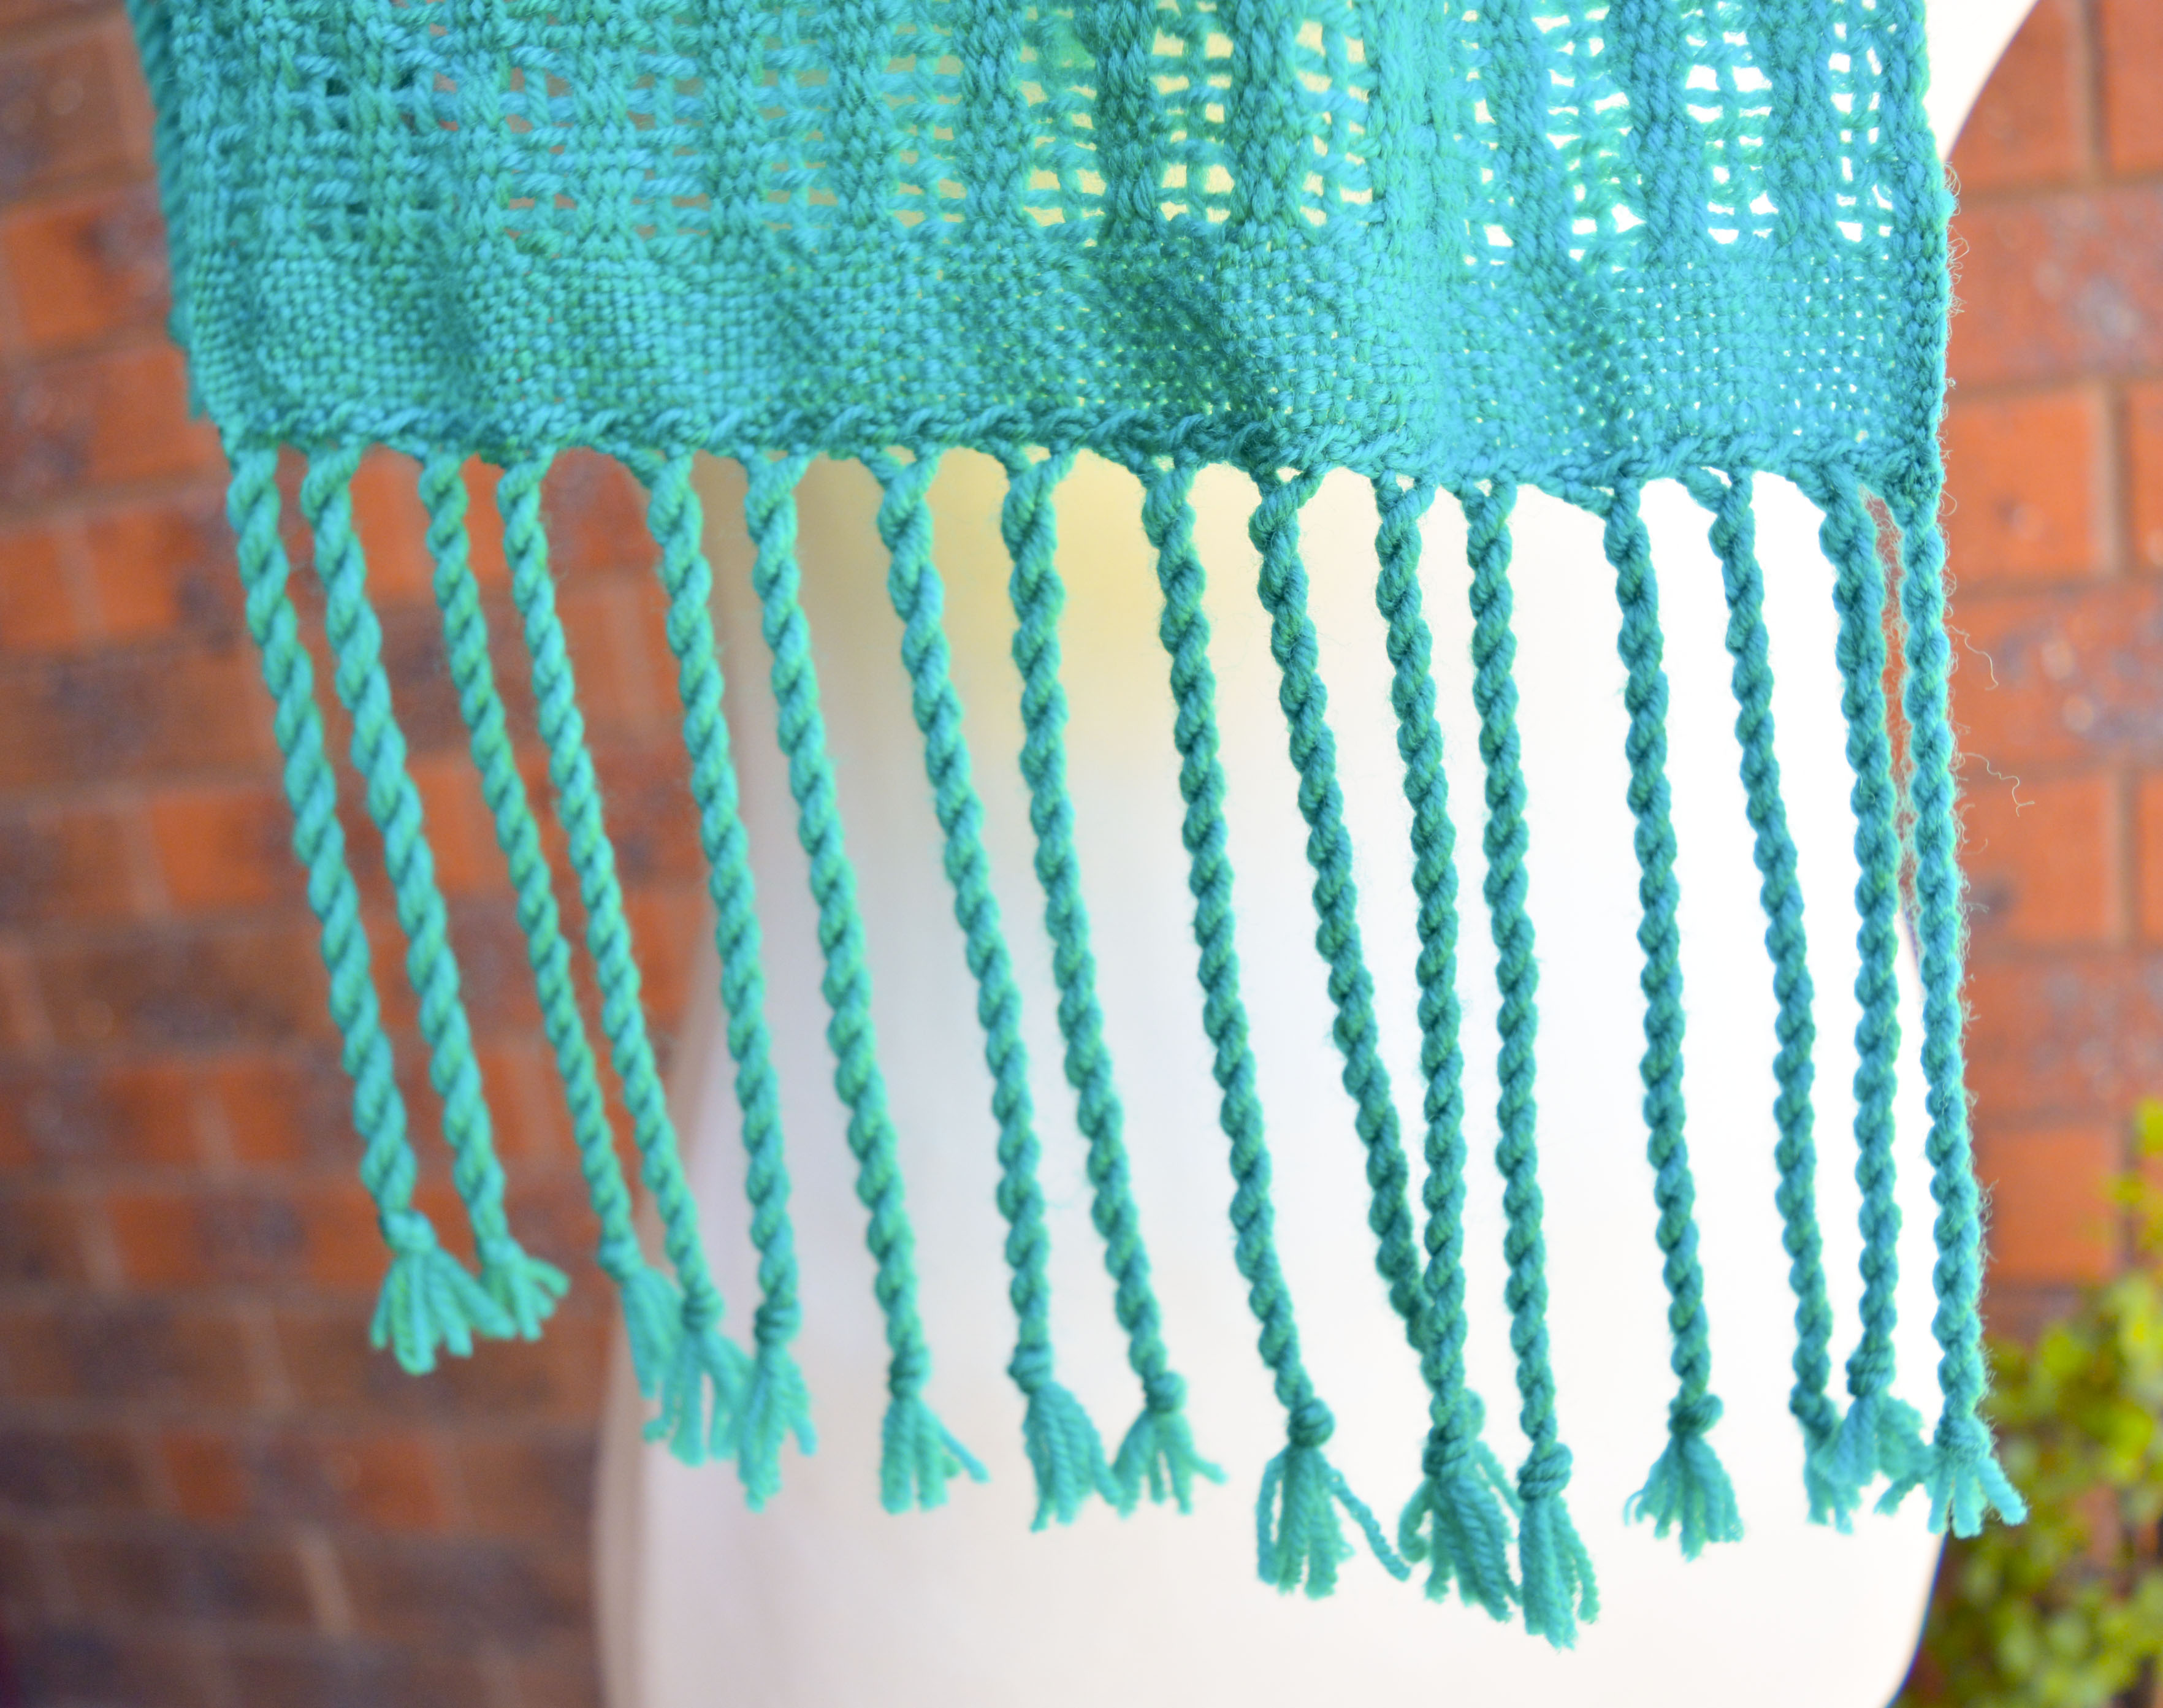
A twisted fringe is a beautiful way to finish off a hand woven piece. The first time I twisted a fringe of a scarf I felt like my weaving had entered a whole new level!

A twisted fringe looks professional and prevents your fringe from becoming straggly over time.
Twisting your fringe occurs BEFORE wet finishing to allow the twist to set properly in the washing process.
If you are considering a twisted fringe, you will need to calculate this into your warp. It’s easy to do, using a warp calculations sheet. I have a free one here that you can download and print as many times as you need to.
*This post contains affiliate links. This means that if you click on a link and purchase, I receive a small commission at no extra cost to you.
In your fringe allowance calculations, make sure you also allow for the shrinkage that will occur once your fringe is wet finished and twisted.
You will want to trim your fringes before twisting to ensure they are all the same length. To do this, fold the scarf is half so that hems are aligned and trim fringes to the same length using sharp scissors or a rotary cutter and self healing mat.
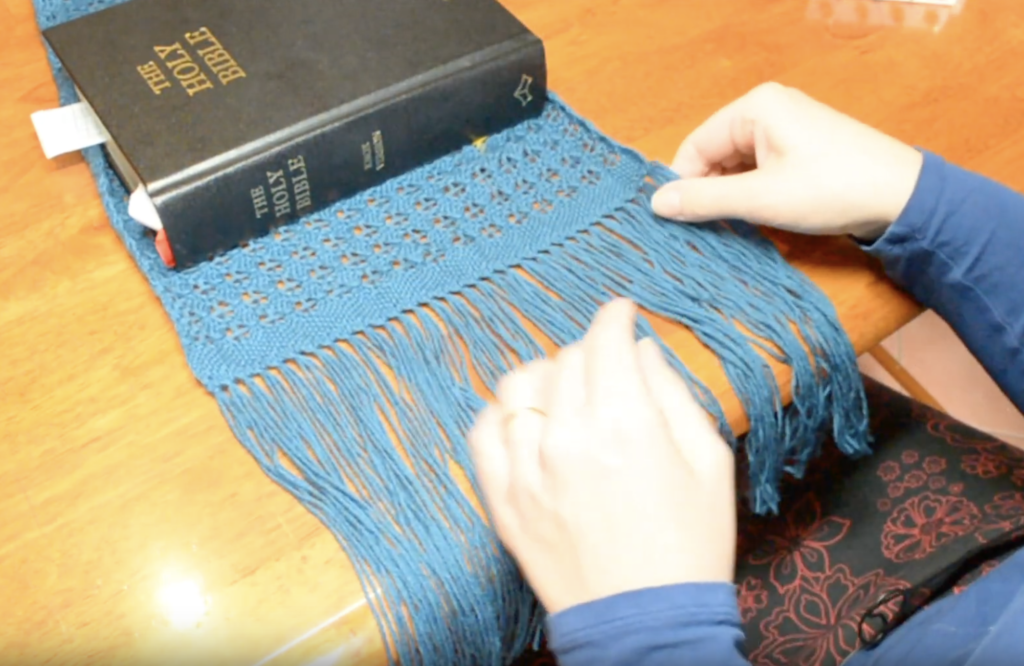
Lay one end of your item on a flat surface and place a heavy book on it so that the item doesn’t move around. Your fringes need to be secured somehow – either with hemstitching, as I have done or with knots.
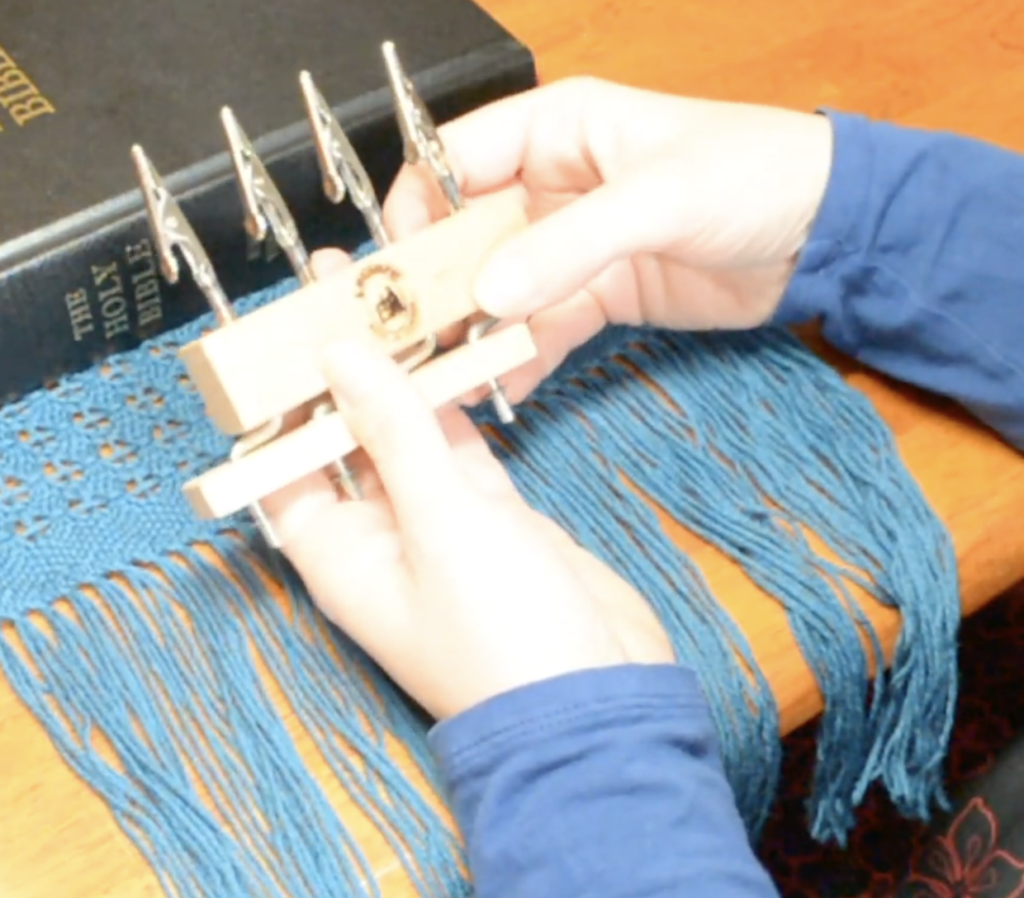
There are a few different options for fringe twisters. Mine is a Le Clerc and I’m very happy with it and have used it for years. Ashford also make them. If you’ve ever twisted fringes by hand, you will really appreciate how much faster a fringe twister makes the job!
Fringe twisting is quite addictive and I find that the majority of my fringed pieces are twisted these days, it just looks so good!
For the full video tutorial and demonstration, check out my Youtube channel.
If you’re curious about the scarf in the video, it’s my best selling Garden Path Scarf in Sea Blue. The pattern is available as a digital download in my Etsy shop or as a kit in a variety of colours (more colours being added soon!) Colour requests are welcome.
Thanks for reading, watching and commenting. Be sure to leave any questions you may have in the comments section below.
Until next time…
Happy Weaving!
I so needed this. I tried hand twisting the fringe on my Garden Path scarf … nope! Ended up having to plait it. The Ashford fringe twister is on my Christmas wish list so if Santa is kind enough to pop this under my tree I’ll be revisiting this post until I can fringe-twist in my sleep! Thanks Kelly!
You will love it Gai!