Waffle weave is a beautiful structure that adds texture and softness to your handwoven projects. In this step-by-step photo tutorial, I’ll show you exactly how to create waffle weave using your rigid heddle loom and a pick up stick.
Waffle weave is fun for beginners or any rigid heddle weaver looking to expand their rigid heddle skills. This guide will walk you through the setup and the weaving process so that you can incorporate waffle weave into your repertoire in no time at all.
If you would like to see a video tutorial with closed captions and a free printable PDF that includes the pick up, weaving sequence and yarn details, head over to the Online Weaving School to enrol in the free class.
The Pick Up
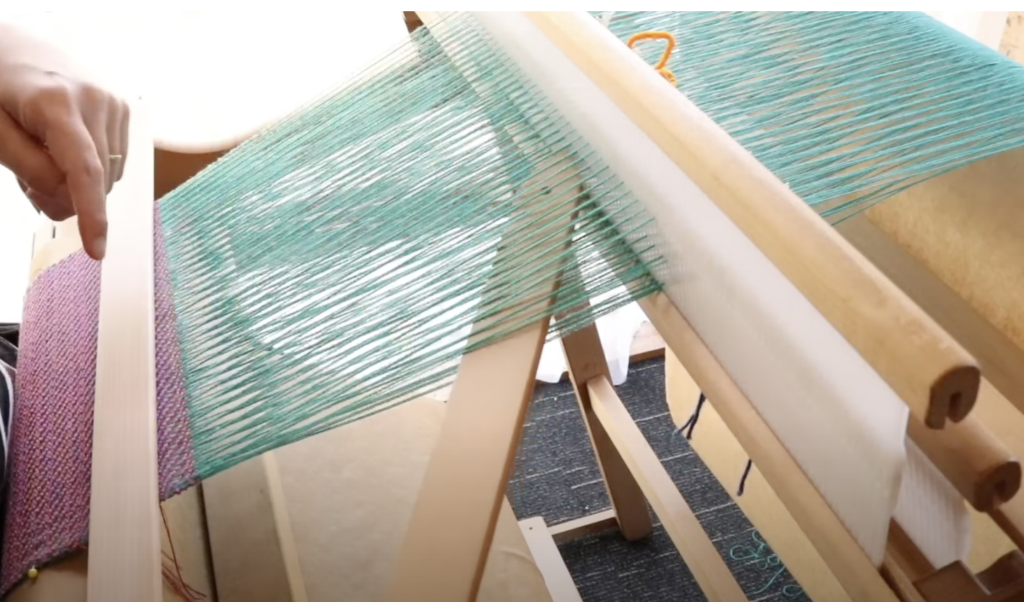
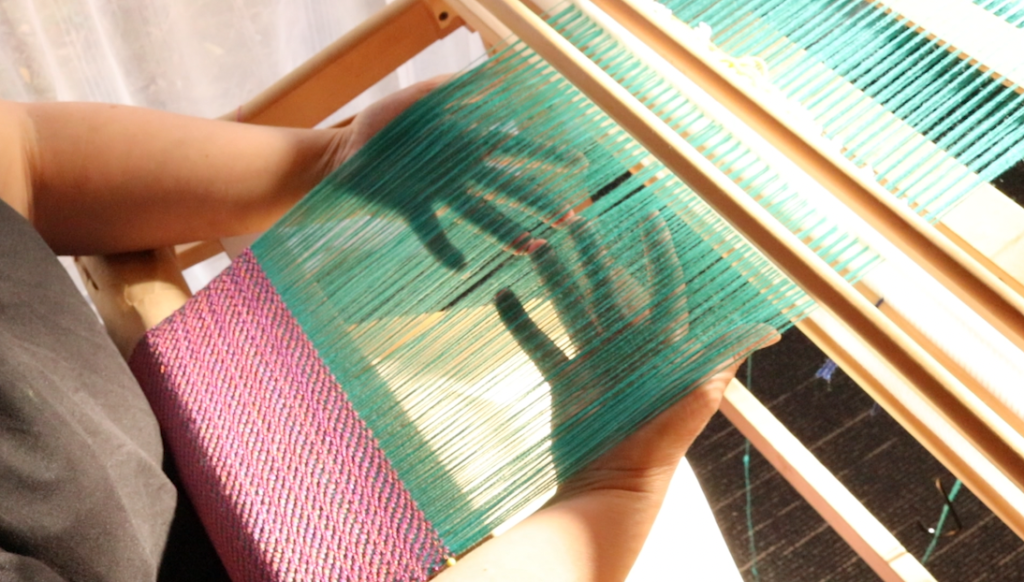
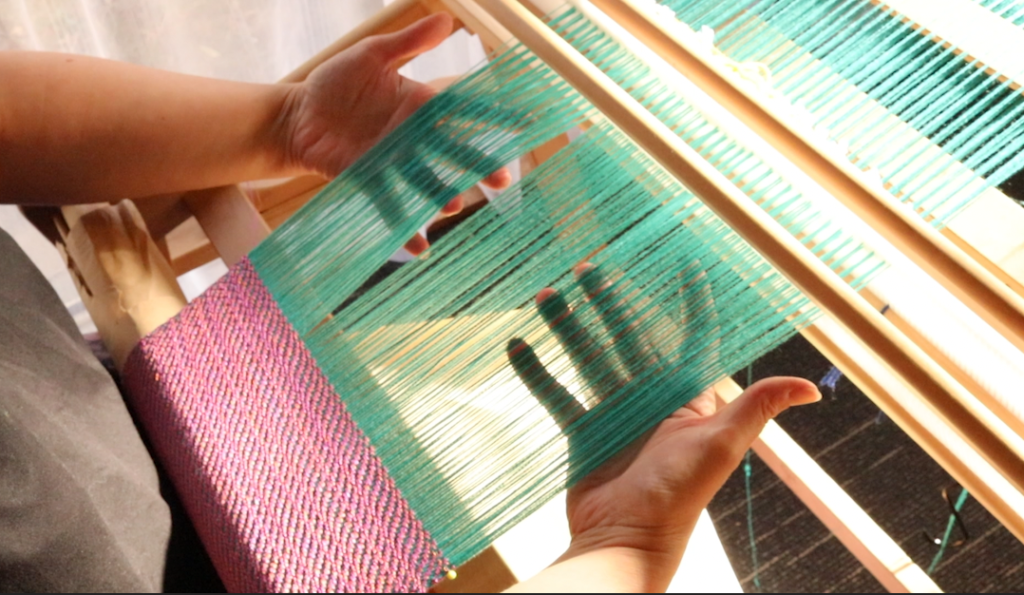
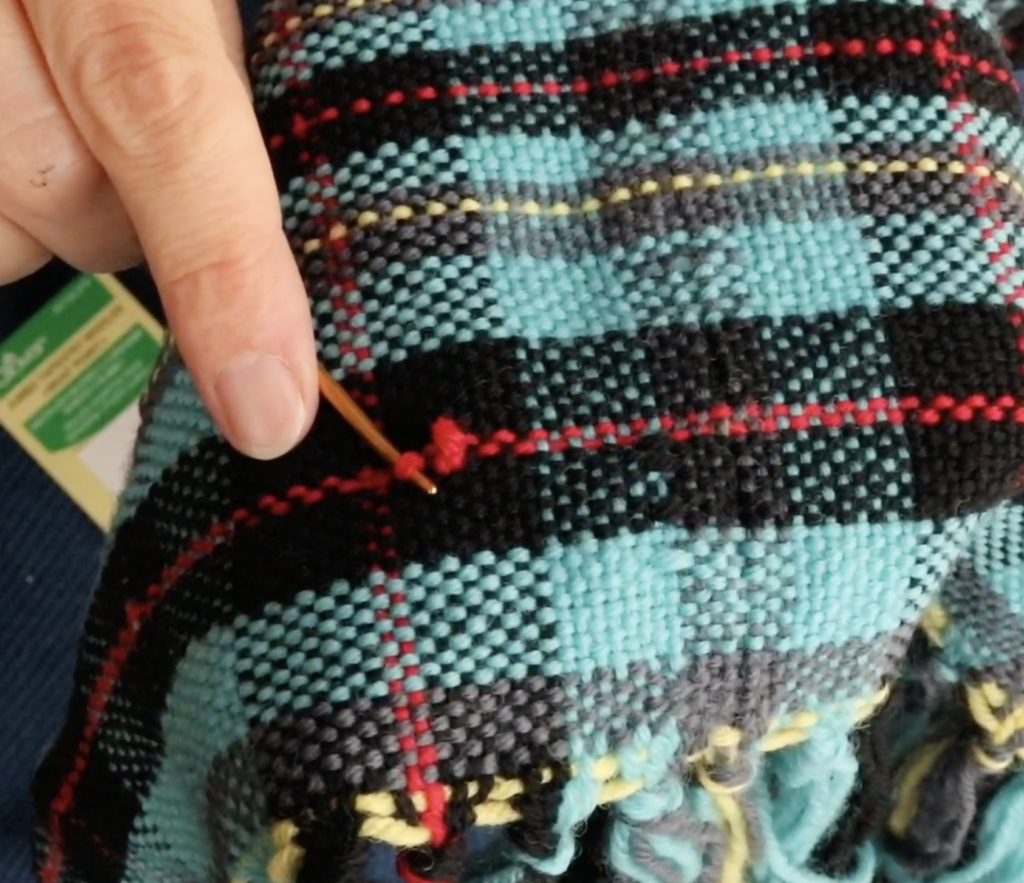
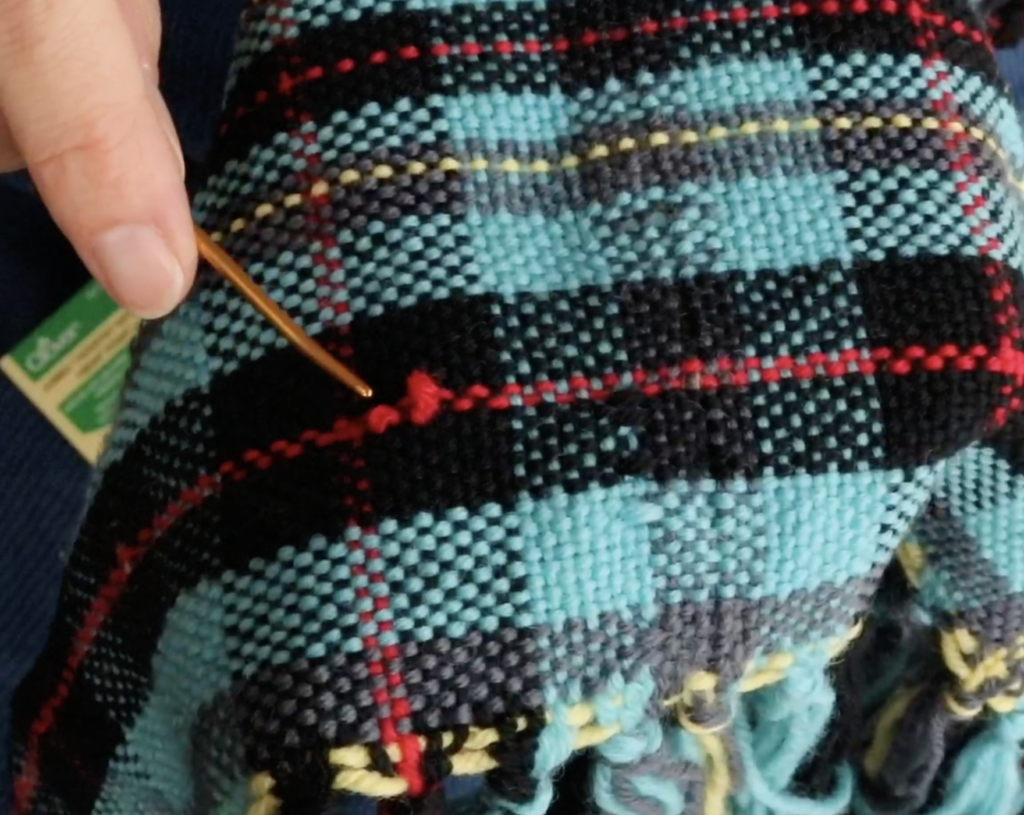
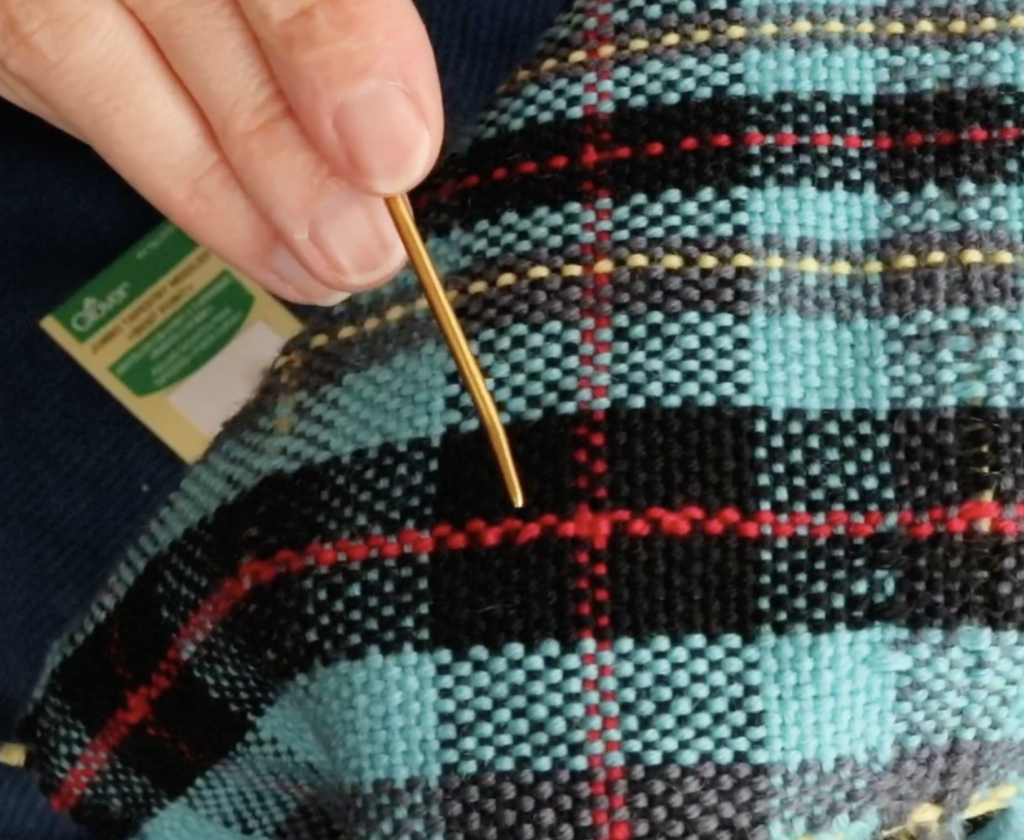
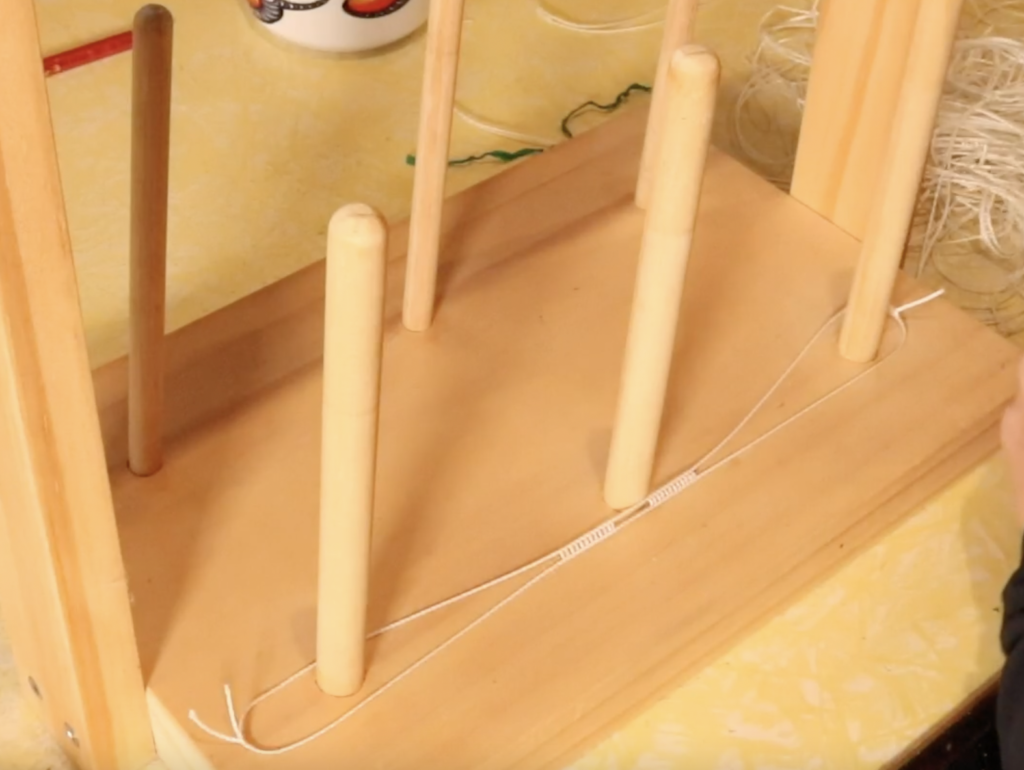
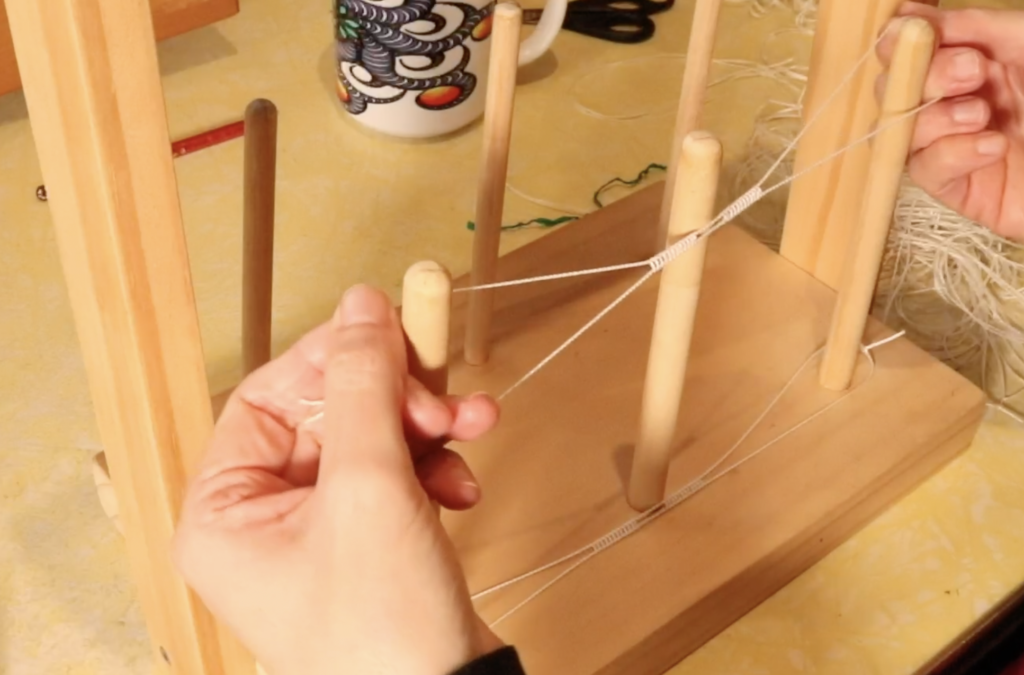
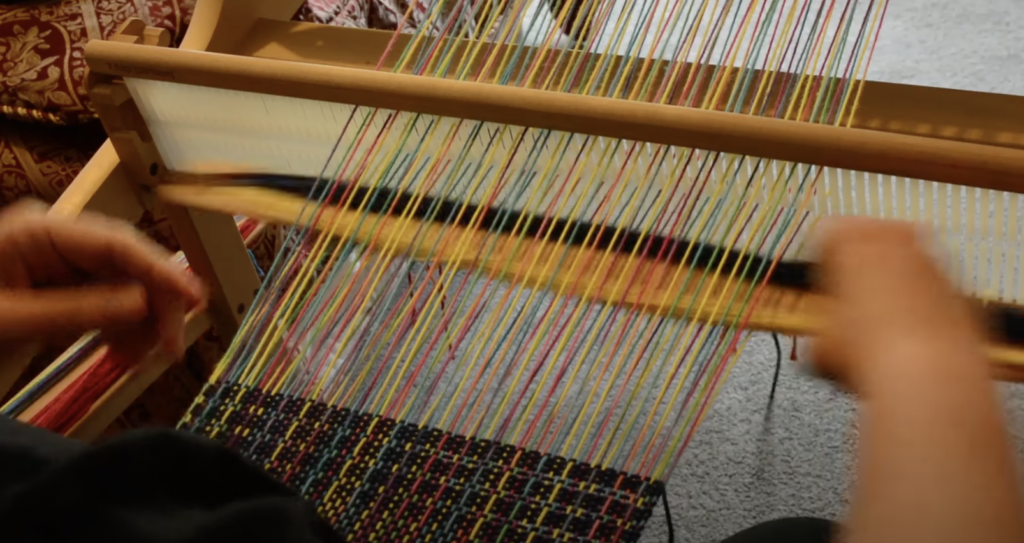
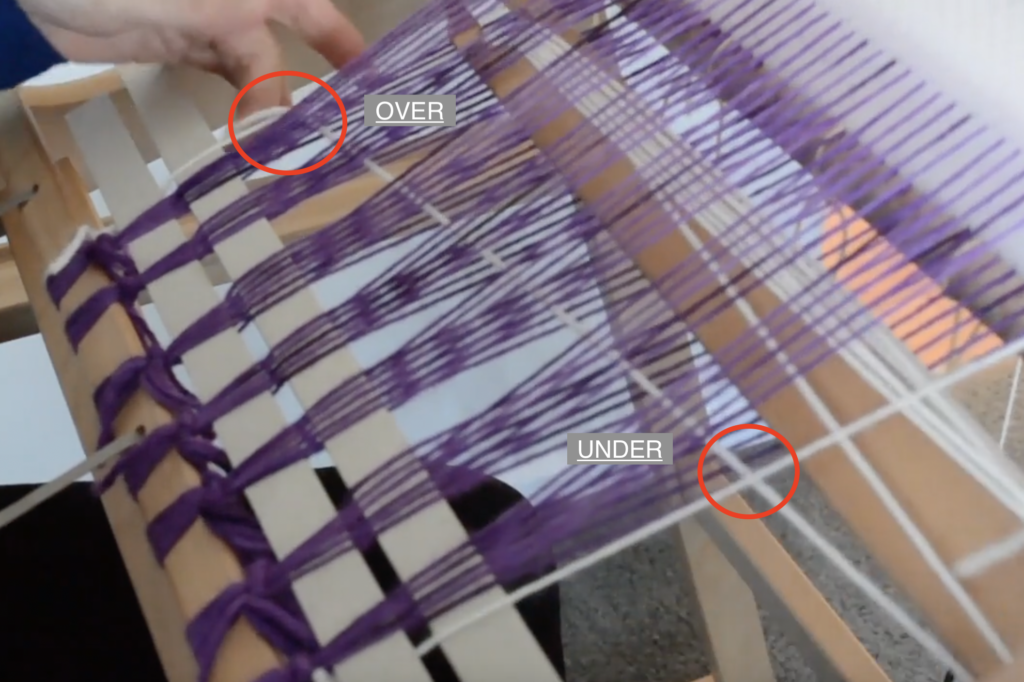
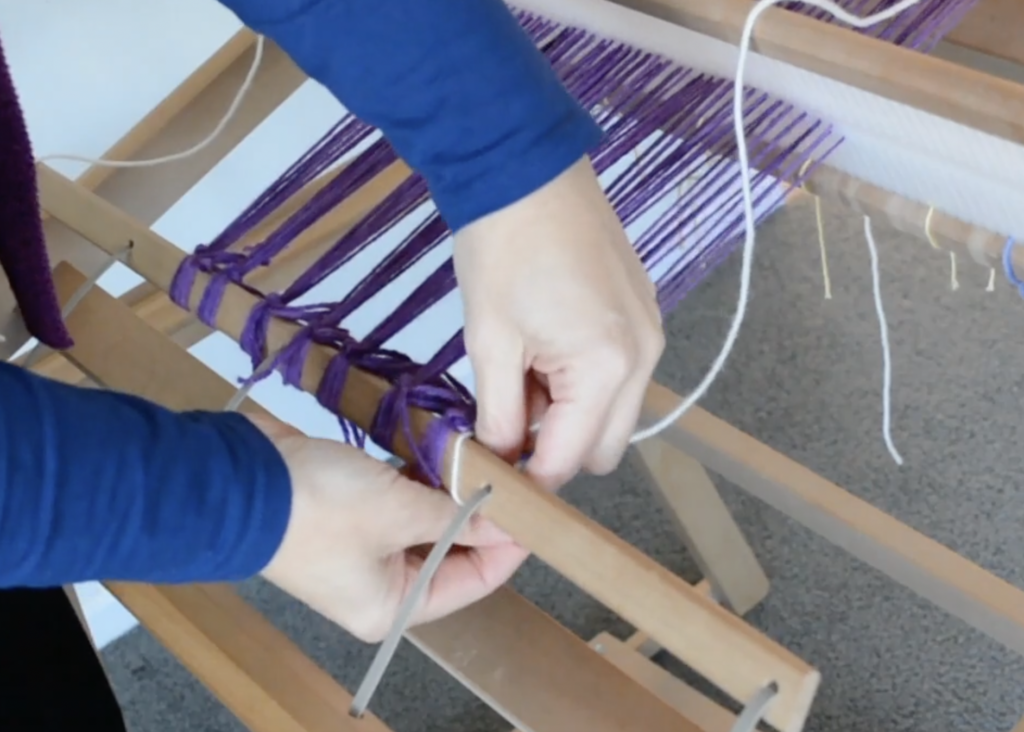
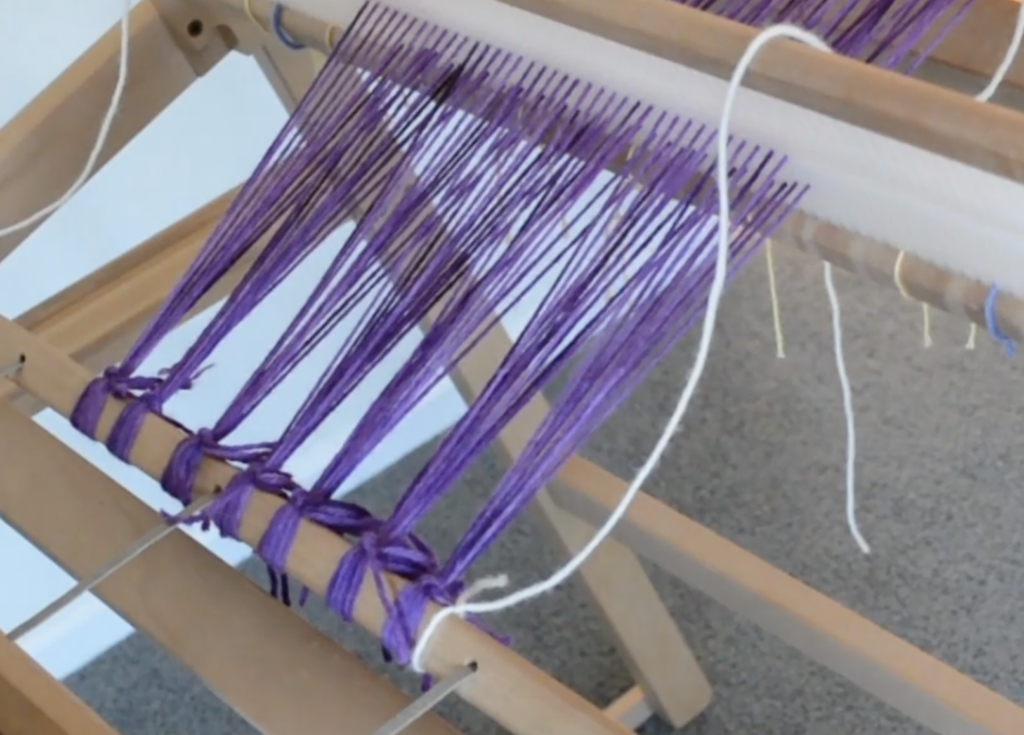
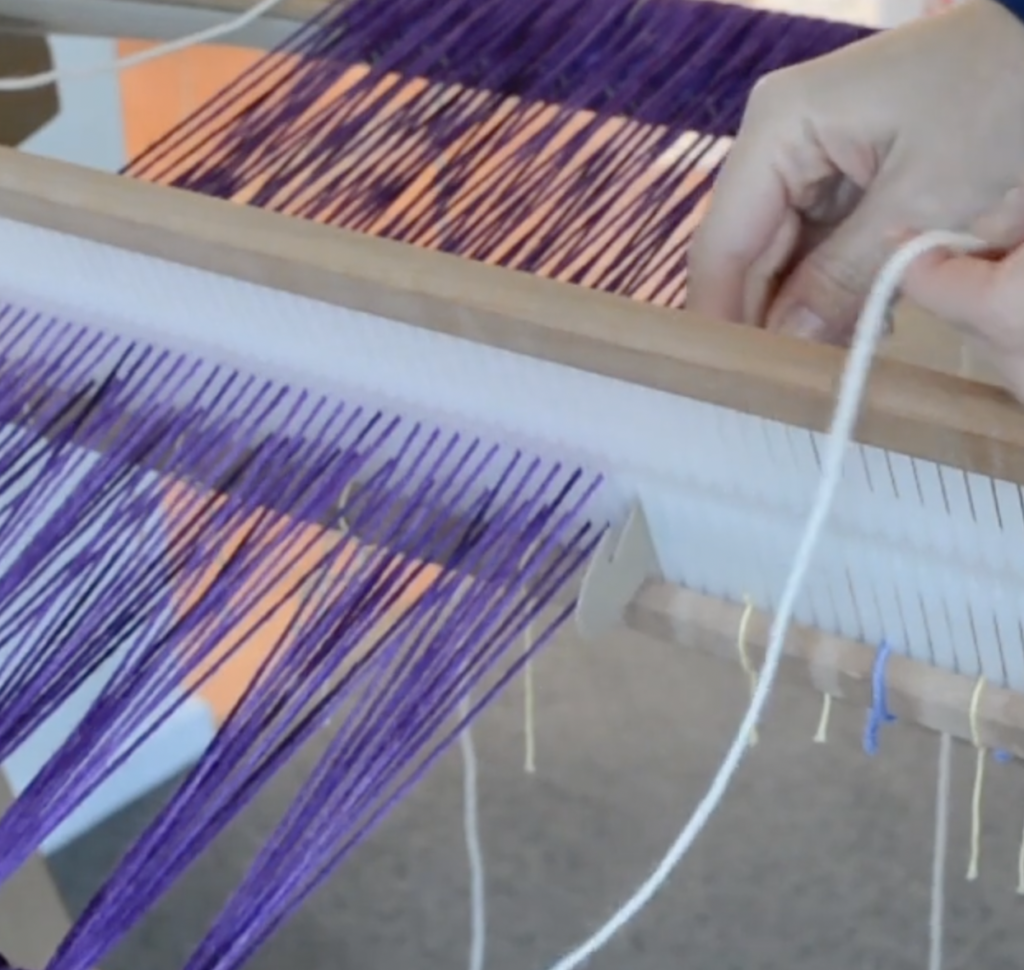
The first thing we need to do is insert our pick up stick to create the additional shed we need to weave our waffle weave. Make sure your pick up stick is wider than your warp.
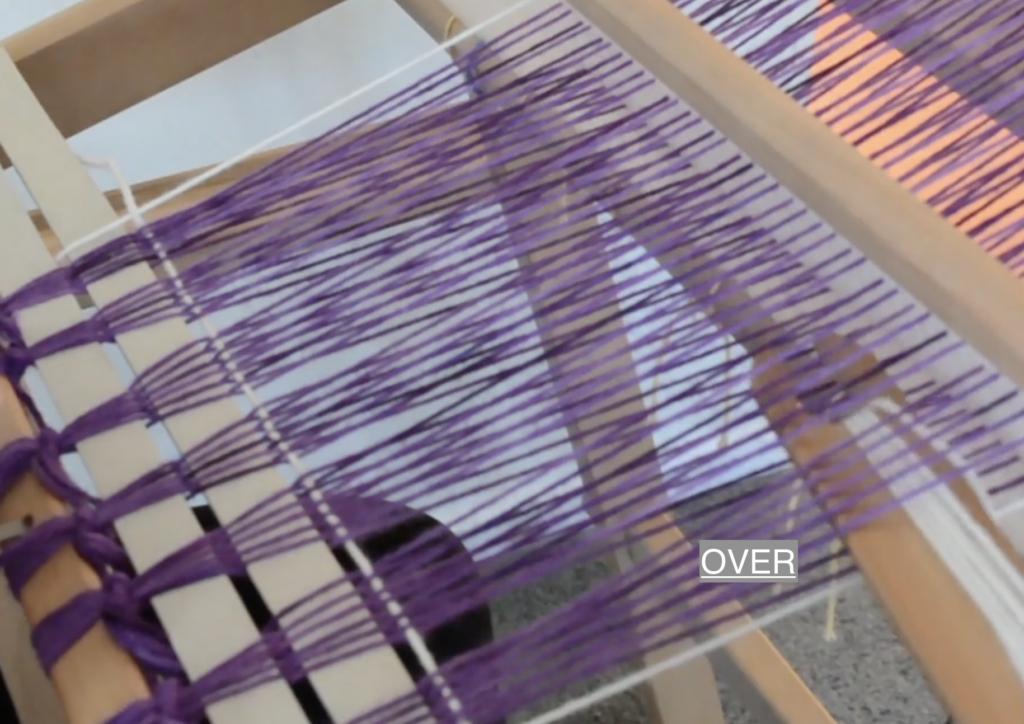
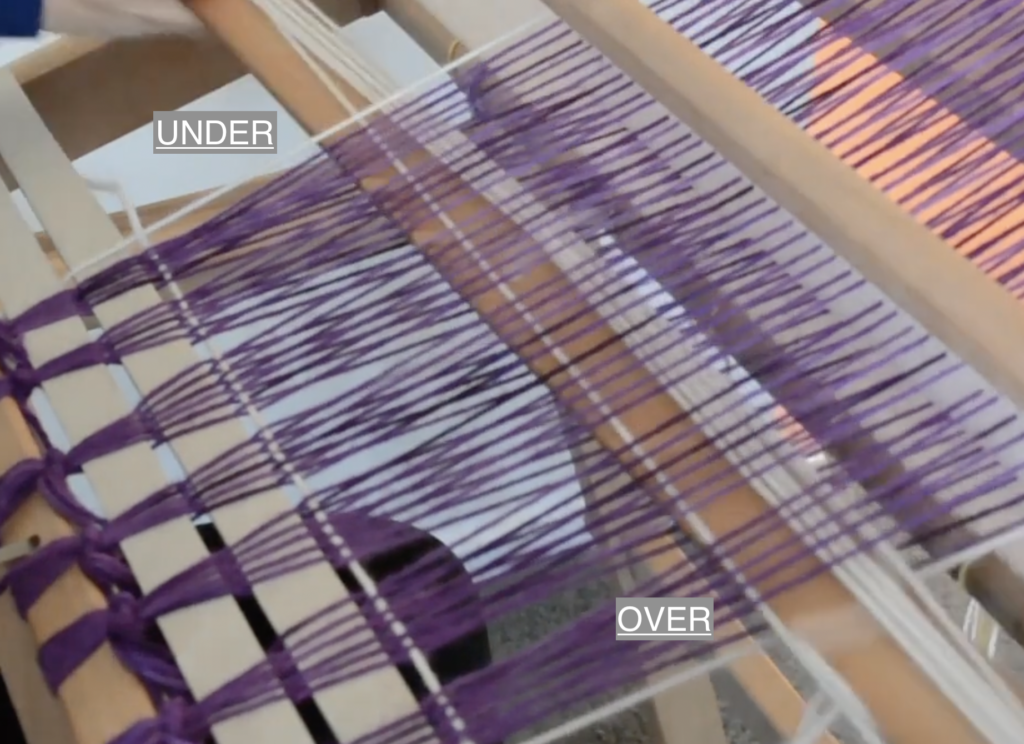
For this particular pattern we’re doing a 2/2 pick up, which means 2 warp threads will be on top of your stick and 2 will be underneath, alternating across the warp.
Ensure that your heddle is in the DOWN position to begin your pick up.

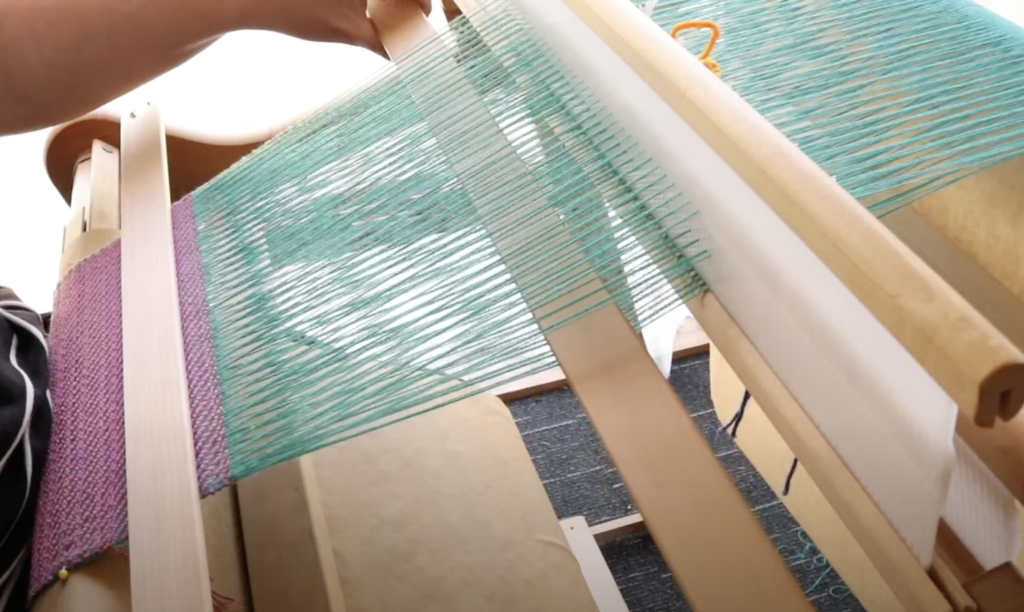
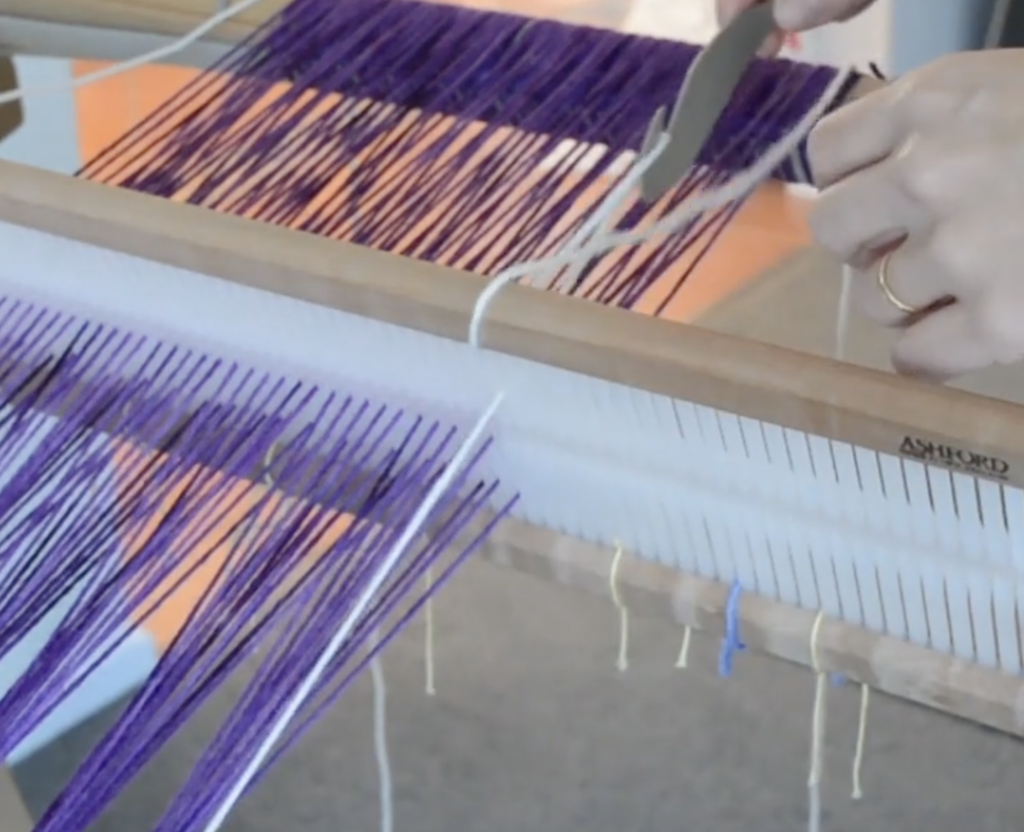
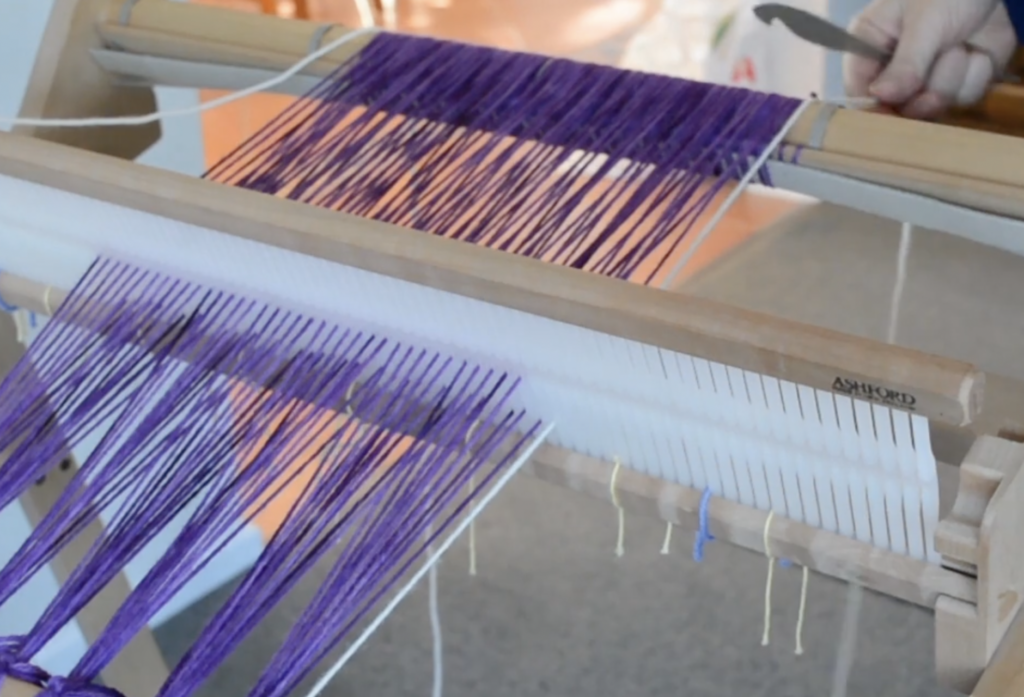
When your pick up stick is in place you can place the heddle back in neutral. Feel free to secure your pick up stick with some waste yarn if you feel concerned that it might slip out of place.
The Weaving Sequence

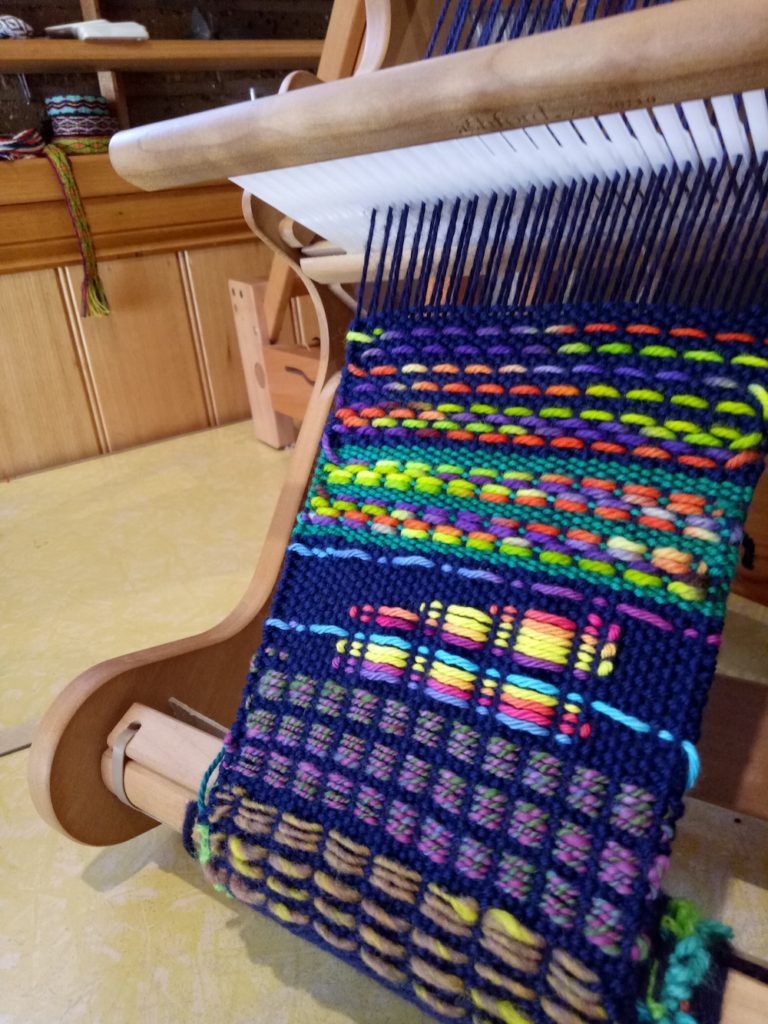
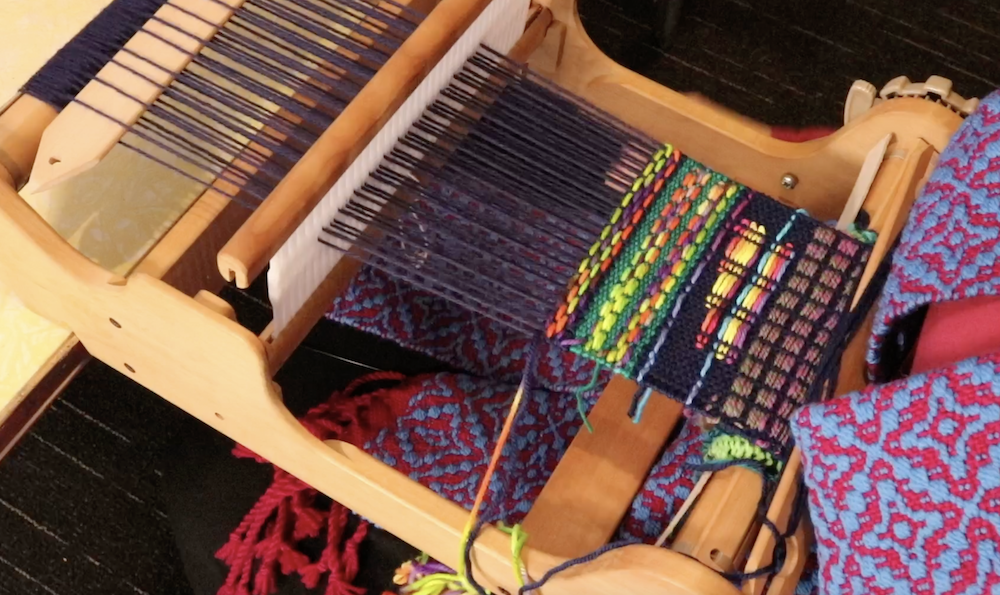
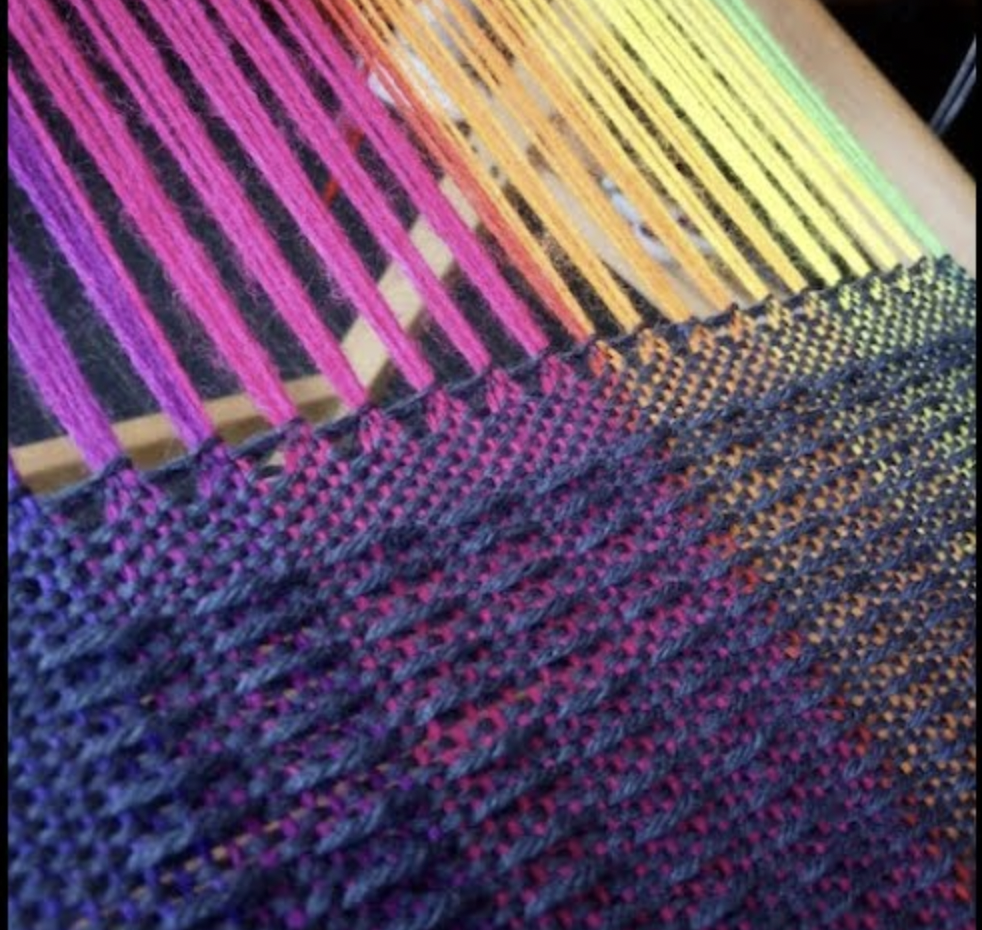
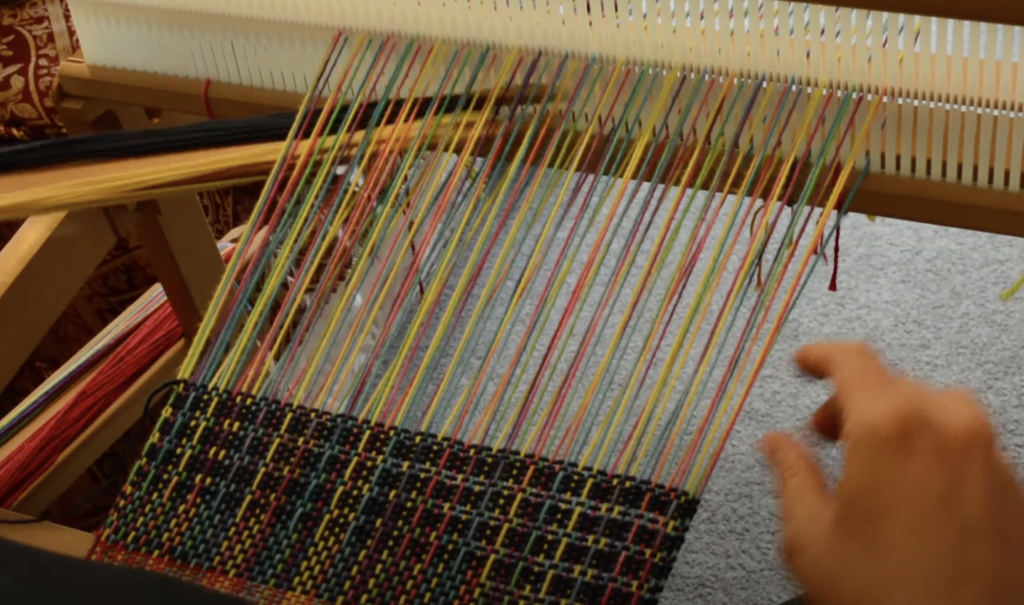
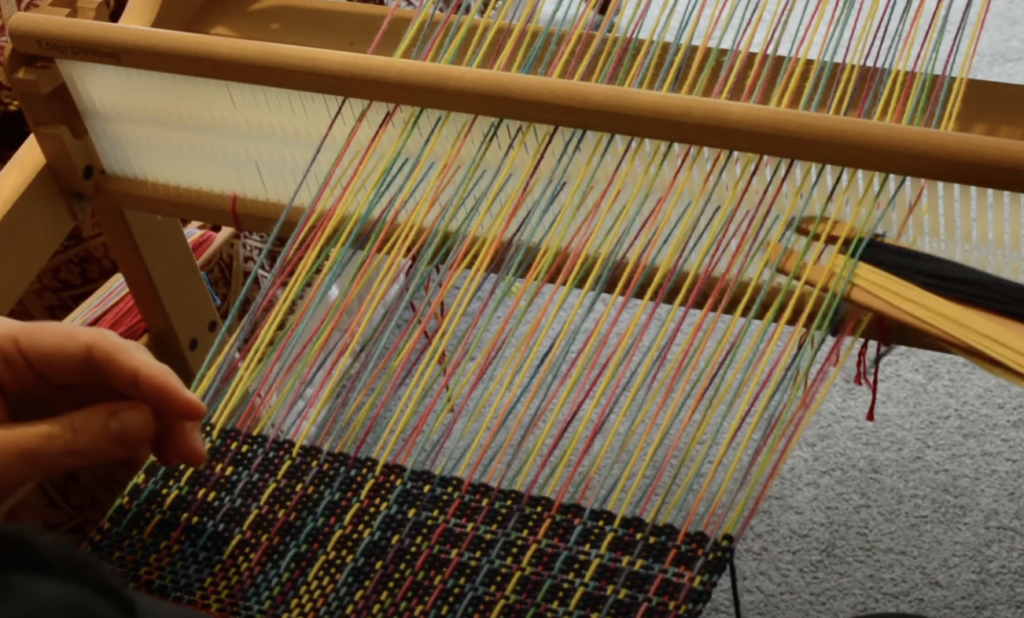
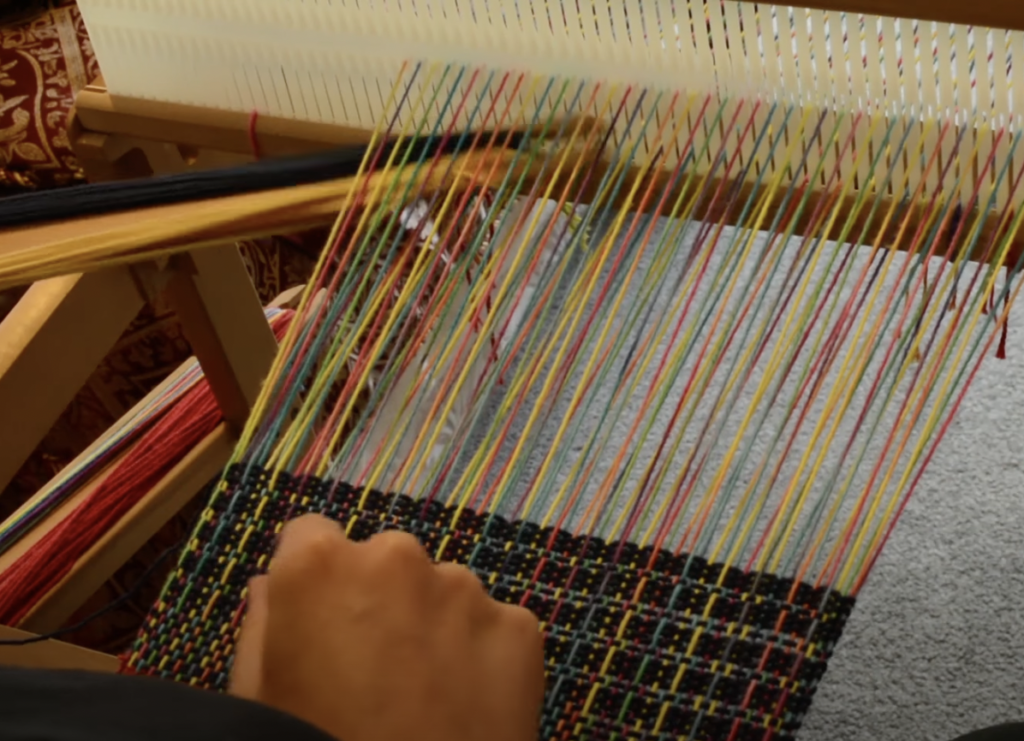
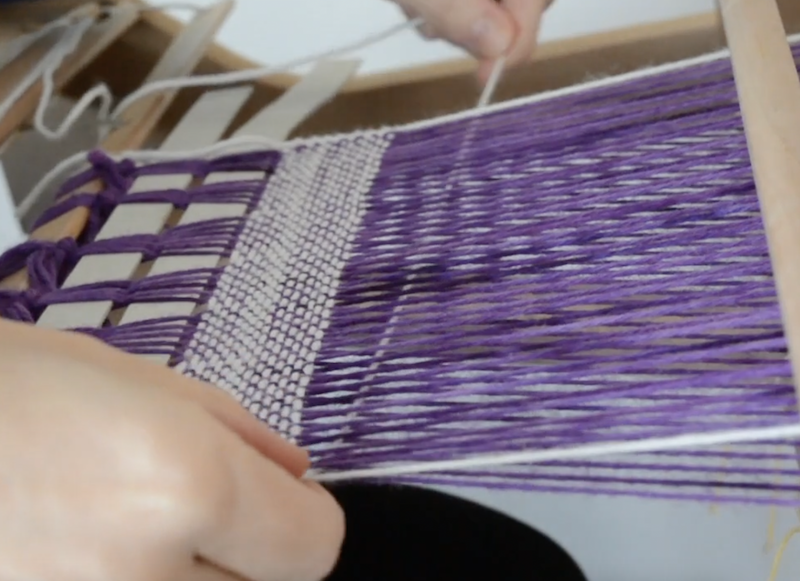
Load your stick shuttle with yarn. Waffle weave looks great with both contrasting or muted colours, because the texture still makes it pop.
Place your heddle in the DOWN position and weave one pick (row). Beat.

Place the heddle into the UP position. Bring your pick up stick forward to behind the heddle but leave it laying flat. Weave one pick and beat.
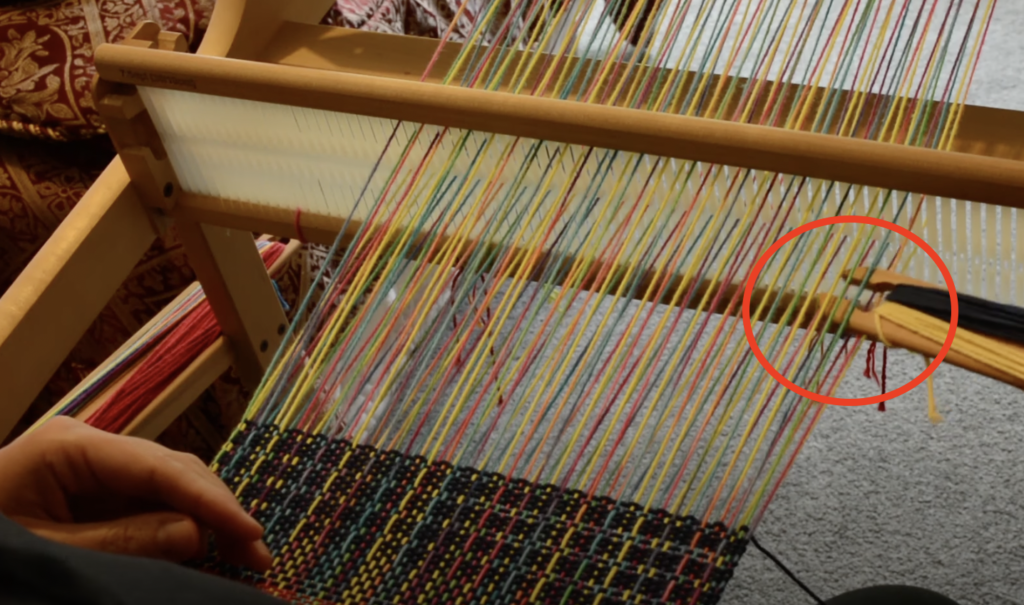
* HANDY TIP –
You may need to take the shuttle manually around the edge of your outermost warp thread to prevent it drawing in too far and skipping an edge thread. I have an article that explains this method here.

Place the heddle in the DOWN position once more. Weave one pick and beat.

Place the heddle in UP. Weave one pick and beat.

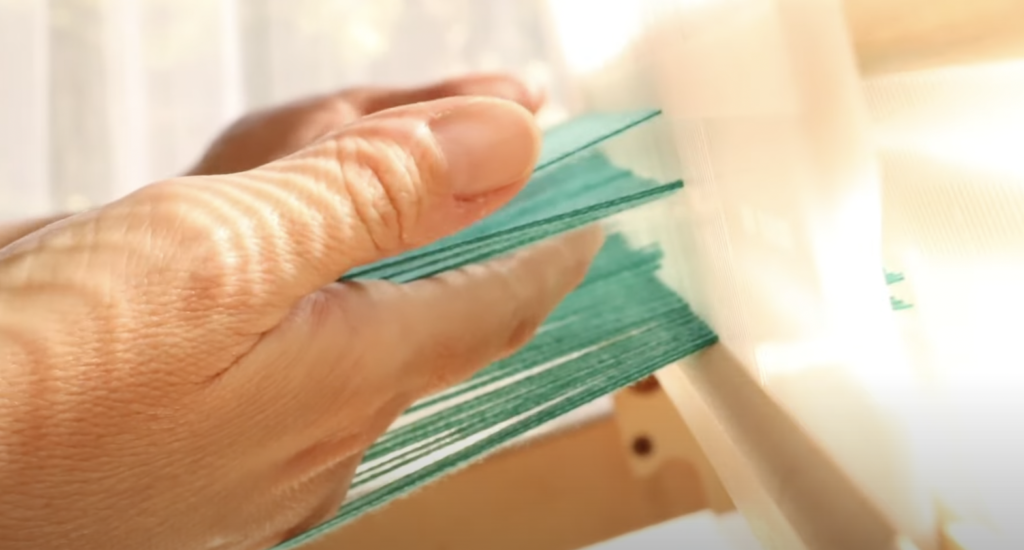
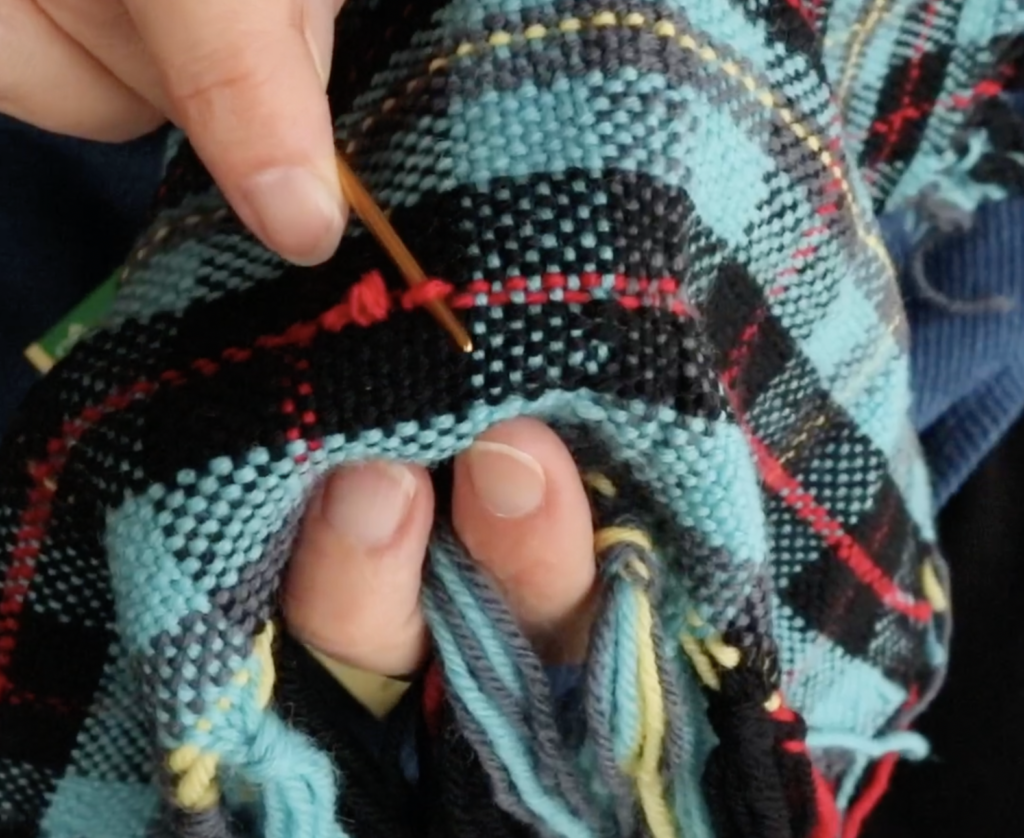
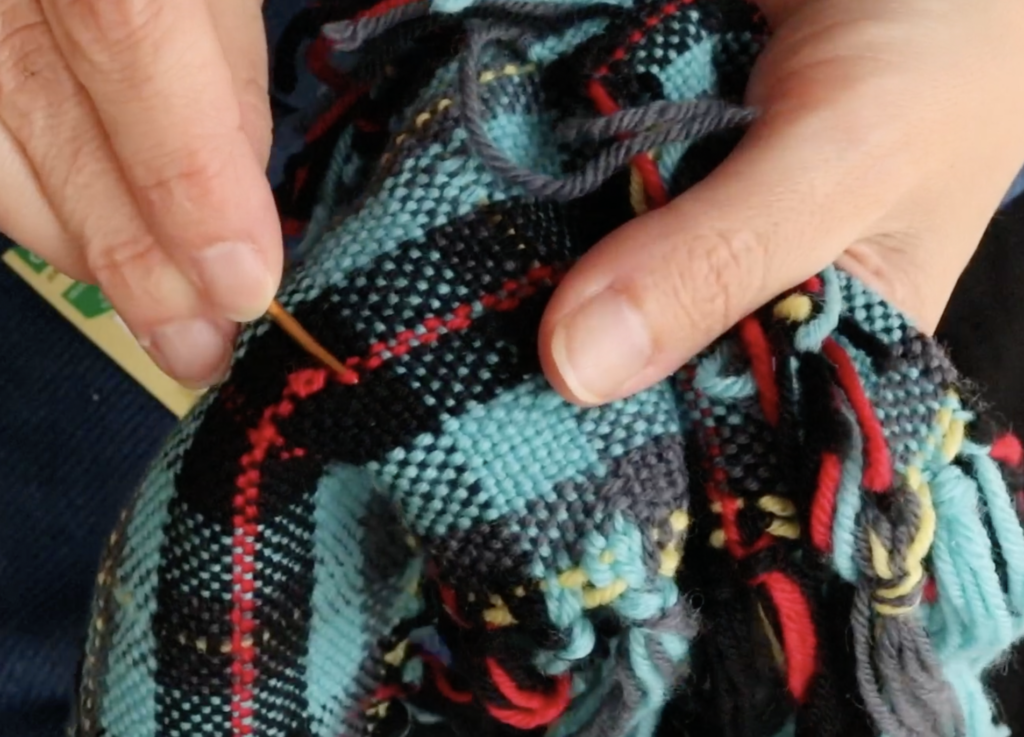
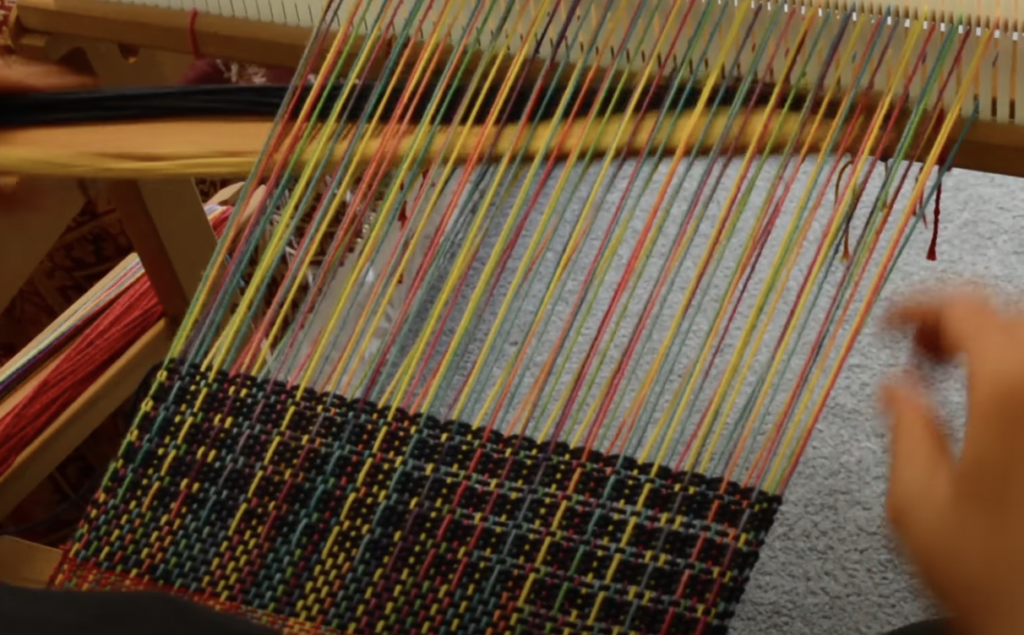
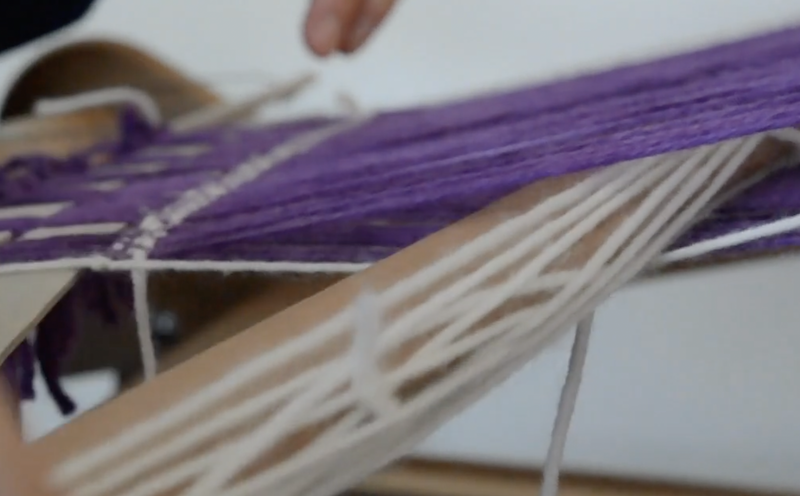
This step is a bit different. We leave the heddle in the neutral position, slide the pick up stick forward until it sits behind the heddle, then turn the pick up stick on edge to create the shed.
Weave one pick, then beat.
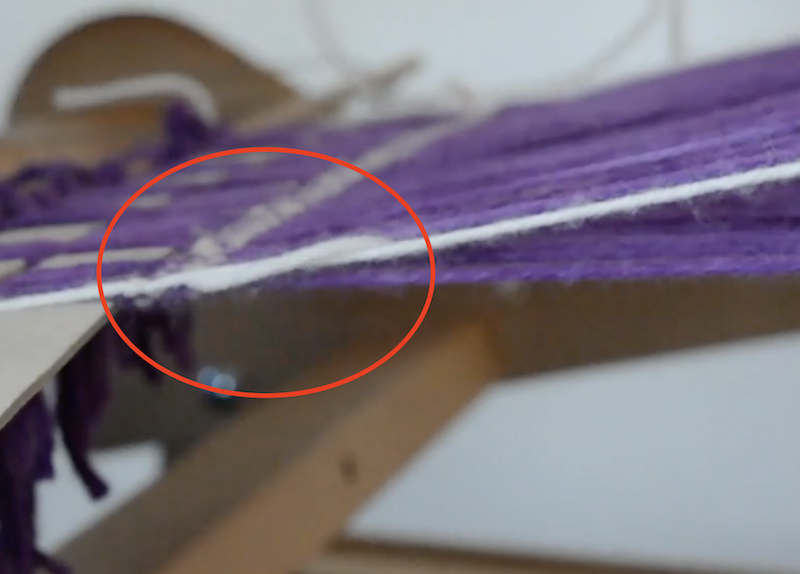
HANDY TIP –
Your pick up stick, once turned on edge may, or may not stay in place. If it keeps wanting to flip down rather than stay on edge, simply hold it with one hand while the other hand holds the pick up stick on edge.

The last shed in the weaving sequence is – heddle UP. Weave one pick, beat.
That is one complete weaving sequence. To continue, you just head back to step 1 and start all over again. Don’t forget that there is a free printable for the pick up sequence, weaving sequence and some yarn details plus a free, closed captioned video tutorial available here.
Ways to use Waffle Weave
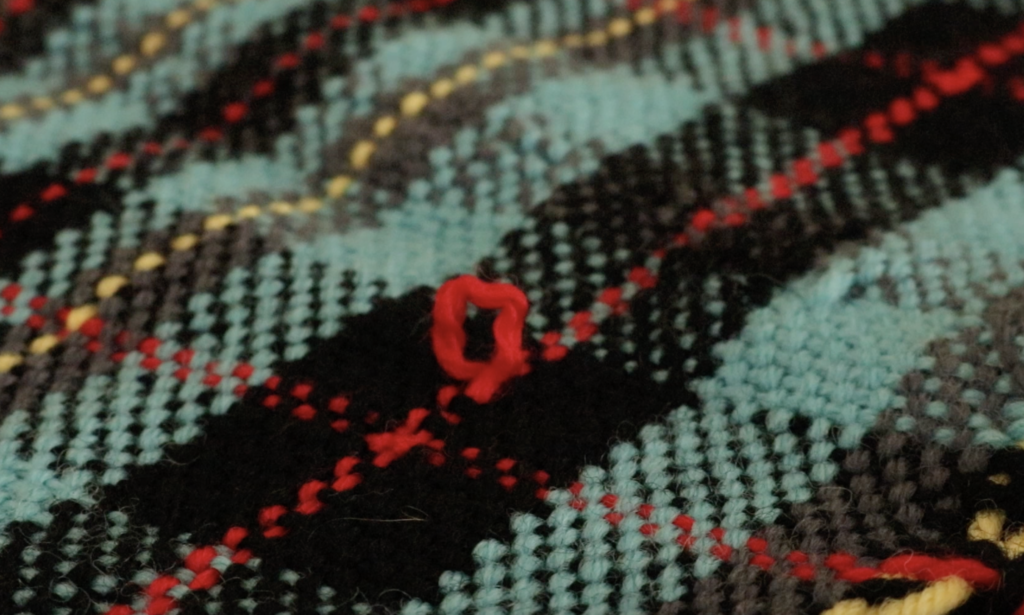
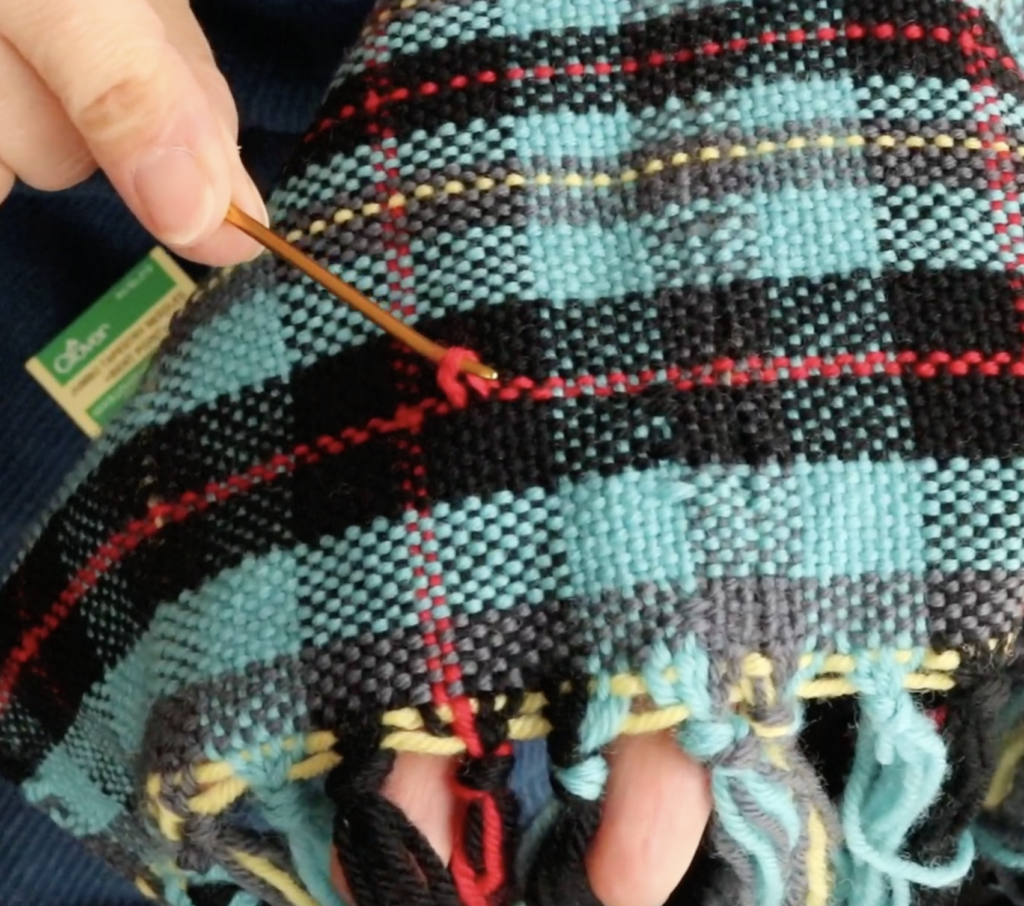
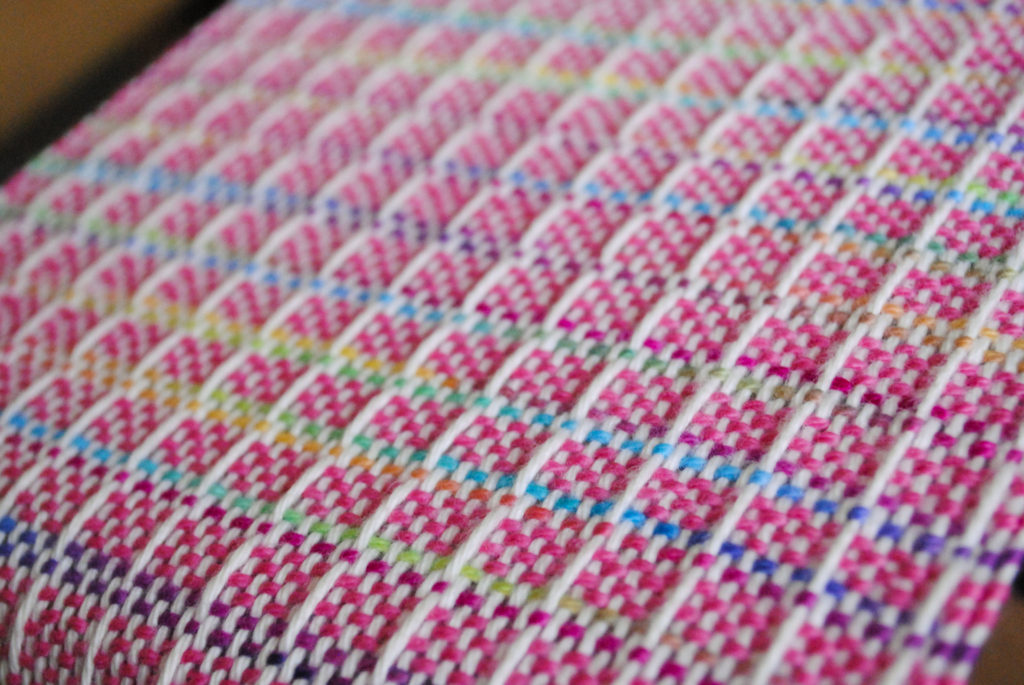
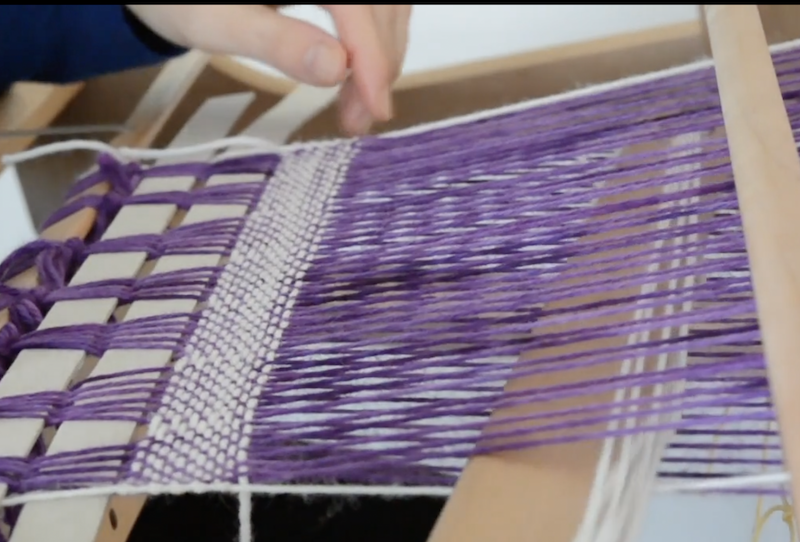
Waffle weave has such a lovely texture and can be either eye catching or understated, depending on the aesthetic you’re going for.
The appearance can also be altered according to your chosen yarns. With a thicker yarn (like the DK weight wool I use in this tutorial) your pattern will be bold and spacious. With a lighter weight yarn (like an 8/2 cotton) the pattern will be fine and detailed.
Waffle weave is terrific for utilitarian items, as the texture creates absorbent cloth. Think dish cloths, kitchen towels and hand towels.
A baby blanket (or even burp cloths!) would also be a beautiful item to utilise the loftiness of waffle weave. I’m thinking of a very soft fingering weight or DK knitting cotton to weave a sumptuous fabric fit to be close to delicate baby skin.

*This post contains affiliate links. For further information, please see my disclosure policy.
You can check out a free video tutorial for this technique here –
I hope you can now see the potential and versatility that waffle weave could bring to your rigid heddle weaving projects! For more ideas on how to use pick up sticks in rigid heddle weaving, you won’t want to miss this resource!
Exclusive Printable!
Would you love this tutorial in a printable PDF format? I have a 6 page printable PDF available so that all the steps are at your fingertips. This is an exclusive printable and only available right here ⬇️
Until next time…
Happy Weaving!