
With Christmas fast approaching, I wanted to gift you all with something fun and achievable, as well as having a festive theme.
I came up with some simple baubles and candles that I’m confident is suitable for any level of rigid heddle weaver.
This project is very decorative and better suited to low wash items.
*This post contains affiliate links. For more information, please see my disclosure policy.
For the project, I just wove a sampler to illustrate the patterns, but you can use the designs however you please.

What you will need:
A rigid heddle loom (any size is fine if you just want to weave the sample.
A stick shuttle wider than the width of your weaving
A pick up stick wider than the width of your weaving
Yarn options:
For my warp I used a light worsted/dk weight wool in white. I used this same yarn for my plain weave. The same yarn, but in different colours was used for the pattern weft. Please see the video for colours used.
For embellishments, I used small amounts of DMC embroidery floss.
Sampler Specifications:
If you wanted to weave a sampler just like mine, here are the basic measurements.
Number of ends: 64 (32 slots)
Approximate width on loom: 8″
Sett: 7.5
Total warp length: 35″
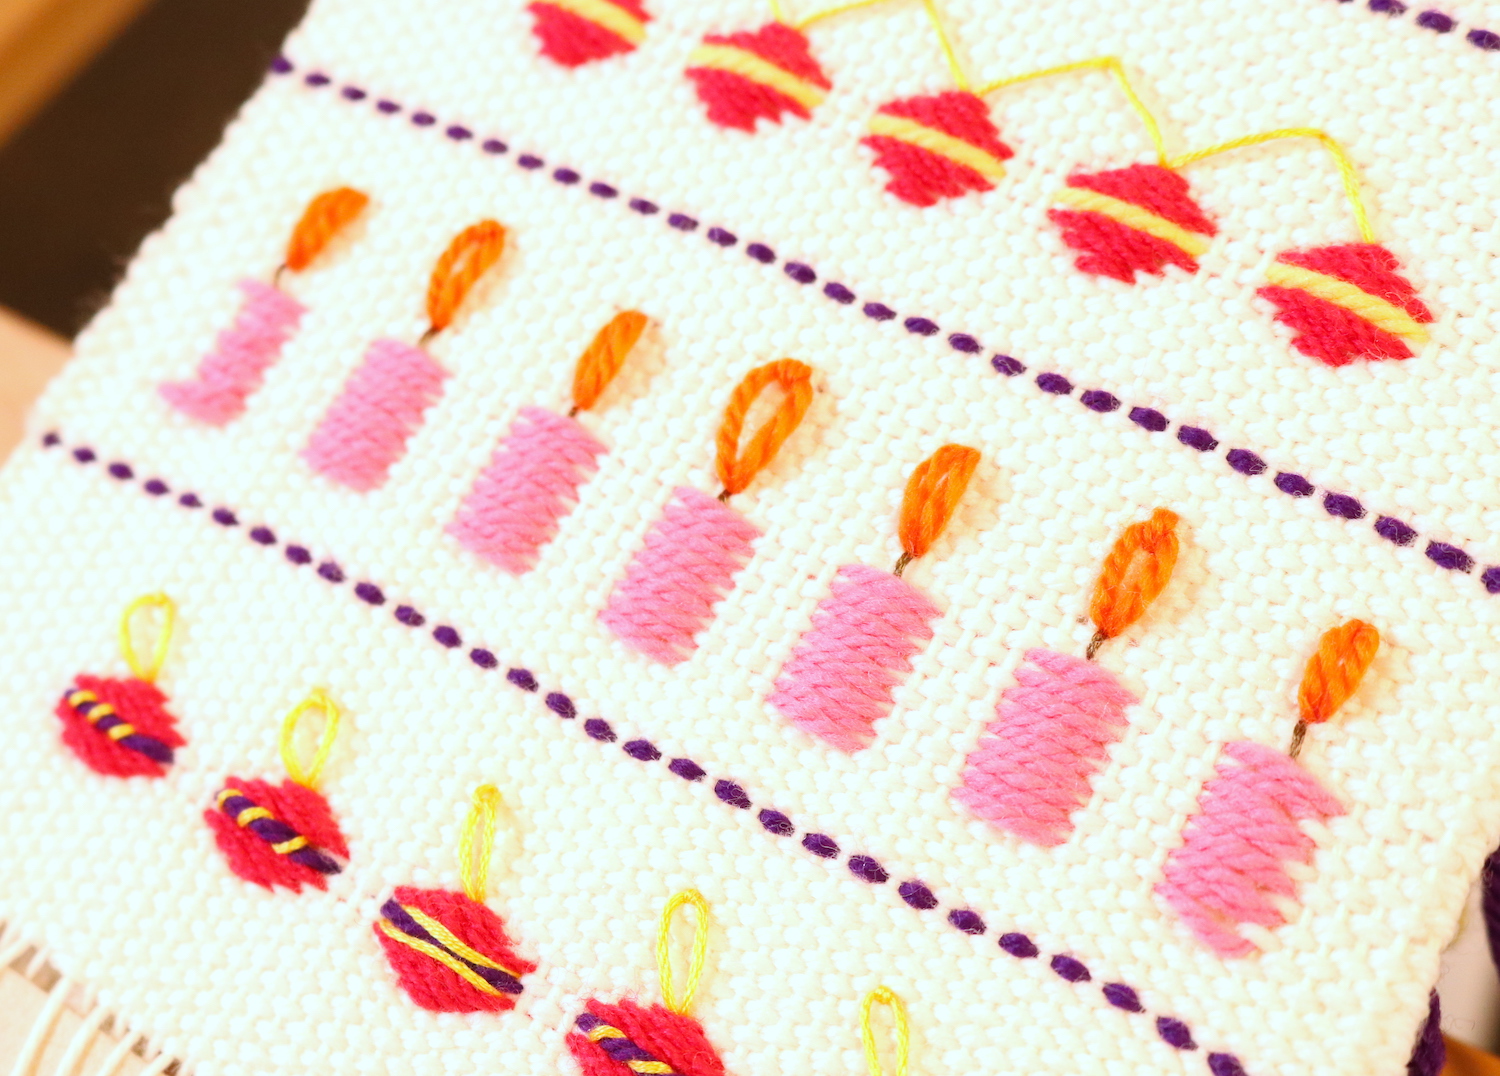
The baubles and candles use the same overshot weaving technique as my reindeer, snowmen, gift boxes and winter trees.
There is a pattern weft that forms the picture or design, and in between every pattern pick is a plain weave pick (either an up or a down shed).
Weaving Instructions:
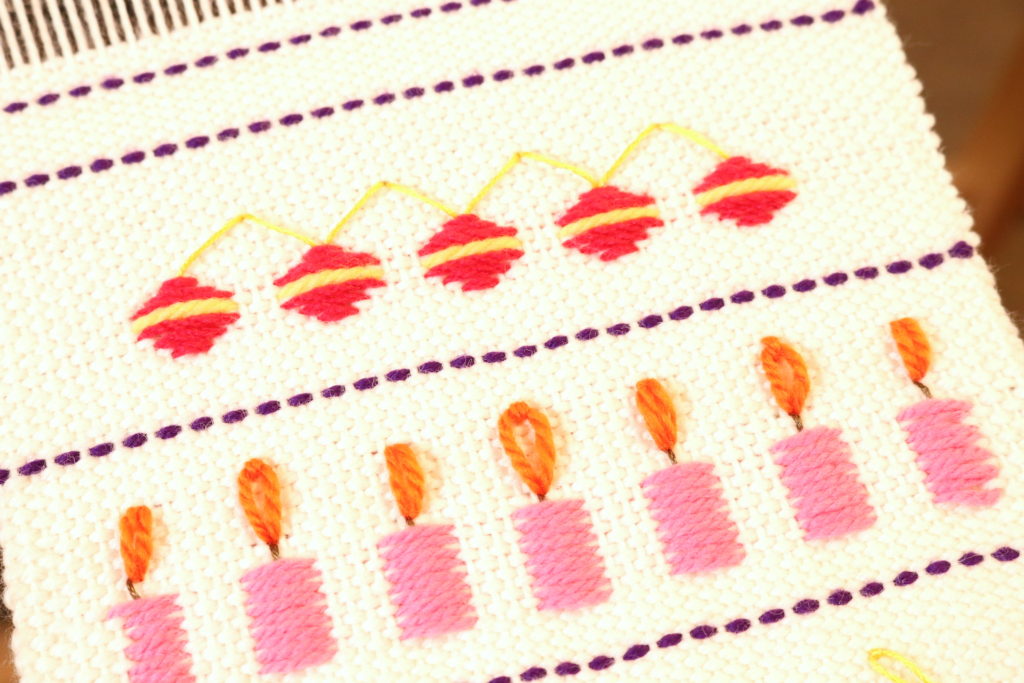
The Baubles –
I left a border either side of my designs in order to centre them and make sure that none were inadvertently cut in half! I left 6 threads on each side. This is optional, and you an adjust the border threads to suit.
I’m not including the border threads in the weaving steps, but if you watch the video you won’t have any trouble following along with these instructions.
Remember that you need to weave a plain weave row in between every pattern weft.
Step 1. 6 up, 2 down, *7 up, 2 down, repeat from * (7 up, 2 down for the rest of the way across)
Step 2. *5 up, 4 down, repeat from *
Step 3. 4 up, 6 down, *3 up, 6 down, repeat from *
Step 4. Repeat row 3, with a contrast colour
Step 5. Repeat row 3, with the original colour
Step 6. *5 up, 4 down, repeat from *
Step 7. Repeat row 1
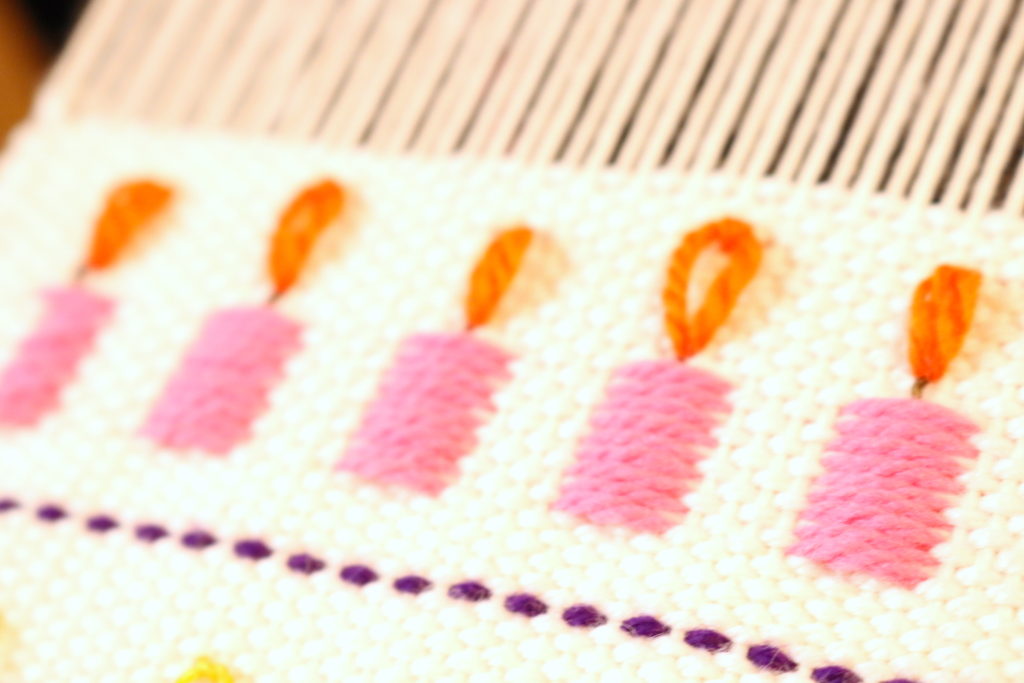
The Candles:
For the candles, I left a border either side of 5 threads instead of 6, to work in better with the required calculations for the design.
Step 1. *4 down, 4 up, repeat from *
Step 2. Repeat row 1, alternating plain weave rows with pattern rows.
All of these details are available in a handy PDF for you to print out. You can download and print that right here:
And you will want to watch the video and follow along with the instructions. You will find the free and detailed video here:
I hope you enjoy this project! Thank you all for your AMAZING support this year!
I wish you all a very Merry Christmas! 🎄
Until next time…
Happy Weaving!
I love these Kelly! You are so clever! Thank you!
You’re welcome! 😄
Kelly, would it work to put a pickup stick lying flat behind the Reed which could be stood up to find the placement of the front pickup stick a little quicker?
No, it doesn’t work the same. You can still do it, but the designs won’t have the long floats like they do by picking up at the front.
Thank you I hope try this in a project with a embroidery design . It’s a idea am thinking of.
Merry xmas to you and family.
Thank you so much for all your helpful videos and directions. I have learned so much from you!
Merry Christmas to you and your family from Virginia, USA!!
Have a very Merry Christmas and a Happy and Healthy New Year!!
Adorable! Thank you. Merry Christmas and Happy New Year. Here’s to another year of awesome weaving lessons! ~ Karen
Wow, thank you Kelly.
Wishing you a happy and safe Christmas to you and your family.
Thank you for this tutorial and also that you included a video. I often find learning by seeing easier than just reading written instructions, so thank you for taking the time to make this! Happy Advent and Christmas to you and your family.
These are lovely Kelly, thank you very much. Wishing you and your family a very Merry Christmas too.