

Weaving Reindeer on your rigid heddle loom is a fun Christmas project! This follows on from my recent post on weaving Snowmen on a rigid heddle loom.
*This post contains affiliate links
To weave reindeer, we use the same technique of a type of overshot. I was originally inspired to utilise this type of weaving on my rigid heddle loom when I was researching Russian Branoe weaving. I was completely taken by the types and varieties of designs I saw in the examples of Russian work. My mind began working overtime as I thought about how to chart designs and which designs might actually work. If you check out my Pinterest Weaving Board, you will see many wonderful examples of this patterning work.
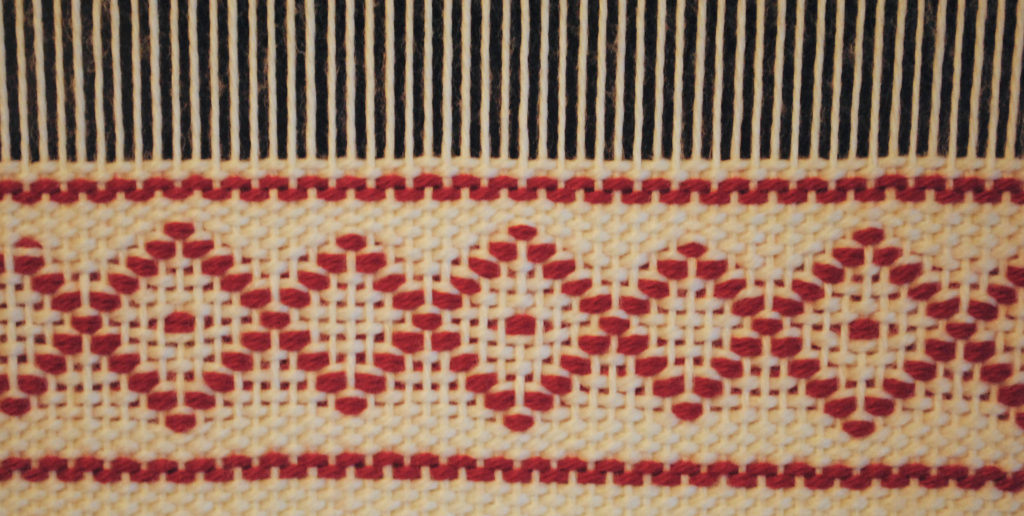
Just like the snowmen, the pattern is all woven by picking up in front of the heddle, with the heddle in neutral. We weave tabby (plain weave) in between the pattern wefts in order to stabilise the fabric.
If this topic interests you, check out this playlist on Youtube to see all the videos I’ve made employing this same technique.
If you’re wondering how I came up with these designs, firstly I would have an idea for a design. Then I would try to map it out using graph paper by colouring individual blocks (1 block would represent one warp or weft thread) in and leaving others empty until I had a good representation of the image I wanted. Using graph paper also ensures that you can plan for the desired amount of space between each image. This is important because the empty spaces are just as important as the filled spaces to make the design. Some images do not translate well to the loom, as I’ve discovered, but it sure is fun to try!
If you want to weave some reindeer of your own here is what you will need
A rigid heddle loom (I used my 24″ but a Sampleit size is fine if you just want a small sample)
A pick up stick (it needs to be longer than the width of your project)
A knitting needle is handy but not essential
Yarns-
There are no set yarns for this project, but I will share what worked well for me and give suggestions for possible alternatives.
For the warp I used a light worsted/dk weight (Australian 8 ply) wool in white.
My tabby weft (background weft) was a lighter but strong coloured light worsted/dk weight (Australian 8 ply) in wool.
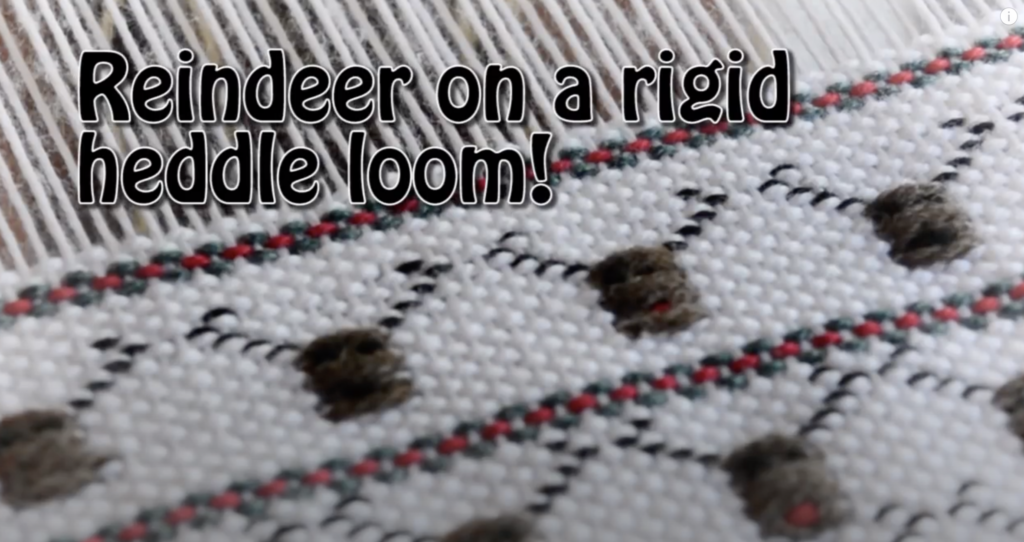
For the pattern weft, I used a lovely brown alpaca in a light worsted/dk weight. Animal fibres work really well when you’re trying to depict animals in your weaving!
The red and green borders were made with some green and red light worsted/dk wool.
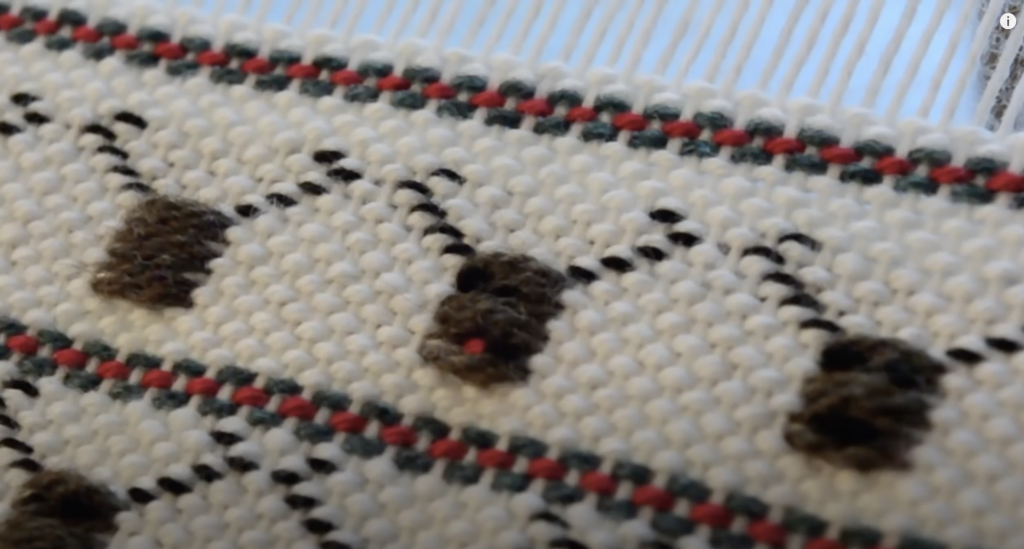
For the embroidered antlers, eyes and noses I used black and red wool in a fingering weight. You don’t need to be a great embroiderer as the details are all just worked in simple straight stitches. You could also use embroidery floss to work the features, if you prefer. Here are some suggestions:
DMC Embroidery floss (my favourite brand)
If you decide to use embroidery floss, don’t separate the strands, use all 6 of them for just the right thickness. Oh, and don’t forget a red nose for our friend Rudolph!
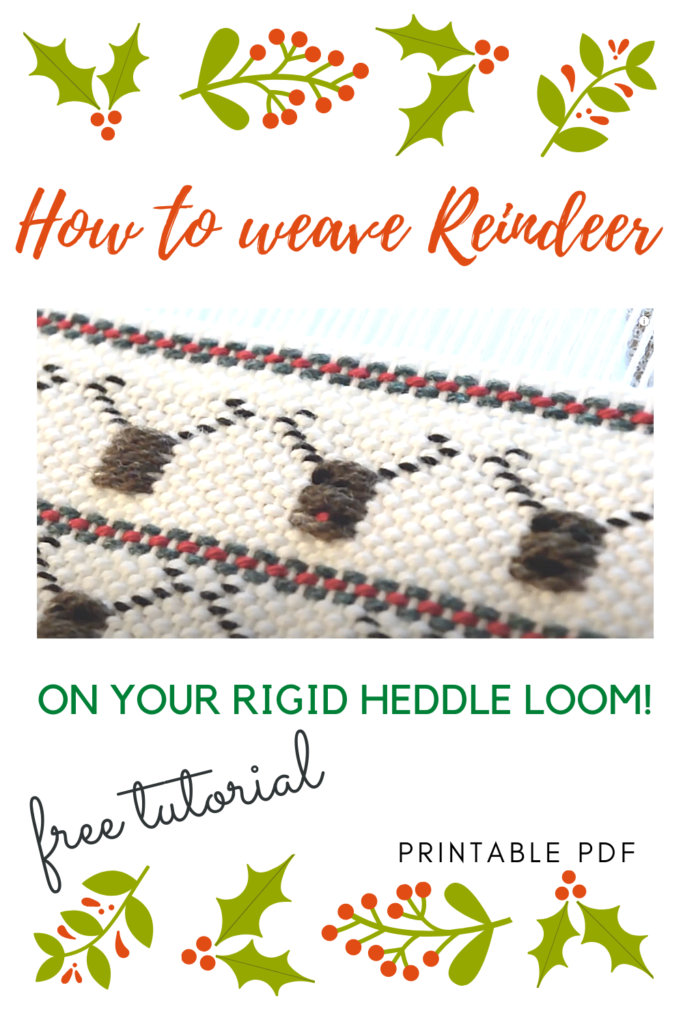
I’ve made the weaving sequence into a printable PDF to make your weaving life just that little bit easier 😉
And here is the link to the video that you can use together with this post and the PDF to weave your own lovely little reindeer.
If you’re interested in exploring this technique even further, I recommend my Exploring Branoe Online Weaving class.
I hope this post was helpful to you! I would love to hear your thoughts on this tutorial and answer your questions in the comments section below.
Until next time…
Happy Weaving!
Thank you Kelly for getting back to me I will certainly give it ago having it written down as well will make it easier to follow xx
Hi Kelly,Love this project. Just a few details I would like to know.
1. Do you cut the alpaca after you do the head of the reindeer? If so, how are you anchoring the yarn after cutting?
2. How wide a project to you have on your loom?
3. How many total threads are in your heddle?
You’ve got me thinking Robyn, it’s quite a few years since I wove my reindeer!
I’m not sure how many threads I had, but the width was around 10″ wide.
Yes, the alpaca is cut when you’re finished the heads. There are 2 choices here- you can weave the tail into the weaving (not ideal as it will show against the white) OR leave a tail long enough that you can thread a tapestry needle and weave it into one of the heads at the back nearest to the edge where the tail ended, that way you can hide it.
I hope that makes sense!