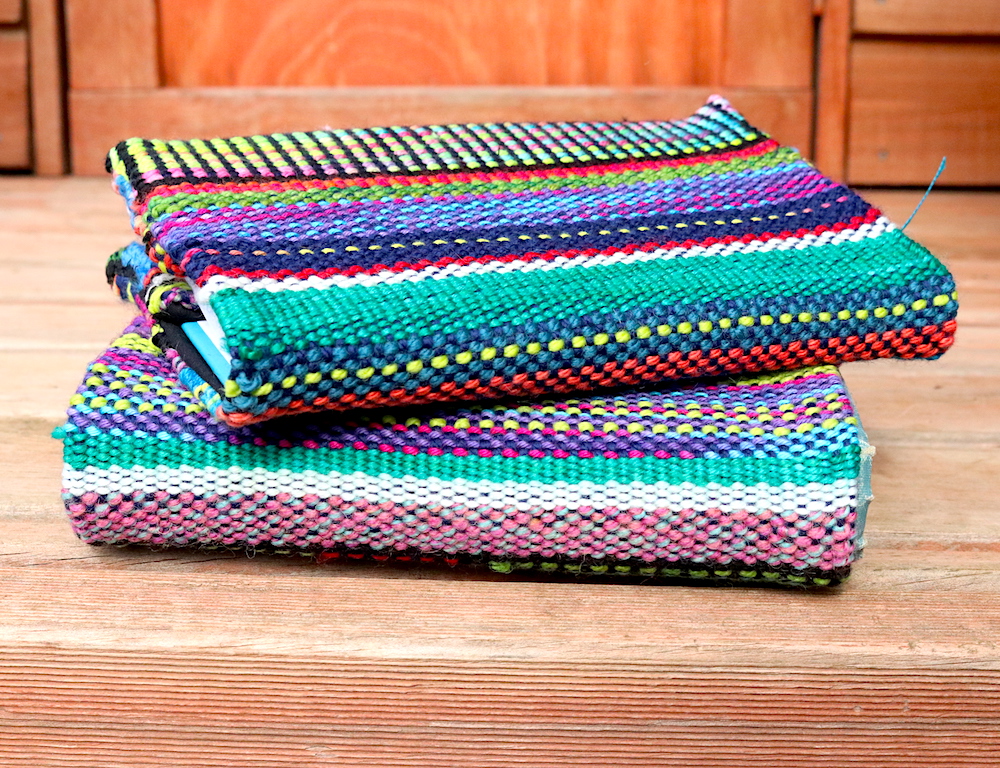
This year’s exciting free project for rigid heddle weavers – The Boho Pillow, is a collaboration with Lojan!
This Boho Pillow project encourages the weaver to choose vibrant colours and wonderful novelty yarns to weave something truly unique and happy 🌈😃 It’s suitable for adventurous beginners and above – you know how to warp your loom and have a couple of projects completed already.
If you’re not familiar with the Lojan family company, they produce spinning wheels and weaving looms out of the Netherlands. Their focus in on sustainable quality, made affordable through smart design.
I am a Lojan reseller for Australia, so feel free to contact me with any enquires. In the US, I recommend Revolution Fibers and the Woolery for Lojan products.
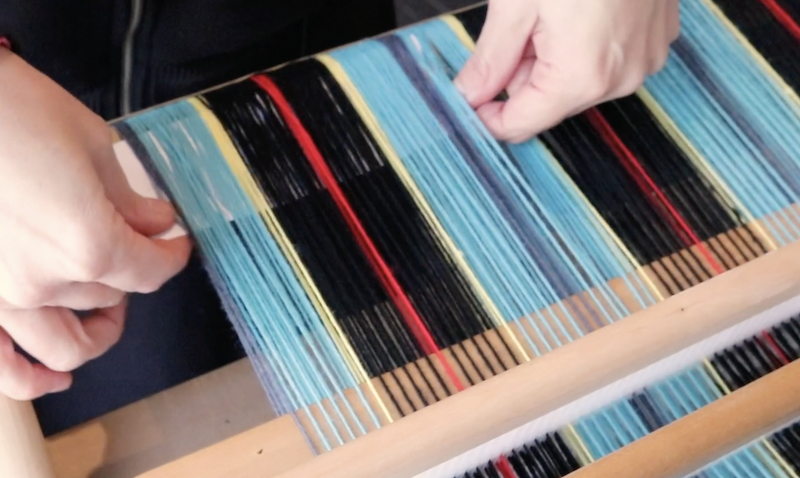
This rigid heddle project is structured around the use of the Lojan Flex Rigid Heddle loom – and in particular, the Lojan Flex vari dent heddles. A vari dent heddle allows the weaver to use different thicknesses of yarn seamlessly within the same project.
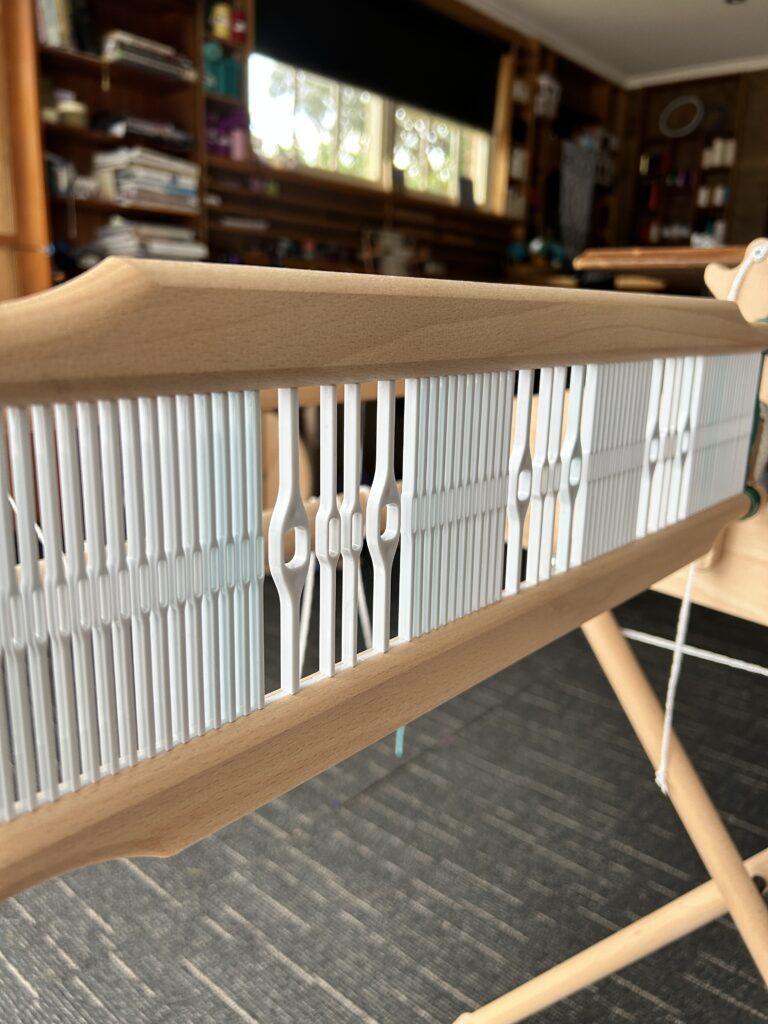
The Lojan heddle system for their Flex rigid heddle looms is quite unique. Rather than a single heddle frame with the plastic slots and holes fixed in place, the Lojan heddles come in segments that are 4″ (10cm) wide. You can insert as many heddle pieces into the 2 rails of the heddle as you need for your project. This makes using heddles of different dpi (dents per inch) very straightforward.
And you as the weaver decide on the placement of the different heddle sizes. An added bonus is you don’t have to purchase a brand new heddle/reed every time you want to change your dents per inch – you simply purchase the heddle segments and swap them out.
The Lojan Flex Rigid Heddle is even upgradable to the Flex Shaft loom (a fabulous table loom that is also available to purchase as a multi shaft set up) by purchasing a Flex conversion kit. One conversion kit will allow you to weave on 4 shafts and if you add a second conversion kit you have 8 shafts to play around with. It’s quick and easy to swap your loom between rigid heddle and multi shaft weaving. That really is smart and affordable design!
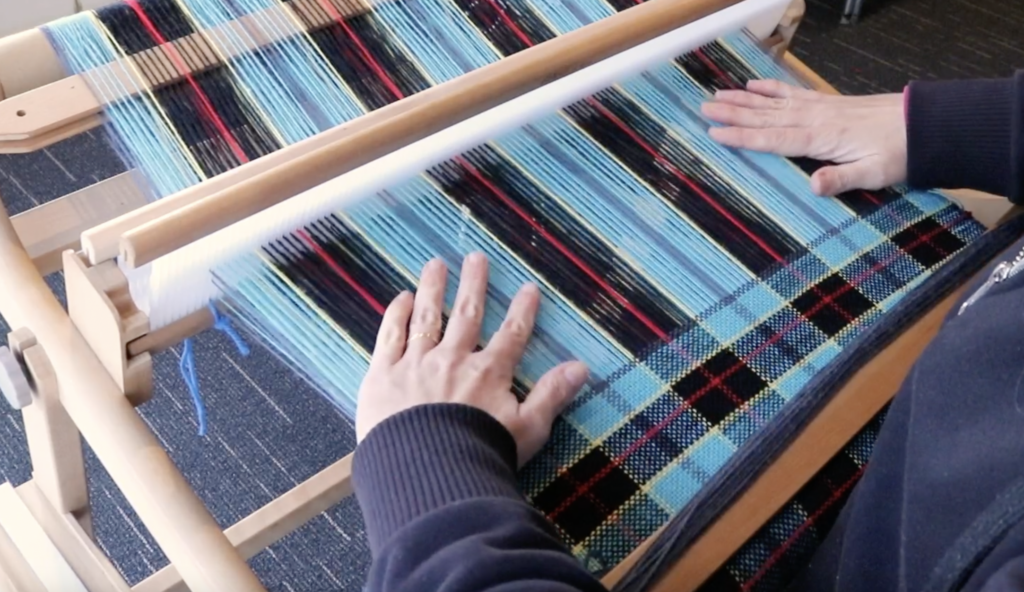
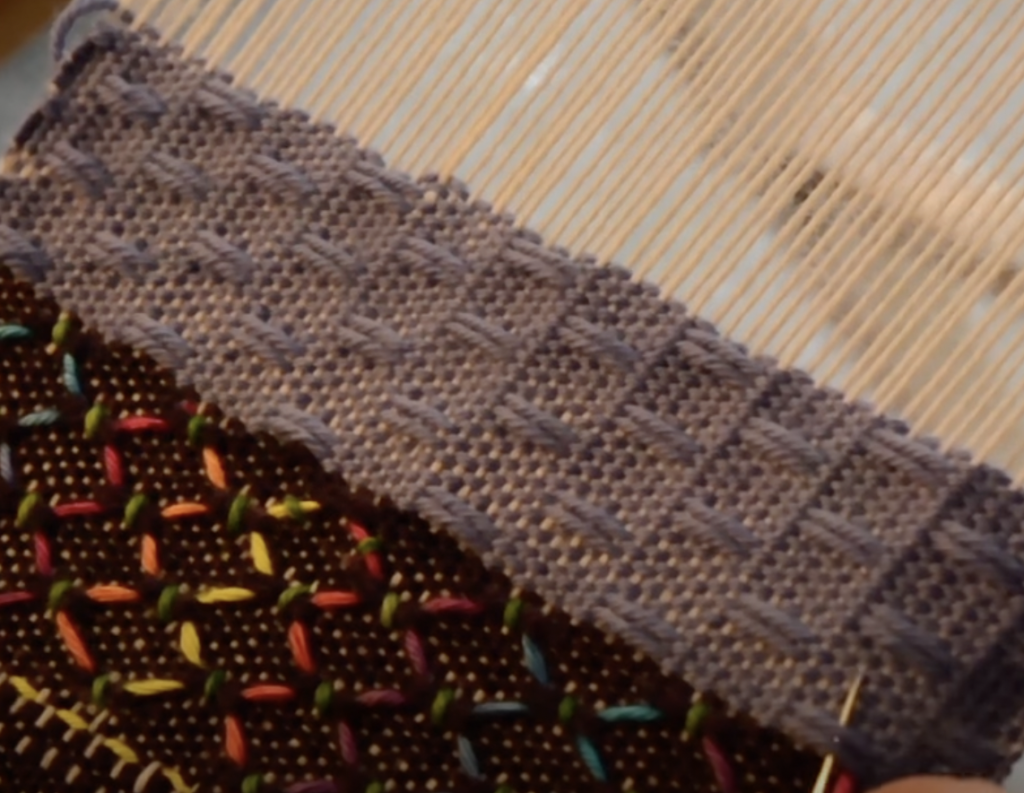
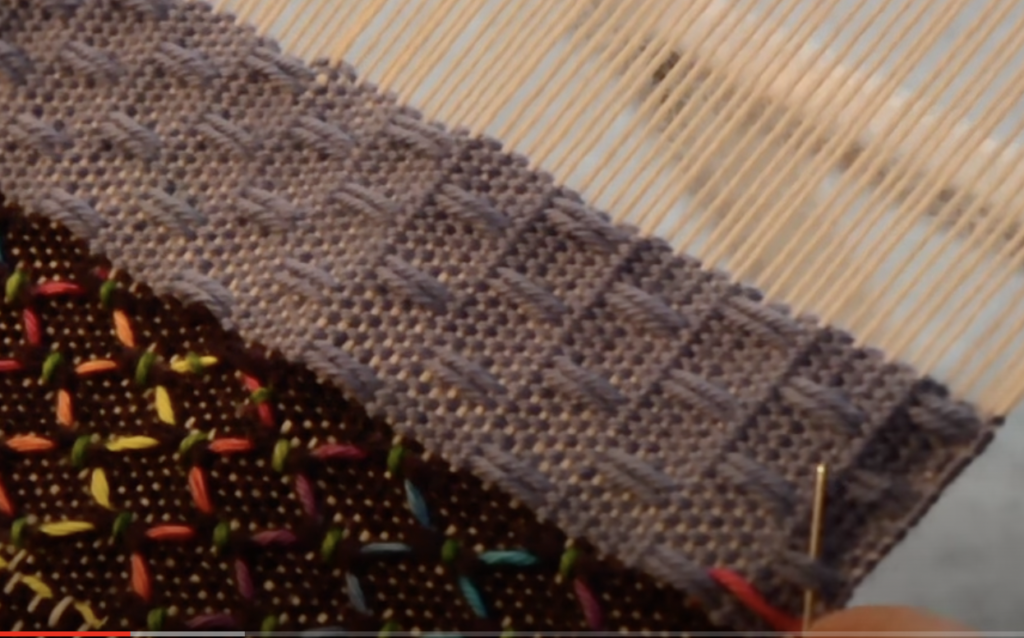
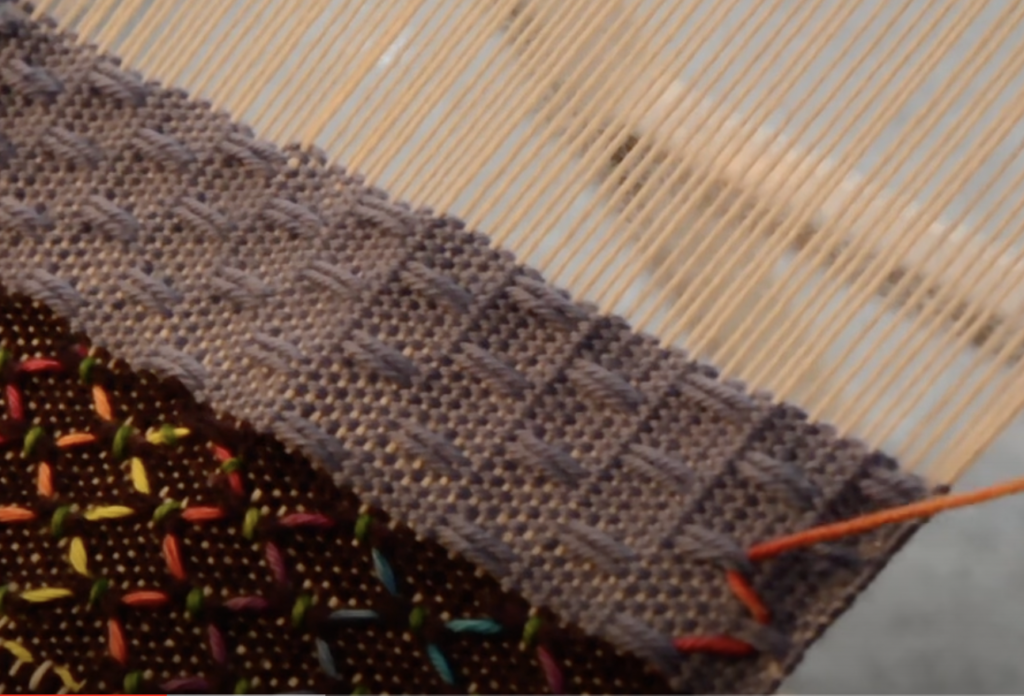
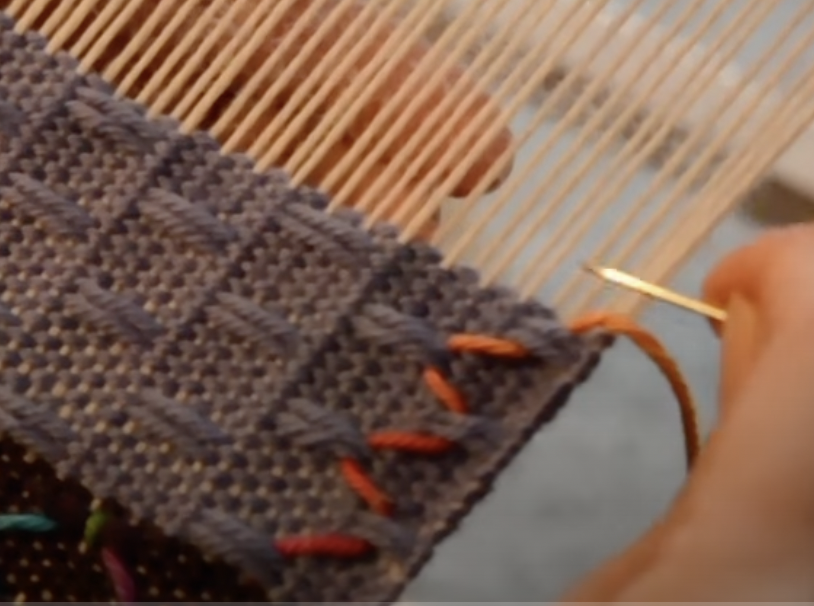
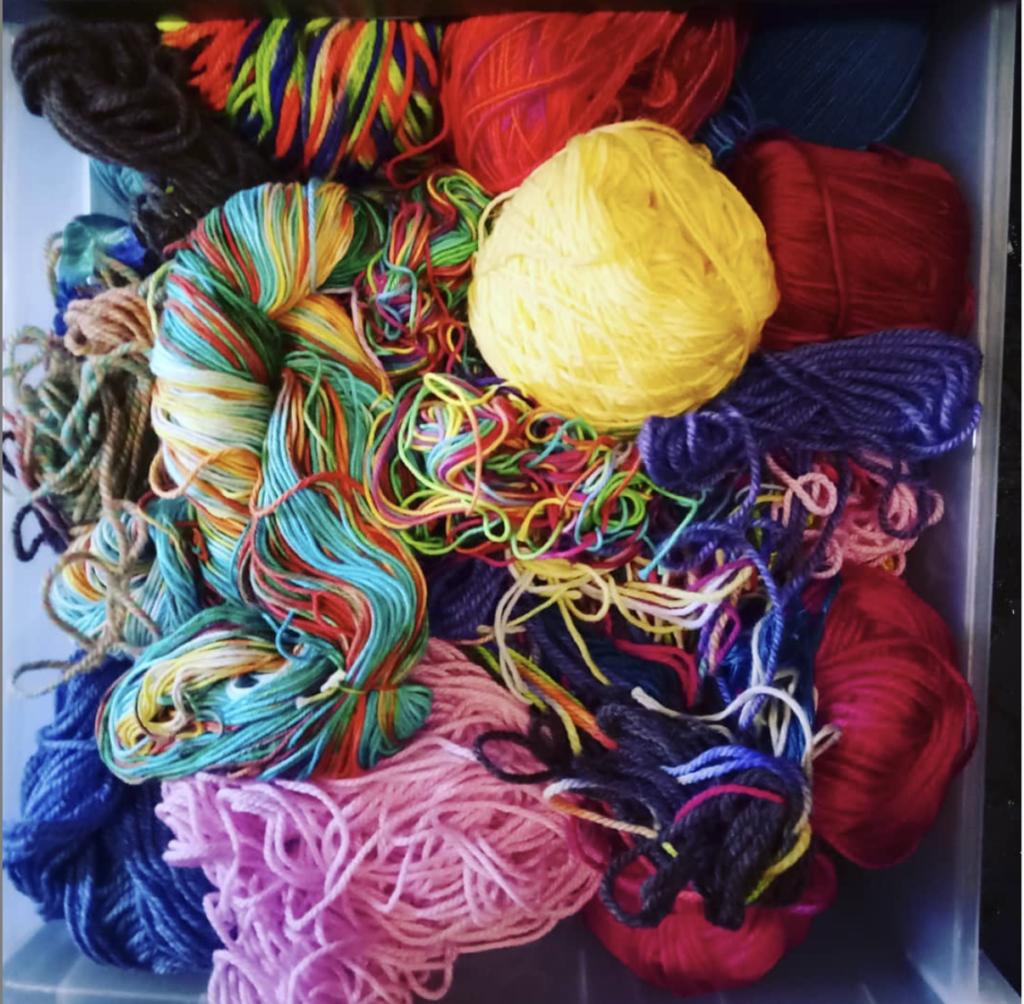
I decided to move out of my comfort zone and showcase some really interesting and new to me yarns. The use of the 2.5 and 5 dent heddle segments got me really excited about the yarn possibilities, as I knew I could use some very thick yarns without problems.
I chose a Recycled Sari Ribbon Yarn and a Recycled Sari Yarn. Just a little note – this second sari yarn is very soft, hairy and has a low twist, making it primed to be a little difficult on the loom. Another option is also a Sari yarn but looks to have a higher twist and may be easier to use. You can view that one here if interested.
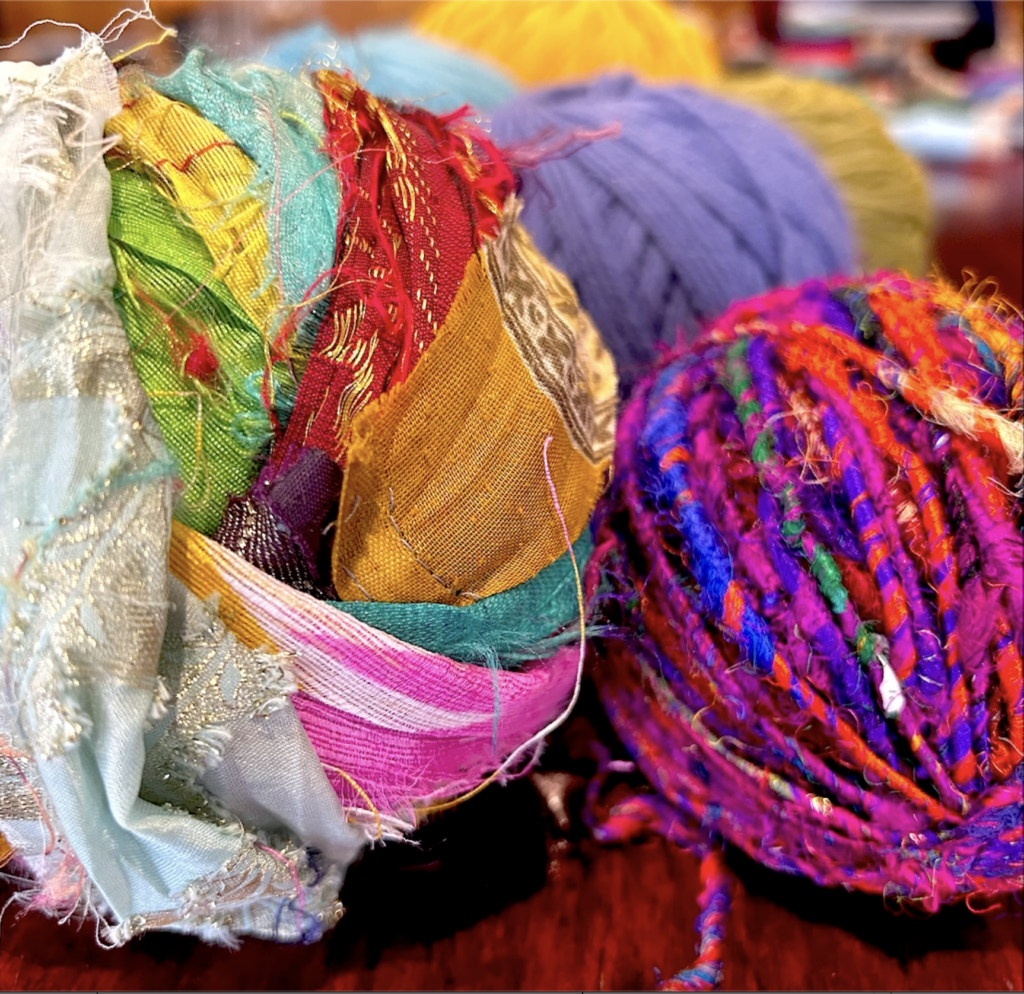
For the rest of the warp I used a fingering weight wool in a variety of colours that I had on hand.
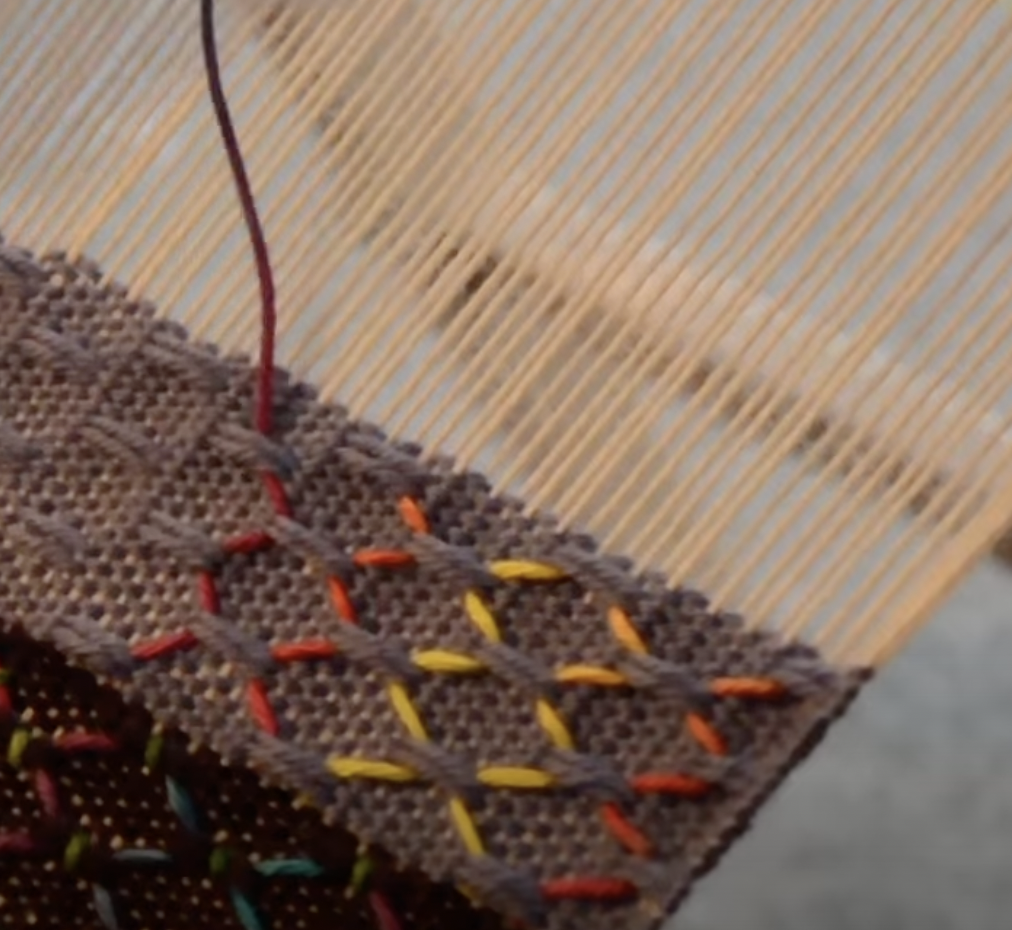
The wefts are all the same yarns, just used in various combinations as you will see in the video and outlined in your free pattern. Yarn amounts and brands are also included in the pattern.
We will use the direct warping method for this project. If you have not yet started weaving on your rigid heddle loom or you feel you need a refresher, my beginners course is for you.

Beginner Rigid Heddle Weaving – From WOE to GO!
Everything you need to know to get started and weave your first rigid heddle project
5013 students enrolled
Last updated May 3rd, 2026
So, who is ready to weave? 😃
Grab your pattern here and let’s go!
In addition to the pattern, be sure to follow along with the free video tutorial:
Until next time…
Happy Weaving!