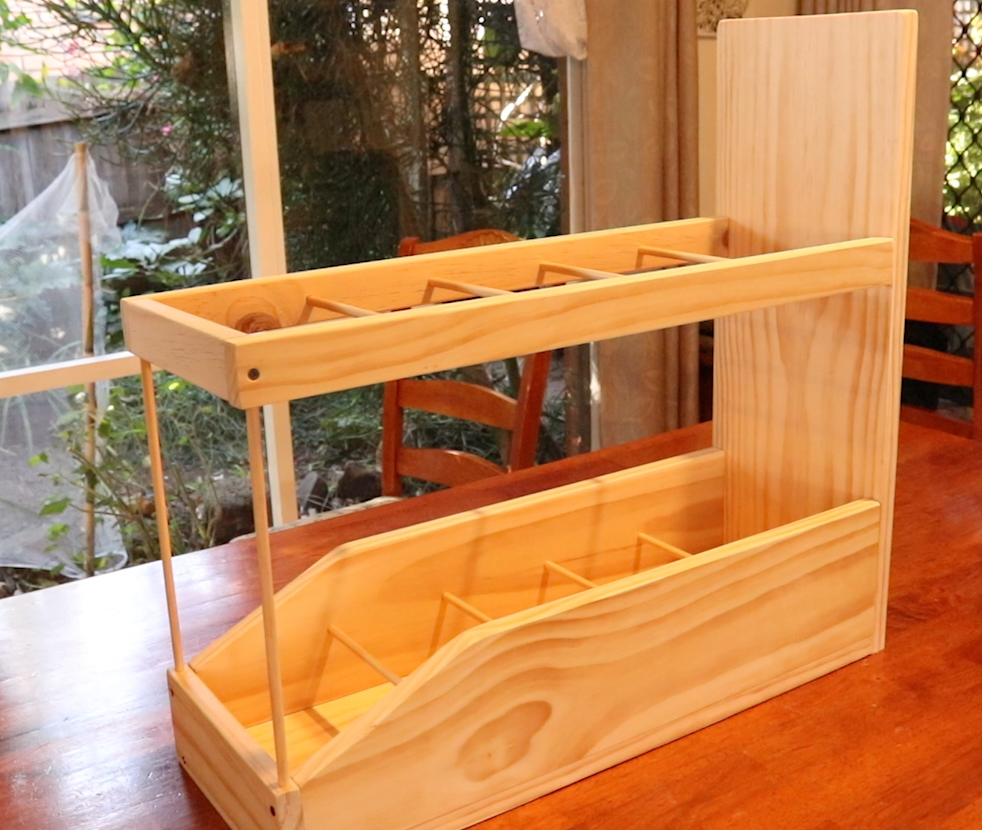
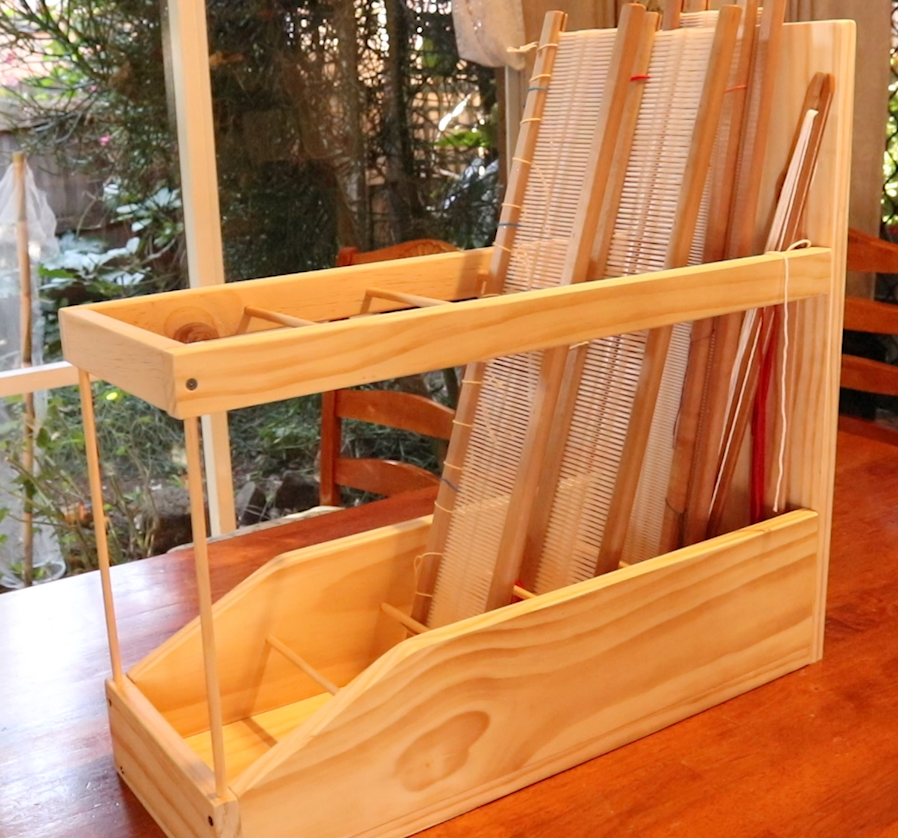
If you’re working in a small weaving space like I am, a reed stand is really invaluable for keeping tools organised and tidy.
Until recently, my “reed stand” in my studio space was an old, round laundry basket with medium height sides. All of my rigid heddle reeds were thrown in there together, along with my pick up sticks, stick shuttles and cardboard separators. Oh boy, it was a mess and very difficult to find what I wanted in a hurry.
A purchased reed stand will set you back from anywhere between $250 – 400 USD! I would rather spend that kind of cash on yarn and additional weaving supplies. When I told my frugal minded husband of my dilemma, he was all in.
*This post contains affiliate links
He drew up some basic plans based on what I told him I needed. The purchase of the wood for the project cost around $30AUD and he used tools he already had, like his hand saw and electric drill to put it together.
He readily admits that the hand saw is not perfect, and measurements will not always be spot on, but it all came together beautifully regardless. So, if you only have the most simple woodworking tools, you can certainly complete this project.
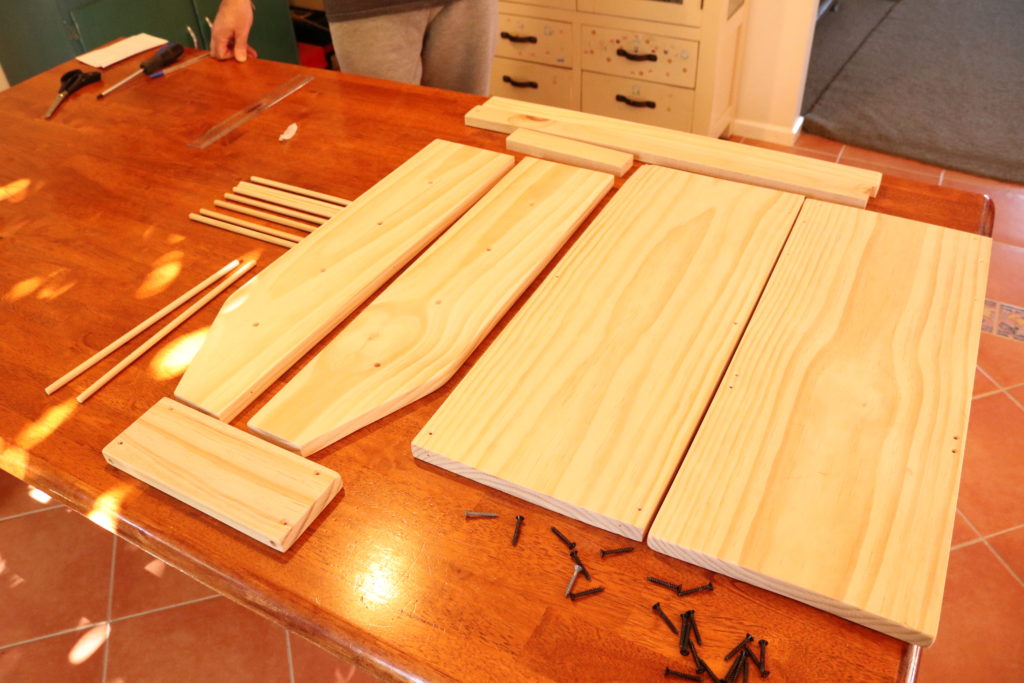
Our reed stand is made from untreated pine but you can certainly source your own appropriate lumber. We bought a couple of lengths and then cut them to size. All measurements are given in the printable PDF, which should be used in conjunction with the video.
The basic tools you will need for this project are:
*Wood and wooden dowel
*Handsaw (if you have a more sophisticated woodworking set up with electric tools, obviously you will want to use what you have).
*Electric drill and various drill bits (a hand powered drill would also work but the electric one just makes things quick and easy)
*Screws
*Candle wax (not essential but makes the positioning of screws much easier)
*Ruler or tape measure
*Pencil for marking measurements
*PVA or wood glue
You can download the printable PDF here-
If you wish to stain or paint your reed holder, this would be much more easily done before assembly.
The finished dimensions of the reed stand are as follows:
66cm length x 23.5cm width x 61cm height
Don’t forget to watch the video, as well as refer to the PDF, as you will find some information in each that is very important for the completion of the project.
Have you visited my Online Weaving School? You can choose from a huge variety of single classes or if you want to dive right in, there are memberships available.
The giveaway is still running until the end of the month, so if you haven’t entered yet, you can do that here.
Hey, seeing as we saved $220- $370, does that mean that I get to buy yarn with the savings? I haven’t broached that topic with my husband yet… 😆
I hope you enjoy the project. Until next time…
Happy Weaving!


Sorry to post this here but I don’t know how else to get in touch. I tried to sign up for your newsletter, but the link gets me to an empty page.
Could you either manually add me or send me instructions how to do it myself without being able to follow the link?
Thank you,
Pia
Yes of course Pia, I’ll add you to the mailing list and you should receive the next email that goes out, either today or tomorrow 😊
Thank you so much for the plans. I had already showed the reed holder to my husband and we thought we’d have to come up with the shapes. It is very generous of you to share the plans. Looking forward to helping my husband make one, as soon as we get the garden in.
Wonderful Delia, all the best with your garden too!
Another clever make from Mr C! This reed holder is both a functional and beautiful piece of furniture. Thank you both for the how-to info – another great team effort! 🙂
Thanks Gai 😊
Thanks kelly and hub for sharing this video, and for all the many things you share. Kelly, i find your teaching to be excellent. You are clear and concise, and also very generous sharing your skills. I’ve been weaving for a bit over three years now and truly love it. Congrats on your anniversary. I hope to be considered for your giveaway. Many thanks and much love. Joy
Thank you Joy 😊 Make sure you leave a comment on the original giveaway post to have your entry included.