• Skip to main content
  • Skip to primary sidebar

Kelly Casanova Weaving Lessons

  • Hi! I’m Kelly!
    • Disclosure
  • Online Weaving School Class Index
    • Common account issues
    • Common technical issues
    • What do I get with a membership?
  • New to rigid heddle weaving? Start here!
    • Never heard of the rigid heddle loom?
    • How to weave neat edges on the rigid heddle loom
    • Rigid heddle weaving
    • Rigid Heddle Weaving Patterns
  • Patterns
  • Subscribe

woodworking

Studio Sign with Cricut Maker 3 Tutorial

by Kelly 5 Comments

Ever since I moved into my very first studio this year, I’ve wanted to put up an official studio sign. I thought about purchasing one online, but couldn’t decide on one that I liked.

So when Cricut Australia contacted me recently and asked me to partner with them, my first thought was “Awesome! I can make a studio sign!”

If you have never heard of Cricut before, (pronounced “cricket”) you are missing out! I admit that I wasn’t sure exactly what to expect when my Cricut Maker 3 arrived and even felt a bit intimidated by the thought of learning new technology, but I have been very pleasantly surprised.

*This post contains affiliate links. For further information, please see my disclosure policy.
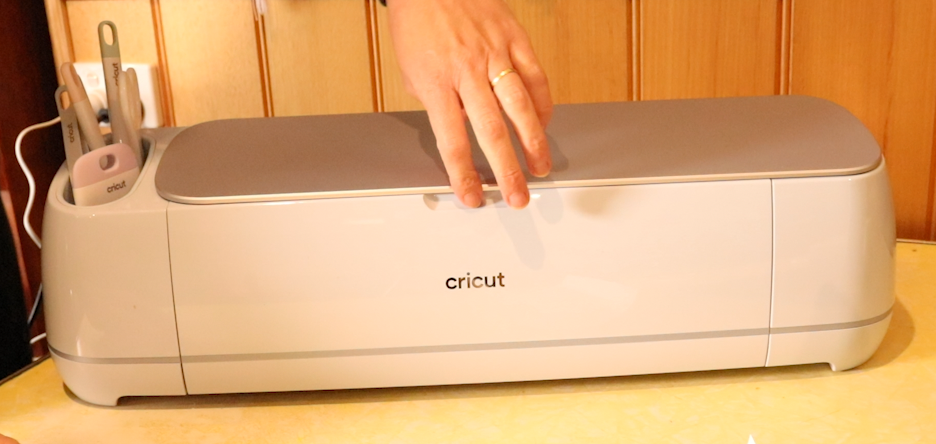
The machine has been very easy to learn and I’m excited by how much more I can explore. Cricut also included a rotary cutting tool that fits into the machine so that I can experiment with cutting out shapes with my hand woven fabric. I can’t wait to do that!

Here are some of the things I’m loving about this machine:

  • The design possibilities are awesome. In addition to the availability of the app, Design Space, which has hundreds of images and fonts, you can also upload your own designs.
  • The Cricut Maker 3 doesn’t just cut paper and vinyl. It can cut fabric, leather, balsa wood – a total of over 300 materials can be used.
  • The Adaptive Tool System matches the cutting direction and pressure to match the material you’re cutting. Tools can be changed according to what you want to do.
  • Design Space is compatible with iOS, Android, Windows and Mac (I use it with my MacBook Pro).

My husband and I worked together on this project so it was double the fun – I love any excuse to work together!

My idea for the studio sign was to repurpose everything to make it a low to no cost project. Thanks to finding materials around our property and of course to Cricut for sending me the Maker 3 plus tools and materials, I am happy to report that the final result was a NO cost project!

We found some planks of wood that had been stacked on top of a low shed. Absolutely perfect, as I wanted to use naturally distressed wood and these planks fit the bill perfectly. We also used some waste wood as the braces at the back of the sign. My husband already had an old sheet of MDF (medium density fibre board), and that was used for the front of the sign.
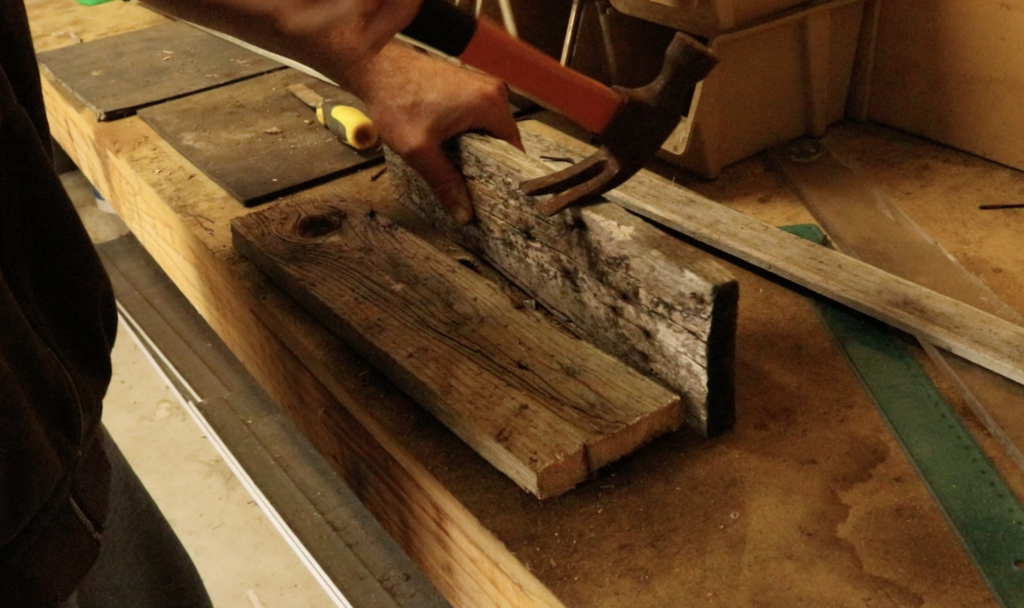
The cut pieces of distressed wood measured around 18 x 4″ each, with a depth of just over 1.5″.
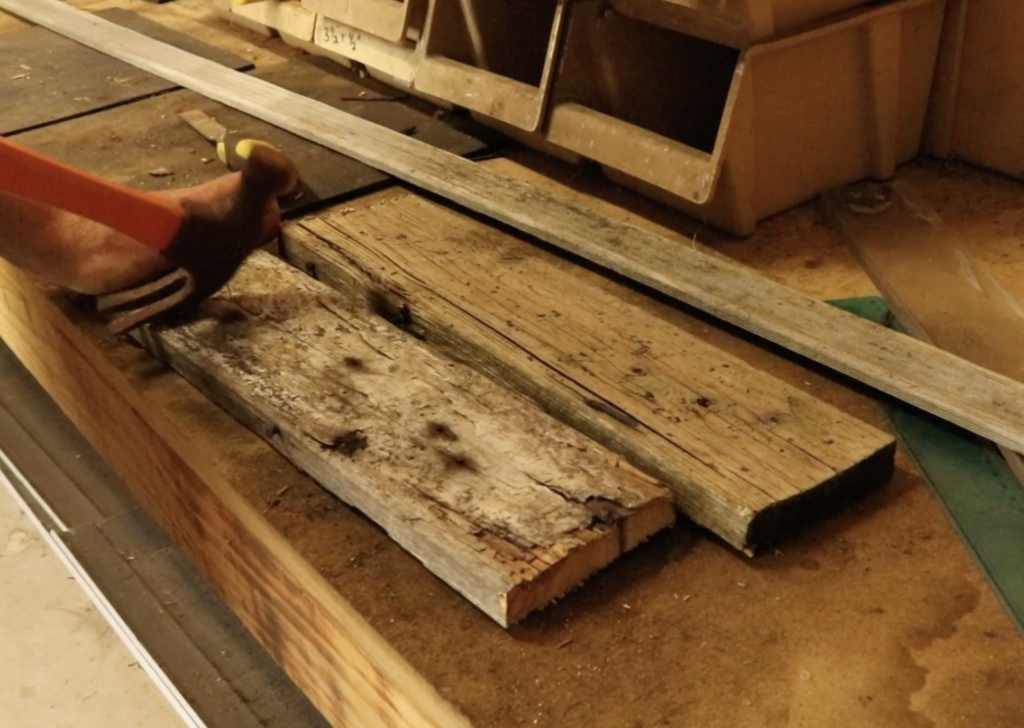
We loved the rustic look of the timber, so we left it rough without sanding, but we did need to remove the rusty nails!
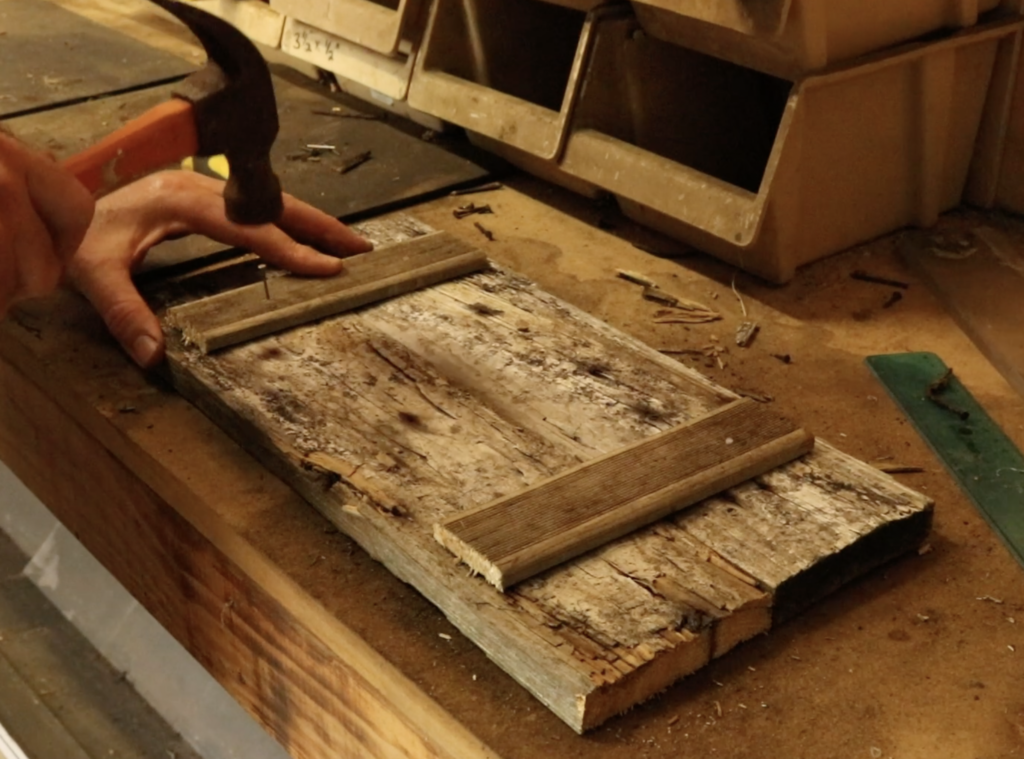
My husband nailed on two short and narrow pieces of wood (also found on our property) as a brace to hold the two main pieces together. These measure about 7.5 x 1.5″ with a depth of around 1.25″.
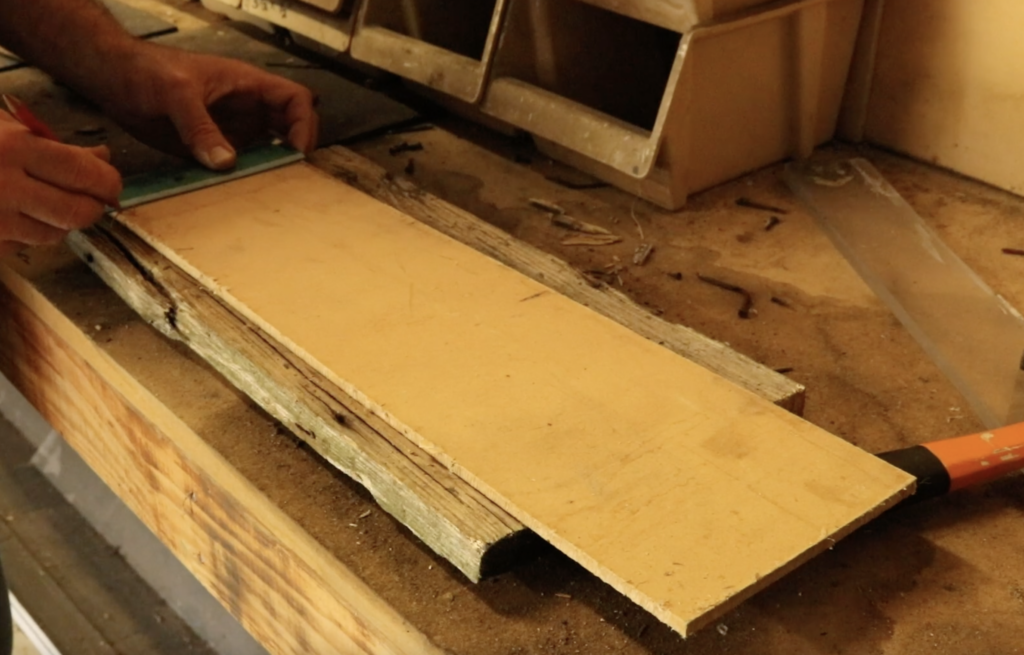
Then we took some MDF (plywood would also work) that we had lying around to use as a front plaque on the wood frame. This was an important step, as the Cricut vinyl I wanted to apply to the front of the sign needed a smooth surface to adhere to.

My husband eyeballed the MDF to match the size of the wooden backing. He drew up some quick measurements, then cut the piece, which ended up measuring around 13.5 x 5.5″. He also cut the corners off using our scrollsaw. Then he gave it a good sand with a fine sandpaper to smooth rough edges.
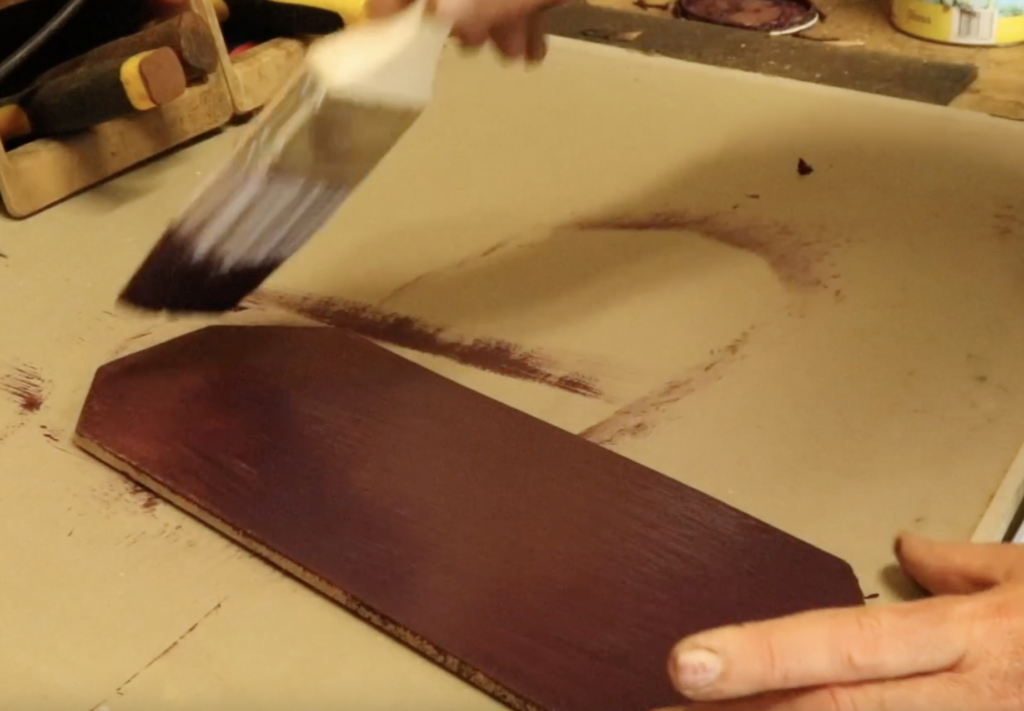
We painted the MDF plaque with some old paint we found in one of our sheds. It just happened to be a great colour that would set off the gold vinyl lettering perfectly! We let this paint dry completely before the next step.
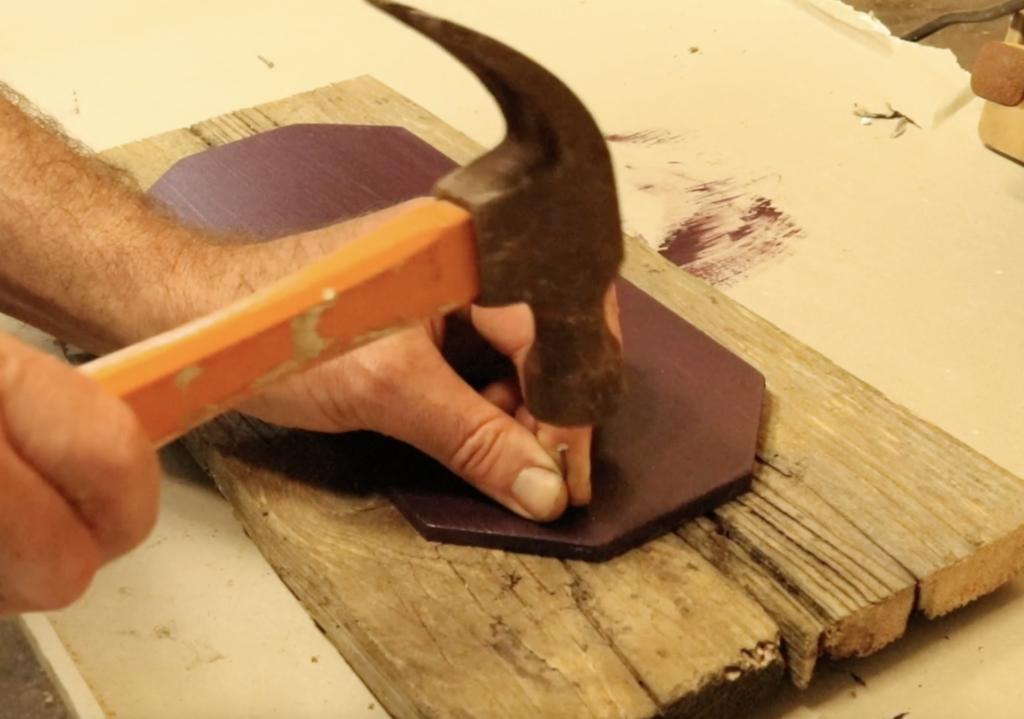
The plaque was then nailed to the wooden backing.
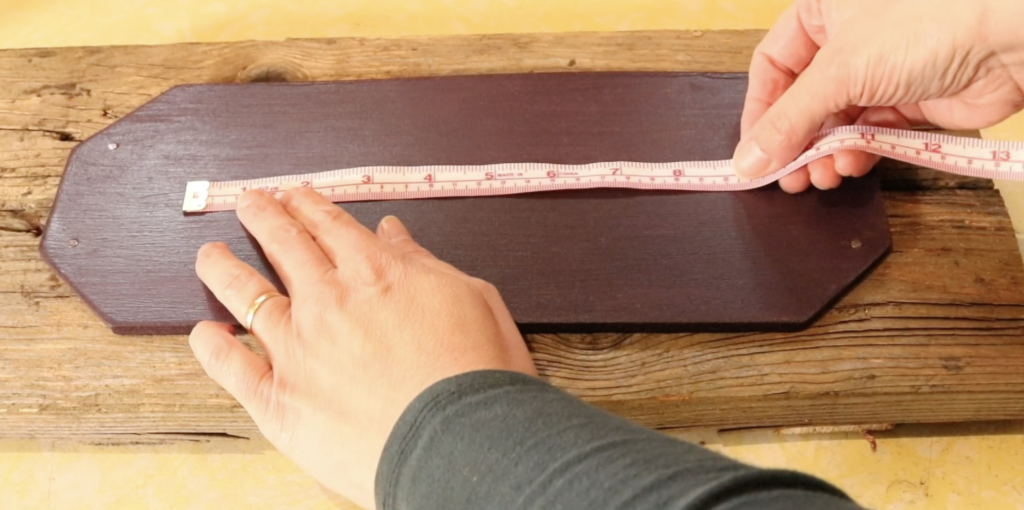
The rest was up to me! I measured the plaque in order to get accurate measurements for my vinyl lettering.
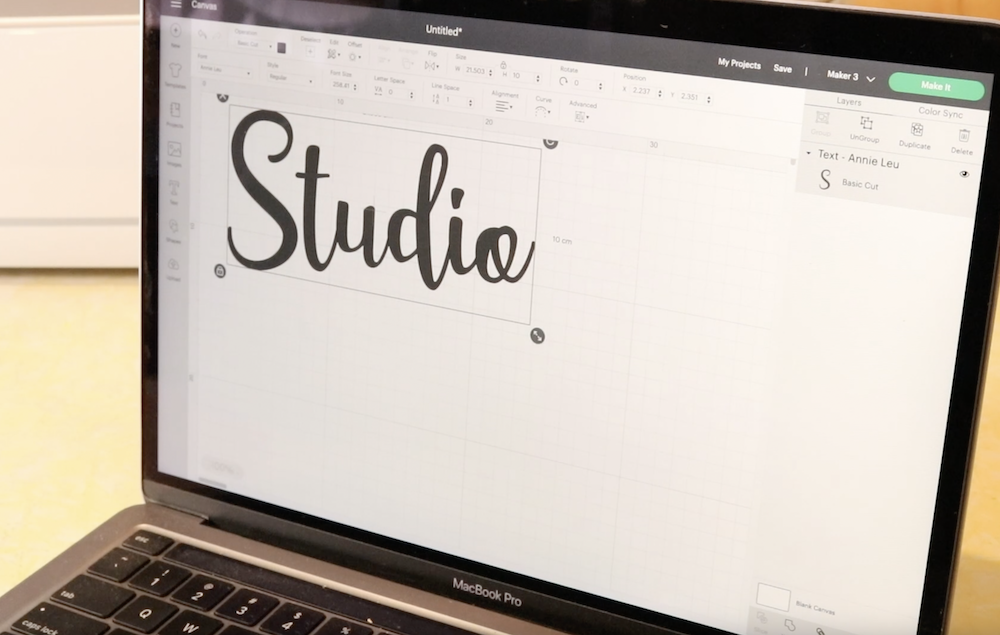
I went into the Cricut Design Space to get my text organised. This is really simple to do using the Design Space app. I simply typed in the text (“Studio”), chose the font, then adjusted the measurements to suit my plaque.😊

My laptop is paired with the Cricut Maker 3 using Bluetooth, which works really well with no need for cables.
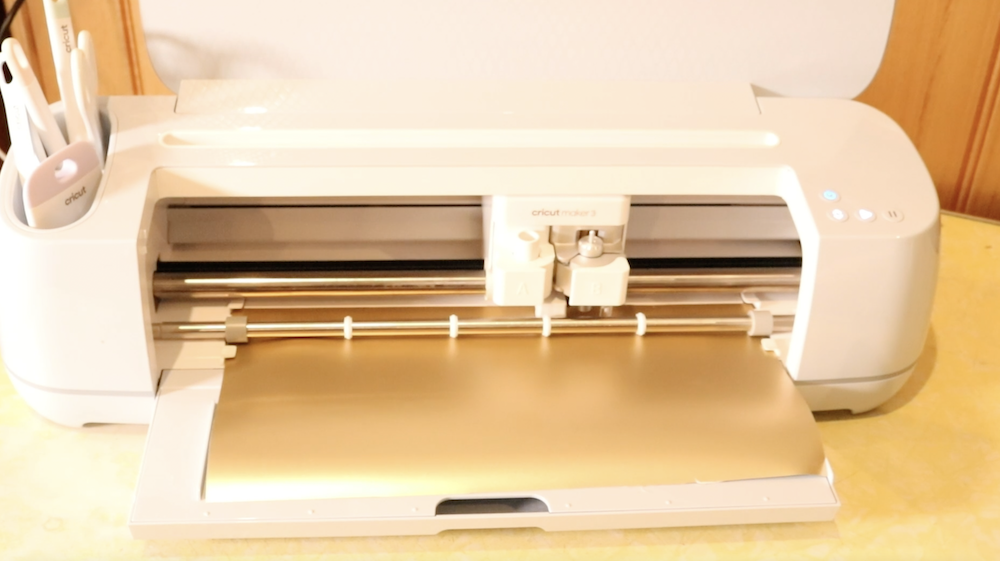
Following the prompts from the Design Space app, I lay in the material I’m wanting to cut, in this case Smart vinyl in Champagne. The Smart materials from Cricut don’t require a cutting mat, it simply feeds into the machine, cuts out the design, then feeds out again.
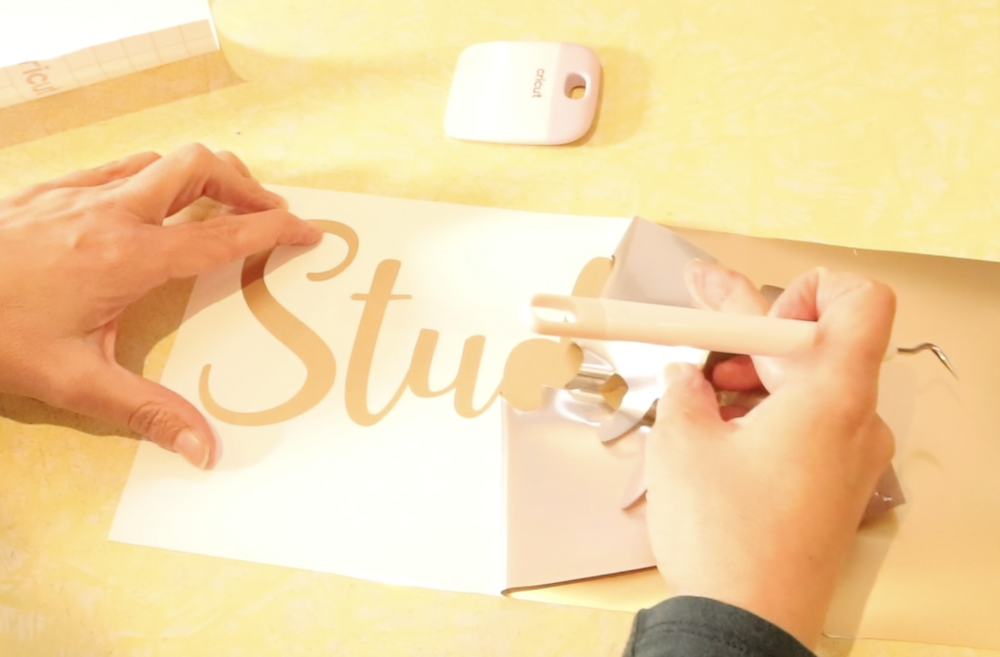
The next step is to peel away the excess vinyl from the design using the handy weeding tool (the hook) to pull up any vinyl still stuck to the backing.
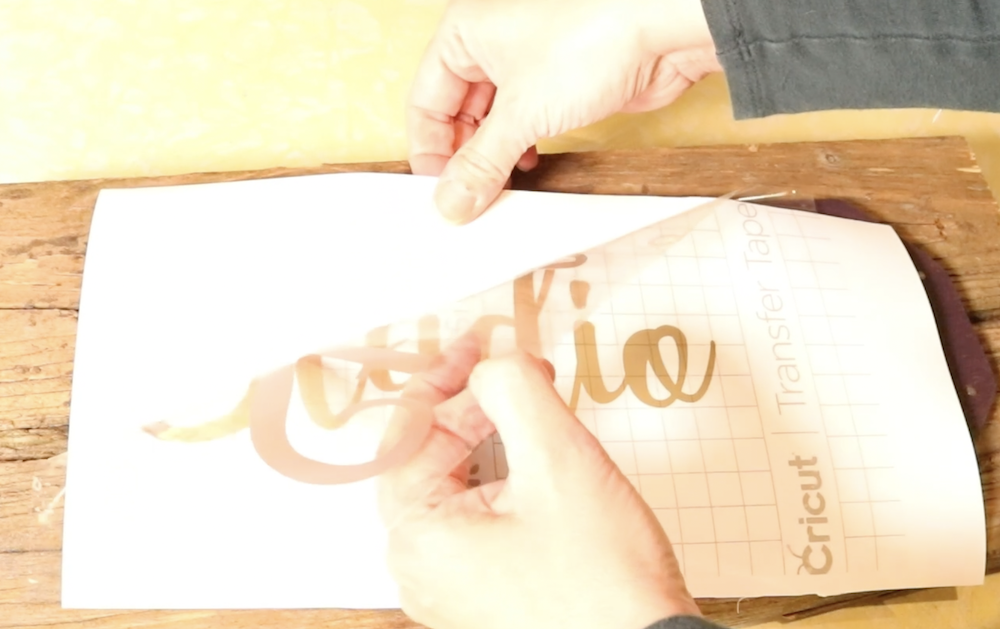
The Transfer Tape is placed over the top of the design. This allows you to peel up your design and place it precisely where you want it to go.
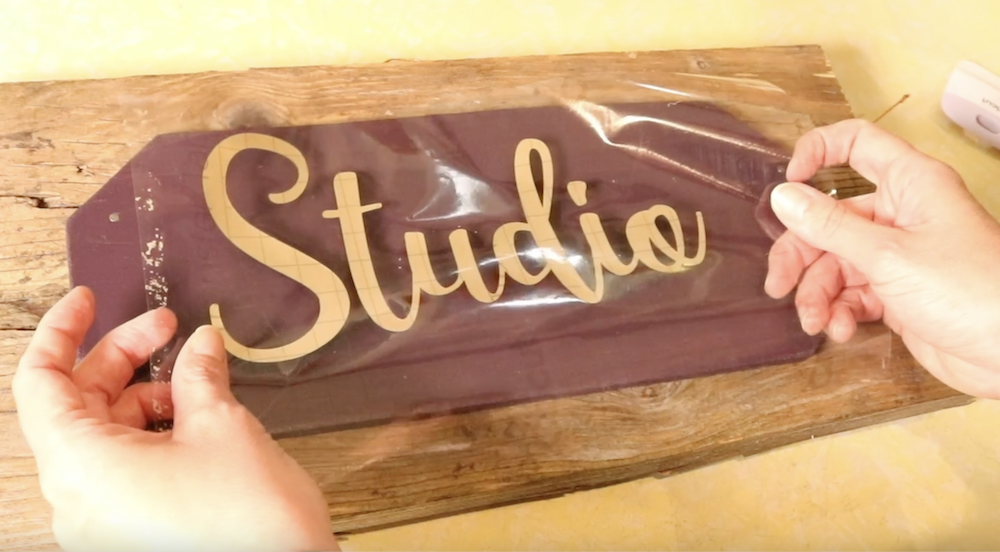
I positioned the design onto the plaque, smoothed it down and removed the transfer tape. All that was left to do was to hang my beautiful new sign outside my studio. I love the way it looks, and it makes my studio feel really official.

I had so much fun making this sign that I couldn’t stop at just one! In Design Space there are so many great images to choose from, so I wanted to take advantage of some of those.

I got my girls involved so that we could work together to make some signs relevant to their own hobbies and spaces.

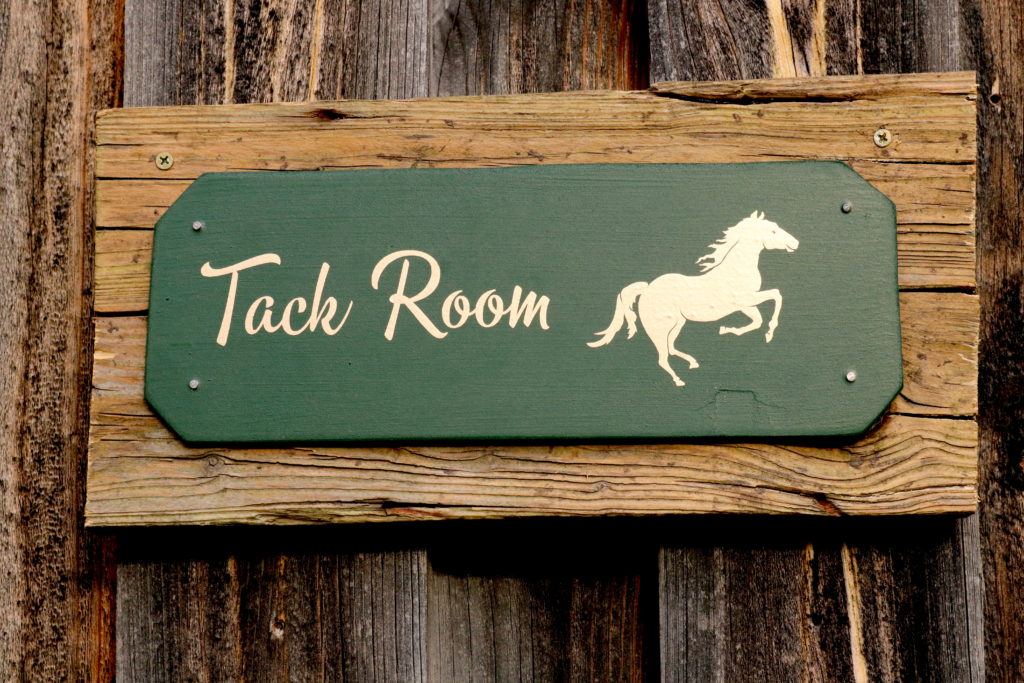
For my 14 year old horse lover, it was a no brainer to make a sign for her tack room.
My youngest daughter is chicken crazy and the caretaker of our chicken coops.
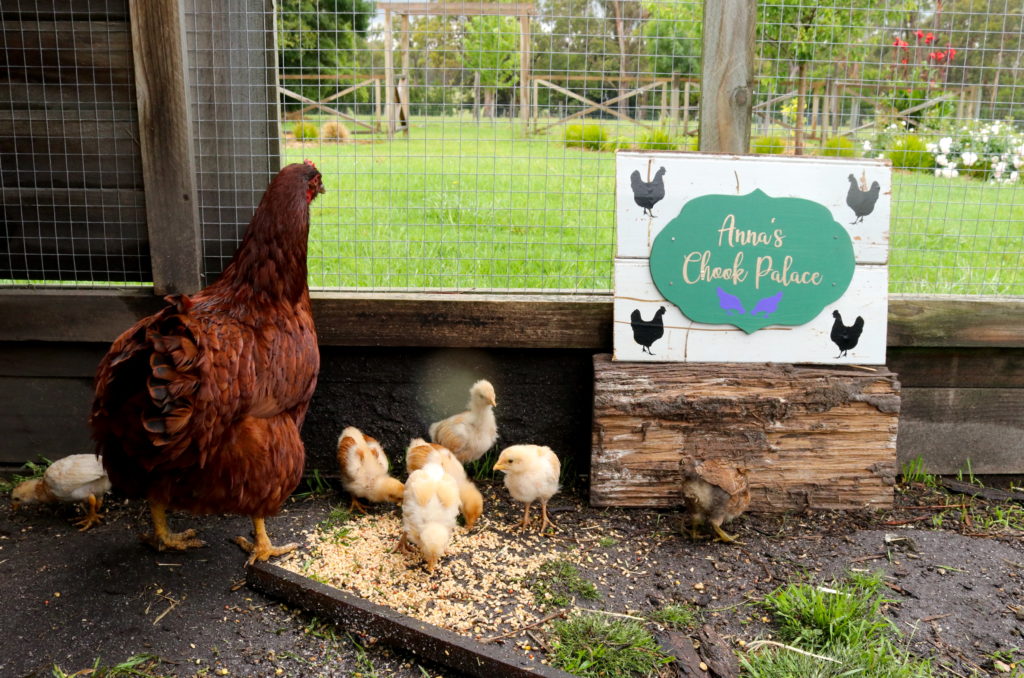
These signs were all no cost projects for us, thanks to Cricut Australia and New Zealand, and thanks to repurposed materials.

What I’m really looking forward to now is checking out the Cricut rotary cutter tool with some of my handwoven fabric. Stay tuned for that!

If you would like to see the full free video tutorial for how I made the studio sign, click on the video below:

The Cricut Maker 3 can be found at Spotlight or Harvey Norman in Australia. In New Zealand, suppliers are Spotlight and Warehouse Stationary.

You can also find Cricut here-

Instagram: https://www.instagram.com/cricut_anz/

Facebook: https://www.facebook.com/cricutanz/

YouTube: https://www.youtube.com/channel/UCffy4UQ9lfgQPDlyEUCgWPA

Until next time…

Happy Weaving!

Filed Under: Free tutorial, Inspiration, Tutorials, Weaving, Woodworking Tagged With: studio sign, tutorial, woodworking

How to make a reed stand from wood

by Kelly 8 Comments

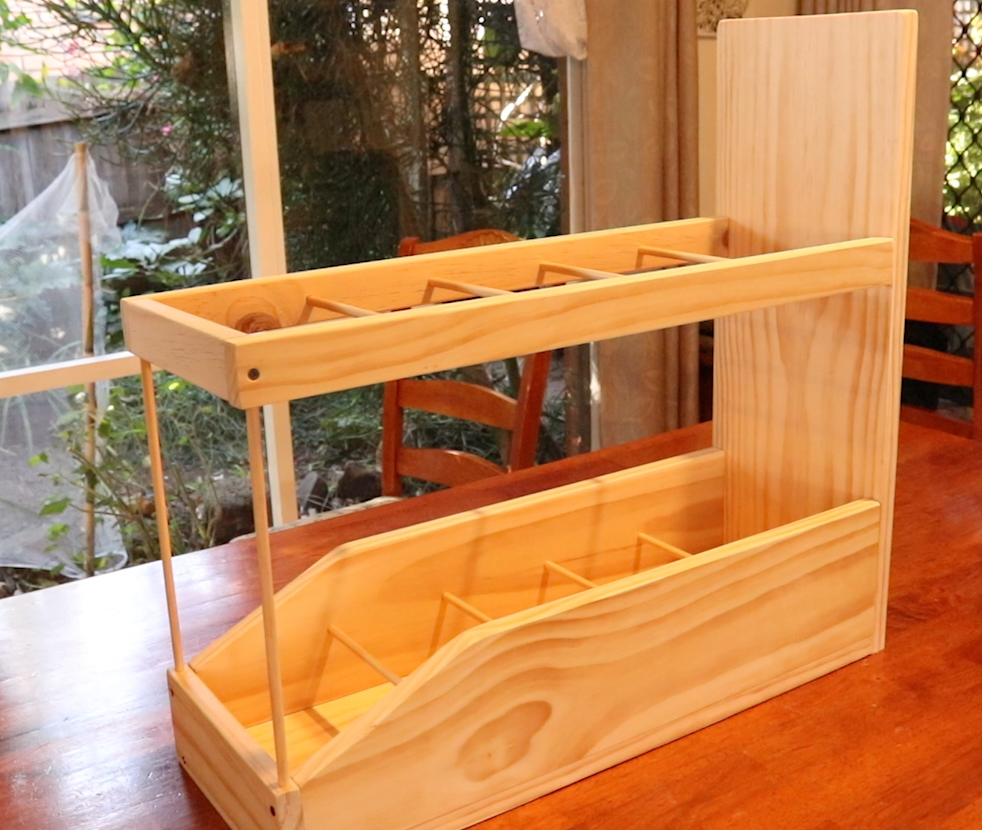
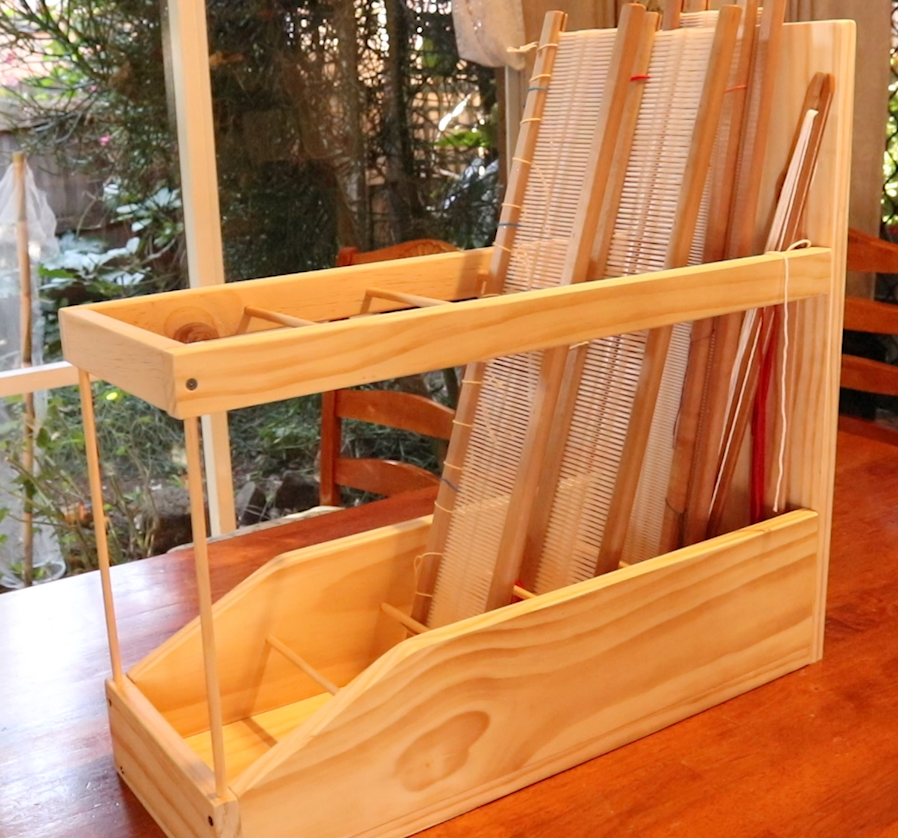
If you’re working in a small weaving space like I am, a reed stand is really invaluable for keeping tools organised and tidy.

Until recently, my “reed stand” in my studio space was an old, round laundry basket with medium height sides. All of my rigid heddle reeds were thrown in there together, along with my pick up sticks, stick shuttles and cardboard separators. Oh boy, it was a mess and very difficult to find what I wanted in a hurry.

A purchased reed stand will set you back from anywhere between $250 – 400 USD! I would rather spend that kind of cash on yarn and additional weaving supplies. When I told my frugal minded husband of my dilemma, he was all in.

*This post contains affiliate links

He drew up some basic plans based on what I told him I needed. The purchase of the wood for the project cost around $30AUD and he used tools he already had, like his hand saw and electric drill to put it together.

He readily admits that the hand saw is not perfect, and measurements will not always be spot on, but it all came together beautifully regardless. So, if you only have the most simple woodworking tools, you can certainly complete this project.

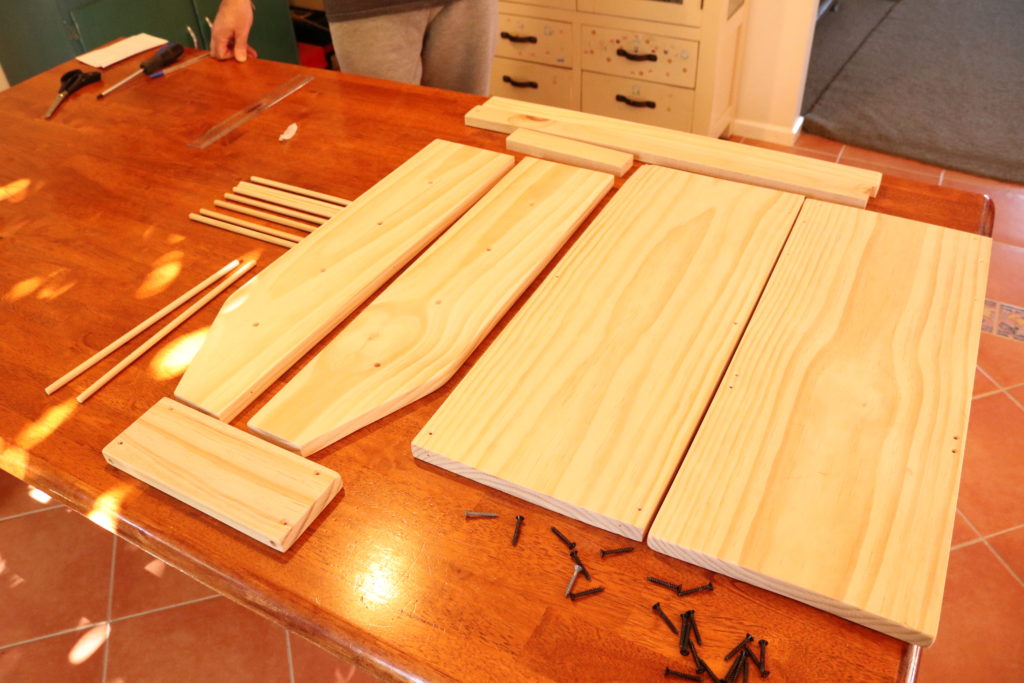
Our reed stand is made from untreated pine but you can certainly source your own appropriate lumber. We bought a couple of lengths and then cut them to size. All measurements are given in the printable PDF, which should be used in conjunction with the video.

The basic tools you will need for this project are:

*Wood and wooden dowel

*Handsaw (if you have a more sophisticated woodworking set up with electric tools, obviously you will want to use what you have).

*Electric drill and various drill bits (a hand powered drill would also work but the electric one just makes things quick and easy)

*Screws

*Candle wax (not essential but makes the positioning of screws much easier)

*Ruler or tape measure

*Pencil for marking measurements

*PVA or wood glue

You can download the printable PDF here-

Reed-stand-pieces-and-measurements PDFDownload

If you wish to stain or paint your reed holder, this would be much more easily done before assembly.

The finished dimensions of the reed stand are as follows:

66cm length x 23.5cm width x 61cm height

Don’t forget to watch the video, as well as refer to the PDF, as you will find some information in each that is very important for the completion of the project.

Have you visited my Online Weaving School? You can choose from a huge variety of single classes or if you want to dive right in, there are memberships available.

The giveaway is still running until the end of the month, so if you haven’t entered yet, you can do that here.

Hey, seeing as we saved $220- $370, does that mean that I get to buy yarn with the savings? I haven’t broached that topic with my husband yet… 😆

I hope you enjoy the project. Until next time…

Happy Weaving!

Filed Under: Free Pattern, Free tutorial, Rigid heddle weaving, Tutorials, Weaving, Woodworking Tagged With: free project, free tutorial, reed holder, woodworking

How to make a warping stand

by Kelly 20 Comments

DIY Warping Stand: How We Made an Affordable and Sturdy One at Home

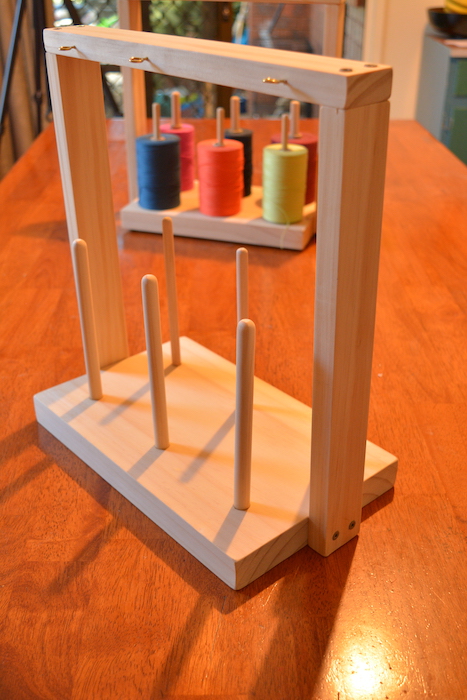
I had been wanting a warping stand for a long time, but the store-bought versions were just too expensive. Thankfully, my husband stepped in! After I showed him a few pictures and explained how it works, he offered to make one—and he did an amazing job.

When I shared the finished stand on social media, the response was overwhelming. So many of you asked how to make one yourselves. I’m happy to share that my husband not only created a set of free plans and measurements, but we also filmed a full YouTube tutorial to walk you through the process.

🧰 Good news: You don’t need fancy tools or woodworking experience to make this warping stand. With a little effort and some basic supplies, you’ll have a strong, functional tool that will last for years.


How to use a warping stand

Using a warping stand is super simple and will make your warping experience so much easier!

Simply place your yarn cone over one of the dowel pieces:

Pull up the yarn end to thread through the eye hook directly above the dowel:

Place the warping stand on the floor, ready to use 😊

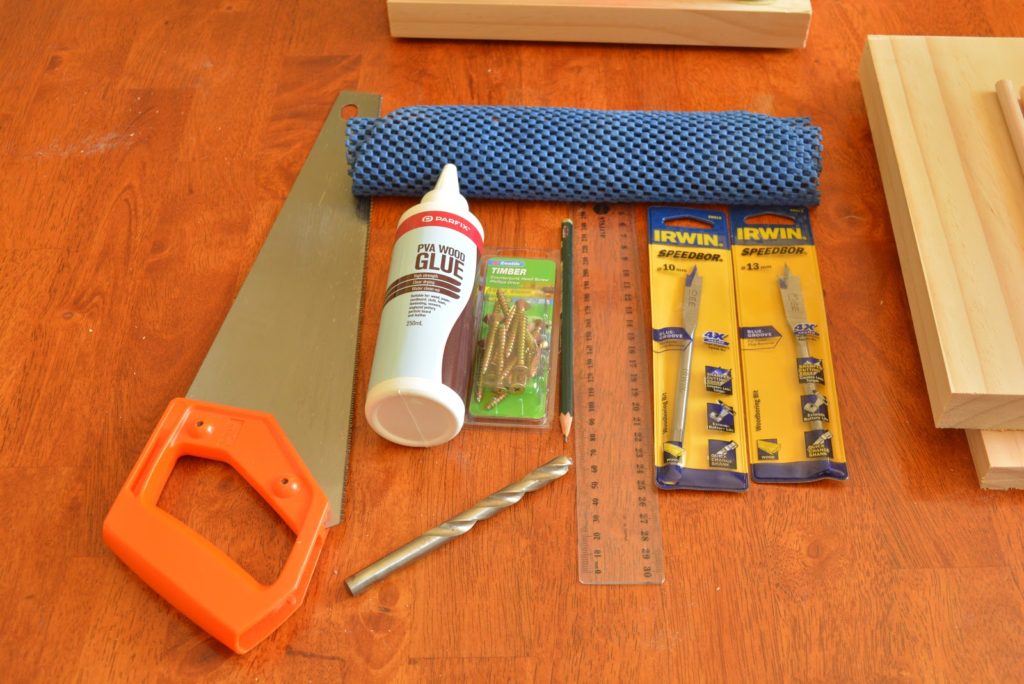
🛠 Tools and Materials Needed

Here’s a list of the tools and materials we used to make the DIY warping stand:

  • Electric drill – (these ones are great!)

  • Drill measuring rod (usually included with your drill)

  • Wood boring bits – 13mm and 10mm sizes

  • Rubber or non-slip matting – A small piece to stabilize the base

  • 6 x eye screws – 23mm long, 2mm diameter

  • 8 x 10-gauge screws – 45mm long (we used square head screws)

  • Square drive drill bit No. 2 – (came with our screws)

  • Pre-drill bit – Same size as your screw body

  • Handsaw

  • PVA wood glue – Just a small amount

  • Ruler or measuring tape

  • Sandpaper – Medium and fine grit

  • HB pencil – For marking your cuts

  • ——————————————————————————————-

Why I Love My DIY Warping Stand

  • Affordable – Costs a fraction of store-bought versions

  • Customizable – Make it the perfect size for your space

  • Sturdy & Reliable – Built to last, even with regular use

  • Beginner-Friendly – No fancy tools or woodworking skills needed

  • No More Rolling Cones of Yarn! – I used to get really annoyed when my yarn cone would not stay put. I rigged up a cardboard box with a chopstick as a temporary holder, which worked ok but was bulky, dust gathering and the chopstick hole would get bigger with use.

✨ Bonus Tips

  • If you don’t have a handsaw, many hardware stores will cut the wood to size for you, you just have to ask and give them the specifications.

  • Use clamps while gluing for extra strength.

  • Sand well to avoid yarn snags during warping.

  • You can use a wood finish if you prefer. This will protect the wood, making your stand last even longer. Beeswax, wood oil or varnish are all suitable.


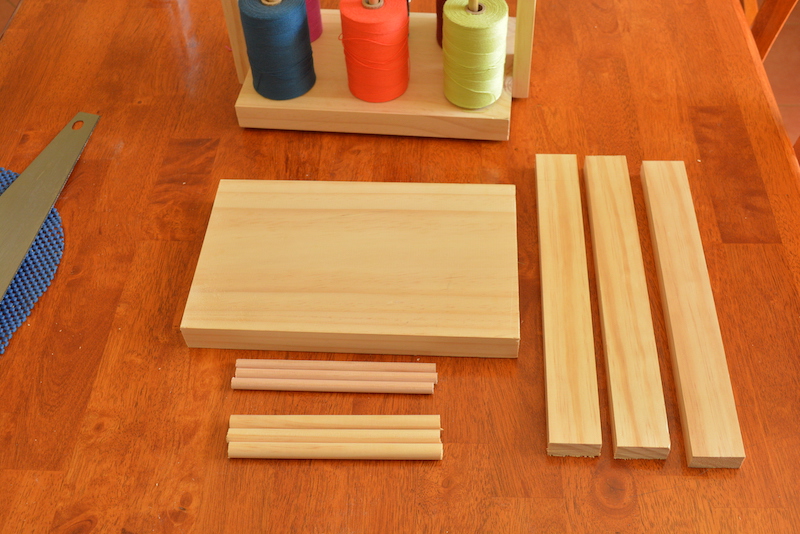
🪵 Wood Measurements & Materials (Premium Pine)

We used premium pine for this project because it’s lightweight, affordable, and easy to work with. Here’s a breakdown of the wood pieces:

Part Quantity Dimensions (cm) Dimensions (inches)
Base piece 1 30 L x 19 W x 3 D 11.8″ x 7.3″ x 1.2″
Side pieces 2 34 L x 4.3 W x 1.9 D 13.3″ x 1.6″ x 0.75″
Top piece 1 Same as side pieces —
Thick dowels 3 17.7 L x 1.27 Ø 7″ x 0.5″
Thin dowels 3 17.7 L x 0.95 Ø 7″ x 0.37″

📏 Note: The measurements don’t have to be exact. As my husband says, small variations are totally fine—just aim for consistency and functionality.


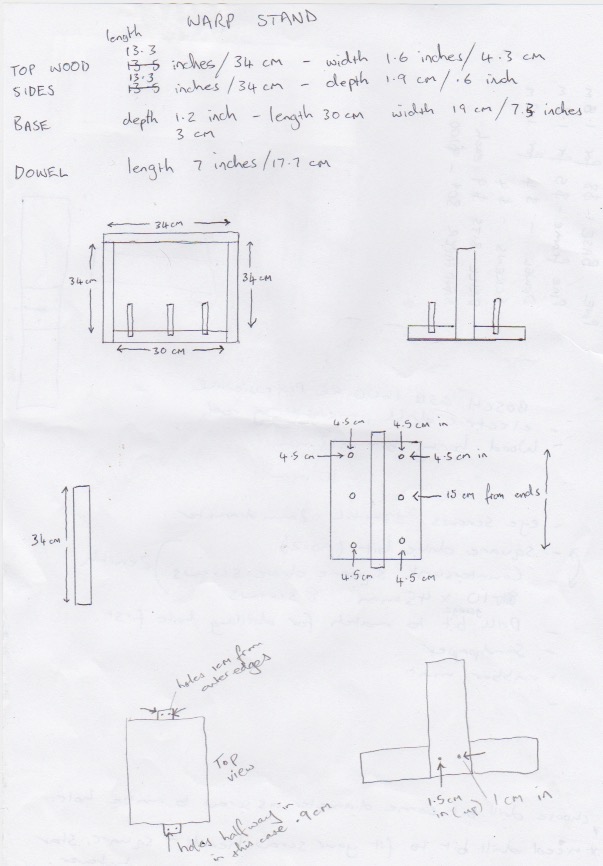
📐 Reference Diagrams

We’ve included hand-drawn diagrams to help guide you alongside the video tutorial. These are meant to support your build visually in case anything gets confusing while following the video.

🎥 Don’t skip the video! This blog post is intended to complement the full video tutorial, not replace it. Be sure to use both for the best results.


💰 How Much Does It Cost?

One of the best things about this DIY warping stand project is how inexpensive it is compared to a store-bought warping stand. Please note that prices change over time due to inflation so these original figures may differ to current figures:

  • If you already have some tools (like we did), the total cost for materials was between $25–$40 AUD

  • If you already have the wood, screws, and bits, it could be a completely free project!

That’s a huge saving when commercial stands often cost over $100!

Don’t forget to check out the video tutorial:

❤️ We Hope This Helps!

We truly hope this project helps you get a functional, custom-made DIY warping stand at a fraction of the cost. If you have any questions, feel free to reach out in the comments below 👇

🙏 Was this post helpful? We gratefully accept donations if you’d like to support more free tutorials like this.

Leave a tip 😀
Until next time…
Happy Weaving!
 
*This post contains affiliate links. For further information please see my disclosure policy.

Filed Under: Tutorials Tagged With: cone stand, tutorial, warping stand, weaving, woodworking, youtube tutorial

Primary Sidebar

Categories

Archives

Meta

  • Log in
  • Entries feed
  • Comments feed
  • WordPress.org

Copyright © 2025 Kelly Casanova Weaving Lessons on the Foodie Pro Theme