• Skip to main content
  • Skip to primary sidebar

Kelly Casanova Weaving Lessons

  • Hi! I’m Kelly!
    • Disclosure
  • Online Weaving School Class Index
    • Common account issues
    • Common technical issues
    • What do I get with a membership?
  • New to rigid heddle weaving? Start here!
    • Never heard of the rigid heddle loom?
    • How to weave neat edges on the rigid heddle loom
    • Rigid heddle weaving
    • Rigid Heddle Weaving Patterns
  • Patterns
  • Subscribe

free project

The Heart Scarf Free Project

by Kelly 12 Comments

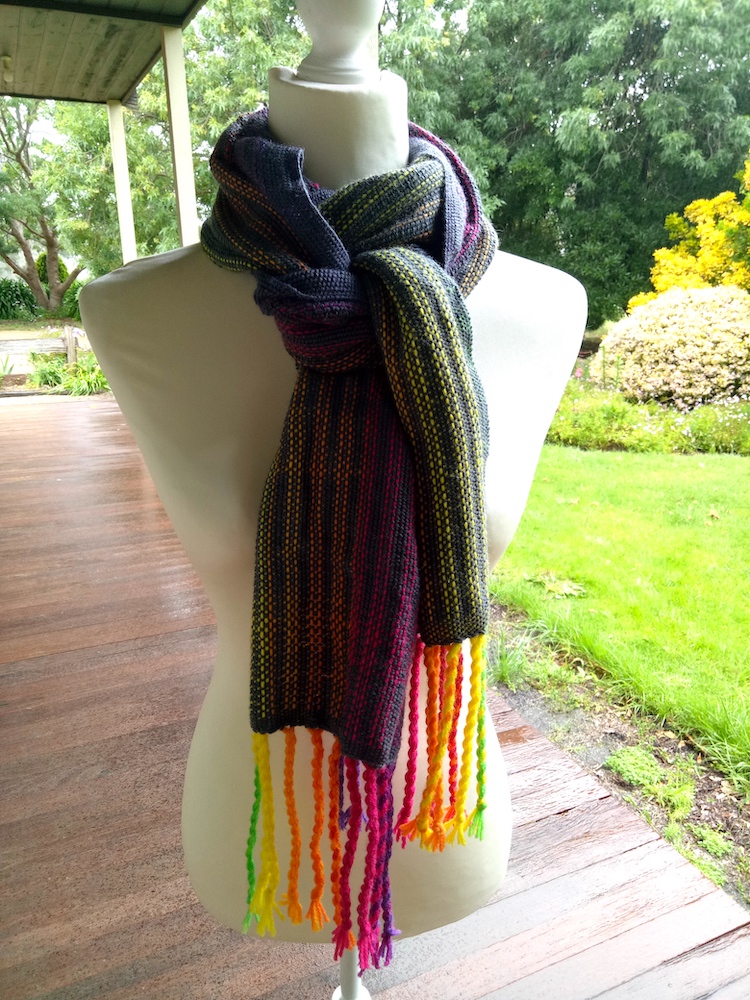
The Heart Scarf is my free project for the year of 2021. Let me give you a little bit of background as to why I’m doing this and how I came about designing this project.

Last year, when the pandemic hit, I released the Wash Your Hands Towels project, which was a hugely popular project. I know that all of you appreciated so much, having something concrete, beautiful and creative to be able to fix your minds on in a time where there was such uncertainty.

I loved doing that project so much for you that I wanted to do something similar this year. And something that has really been on my heart and in my mind for most of this year in particular, is that I know there are so many people out there that as a result of everything that’s been happening in the world are chronically lonely.

*This post contains affiliate links. For further information, please see my disclosure policy.
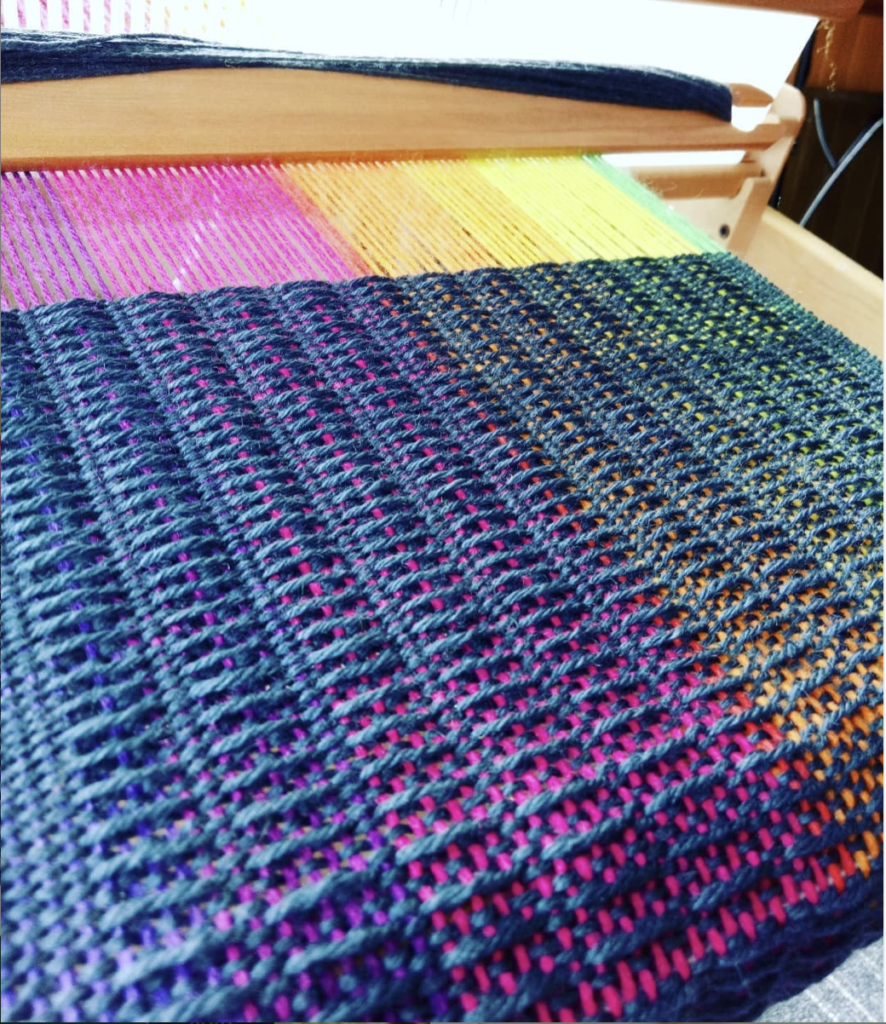
So I wanted to create a project whereby you as the weaver would be weaving this beautiful scarf called The Heart Scarf. And you’d be weaving it with someone in particular in mind, someone who may be struggling with loneliness, perhaps they’re not able to get out and see their family and friends like they normally would.

Or you might know someone who’s struggling, feeling down, perhaps they live alone, or they have some other difficulties that cause them to feel that loneliness, really, that’s one of the most heartbreaking things for me to think of is that there are people out there who are just desperately lonely.

If we, as the makers of beautiful things, can do anything to make someone’s day a little bit brighter, then that’s definitely something that I want to be a part of. And I know that many of you would want to as well.

I’ve written a short poem from my heart. This poem is available to print out in either cursive or print, along with the free pattern. Once you’ve finished your scarf, you can package it up with the poem if you so choose, or perhaps with something that you want to write yourself and send it off to the recipient.

Perhaps you’re feeling really lonely yourself, perhaps it’s been an awful year for you, perhaps you’re having a hard time for other reasons. If that’s the case, I would love for you to weave this scarf for yourself and you can consider the words of the poem from me to you.
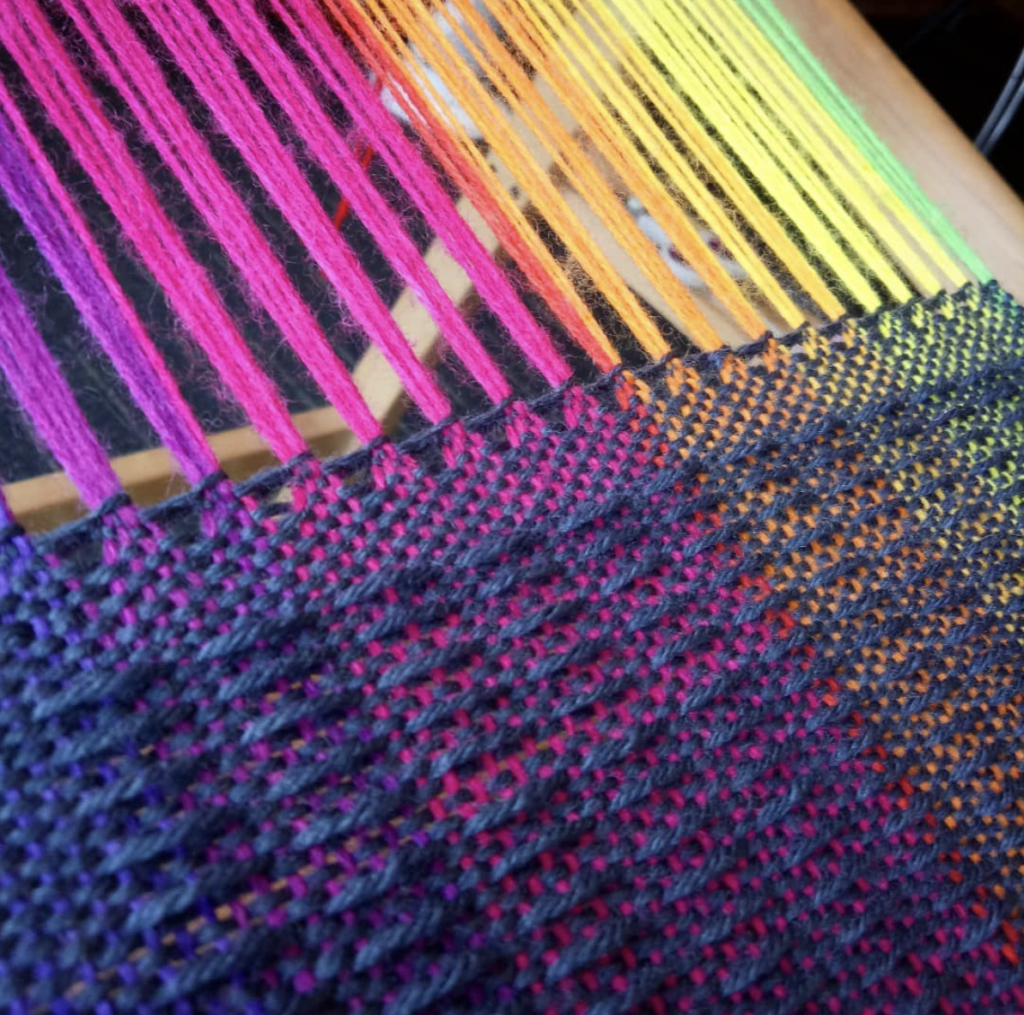
Let’s get down to the nitty gritty and go over the project details, starting with what you need to complete this project:

A rigid heddle loom.

Now, the width of my scarf on the loom is 11″ and I used my 24″ rigid heddle loom. BUT, if you have a smaller loom, you can absolutely weave this scarf. If you have a 10″ Sampleit or a Cricket, just warp the full width of the loom for a slightly narrower, but equally lovely scarf.

A 7.5 dent heddle/reed.

Again, this doesn’t have to be sett in stone. (Get it? Sett in stone?) If you don’t have a 7.5 dent heddle, you can use your 8 dent. If you want to change the heddle size completely, yes, you can – but you would also need to change to a more appropriate yarn size, so just bear that in mind.
Pick up stick

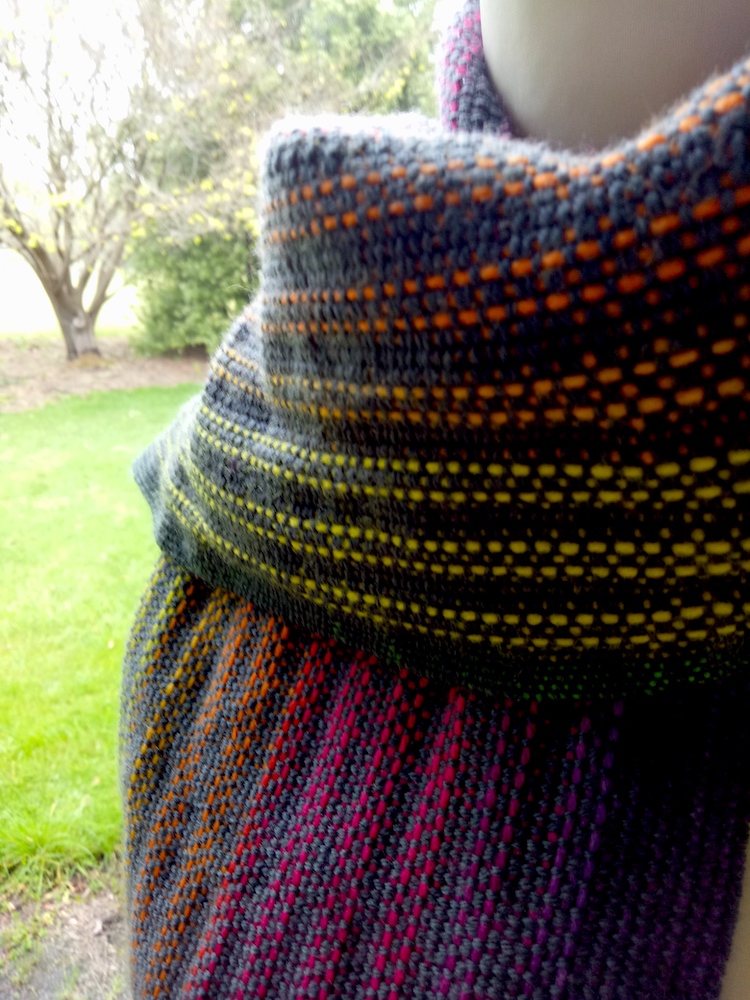
We use a single pick up stick to create the beautiful, textural scarf pattern. The pattern is simple to pick up with your stick and also simple to weave with a 4 step repeating weaving sequence.

Stick shuttle

You only need one stick shuttle for this project, as we use the same weft yarn and colour throughout the project. As long as it’s wider than the width of the piece on the loom (11″), you’re good to go.

Tapestry needle

This is an essential for hemstitching. My favourite tapestry needle of all time is the Clover Gold Bent Tip Needle. I’ve talked about these needles before, but I love them for several reasons:

  • They slide through hand woven fabric beautifully
  • The bent tip makes it really easy to dive down and come up through the fabric without having to perform hand contortions!
  • They are affordable
  • They are gold! Who wouldn’t love that?! (And if you’re prone to, ahem… losing things, the gleam of the gold is quite helpful!)
Fringe Twister

Whether you twist your fringe or not is optional, but it is a beautiful way to finish your scarf. I talk about some other options for fringes in the finishing video if you want to choose a different way. There are many brands of fringe twisters available, I have had a LeCLerc Fringe Twister for many years and have been very happy with it.

Reed and threading hook

Most rigid heddle looms will come with one or both of these, but I would like to recommend the Ashford Doubled Ended Hook for it’s durability, ease of use and affordability. I have a whole bunch of these little hooks around my studio and my old metal threading hook that used to split all my threads doesn’t get a look in anymore.

Yarn

To see all the yarn details, please download the pattern. For the warp, I used Lion Brand Mandala yarn in Gnome, dk weight. This yarn is an acrylic, but I have some other suggestions in the pattern if you prefer to look at other options. My weft yarn was a super wash wool in dark grey in a fingering weight.

Weaving level

I designed this project to be achievable for beginners but interesting enough for more experienced weavers. If you are an absolute beginner, I recommend that you take my Woe to GO! Beginner’s class before attempting a project like this.

How to get the pattern

The file underneath has a “download” button at the bottom. Click on that to download, then choose either to print the file or view it on your screen. The pattern PDF includes all the details you need for the project, including yarn amounts, materials, pick and weaving sequences plus the poem in either cursive or print – your choice!

The-Heart-Scarf-Free-Pattern-1Download

You can view the first of 6 videos on Youtube –

The full video lessons and printable pattern are also available all in one spot at the Online Weaving School if you would prefer to watch there.

I hope you love this project and bring joy to someone’s life (or to your own!) by taking part.

Until next time…

Happy Weaving!

Filed Under: Free Pattern, Free tutorial, Online Weaving School, Rigid heddle weaving, Weaving Tagged With: free project, freeweavingproject, rigid heddle weaving patterns, rigid heddle weaving tutorial, the heart scarf

How to make a reed stand from wood

by Kelly 8 Comments

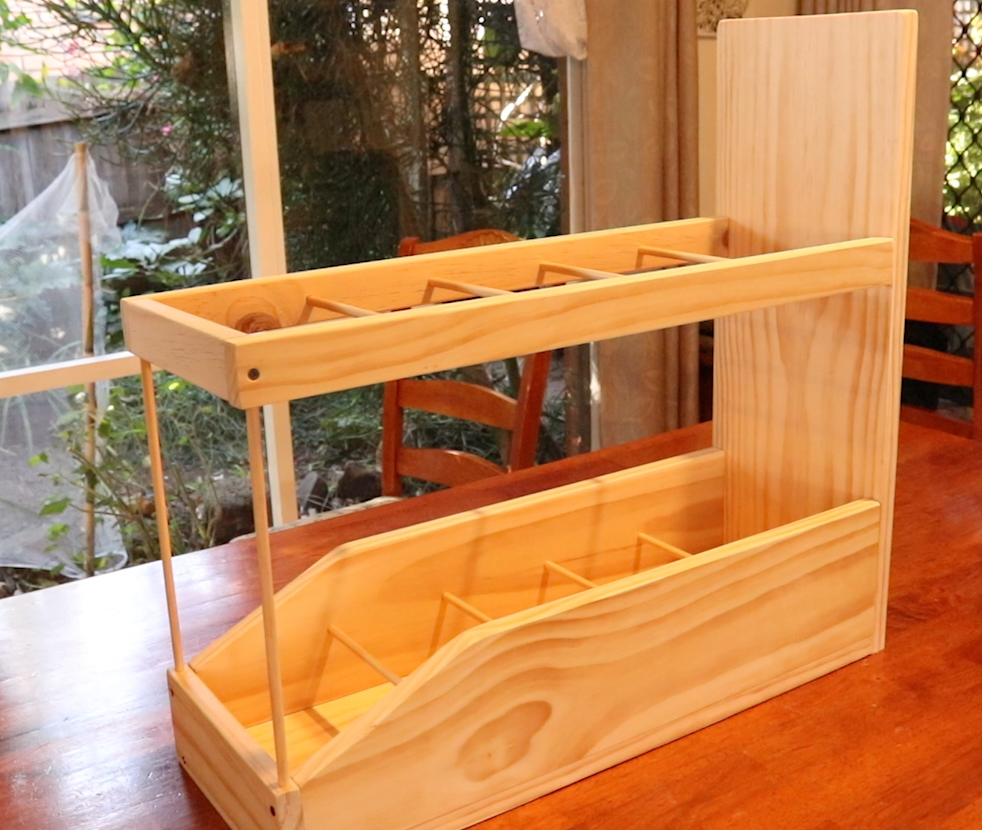
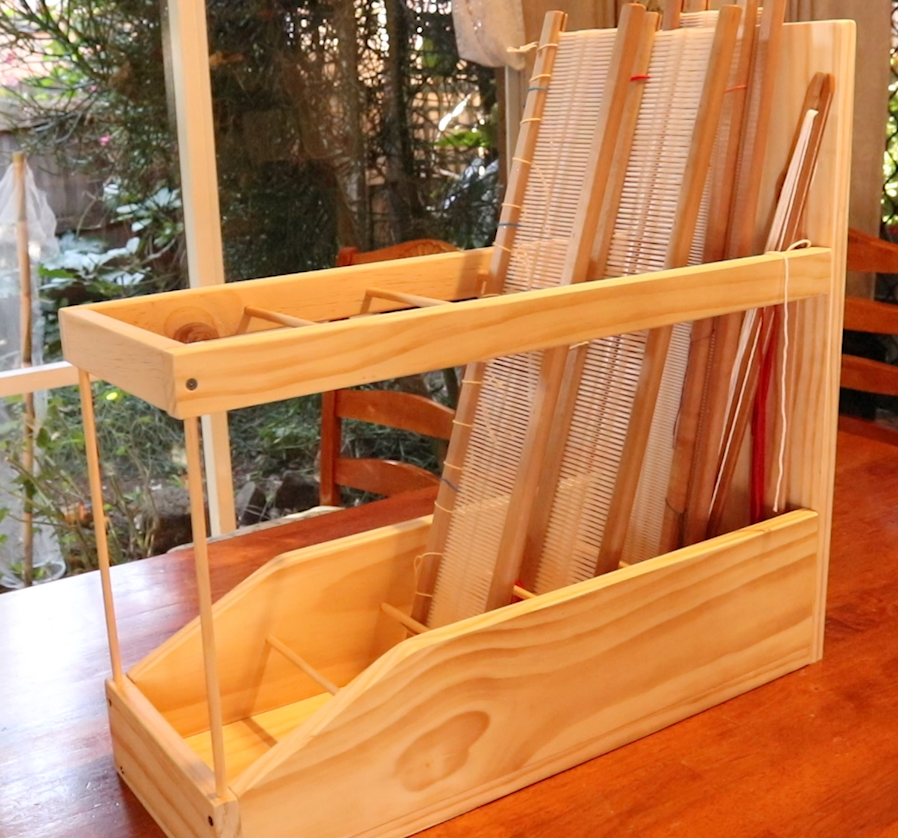
If you’re working in a small weaving space like I am, a reed stand is really invaluable for keeping tools organised and tidy.

Until recently, my “reed stand” in my studio space was an old, round laundry basket with medium height sides. All of my rigid heddle reeds were thrown in there together, along with my pick up sticks, stick shuttles and cardboard separators. Oh boy, it was a mess and very difficult to find what I wanted in a hurry.

A purchased reed stand will set you back from anywhere between $250 – 400 USD! I would rather spend that kind of cash on yarn and additional weaving supplies. When I told my frugal minded husband of my dilemma, he was all in.

*This post contains affiliate links

He drew up some basic plans based on what I told him I needed. The purchase of the wood for the project cost around $30AUD and he used tools he already had, like his hand saw and electric drill to put it together.

He readily admits that the hand saw is not perfect, and measurements will not always be spot on, but it all came together beautifully regardless. So, if you only have the most simple woodworking tools, you can certainly complete this project.

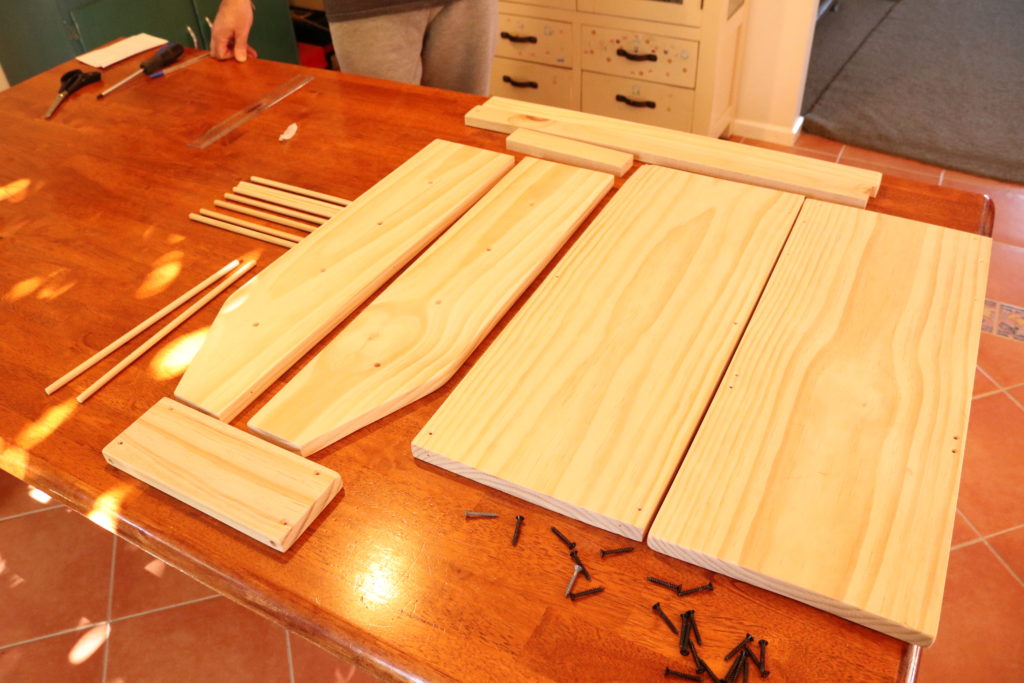
Our reed stand is made from untreated pine but you can certainly source your own appropriate lumber. We bought a couple of lengths and then cut them to size. All measurements are given in the printable PDF, which should be used in conjunction with the video.

The basic tools you will need for this project are:

*Wood and wooden dowel

*Handsaw (if you have a more sophisticated woodworking set up with electric tools, obviously you will want to use what you have).

*Electric drill and various drill bits (a hand powered drill would also work but the electric one just makes things quick and easy)

*Screws

*Candle wax (not essential but makes the positioning of screws much easier)

*Ruler or tape measure

*Pencil for marking measurements

*PVA or wood glue

You can download the printable PDF here-

Reed-stand-pieces-and-measurements PDFDownload

If you wish to stain or paint your reed holder, this would be much more easily done before assembly.

The finished dimensions of the reed stand are as follows:

66cm length x 23.5cm width x 61cm height

Don’t forget to watch the video, as well as refer to the PDF, as you will find some information in each that is very important for the completion of the project.

Have you visited my Online Weaving School? You can choose from a huge variety of single classes or if you want to dive right in, there are memberships available.

The giveaway is still running until the end of the month, so if you haven’t entered yet, you can do that here.

Hey, seeing as we saved $220- $370, does that mean that I get to buy yarn with the savings? I haven’t broached that topic with my husband yet… 😆

I hope you enjoy the project. Until next time…

Happy Weaving!
Filed Under: Free Pattern, Free tutorial, Rigid heddle weaving, Tutorials, Weaving, Woodworking Tagged With: free project, free tutorial, reed holder, woodworking

Wash Your Hands Towels Free Rigid Heddle Loom Project

by Kelly 93 Comments

How many times have you heard “wash your hands” lately? 

Probably more than you can count! Why not turn this routine into a joy with beautiful, handwoven towels? This free project is perfect for both beginner and experienced weavers, offering a fun and creative way to brighten your home while practicing essential weaving skills.

*This post contains affiliate links

Why Make Handwoven Towels?

If we’re washing our hands frequently, we might as well enjoy the process! These towels are practical, vibrant, and customizable. With bright colors and soft cotton yarn, they’re designed to bring happiness to your daily routine.

This project is beginner-friendly, but you’ll need to know how to warp, thread, and set up your rigid heddle loom for plain weave. If you’re still learning, check out my Woe to Go! Beginner Rigid Heddle Weaving class. for step-by-step guidance.

Both towel designs are quite adaptable and can be varied in many ways. I give you some ideas on how to go about this in the video class.

Tools and Materials Needed

Here’s what you’ll need to get started:

*Rigid heddle loom 24” weaving width or wider (yes, you can also use a smaller loom with the understanding that your towels will be narrower than mine).

*1 x 10 dent heddle  (or a 7.5 – 8 dent heddle if using Sugar n Cream yarn)

*3 stick shuttles longer than the width of the project. (For the first towel we are weaving with 3 weft colours).

*1 pickup stick longer than the width of the project (additional pick up stick to aid transfer of pick up is optional – a stick shuttle can be substituted.

*Reed and threading hook

*A sewing machine and serger are very handy for hemming but not essential

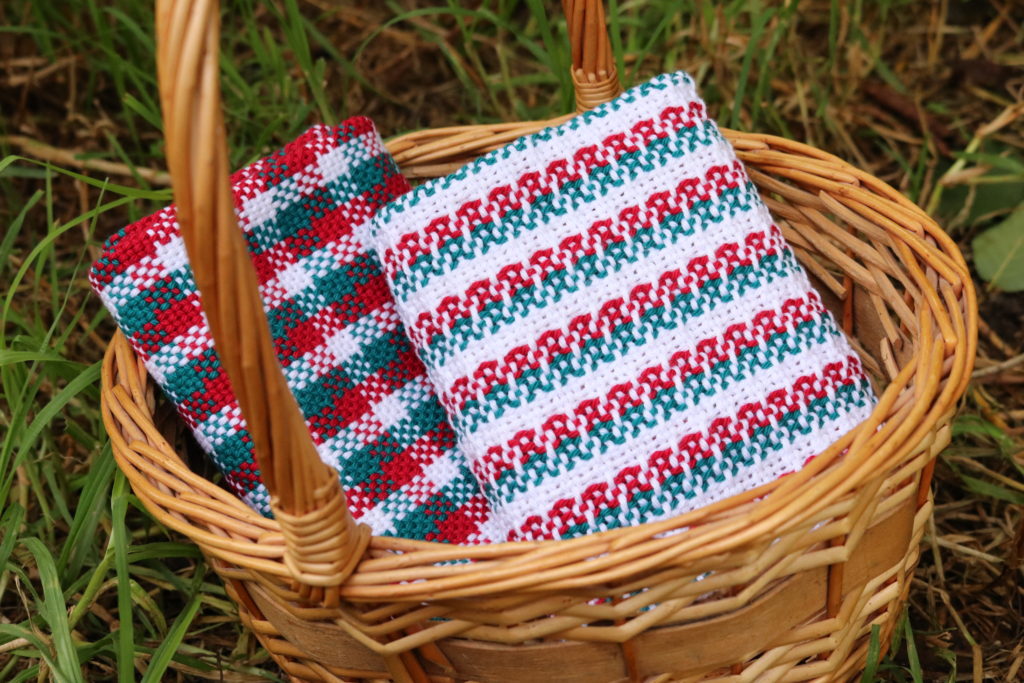
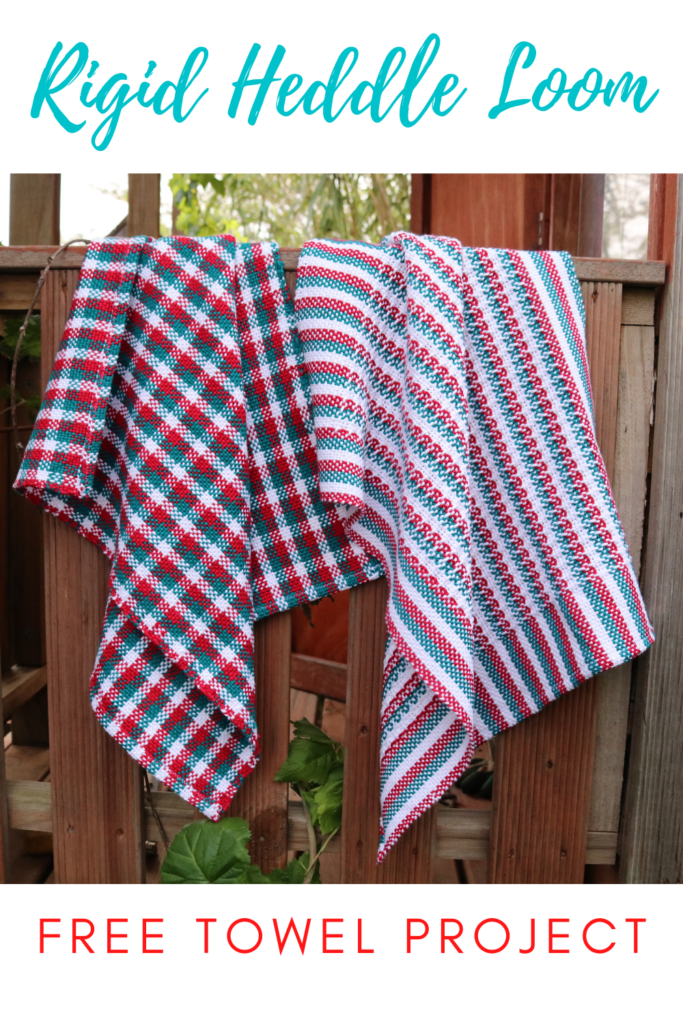
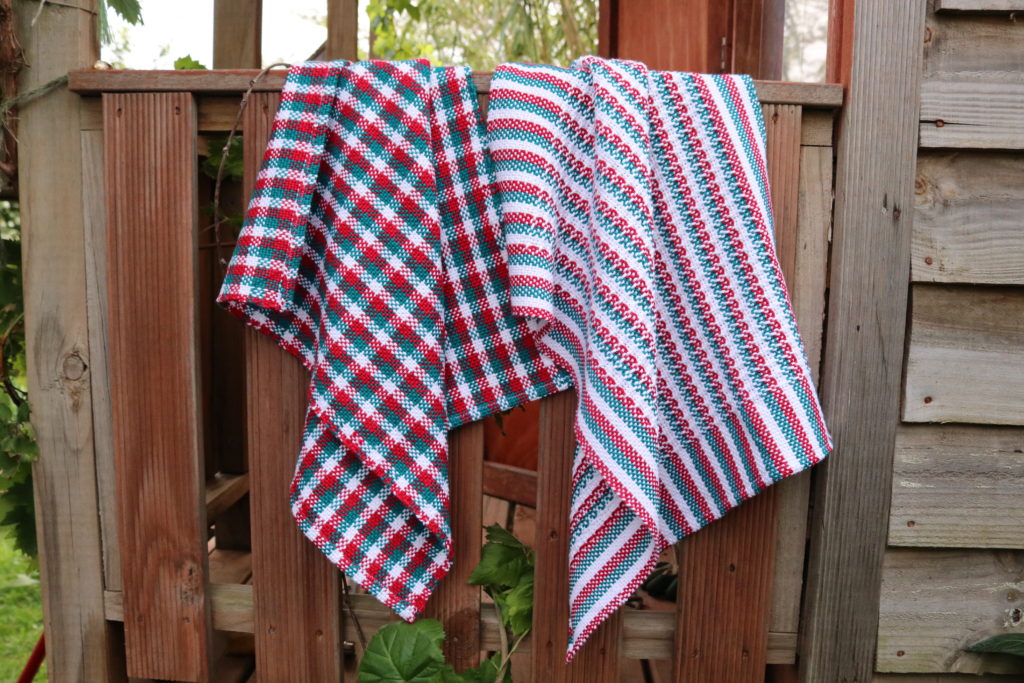
I used a beautifully soft and lofty cotton to weave these towels on my rigid heddle loom. We will be using the same warp for both towels, but as you can see, using different techniques makes the towels wonderfully varied in how they look.

If you’re in Australia, my yarns were from Bendigo Woollen Mills in the following: Pomegranate, Peacock and White cotton 10ply. But, if you need substitutes, here are my recommendations:

Sugar n Cream in red

Sugar n Cream in white

Sugar n Cream in aquamarine

I Love this Cotton

Knit Picks Dishie

Two Towels, One Warp

Both towels use the same warp setup, but different techniques make each unique. This project includes a downloadable PDF with warp calculations, weaving instructions, and pickup sequences.

Wash-your-hands-towels-1Download

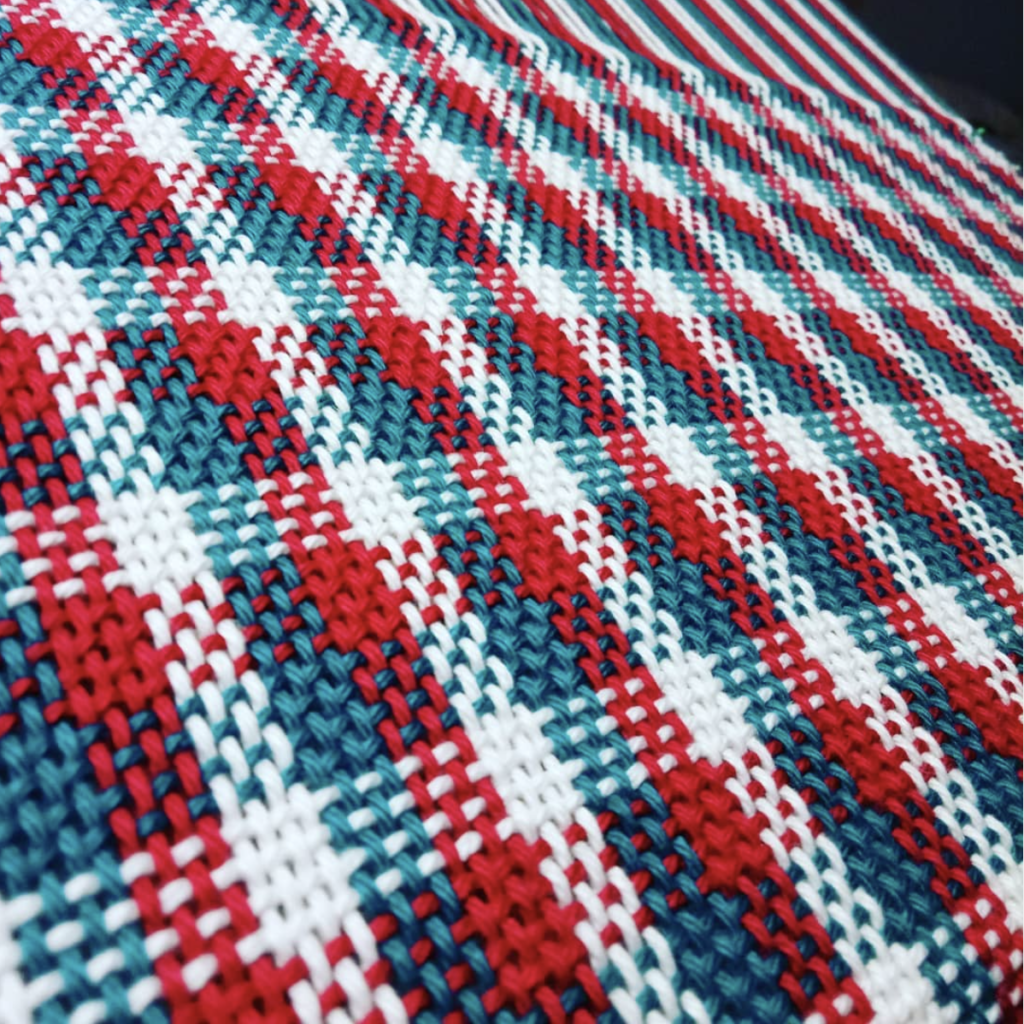
Towel 1: Plaid Design

The first towel uses the same color sequence for the weft as the warp, creating a vibrant plaid pattern. This is a great opportunity to practice frequent color changes by cutting and introducing new colors.

Key features:

  • Plain weave borders.
  • Simple pickup design in the center.
  • Alternating weft colors (4 picks each color).

Tips for Beginners:
If you’re new to using pickup sticks, check out my pick up tutorial for a quick guide before starting this towel.

Towel 2: Classic White

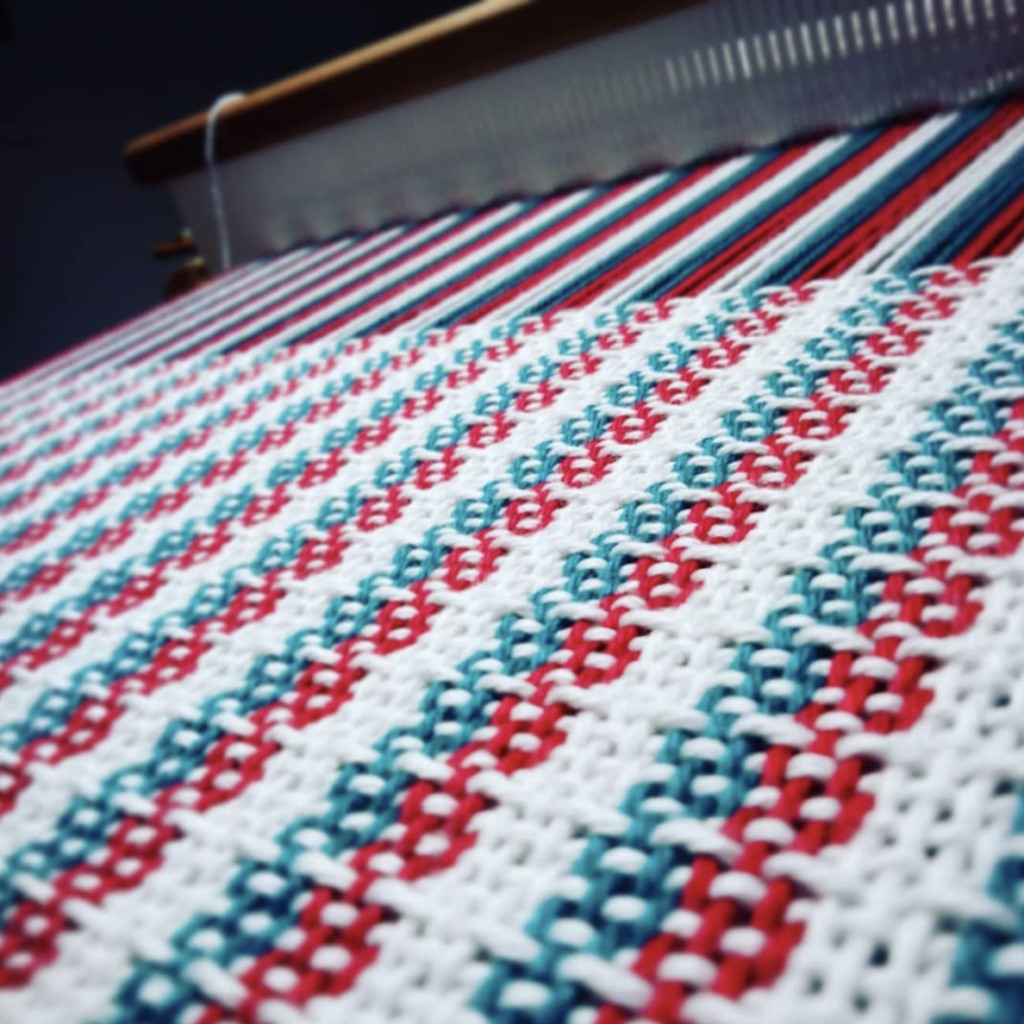
The second towel uses white yarn for the entire weft, with some simple pick up floats, creating a clean and elegant look.

Want to experiment? You can modify these designs with different color sequences or patterns to make them your own.

Color Handling Options

  • Cut and Start: Cut each color after 4 picks (as in Towel 1).
  • Carry Colors Up: For tighter color changes (e.g., 2 picks per color), carry the yarn along the edges instead of cutting.

Watch and Weave

This project includes step-by-step video instructions to guide you through the weaving process. Download the free printable PDF, follow along with the videos, and start weaving these beautiful towels today.

This free class is also available at my Online Weaving School.

Share Your Creations!

I’d love to see your finished towels! Tag me on Instagram so I can share your work in my stories. And if you enjoyed this project, please share it with fellow weavers!

Have questions or comments? Drop them below—I’d love to hear from you.

Until next time…

Happy Weaving!
Filed Under: Rigid heddle weaving, Tutorials, Weaving Tagged With: free project, handwoven towel, towels

Primary Sidebar

Categories

Archives

Meta

  • Log in
  • Entries feed
  • Comments feed
  • WordPress.org

Copyright © 2025 Kelly Casanova Weaving Lessons on the Foodie Pro Theme