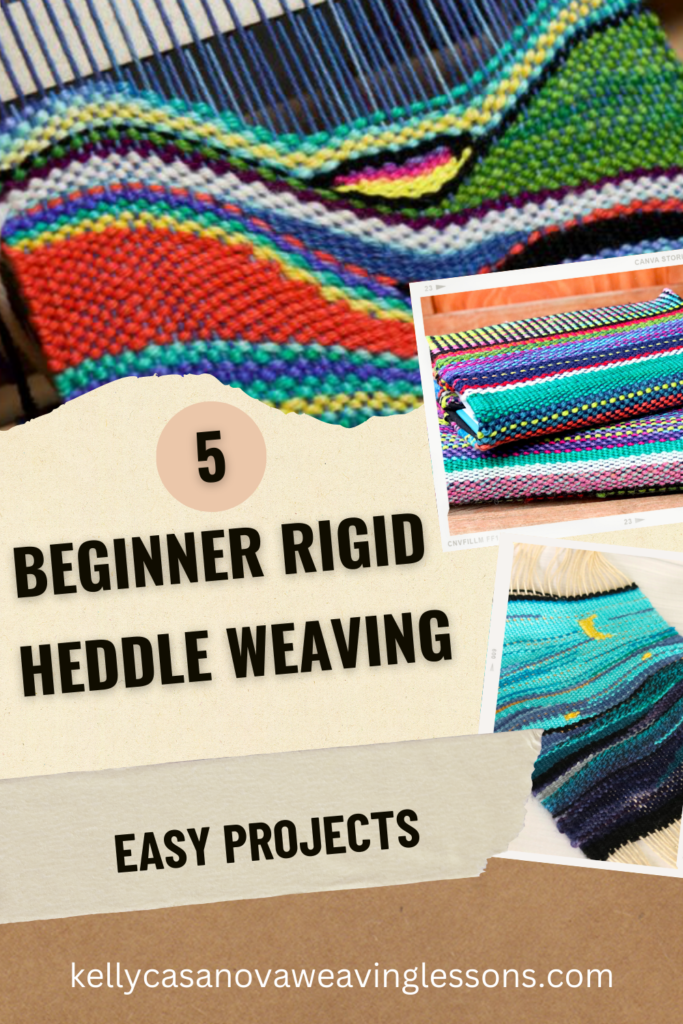
When getting started with your first rigid heddle loom, the question is usually: “What should I weave first?” While it’s tempting to jump into complex structures or techniques right away, the best way to build a lifelong love for weaving is through projects that allow you take achievable steps.
Starting out can feel a bit overwhelming – there is the vocabulary of warping, the physics of tension, the challenge of trying to achieve consistent edges.
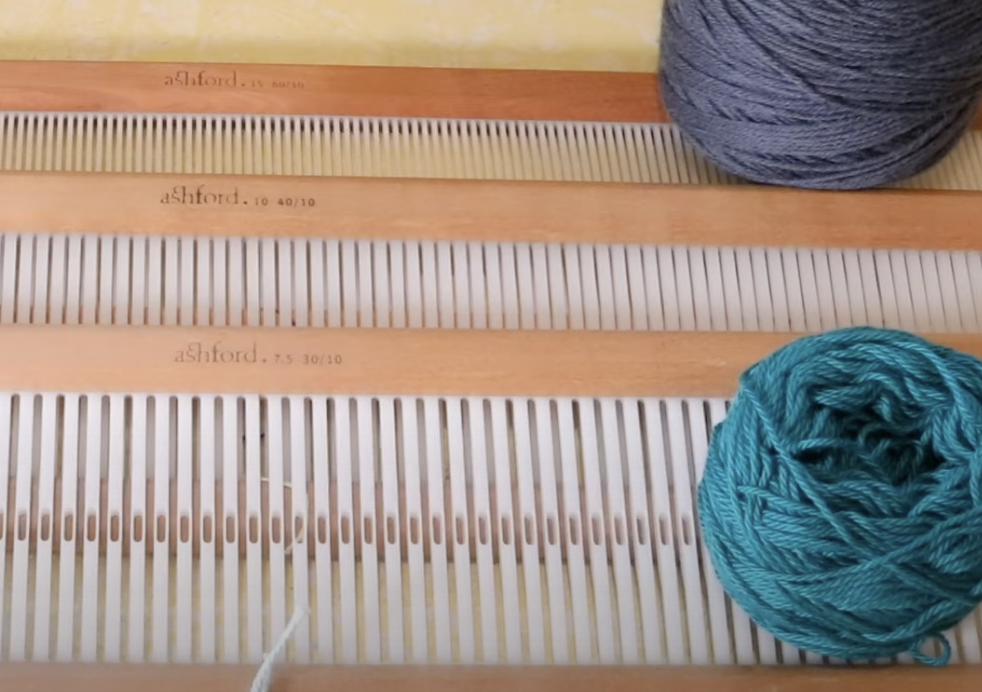
The rigid heddle loom is an incredible tool because it removes the complexity of floor looms while still offering a massive playground for creativity.
Getting Started With Weaving Scarves
One of the best beginner projects, in my opinion, is scarves.
You get a manageable “canvas” where you can practice your rhythm, master your beat and learn how different yarns behave on the loom.
The narrow warp of a scarf project is optimal for first time warping too – a consistent warp tension is so much easier to achieve when there is less of it to manage!
The beauty of the following scarf designs is that they are designed to build your confidence, help you understand how colour, texture, and simple techniques can transform threads into a professional looking garment you will be proud to wear or gift.
These five scarf patterns are designed for beginner weavers. They aim to build your skills while ensuring you end up with a beautiful, wearable finished piece.
Oh, and they are a LOT of fun to weave too!
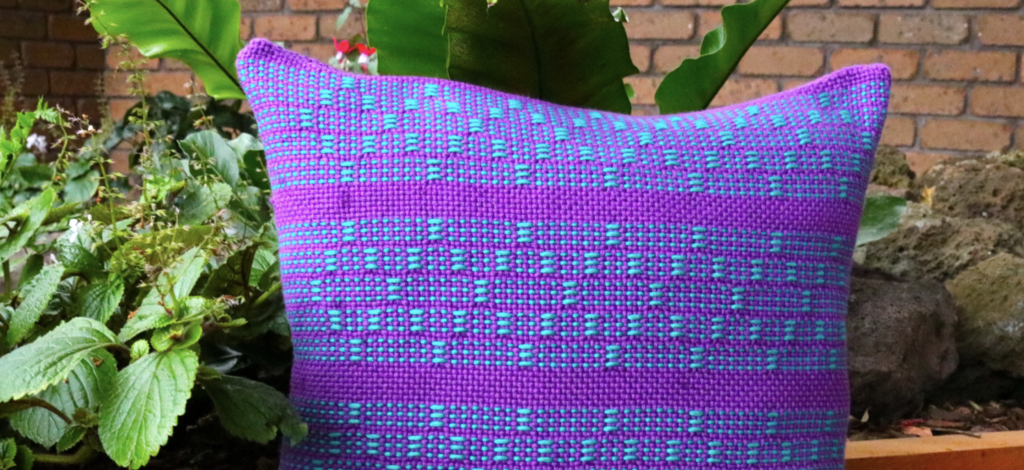
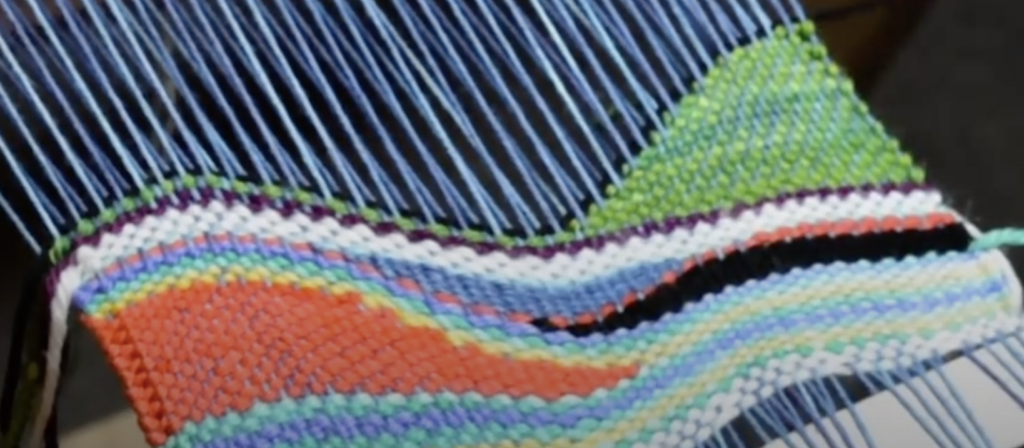
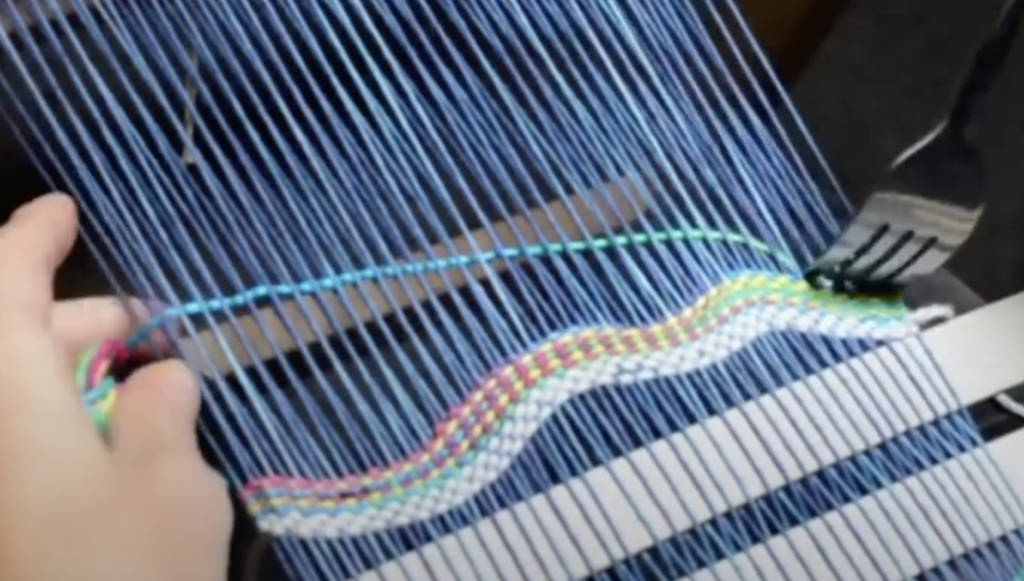
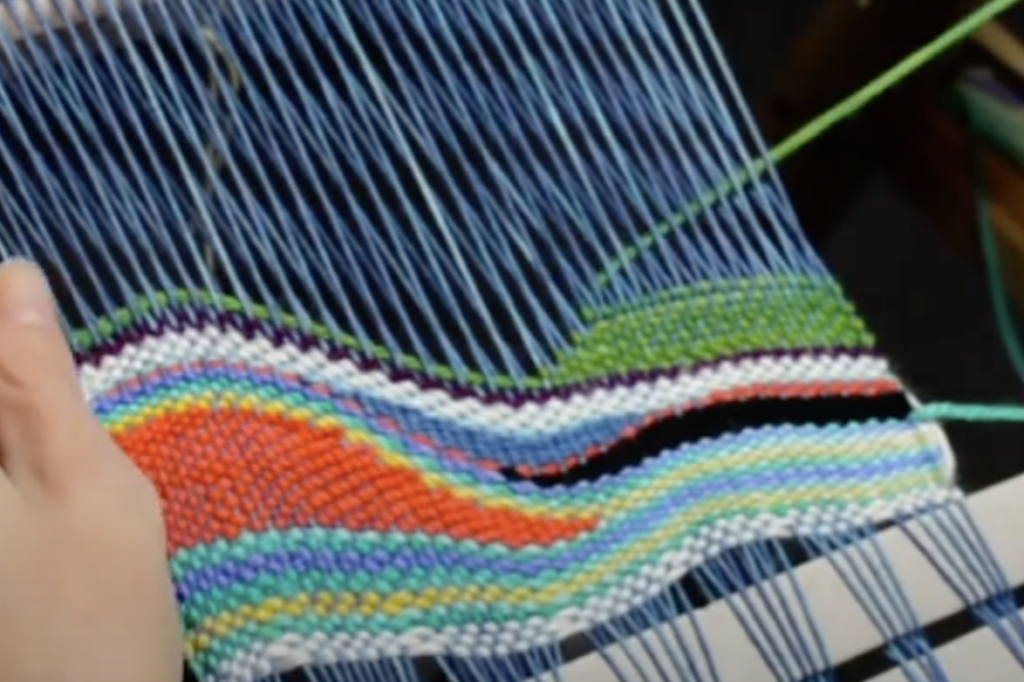
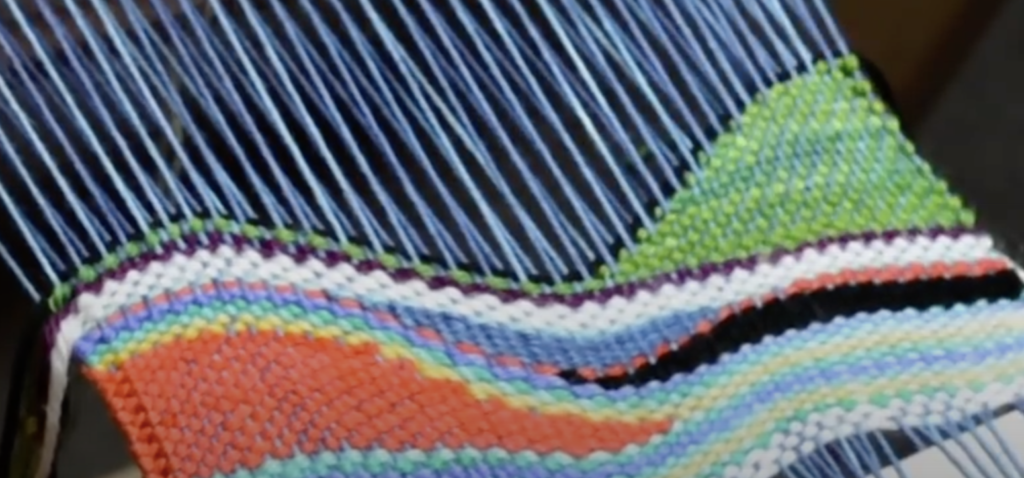
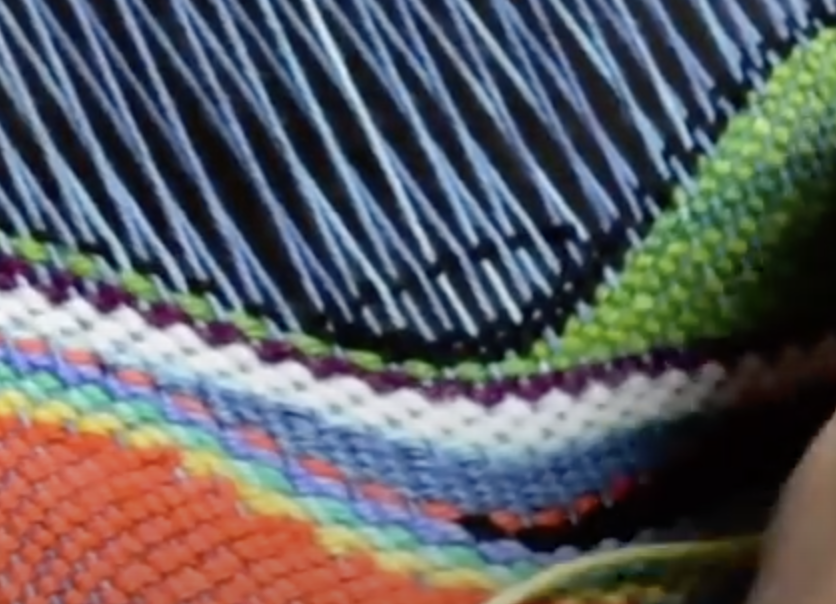
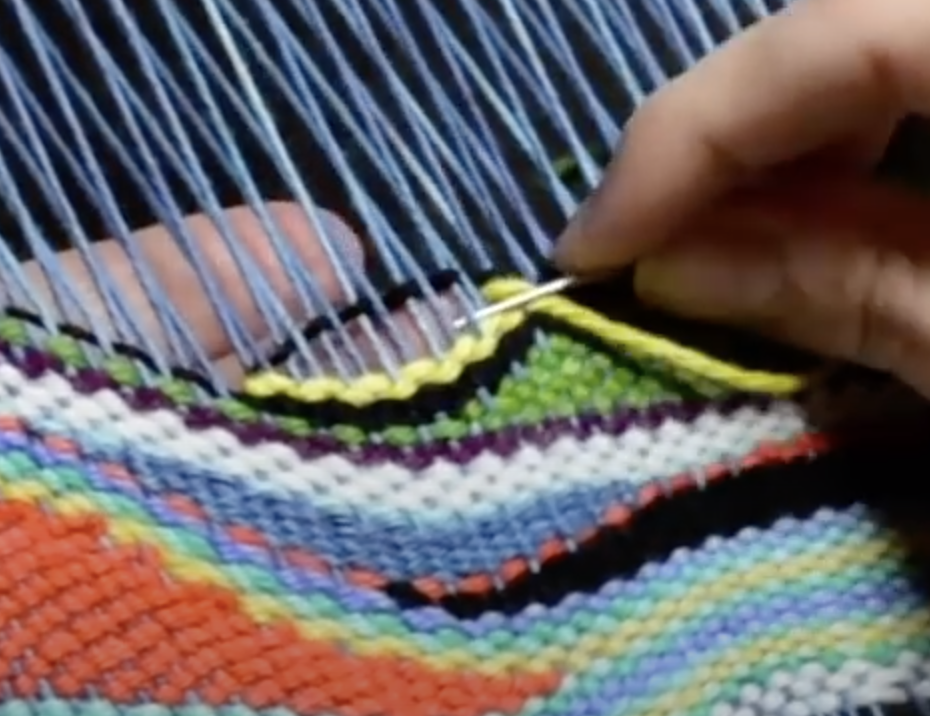
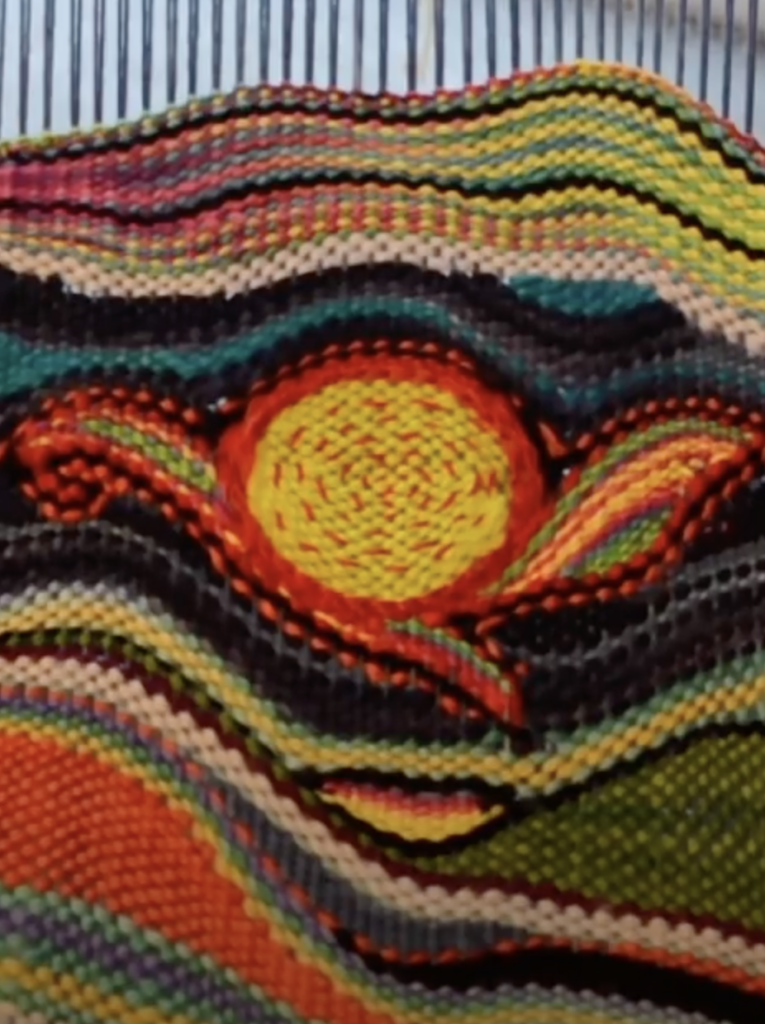
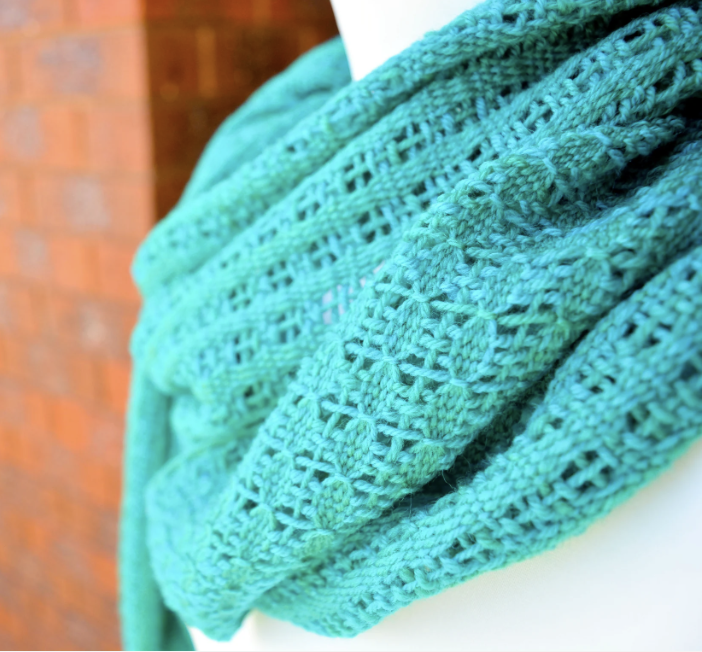
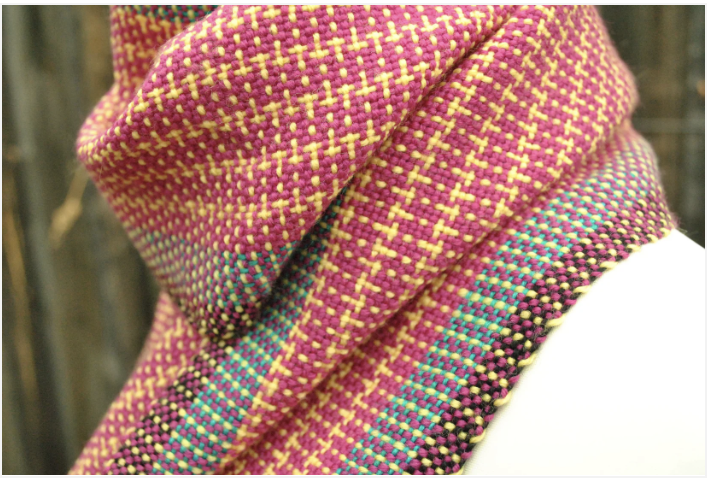
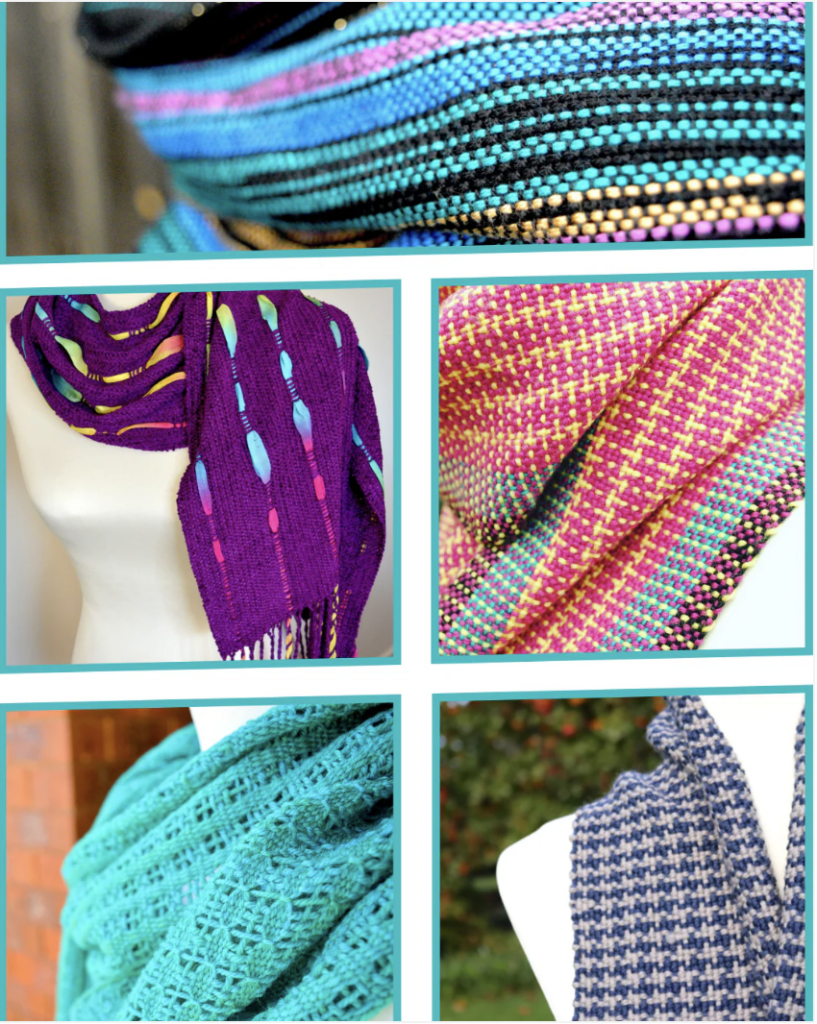
1. The Garden Path Scarf
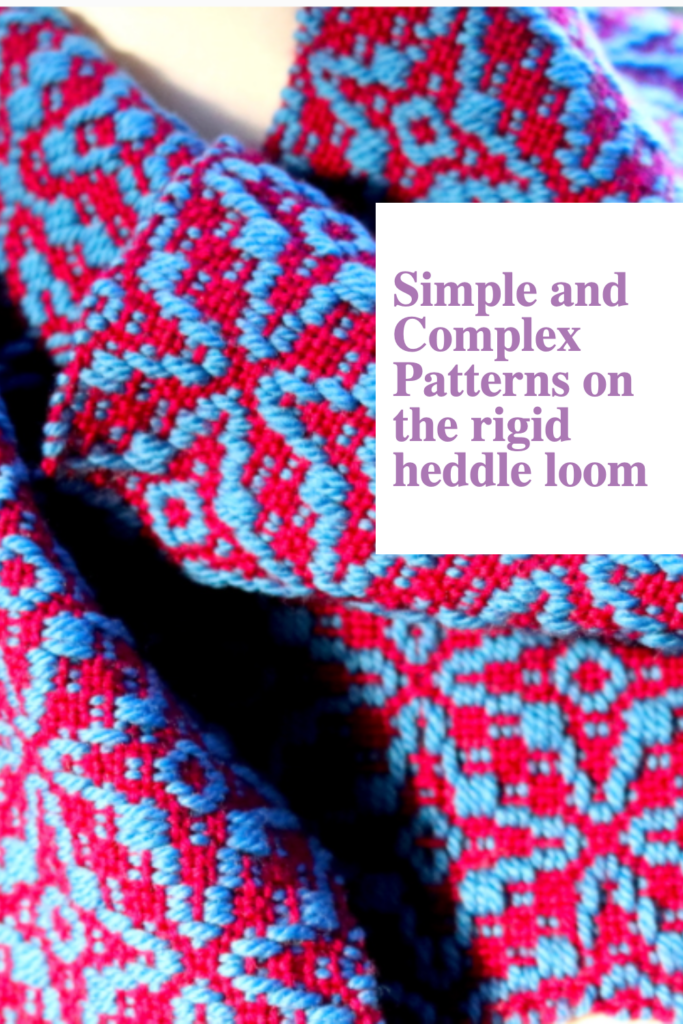
This pattern is my all time best seller. Looks complicated, you say? Well, that is the beauty of it! It’s actually a repetitive, finger controlled pattern that is suitable for beginners. Once you have the repetition down, you can just enjoy the flow.
It focuses on using colour and simple transitions to mimic the winding beauty of a garden pathway. It’s a fantastic project for practicing your tension and introducing you to lace weaves through hand manipulation.
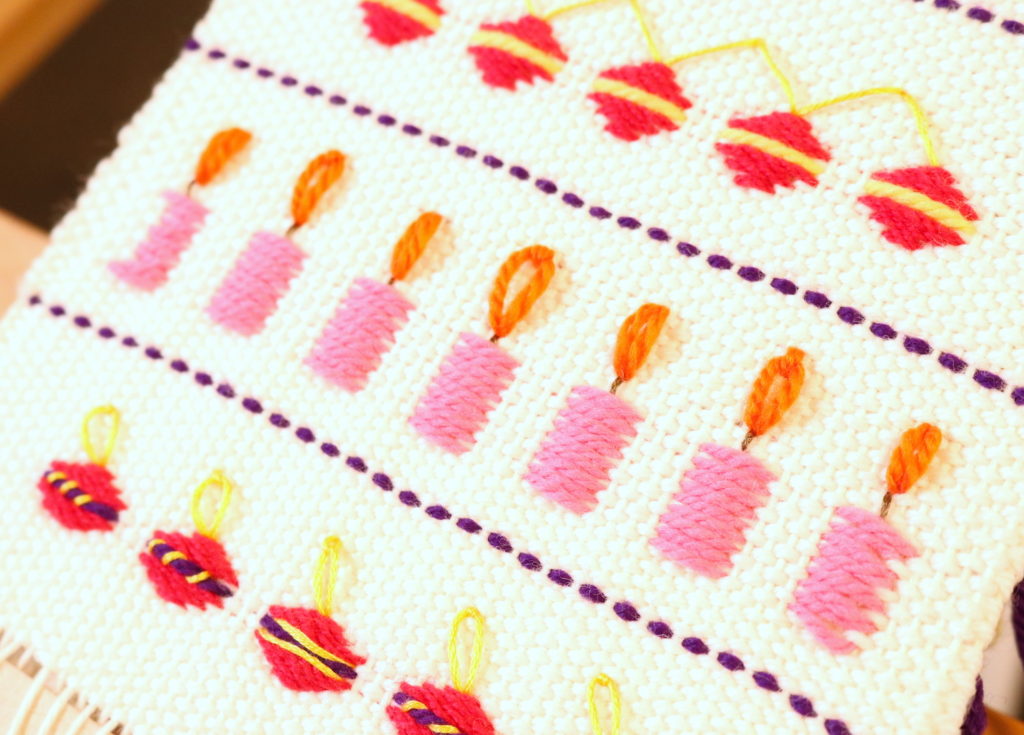
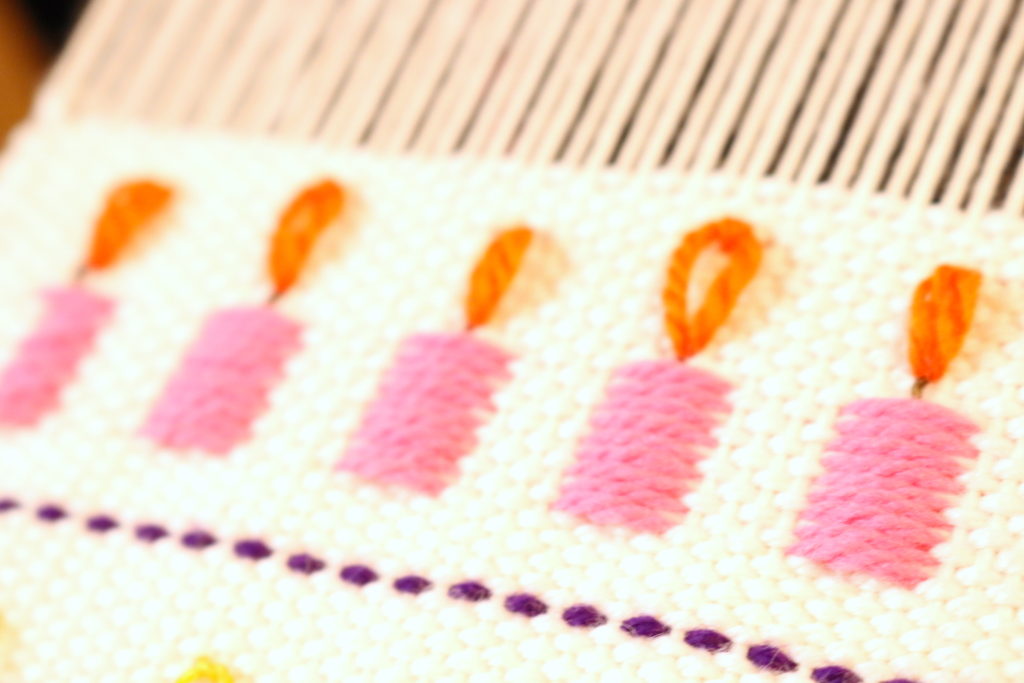
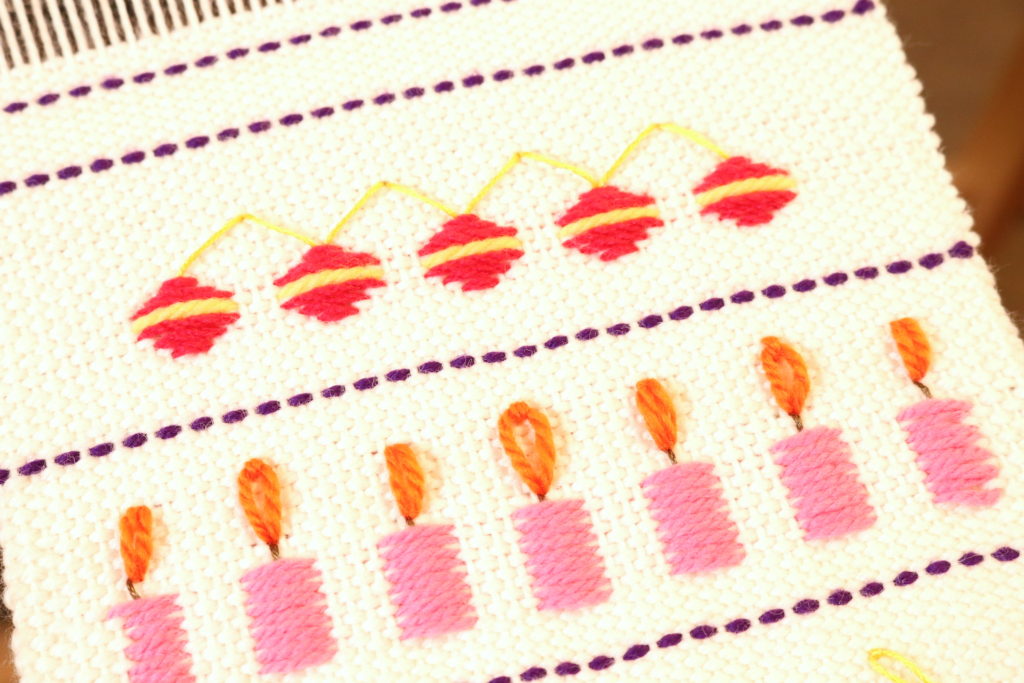
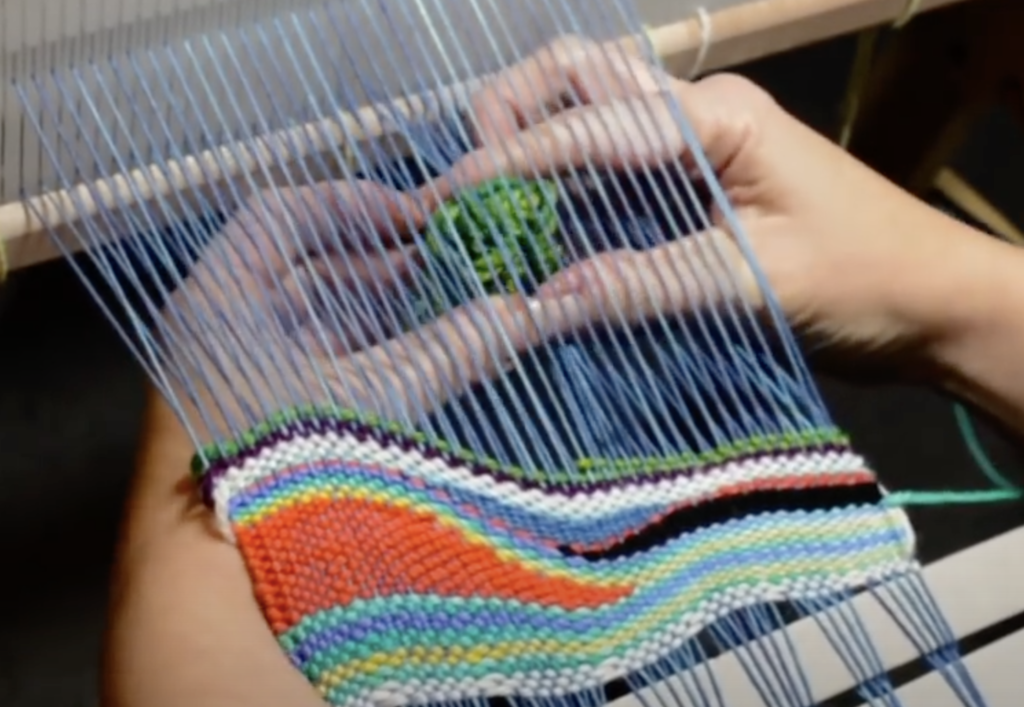
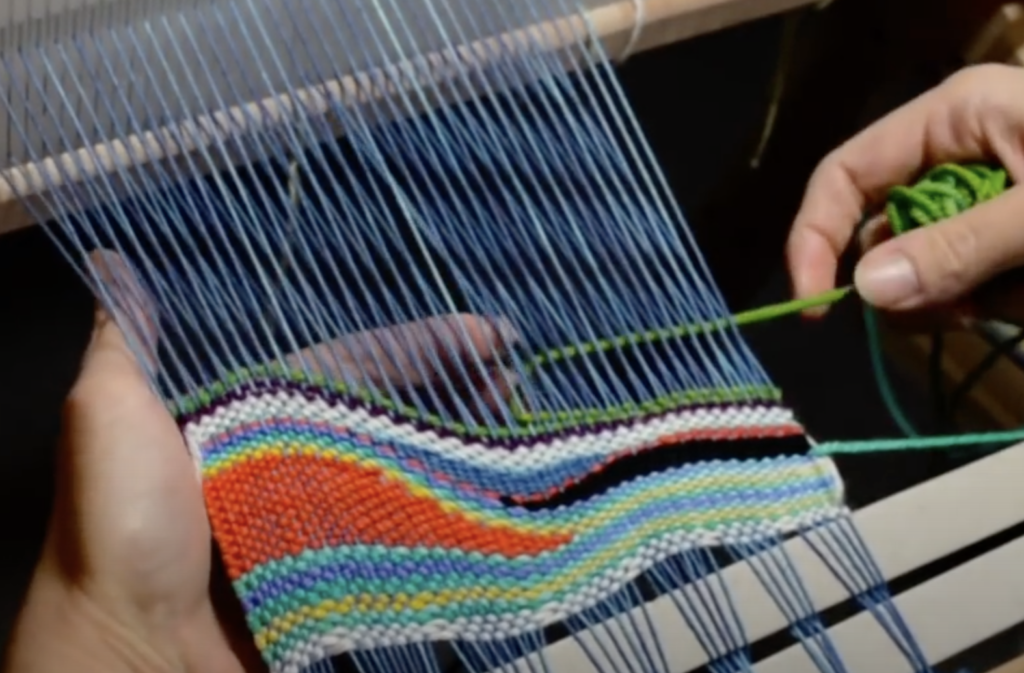
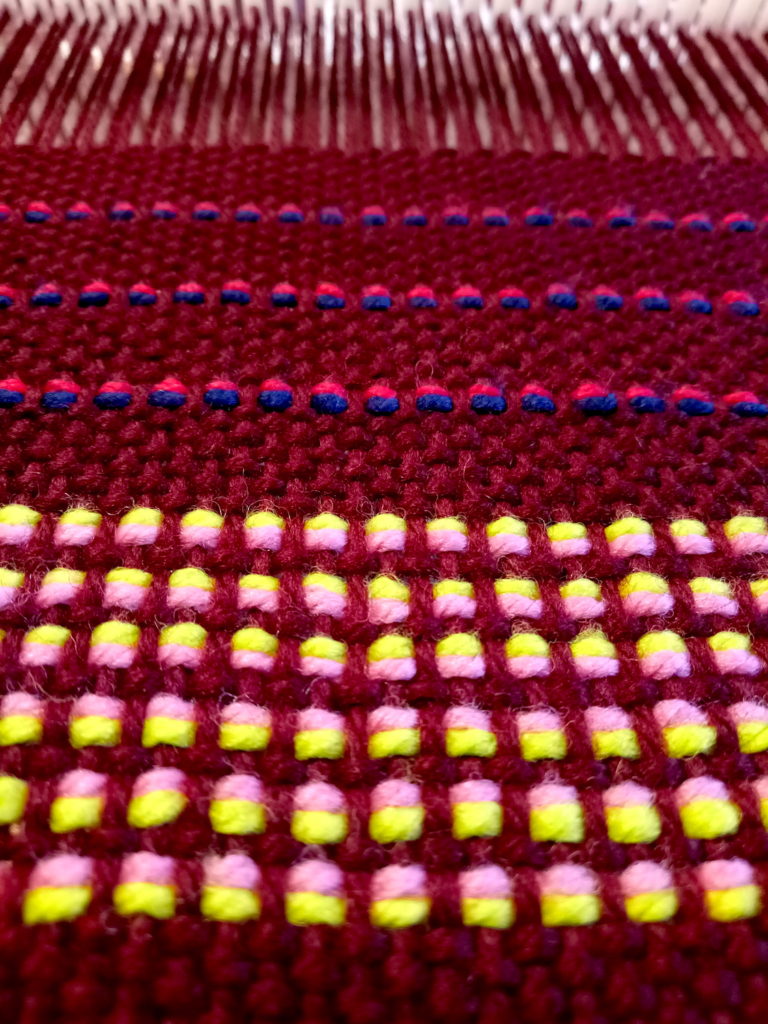
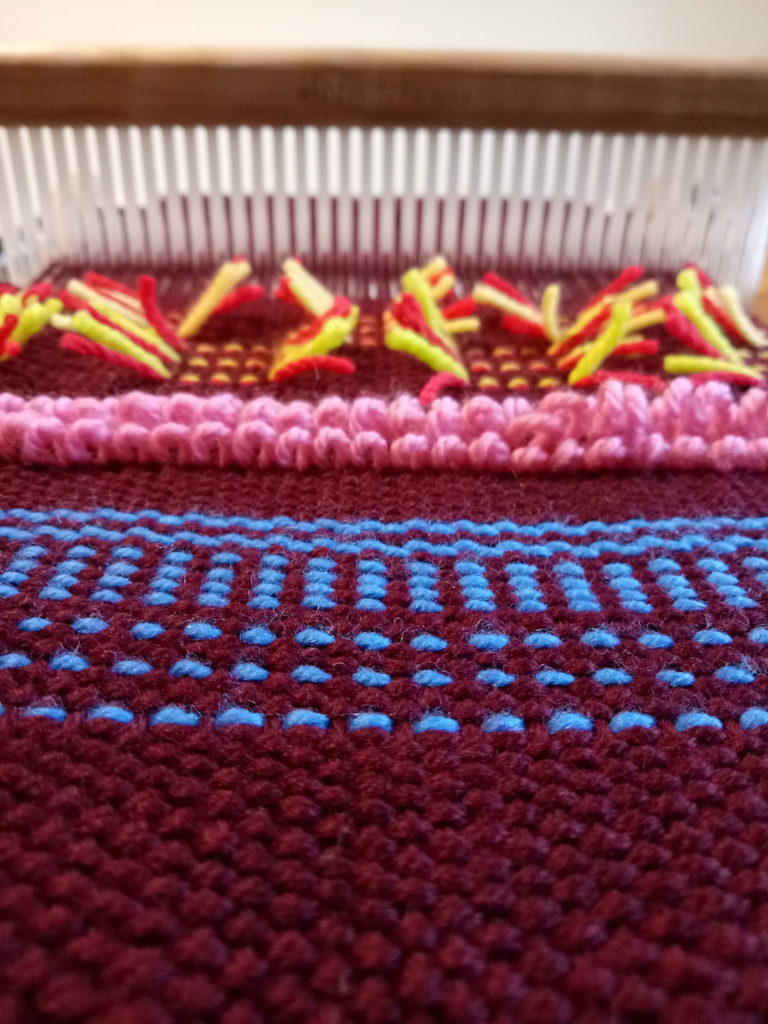
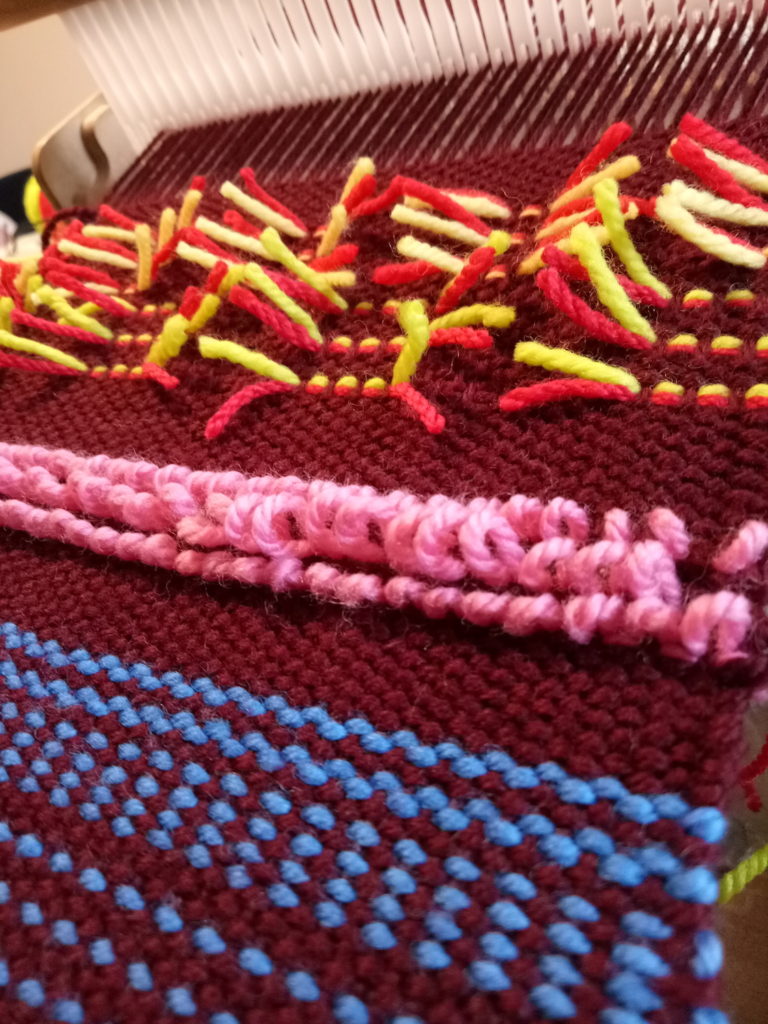
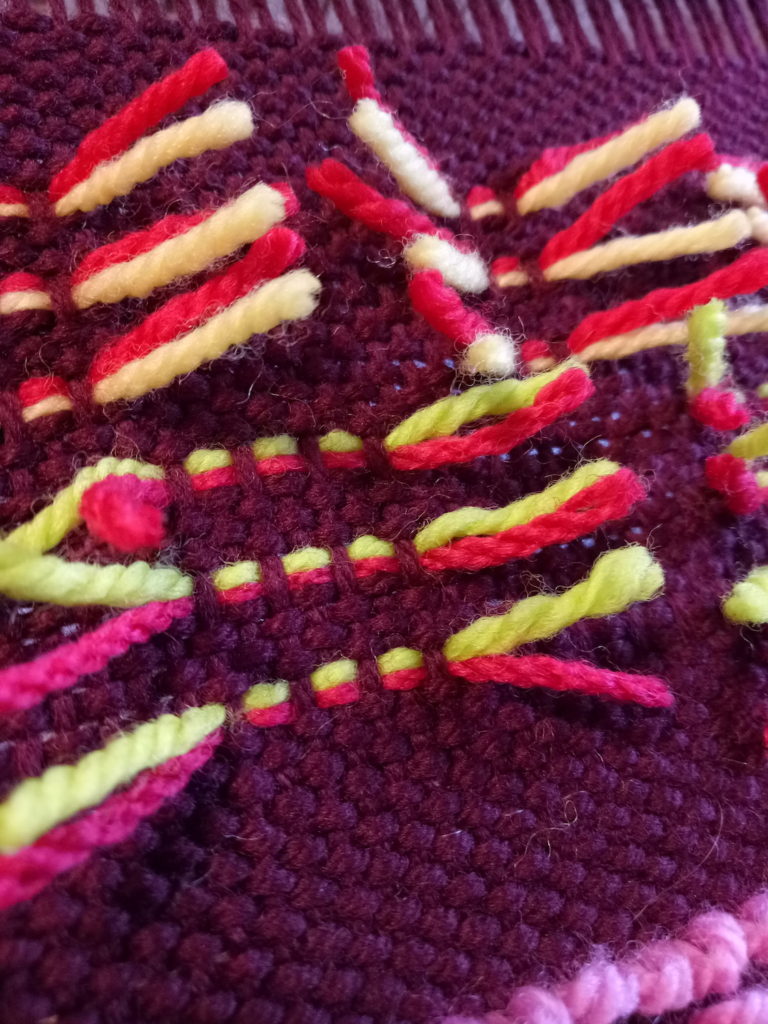
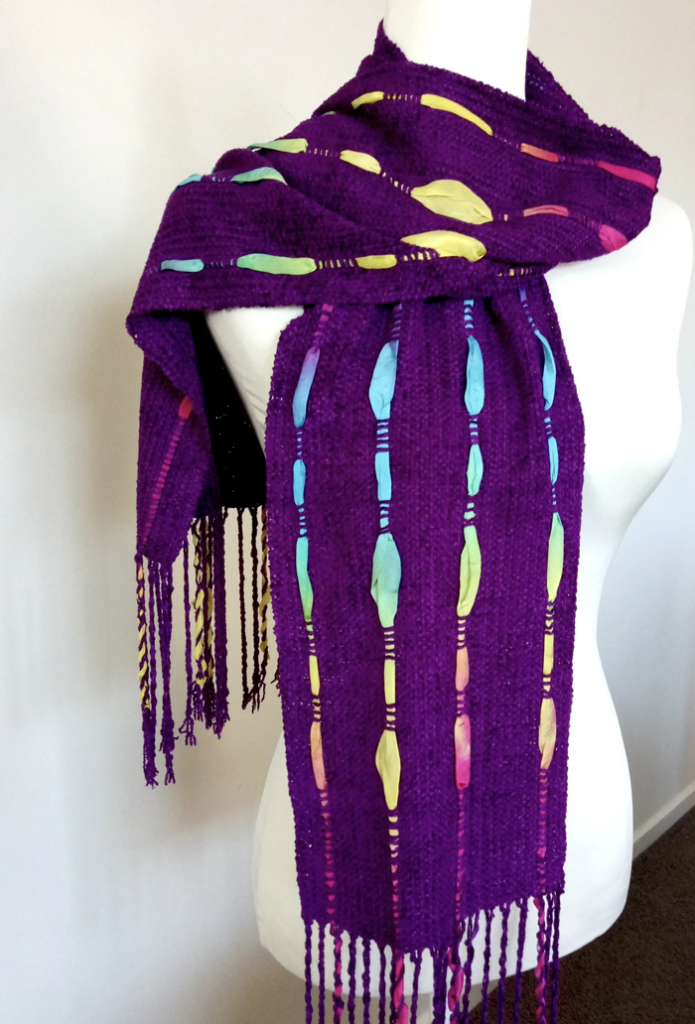
2. The Candy Store Scarf
If you love vibrant, playful aesthetics, this is the project for you. The Candy Store Scarf is a masterclass in using “pops” of colour for special effects.
It teaches you how to manage multiple color changes without getting tangled, resulting in a bright, cheerful accessory that looks much more complex than it is to weave.
This pattern could easily be your gateway into the concept of Colour and Weave techniques.
3. The Maria Scarf
The Maria Scarf leans into a more classic, sophisticated style with a modern edge. This pattern focuses on elegance through simplicity, helping you perfect your beat and selvedges.
It’s the kind of project that builds your “weaver’s muscle memory,” ensuring your fabric is consistent from the first inch to the last.
This scarf exudes luxury with the use of chenille yarn and silk ribbon. It shows you how to set up and weave with a supplementary warp.
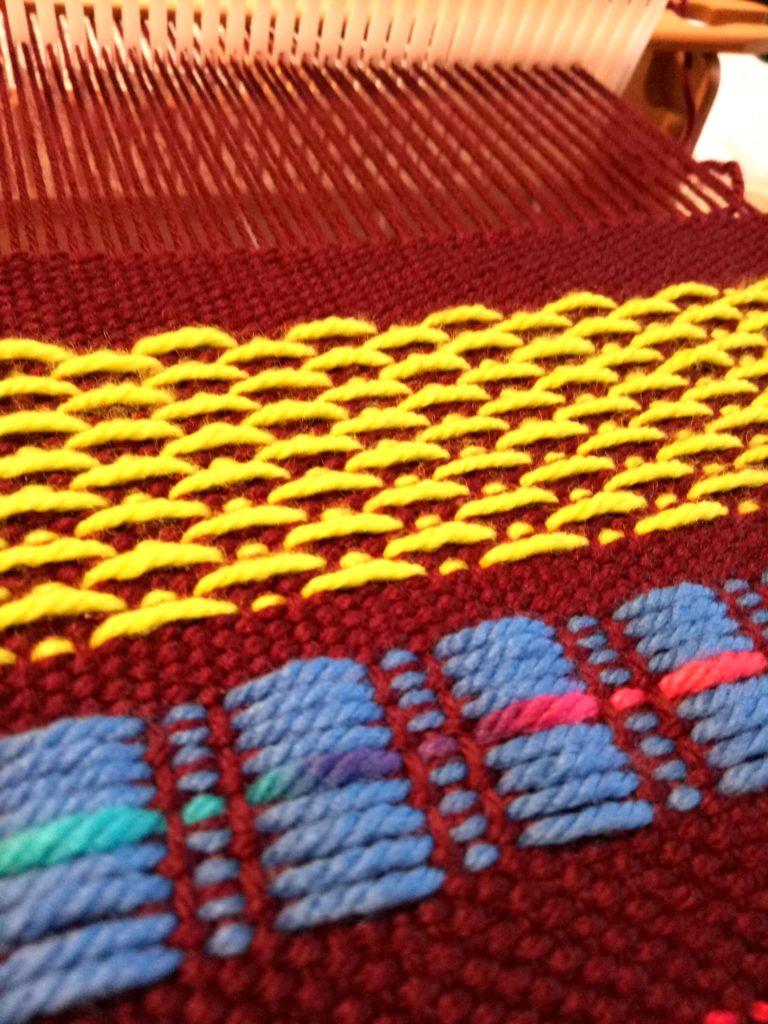
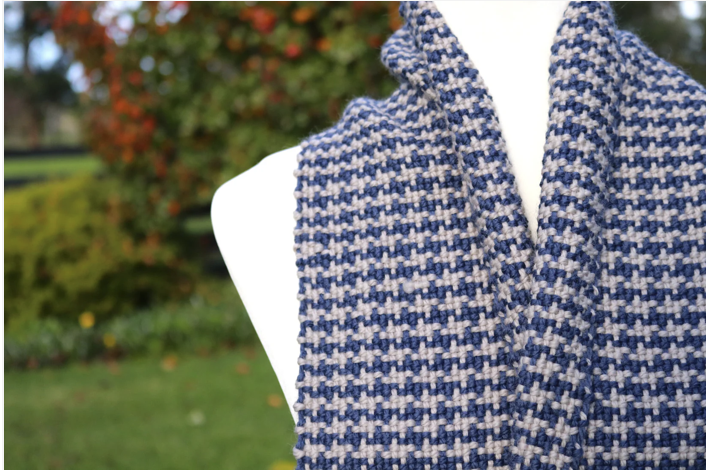
4. The Weekend Scarf
Weaving shouldn’t always feel like a marathon. The Weekend Scarf is designed to be a quick, satisfying project that you can warp and weave in just a few sittings.
It’s the perfect “palate cleanser” between bigger projects and a great way to see immediate results from your new skills.
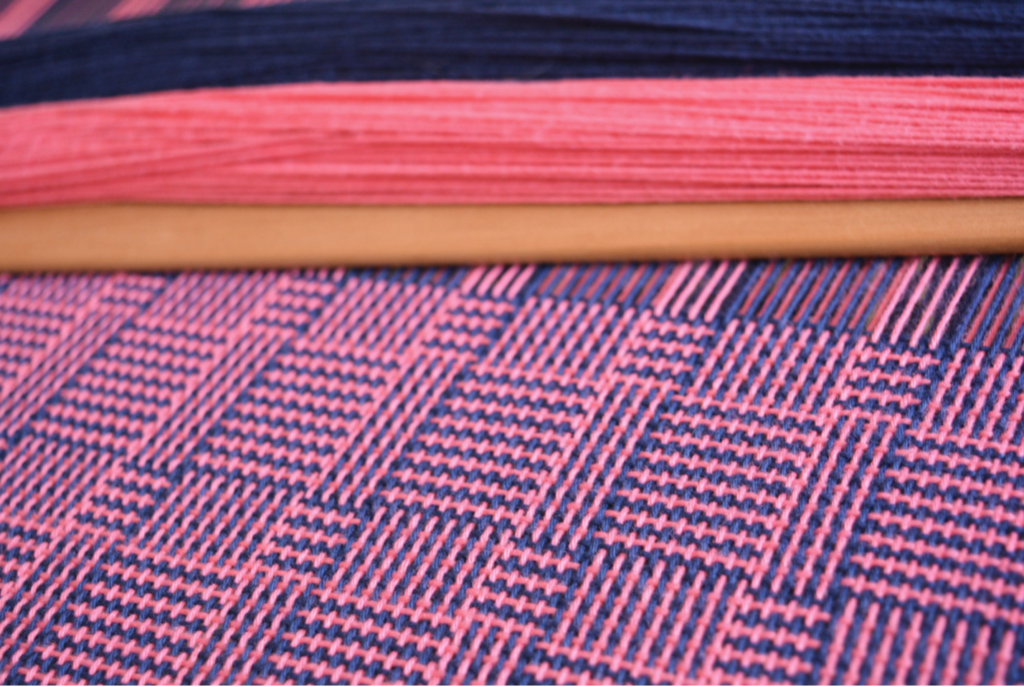
This one also uses Colour and Weave concepts with the addition of a chunkier yarn for bold patterning and a speedy project to weave.
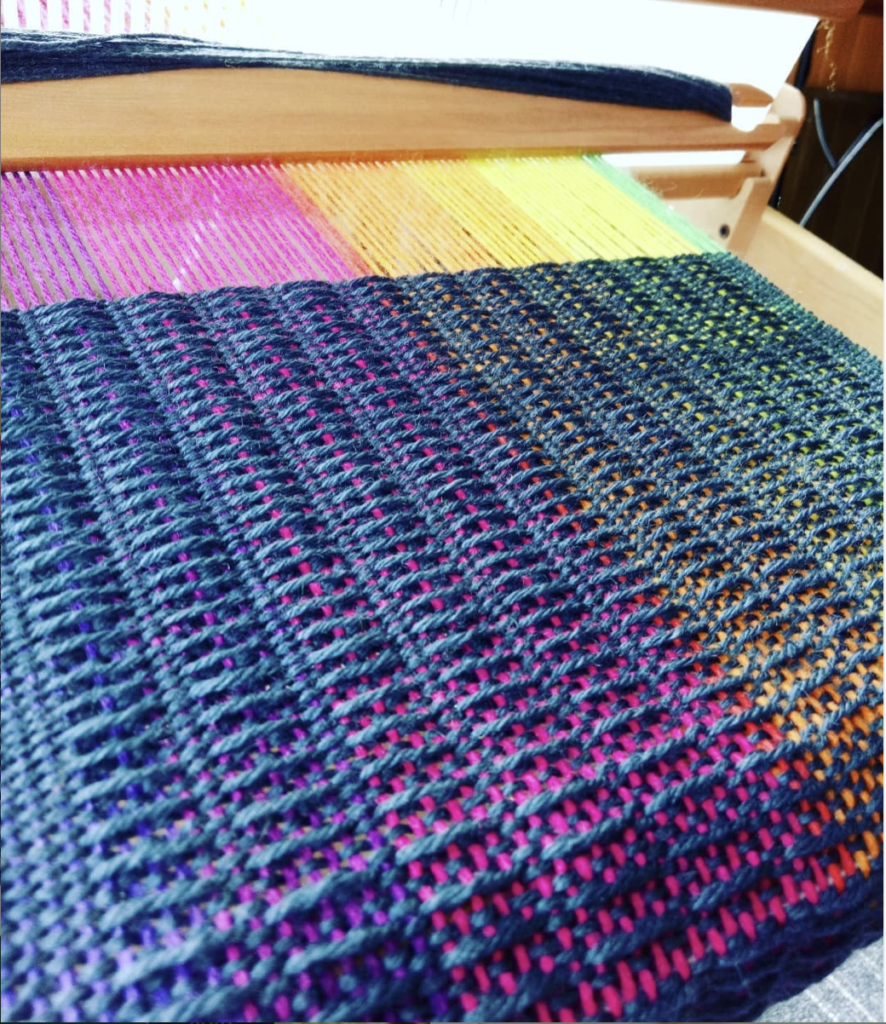
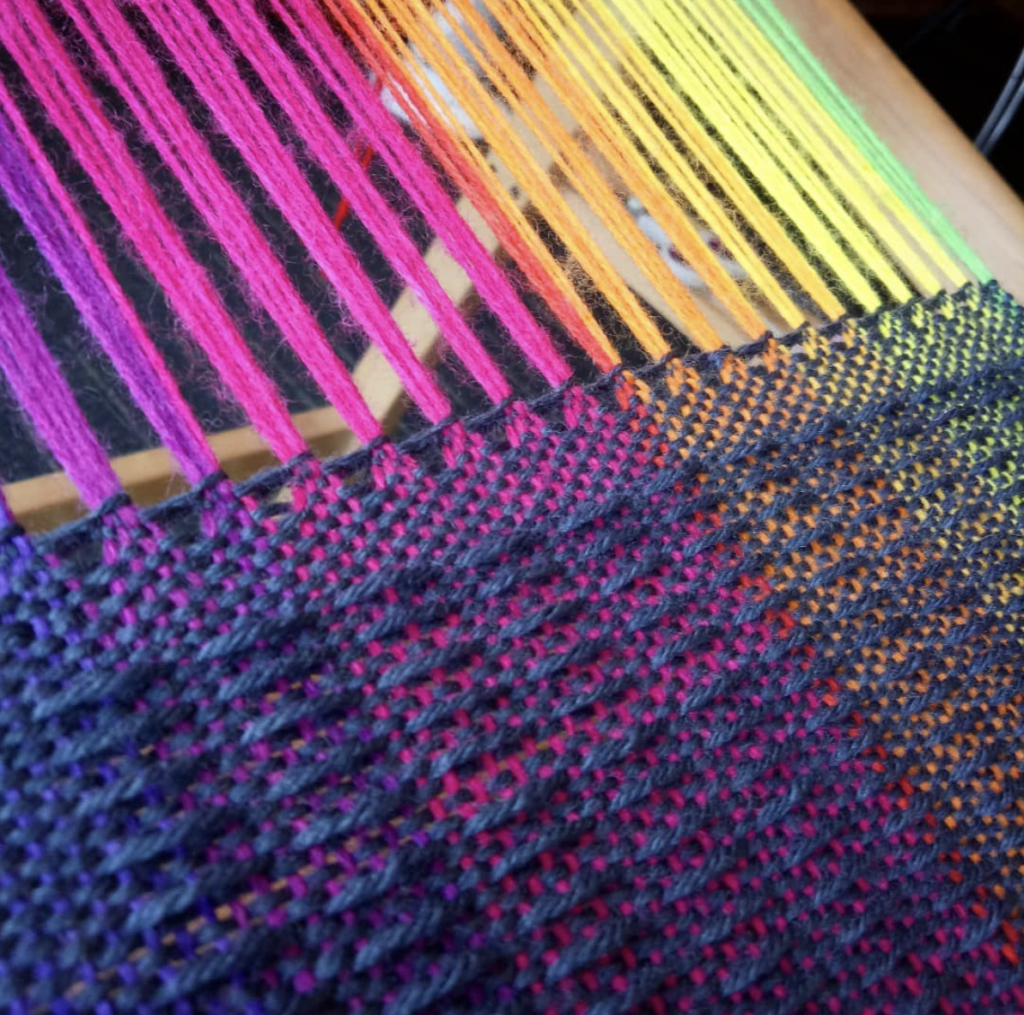
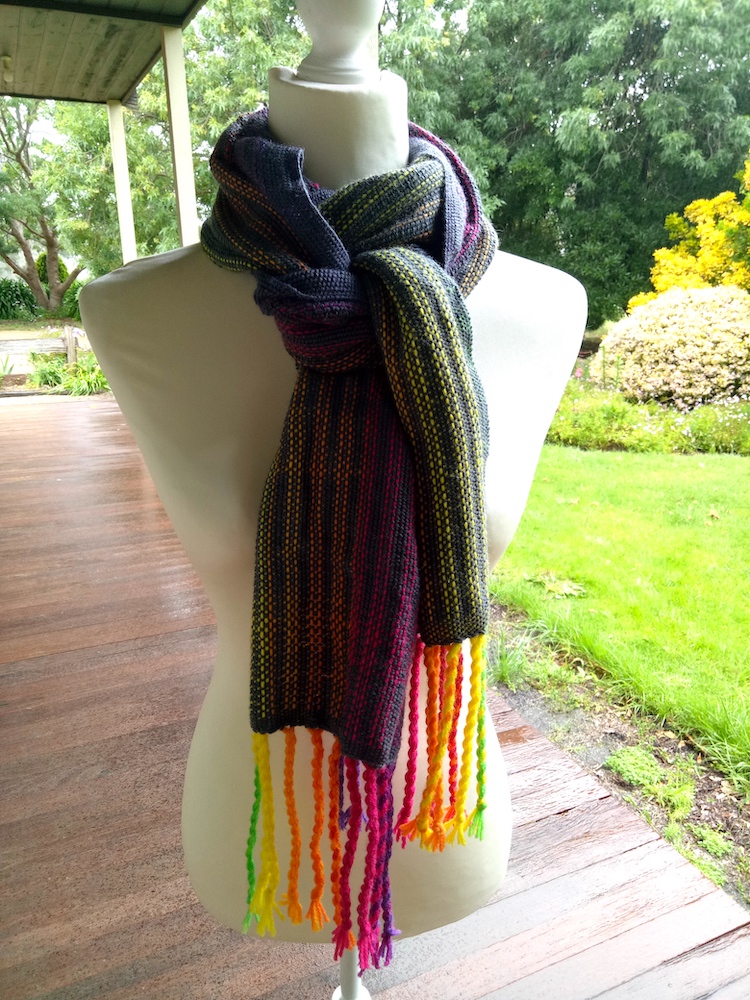
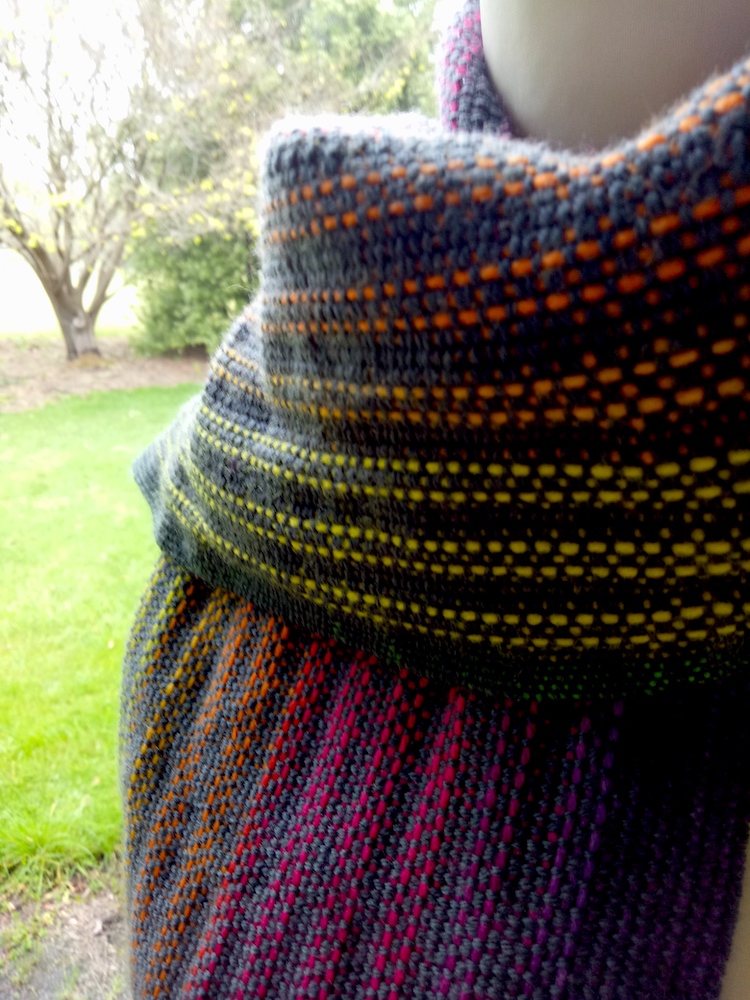
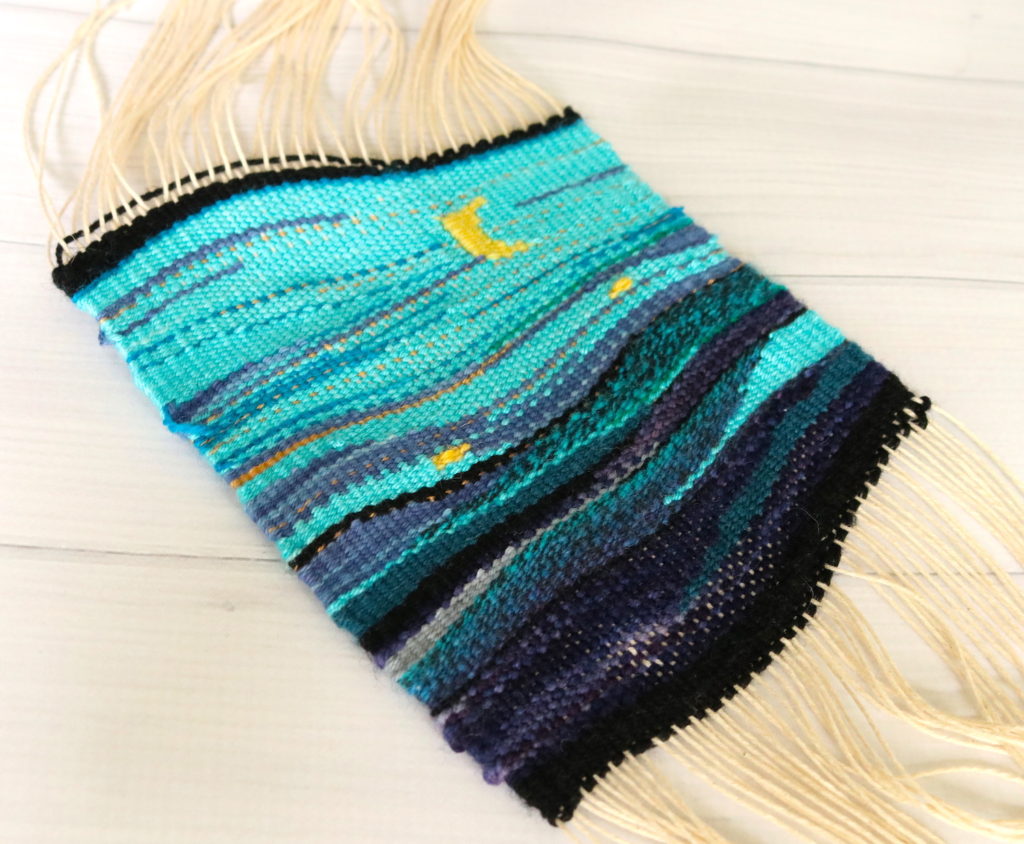
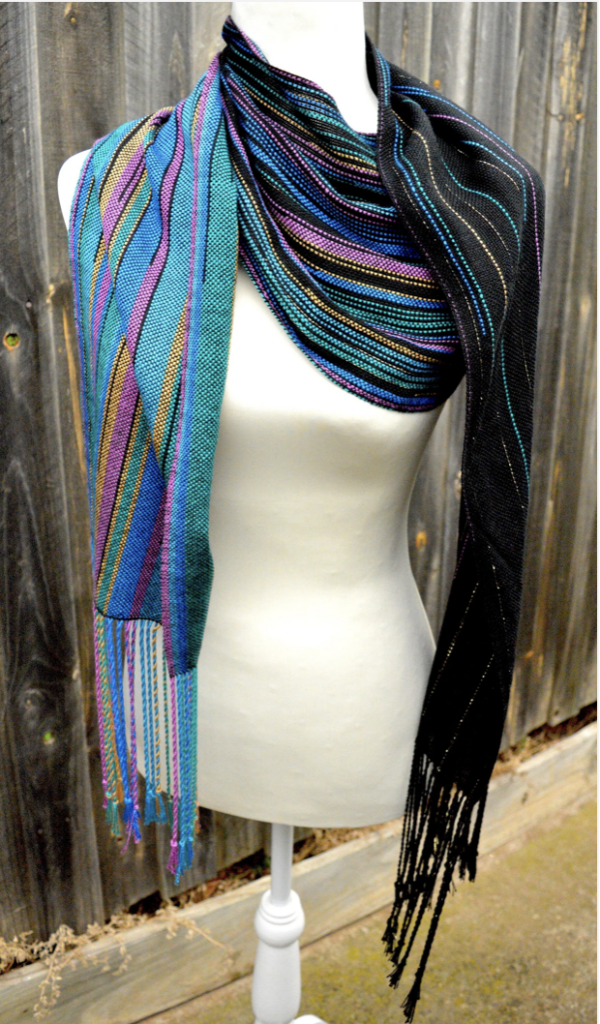
5. The Galaxy Scarf
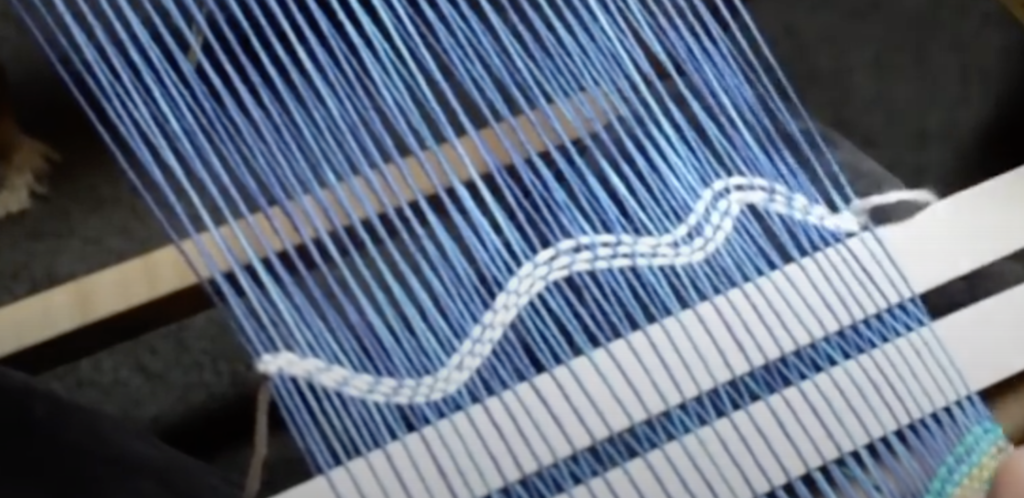
Ready to reach for the stars? The Galaxy Scarf explores how dark backgrounds and shimmering or variegated accents can create a deep, celestial effect.
This pattern encourages you to experiment with yarn choice and see how a simple structure can produce a dramatic, high-contrast look.
It uses the Clasped Warp technique to further suggest falling stars and galaxy light effects as well as shiny, drapey yarns for a luxury feel.
Get the Complete Beginner Bundle
If you want to dive into these projects without the guesswork, I have put together a Rigid Heddle Beginner Scarf Bundle that includes all five of these patterns in one convenient and lower priced digital download.
Each pattern is laid out with clear, step-by-step instructions, including:
- Warping Instructions: Know exactly how many ends to thread and in what order.
- Yarn Requirements: Suggested weights and quantities so you don’t run out mid-project.
- Step-by-Step Instructions: No vague directions, just clear, concise steps with colour photos to get you from warping to weaving.
- Finishing Instructions: Tips on how to properly wash and fringe your scarves for a professional look.
Whether you’re looking to master rigid heddle weaving basics or want a set of reliable projects to use for gift giving, this bundle is designed to be your go to resource.
Until next time…
Happy Weaving!
*This post contains affiliate links. For further information, please see my disclosure policy.