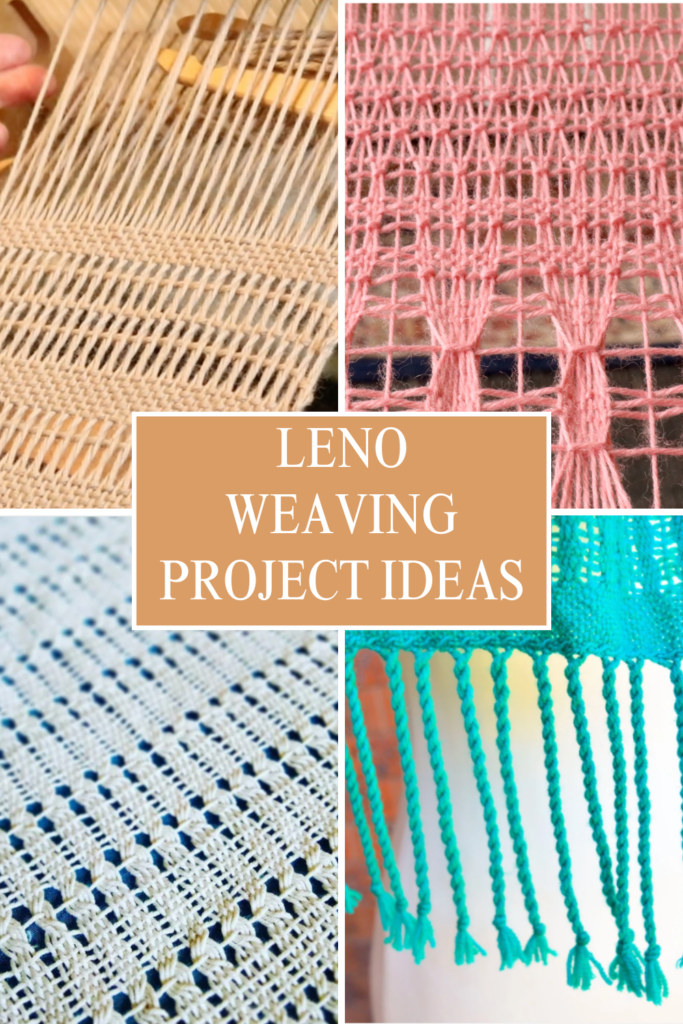
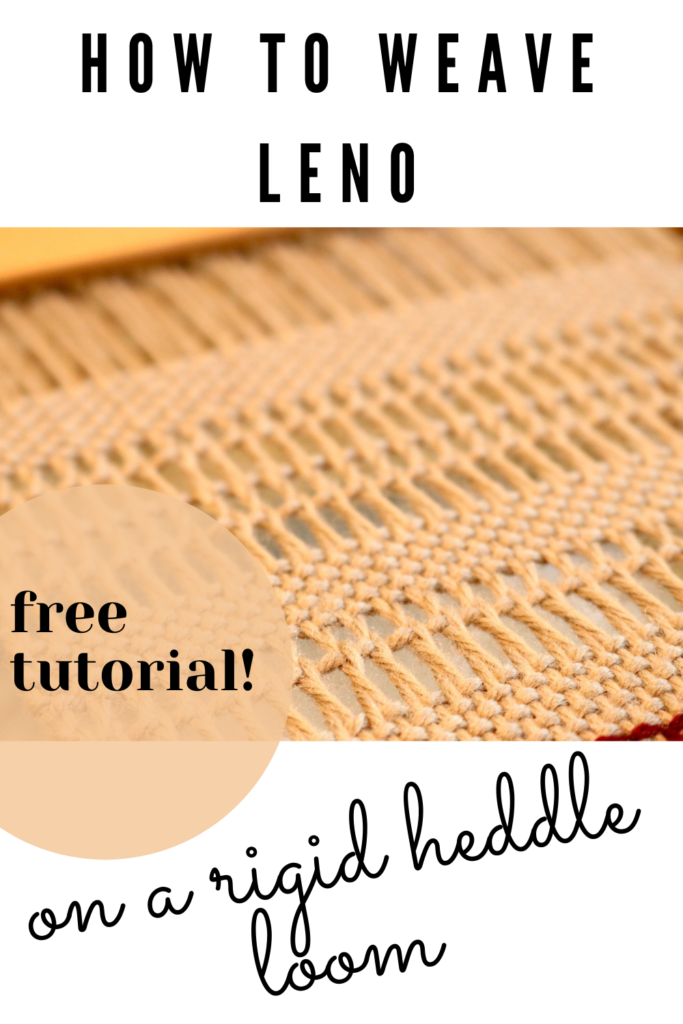
If you loved learning how to weave Leno lace on your rigid heddle loom in my previous article, you’re going to be excited about today’s post!
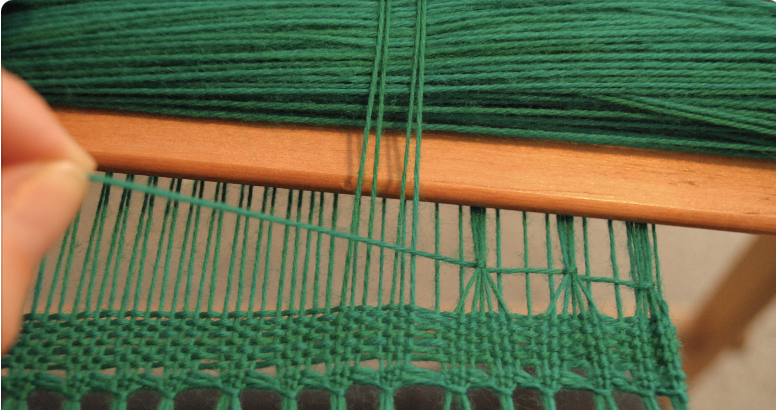
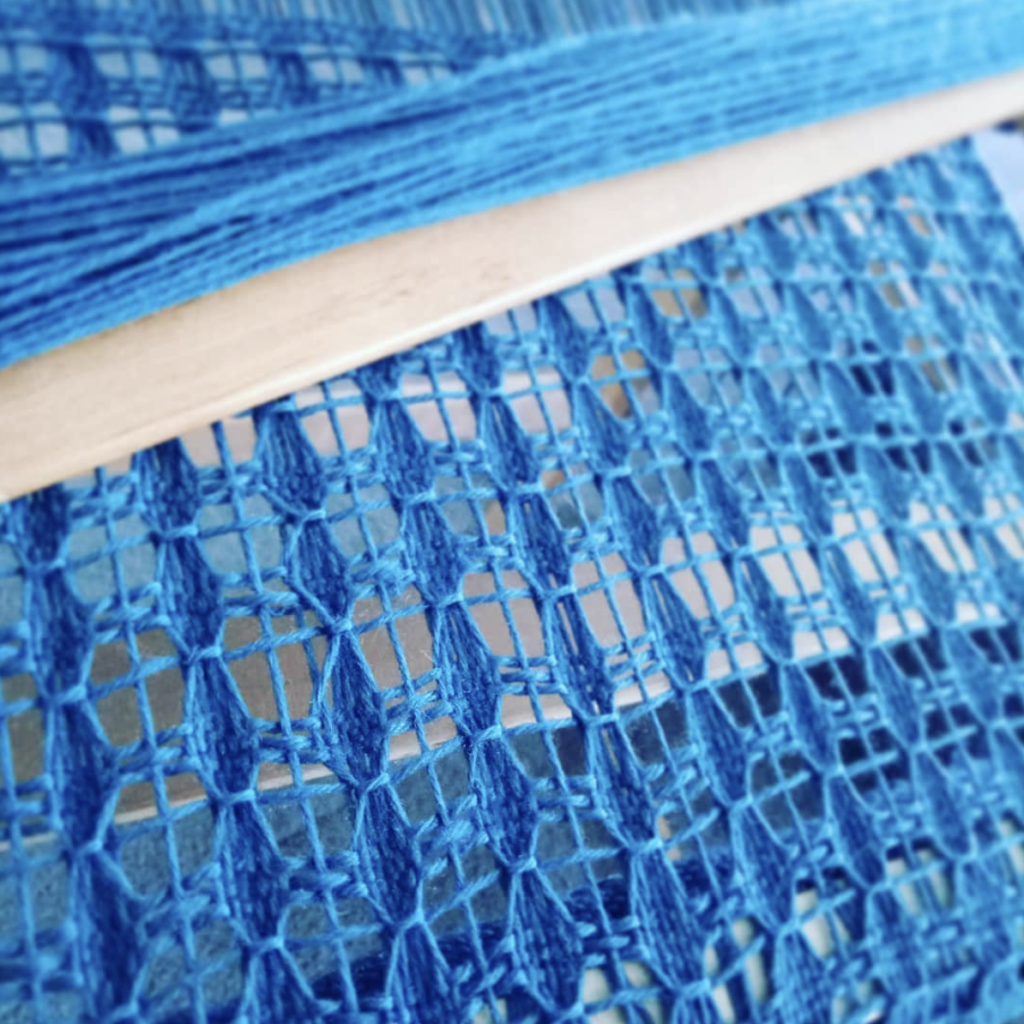
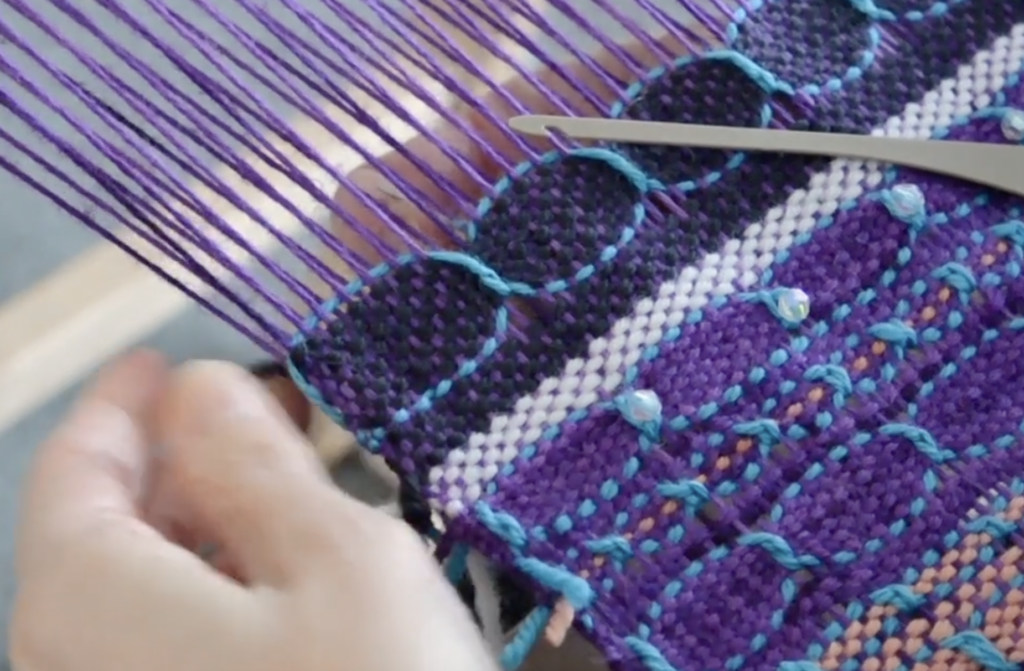
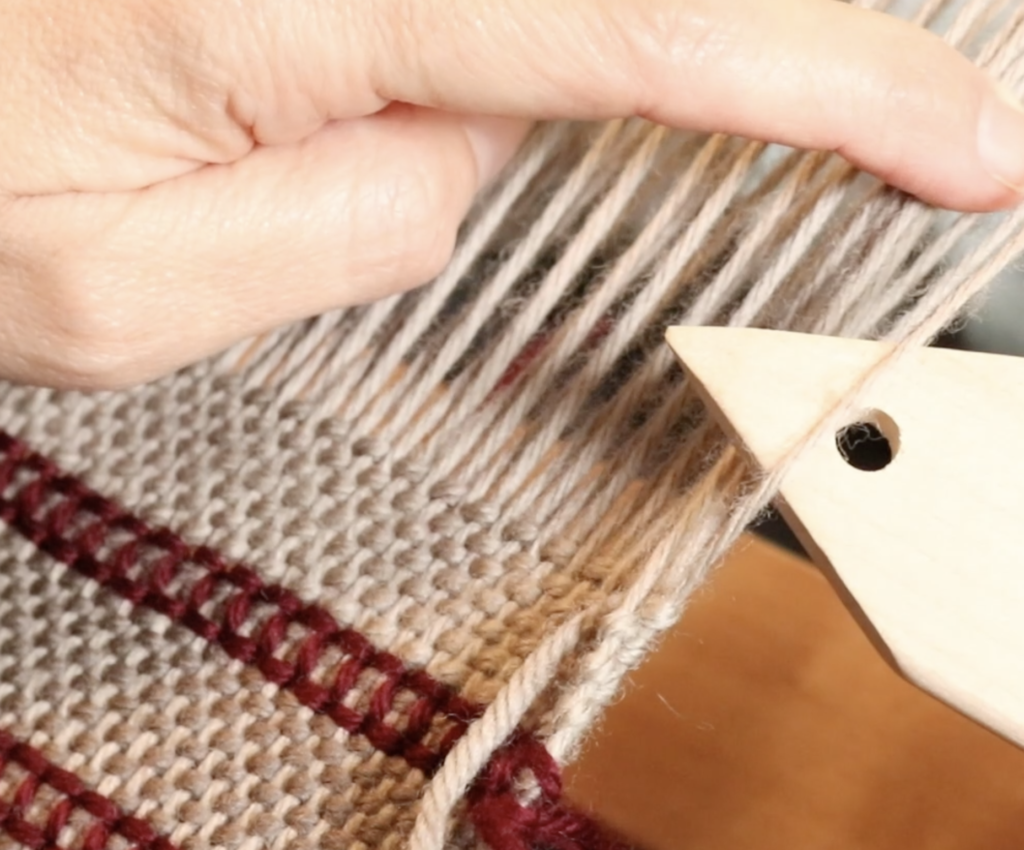
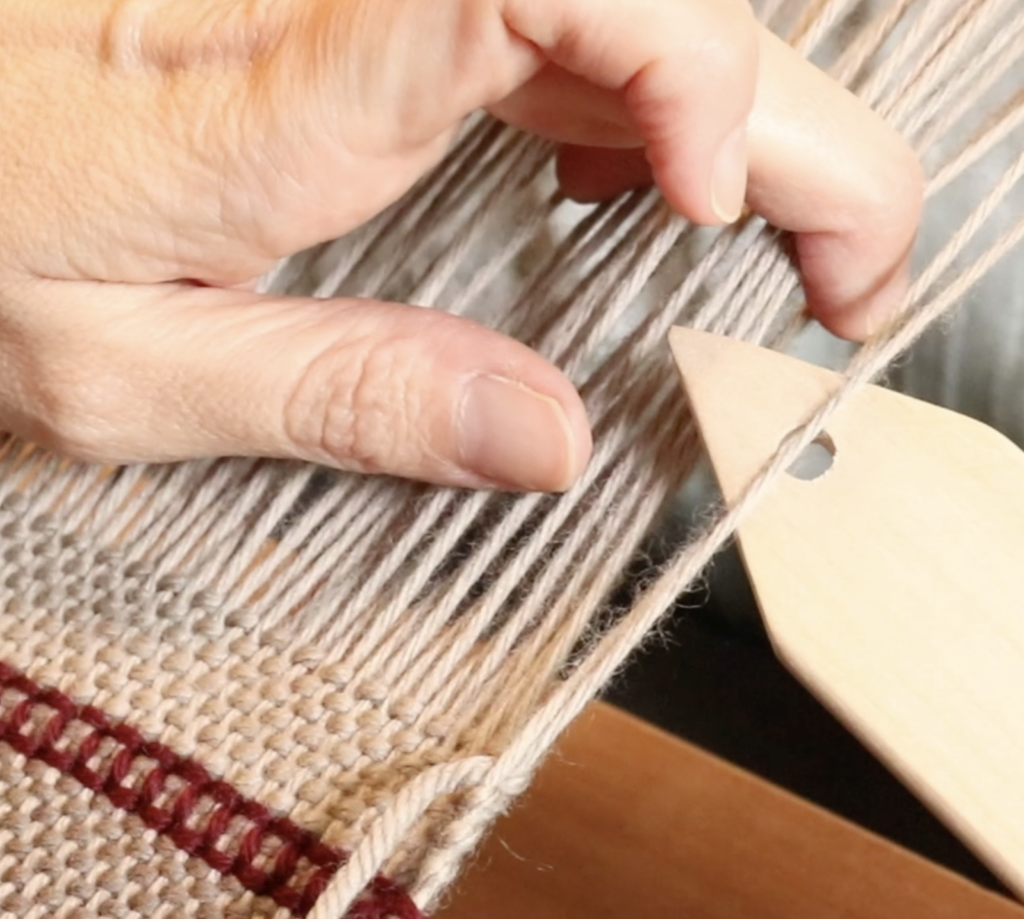
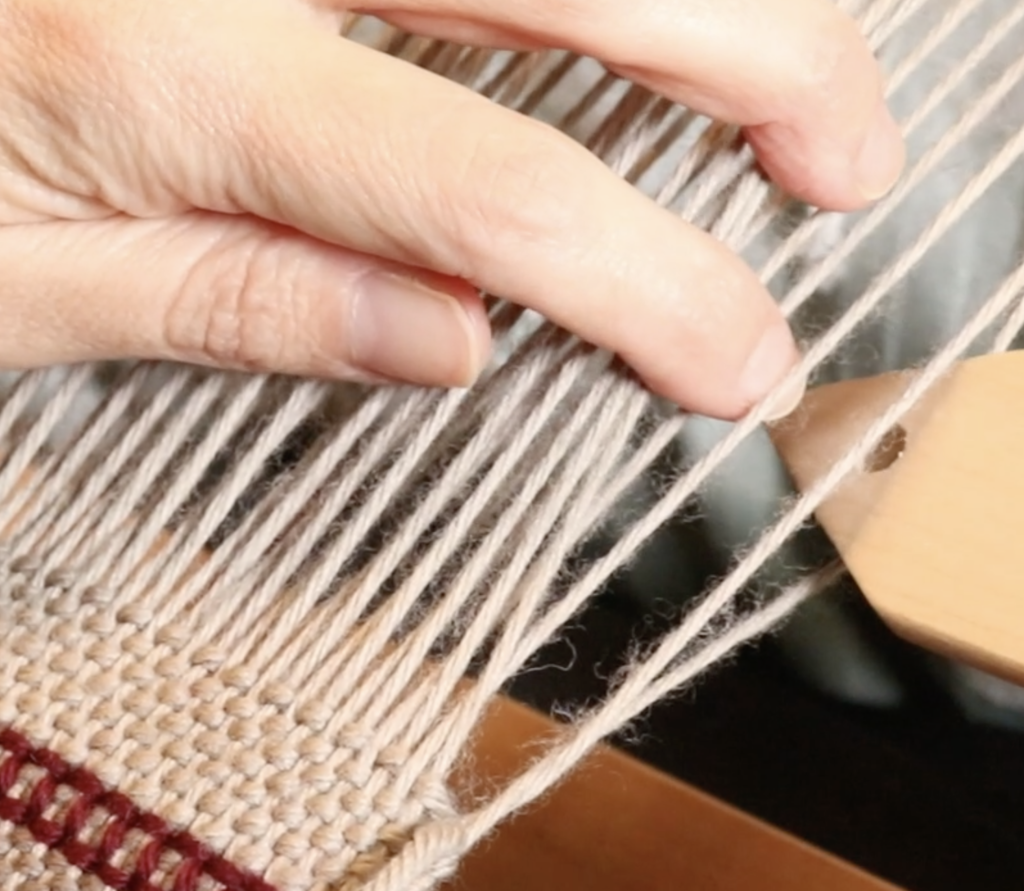
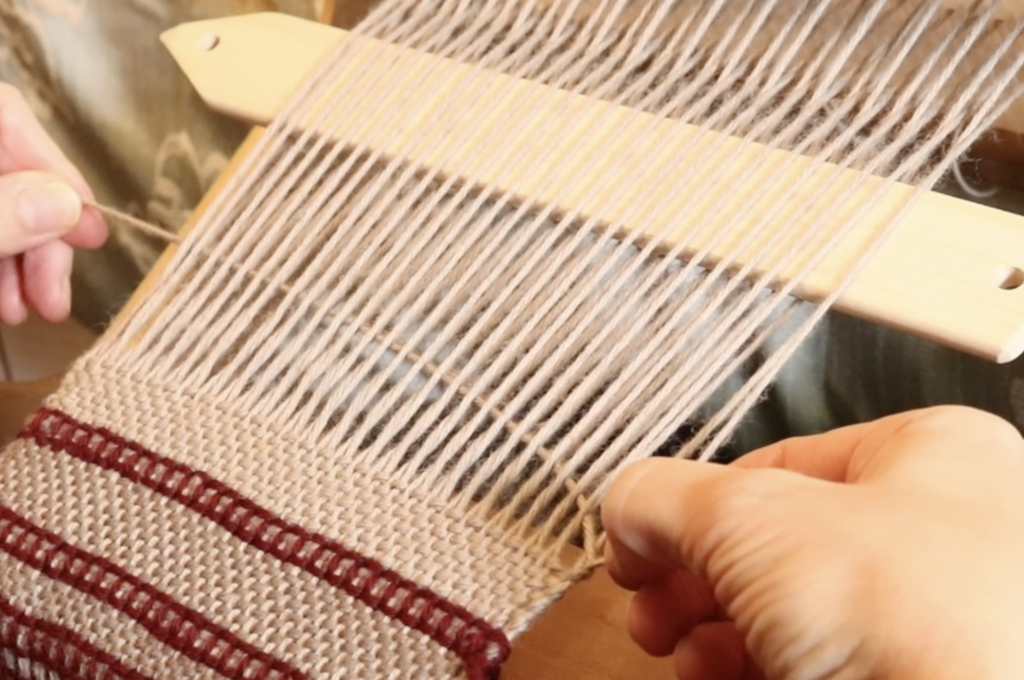
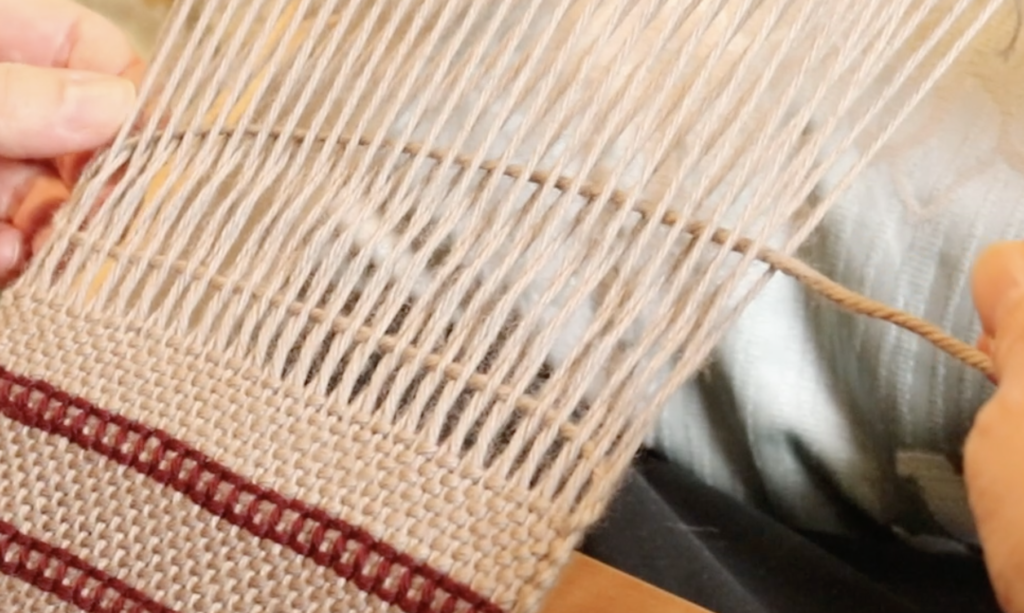
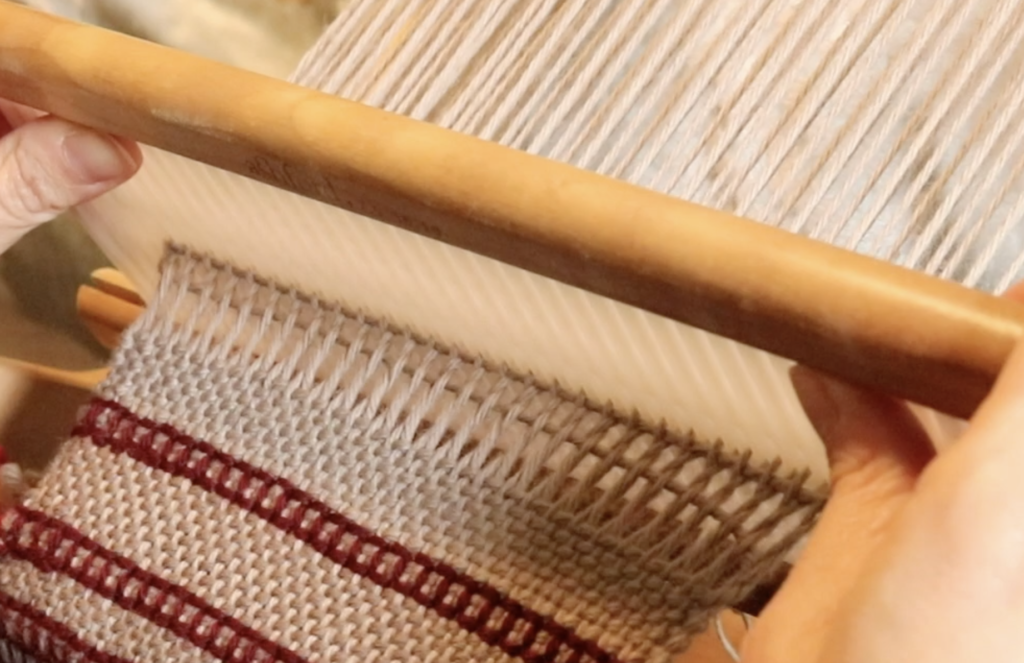
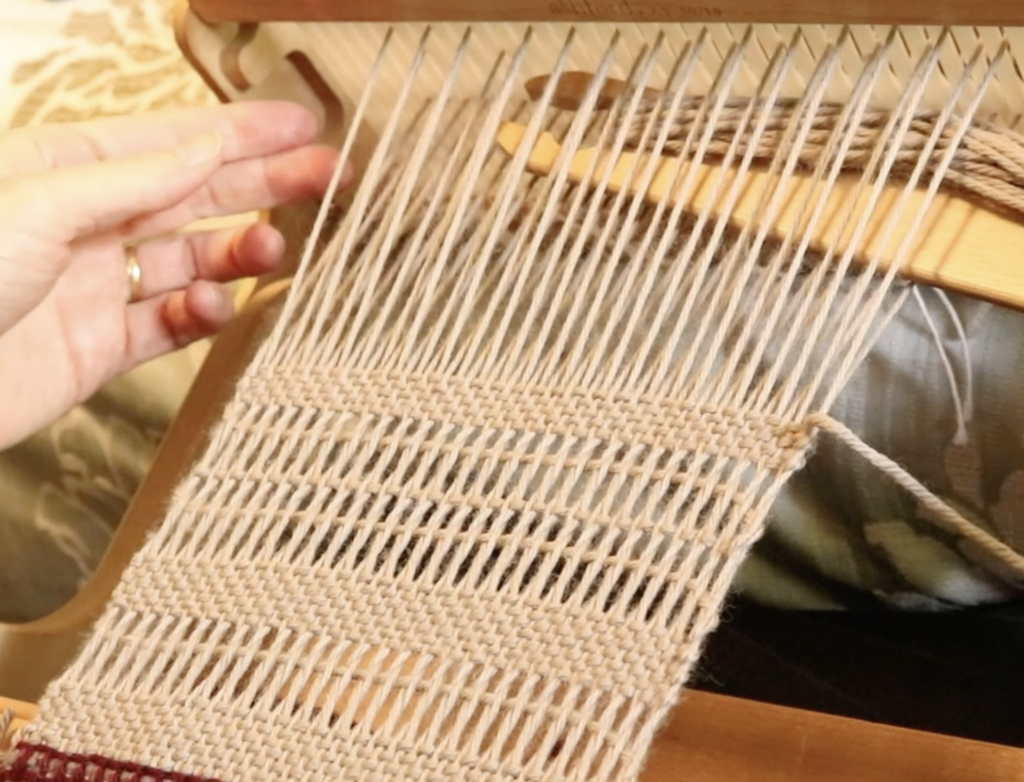
Leno is a beautiful, open-weave technique that adds texture and lightness to your projects. It’s a finger controlled technique that can easily be woven on a plain weave threading and with very minimal tools – all you need is your rigid heddle loom and a pick up stick!
In this post, I’ll share five gorgeous Leno weaving project ideas to inspire your Leno journey.
While you’re here, grab my free Finger Controlled Weaving ebooklet to introduce you to some of the varieties you can weave ⬇
Let’s dive in!
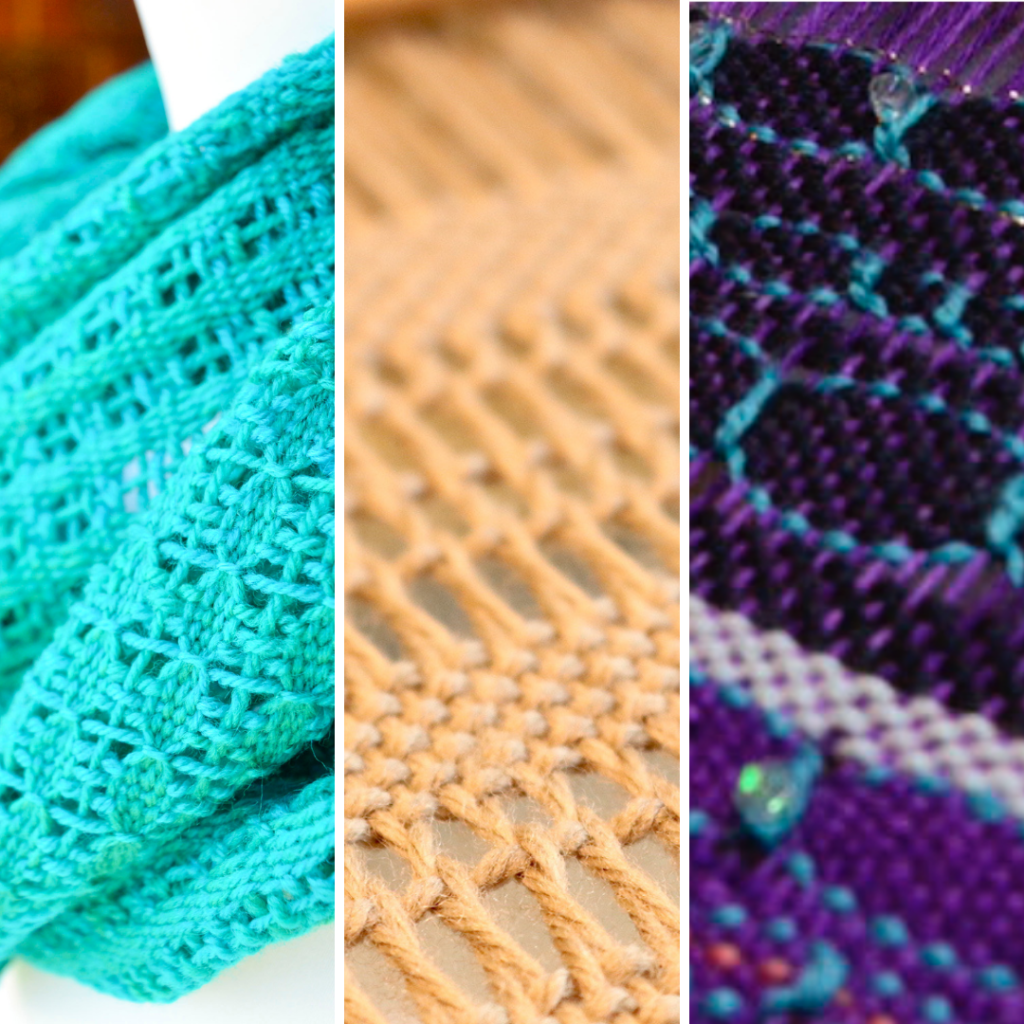
1. Airy Leno Scarf
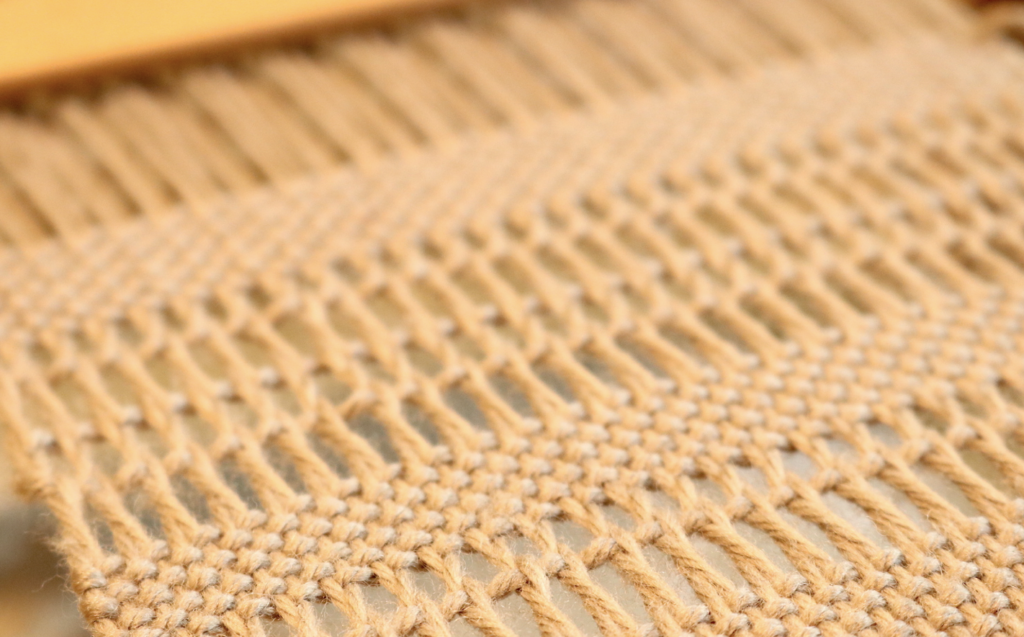
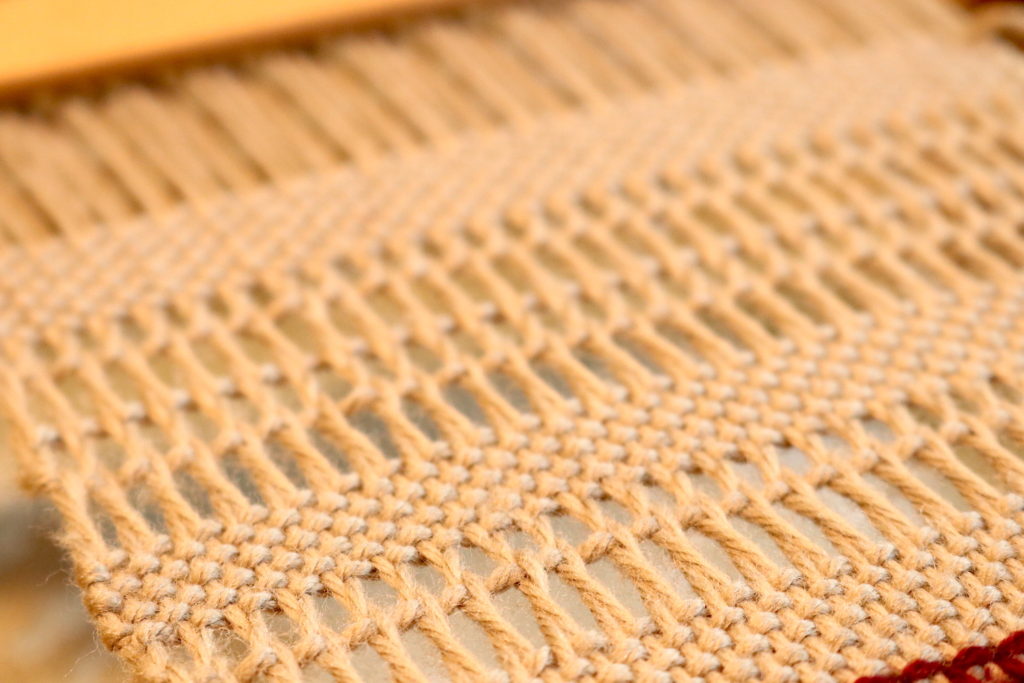
A lightweight, lacy scarf is a perfect way to showcase Leno weaving. Use a soft cotton, wool or silk for a breezy, elegant accessory. To add interest, you could use contrasting warp and weft colours. The Garden Path Scarf uses the Brook’s Bouquet weave structure, but is a lovely example of how special a lace weave scarf can look.

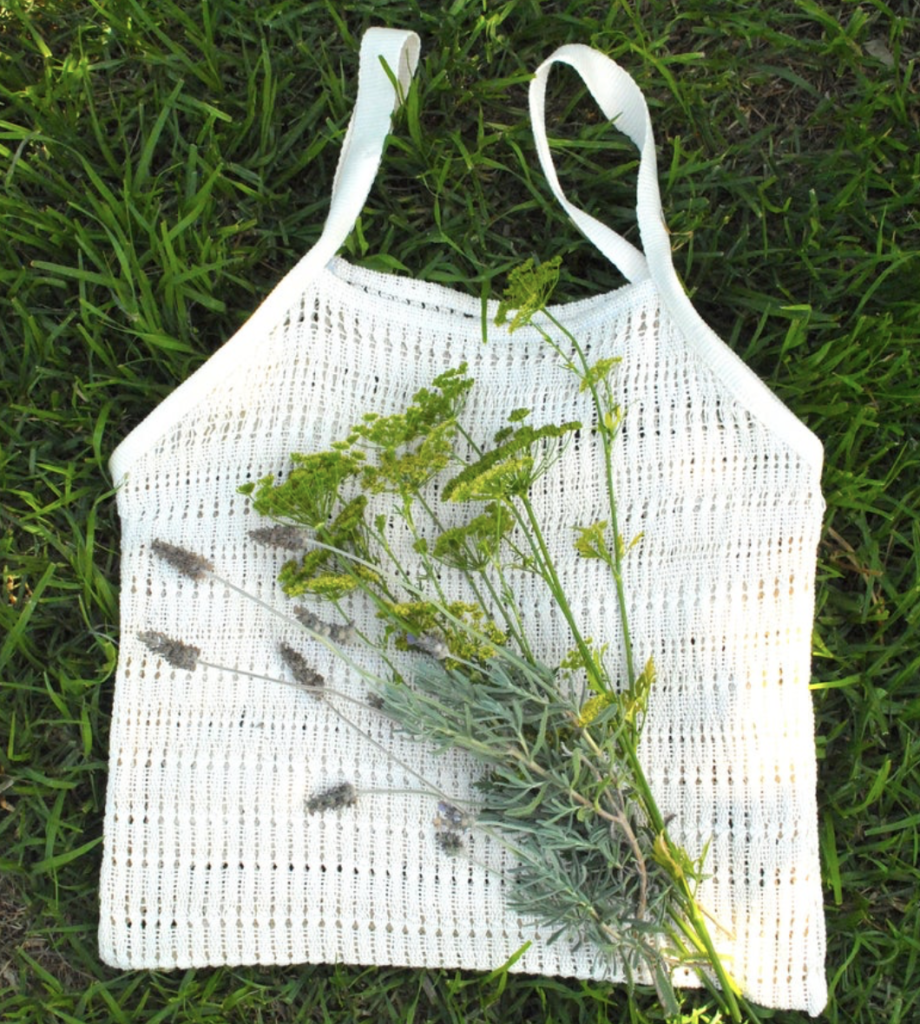
2. Leno Market Bag
A sturdy yet flexible string bag is a fantastic use of Leno lace! The open weave allows for some stretch, making it ideal for carrying groceries, beach essentials, books or even yarn. Use a strong cotton or linen yarn for durability. A tapestry cotton or seine twine is the kind of hard wearing yarn you need for a project like this 😉
Check out the digital download PDF pattern for The Farmer’s Market Bag for an easy to follow project.
3. Sheer Leno Curtains
Leno is a very popular structure for weaving airy, light-filtering curtains. Because you are already threaded for plain weave, a hem and top section for hanging are easy to include on each end of your Leno panel. Choose natural fibers like cotton or linen.

4. Table Runner with Leno accent
Although Leno is not really appropriate for a table runner due to its need for some sturdiness and the ability to sit flat on a table, it is very lovely when used as an accent. You could choose to weave a plain weave table runner with recurring repeats of Leno, strategically placed.
Or you could place your Leno in particularly places rather than doing a full row to create Leno sections or windows in your runner.
Coupled with an Italian Hemstich, your table runner would be a real show stopper!
5. Lightweight Leno Wrap or Shawl
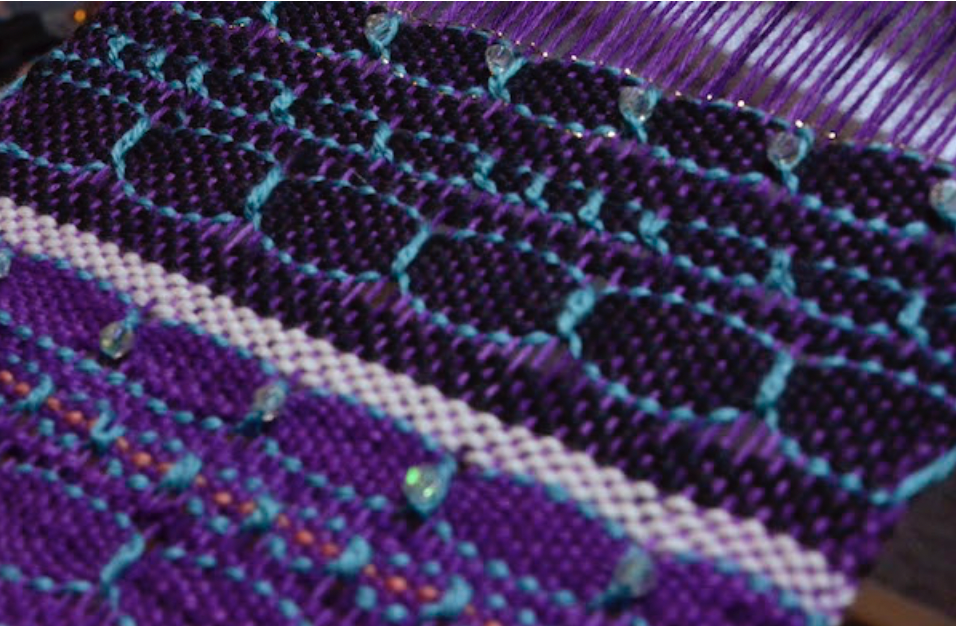
A Leno-woven wrap or shawl is perfect for layering over outfits in warmer weather or draped with an evening dress on cooler nights. You could try a sheeny and soft yarn like tencel or bamboo for a luxurious drape. Using the same colour for both warp and weft would create a classy and bold statement piece. Introducing Mexican Lace (a type of Leno as demonstrated in this online class) would make a truly beautiful shawl.
There is a lovely shrug project in Jane Patrick’s The Weaver’s Idea Book on page 74.

More About Leno
Want to undertake one of these projects but you’re not sure if Leno is for you? Check out my free tutorial to get started weaving Leno on an open shed.
And if you’re interested in delving into some more finger controlled techniques like Mexican Lace, Brook’s Bouquet and Spanish Lace, you need the Lovely and Lacey Online Workshop. In this workshop we weave a sampler to practice the techniques, so there is no need to commit to a full sized project.
Leno weaving is a fantastic way to add texture, lightness, and a touch of elegance to your rigid heddle loom projects. Whether you’re weaving a breezy scarf, a sturdy market bag, or delicate curtains, this technique opens up so many creative possibilities and variations.
*This post contains some affiliate links. For more information, please see my disclosure policy.
I hope these project ideas inspire you to try Leno in new and exciting ways! Have you woven with Leno before? I’d love to hear about your favourite projects—share your thoughts in the comments below 👇
Until next time…
Happy Weaving!