
I love plain weave, I really do. But sometimes I just think that it is so fun to jazz it up with something special!
Today I’m going to show you three ways that you can jazz up your plain weave, and have some fun with it.
I’ve written several other articles on simple things you can do on the loom for major impact. Things like Colour and Weave , Rigid Heddle Patterns for Beginners and techniques for Making Pictures with your Loom.
*This post contains affiliate links.
I’ve structured this lesson as a sampler for those of you who want to follow along with me and weave a sampler of your own. I used my 10″ Sampleit loom, but any rigid heddle loom will do as we’re only weaving an 8″ width.
All of the yarns, calculations and warp details are contained within this printable PDF, so please download that to access all of that information:
- STRIPES
The first example for the sampler is a pretty easy one, but has many variations that really pack a punch visually – stripes!
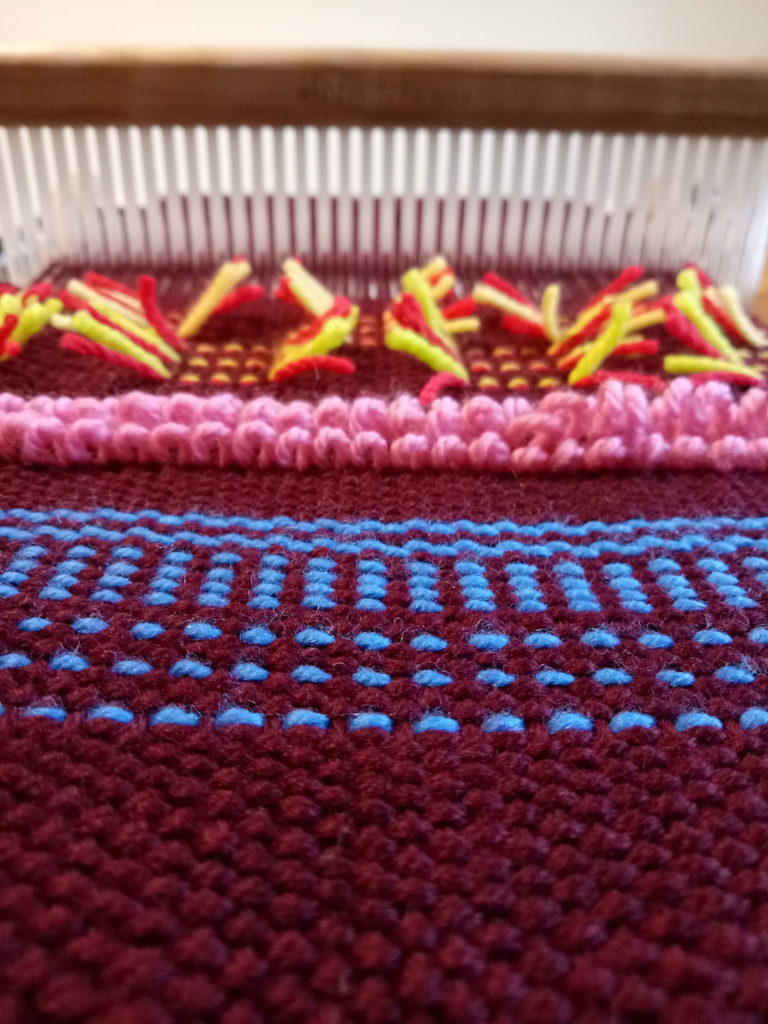
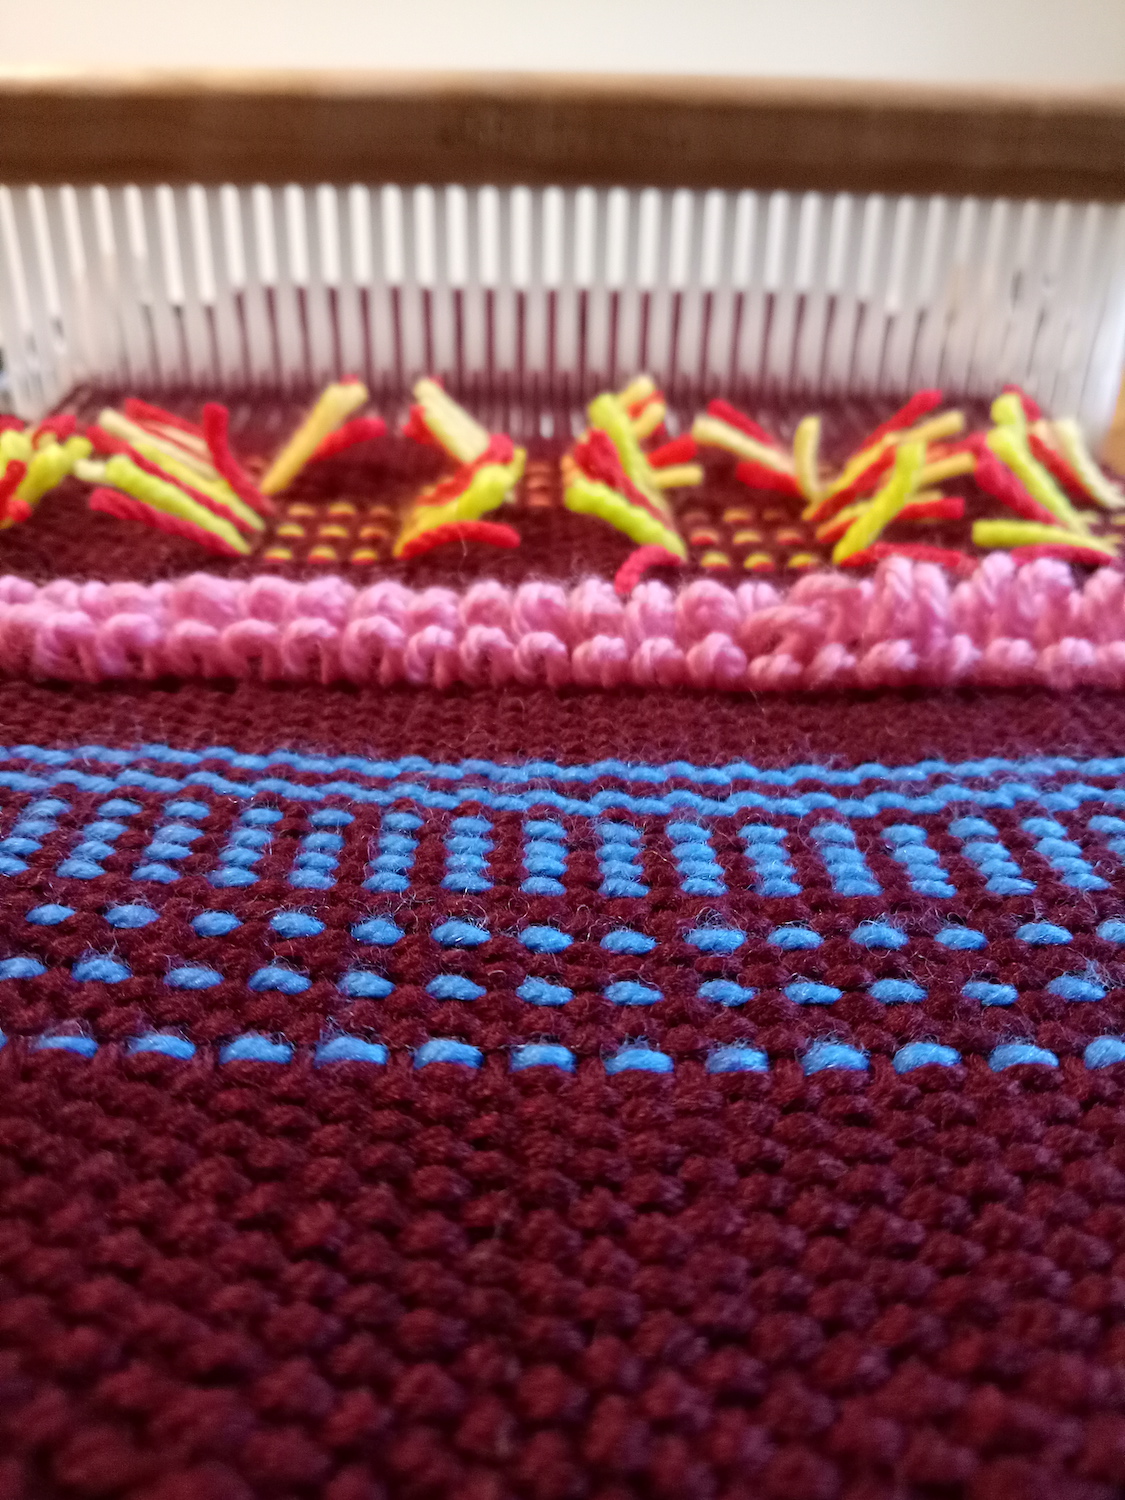
My example doesn’t look much like stripes because I was using one weft colour in blue and the other matched the maroon warp – so rather than traditional stripes you can end up with dots, dashes and squiggly lines. Pretty cool!
2. LOOPS
This is a super fun technique that requires a bit of patience but is not hard to do. You use a knitting needle to pull up loops of weft between warp threads. This gives a really interesting and textured look, but also has practical applications, like for wash cloths. I employed this technique as a feature in my Lux Hand Towels pattern.
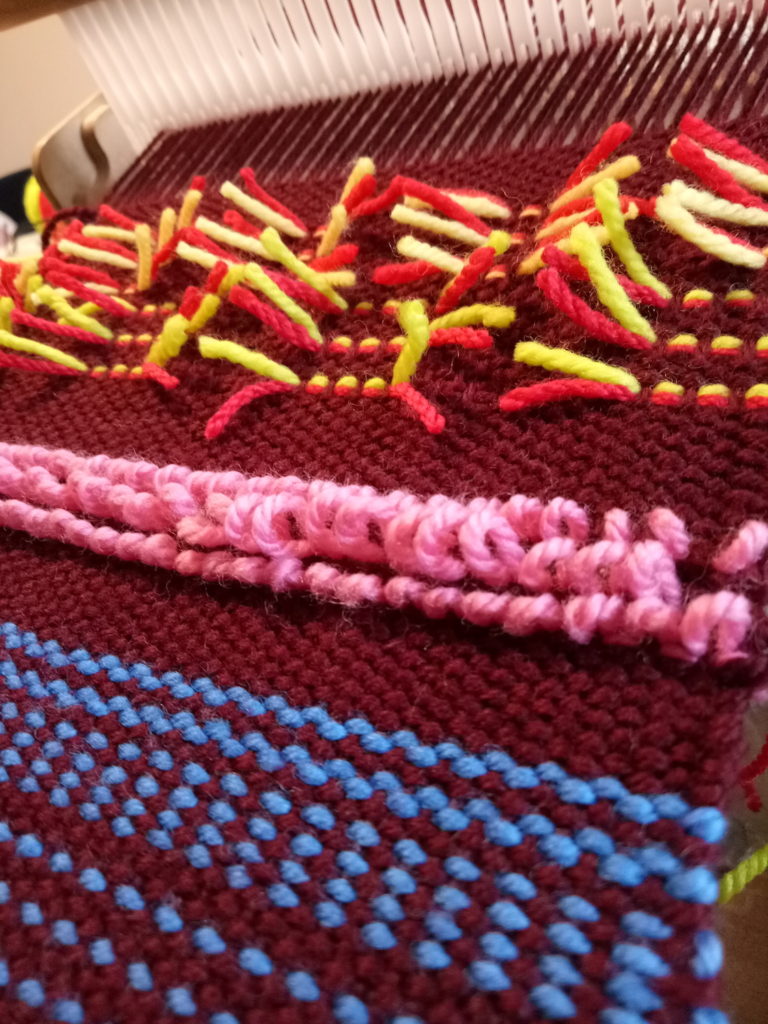
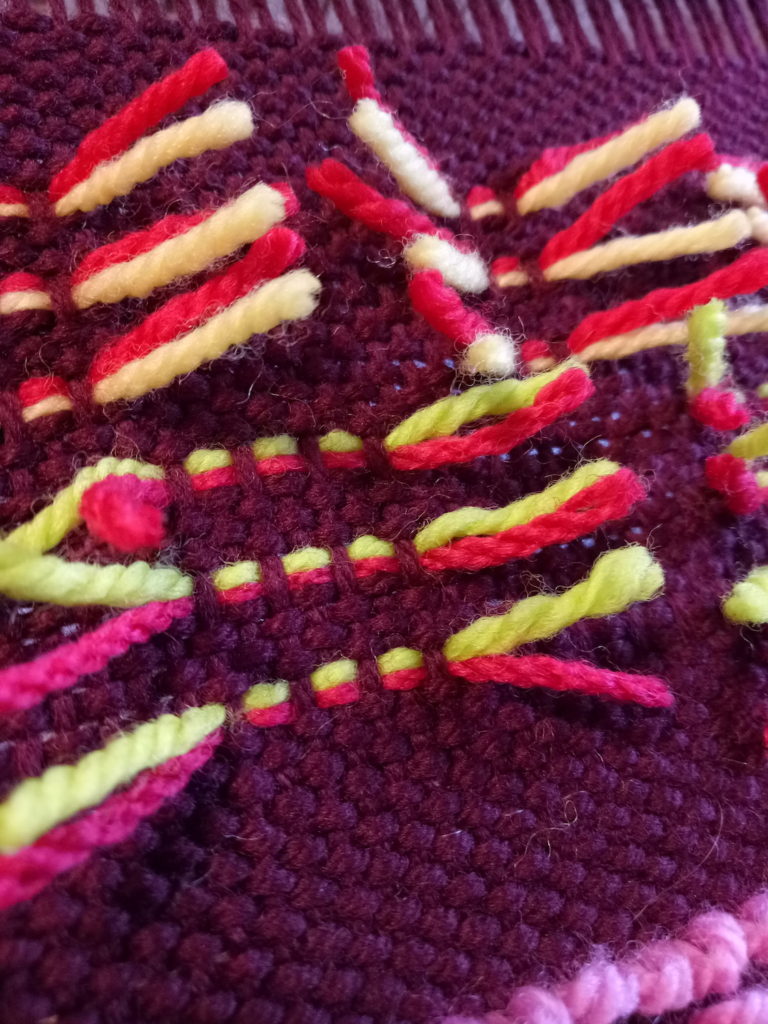
3. BUTTERFLIES
Admittedly, my first attempt at butterflies looked rather spider like, but the second lot were much better. Whatever the case, this is a fun and unique technique where you use a pick up stick to make extra long floats and then CUT them while on the loom! Pretty wild, huh?
In conjunction with the PDF I have for you here, you will definitely want to check out the corresponding video for a full demonstration of all the techniques. You can view that here:
In the video, quite a few links were mentioned. I’m putting them here so that they are easy for you to find-
Woe to Go! Beginner Rigid Heddle Weaving class
Neat edges for colour changes video
I hope you really enjoy this little sampler project and that it gets your creative weaving juices flowing over! Which of the three techniques is your favourite? Will you weave a sampler of your own?
Stay tuned, as next week I will have part two of this series ready with even more techniques for jazzing up your plain weave!
Until then…
Happy Weaving!
Love the plain weave best, although with the right colours the other techniques can be fun. I watched your videos the whole weekend and learned so, so much! Haven’t been able to take my first piece off the loom, but I am much more comfortable in doing so. Thank you, you are a great inspiration .❣️
Thank you for spending the weekend with me! 😄
Hi Kelly!
Thankyou for sharing these ideas…they will be fun to try!
I sent a question through the ‘contact’ button in my profile in the weaving school site, but I am not sure if that goes to you. Is that a good way to reach you?
Anyway, I will ask it here too…
Does is matter whether you hem cotton towels before or after wet finish wash?? Thanks!
Hi Loraine,
I just got your email, yes that is a good way to contact me 😊
Any sewing that I’m doing with hand woven cloth is always done after wet finishing. This allows for proper shrinkage and the fabric is primed to sew with. That is my preference anyway!
Coincidentally to this video, I’ve just woven a looped washcloth using Lily Sugar & Cream yarn. I used a dowel to make the loops. I used a #8 heddle & put 2 plain weave sheds between the loops. I wove a plain weave border of 4 warp threads on either side & then began the loops. The loops part of the fabric is 10 inches. After using the washer & dryer machines, I saw that some of the loops “shifted” across the weft line, so that some of the loops were longer & the loop that was next to it, became shorter. I wonder what I can do to prevent that from happening. When I wove the loop, I angled the reed into the dowel, to push the dowel & loops close in & then wove the 2 plain weave wefts, also angling the reed in towards the dowel to “tighten” the sequence – then I took the dowel out & began the pattern again….dowel A – plain weave B – plain weave A – dowel B etc. One thought I had was to maybe use a #10 reed (which I think I’ve used with that Lily Sugar & Cream yarn). I hope I’m describing the problem that I’m encountering, so that you can envision my dilemma. If not, I’ve pictures if there’s a different site for that. Thanks so much Kelly. Best to you & yours & I’m thinking you during this difficult time where you are, like where I am in this virus surge.
To be honest Liza, I’m not really sure why your loops would shift in that way. I wonder if the larger your loops are the less stable? I’m really not sure, sorry!
I’m going to try the #10 heddle to see if it tightens up the spaces between the loops. Thanks for your reply. It may be the larger loops, tho the dowels is 3/16″ dowel (I think). I may not get to this warping etc. soon, but I’ll let you know how this goes. 🙂