If you’ve ever held a piece of handwoven fabric and noticed the way it falls or flows, you’ve already experienced drape. Drape is simply how a fabric hangs or holds its own weight, and it’s one of the most important qualities to understand, especially if you’re weaving garments or anything meant to move with the body.
The beautiful thing is that drape isn’t mysterious or random. As handweavers, we have the privilege of making deliberate choices that directly influence how our fabric behaves. In this article, we’ll explore what drape is, why it matters, and exactly how to achieve the type of drape you want in your weaving.
What Is Drape?
Drape refers to the way a fabric falls under its own weight. Some fabrics spill and flow like water. Others hold their shape, creating crisp folds and firm edges. Both ends of this spectrum are useful and beautiful – they simply serve different purposes.
Amount of Drape – High Drape (think flowey fabric)
A highly drapey fabric:
- bends and flows easily,
- conforms to the body,
- hangs in gentle folds,
- feels soft and fluid.
You’ll often see high drape in scarves, shawls, wraps, and handwoven garments intended to move freely.
Amount of Drape – Low Drape (think stiffer, crisper fabric)
A fabric with low drape:
- is firm or crisp,
- has more body,
- keeps its shape rather than flowing,
- feels more structured.
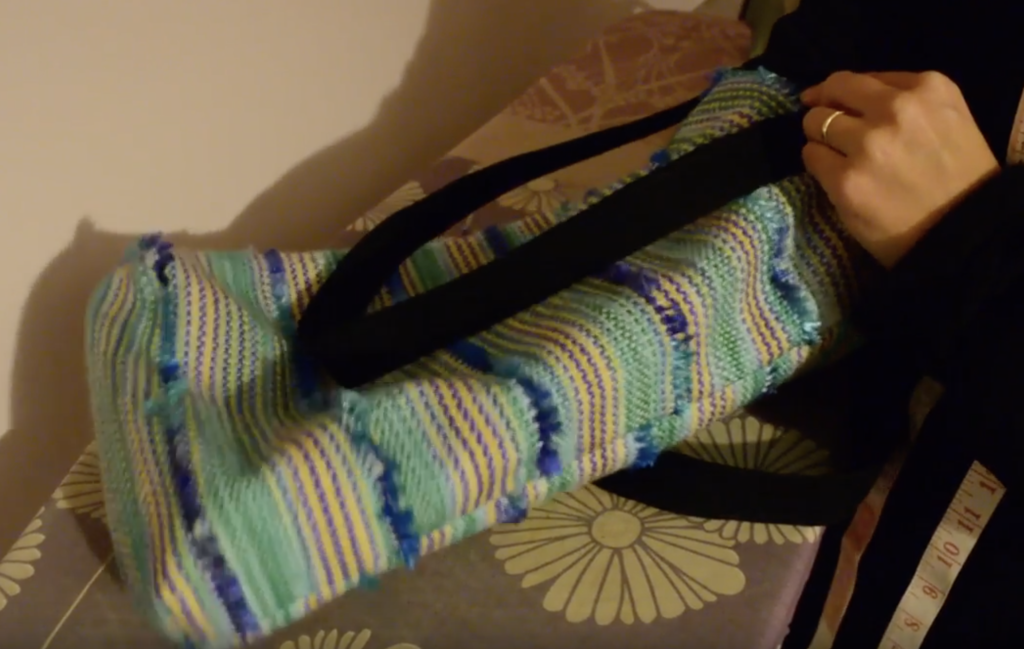
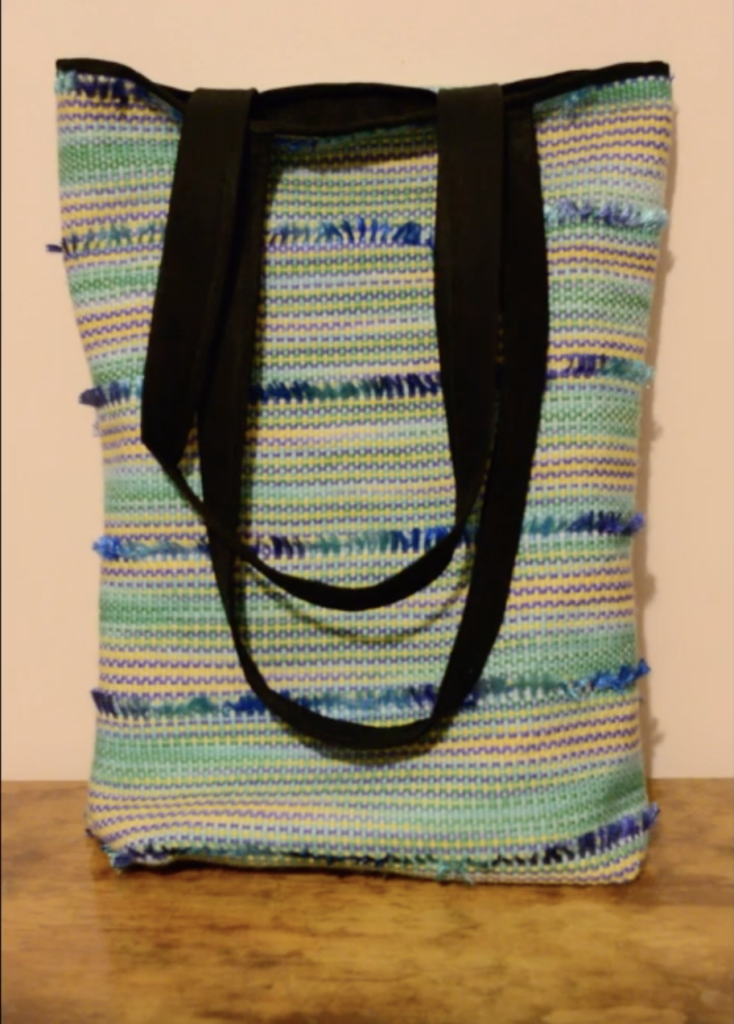
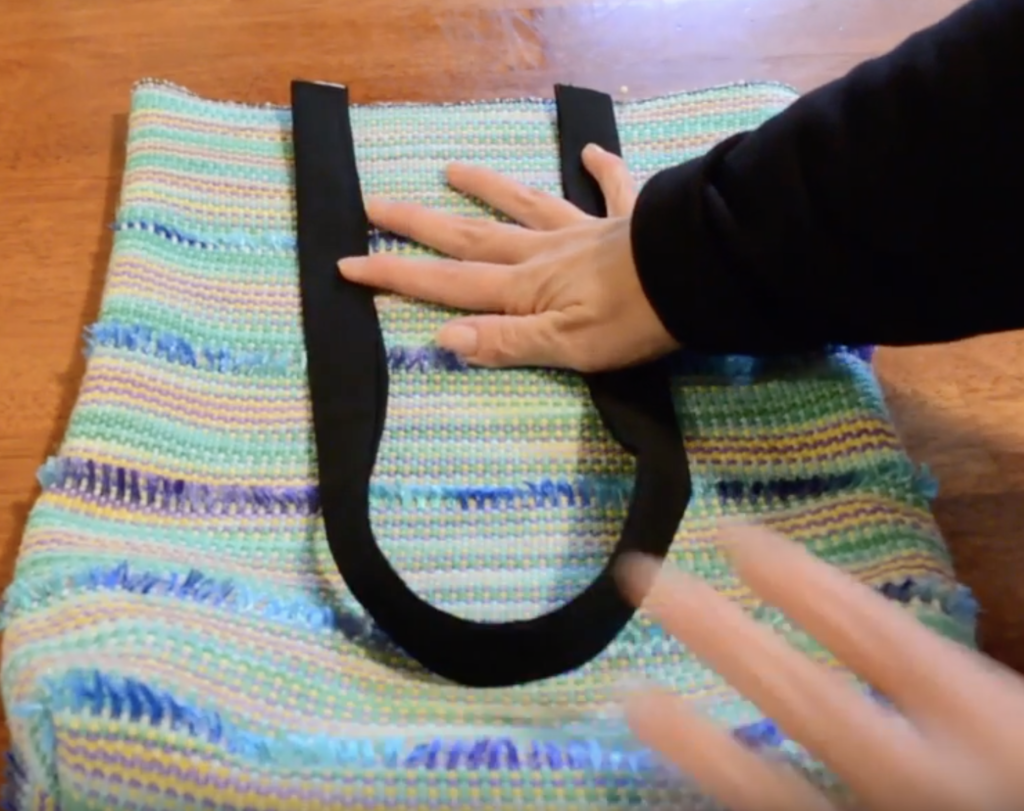
Low drape is perfect for items like table linens, cushions, bags, and even some structured outer garments.
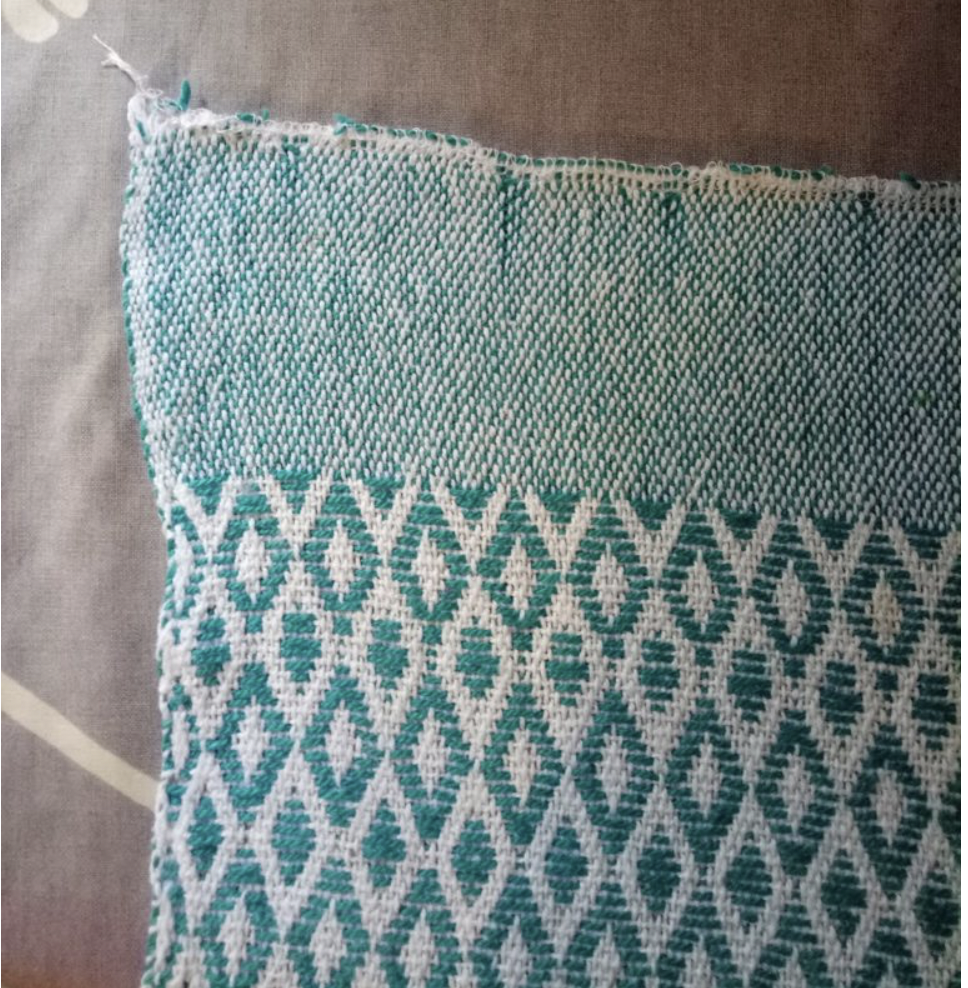
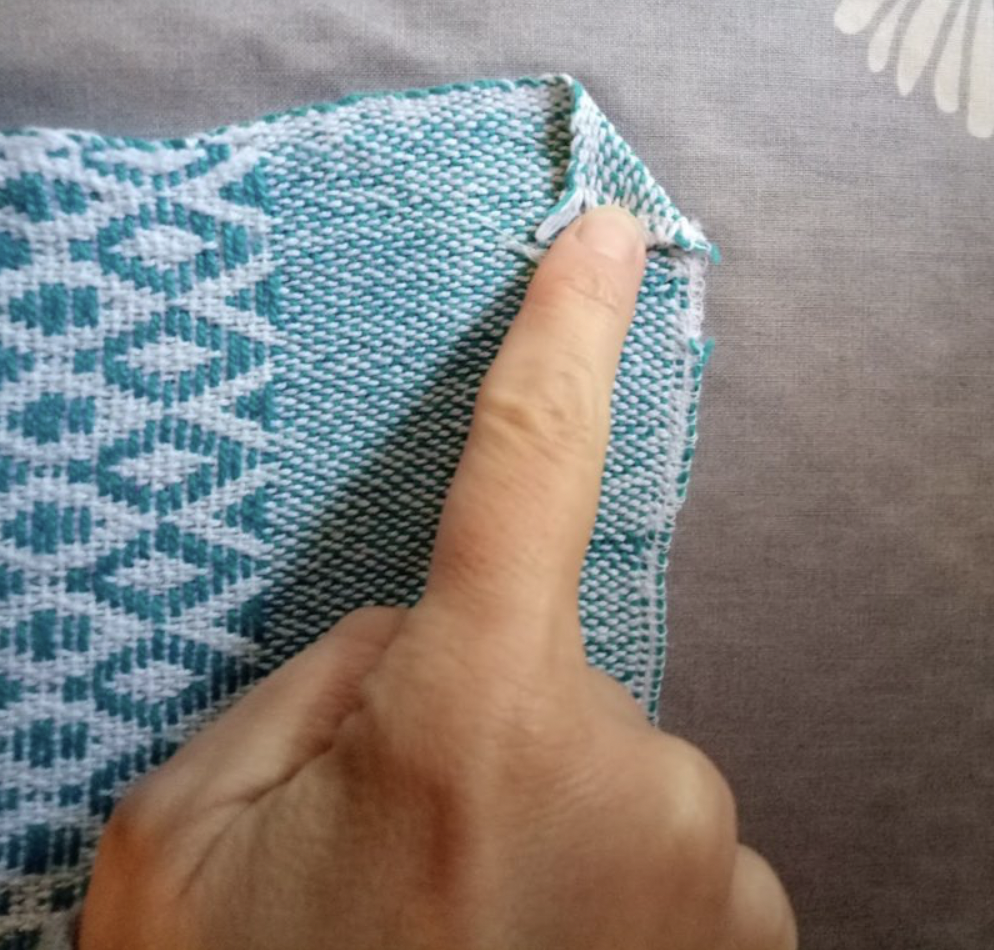
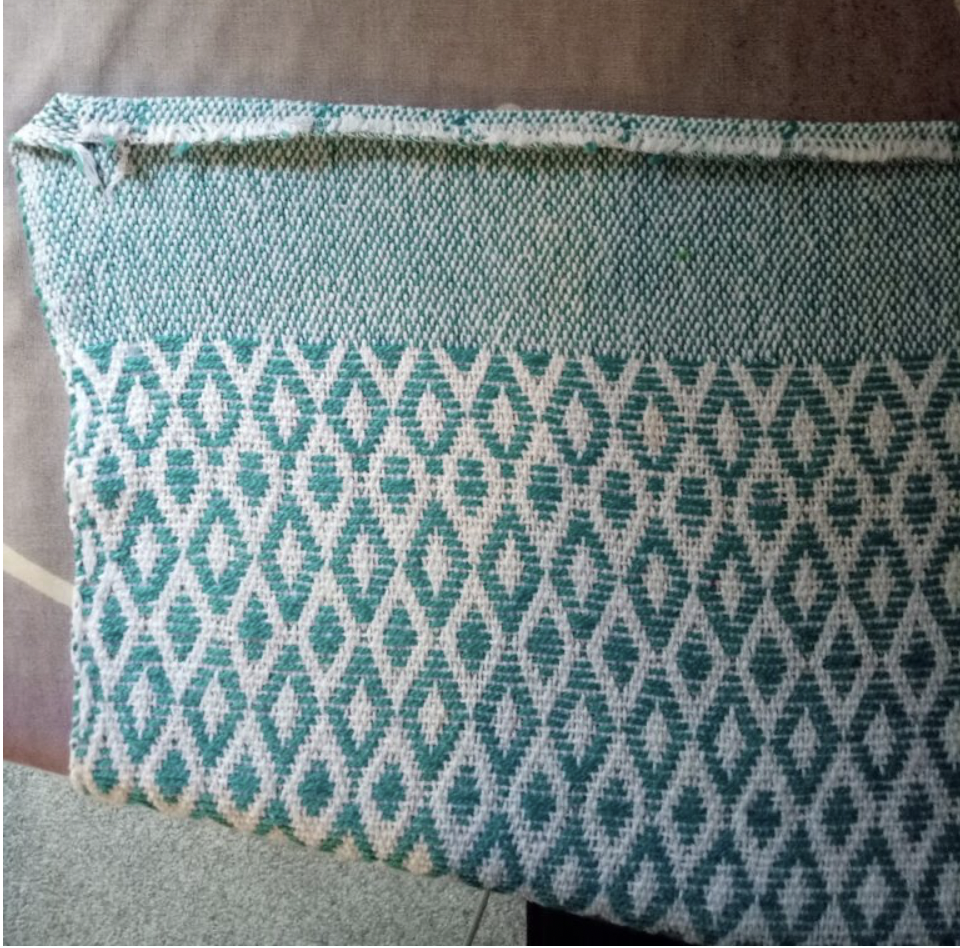
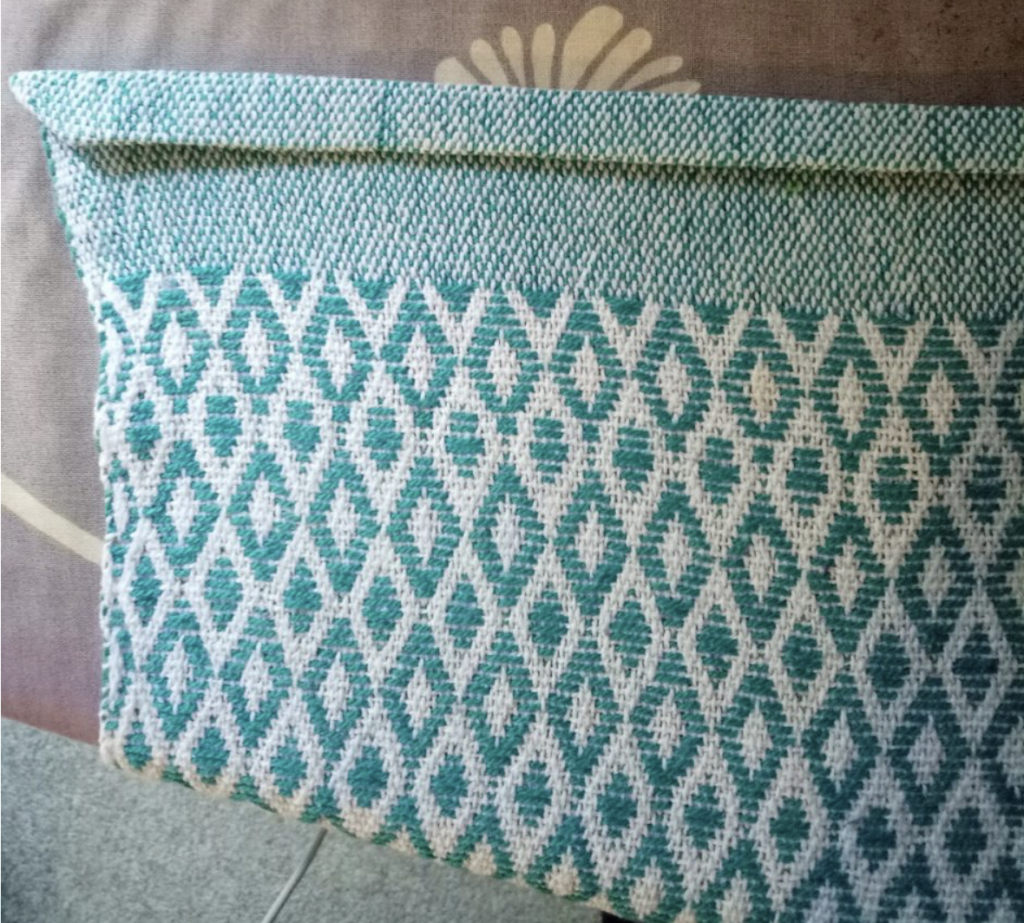
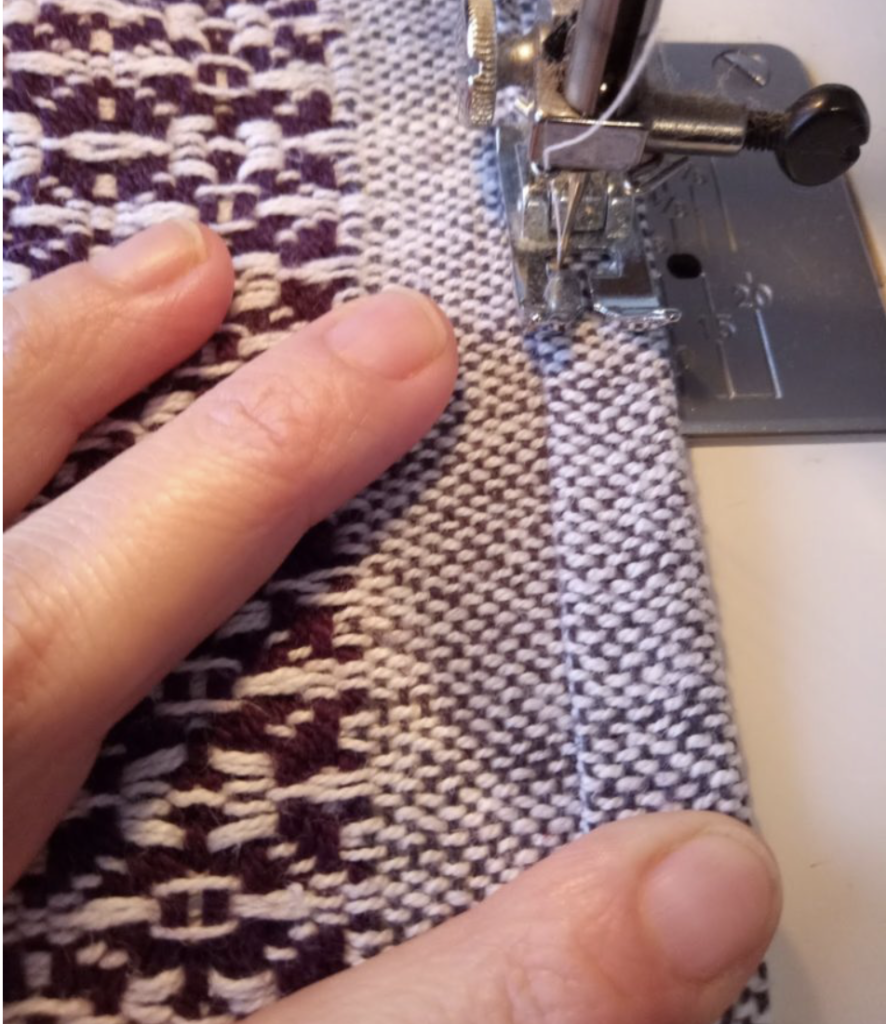
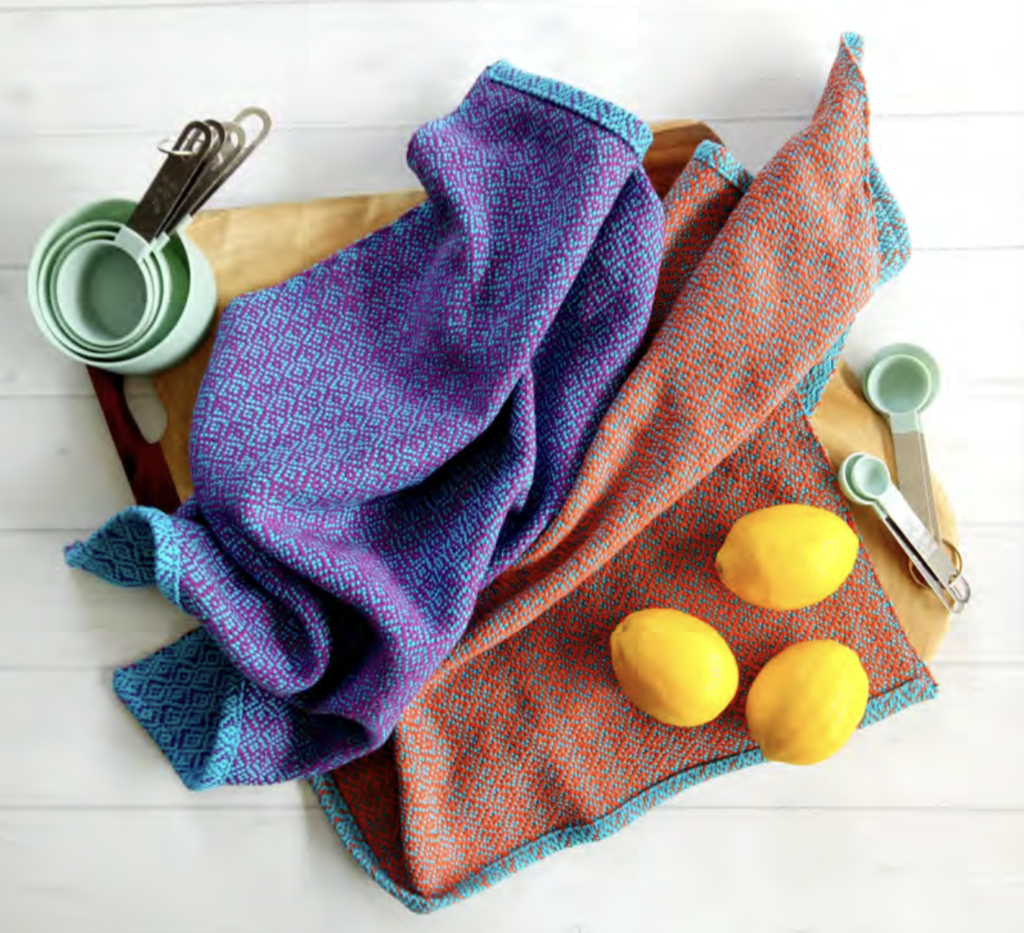
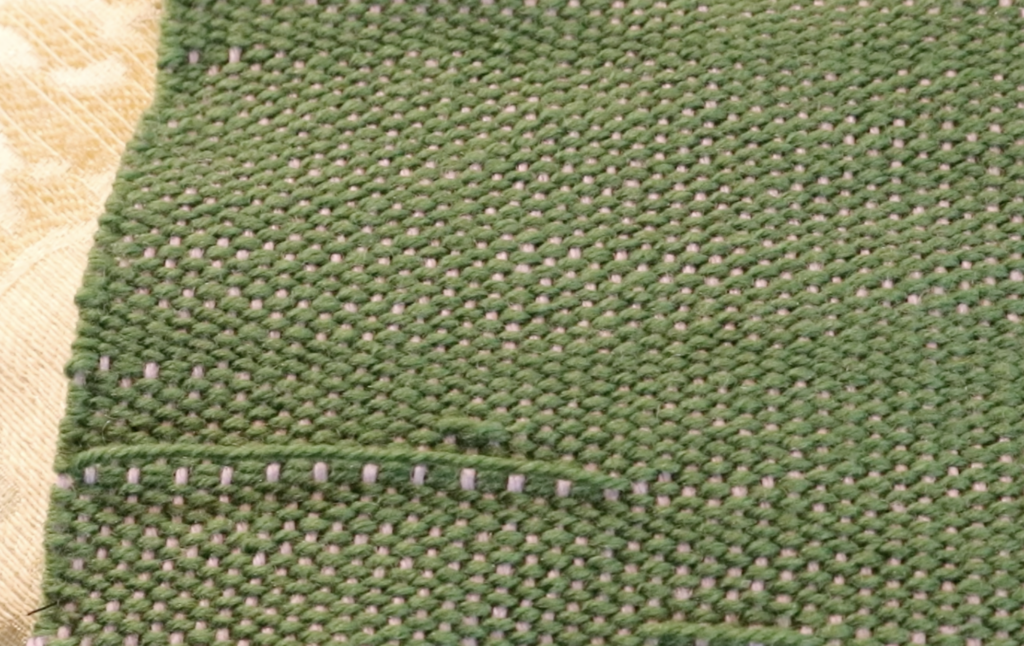
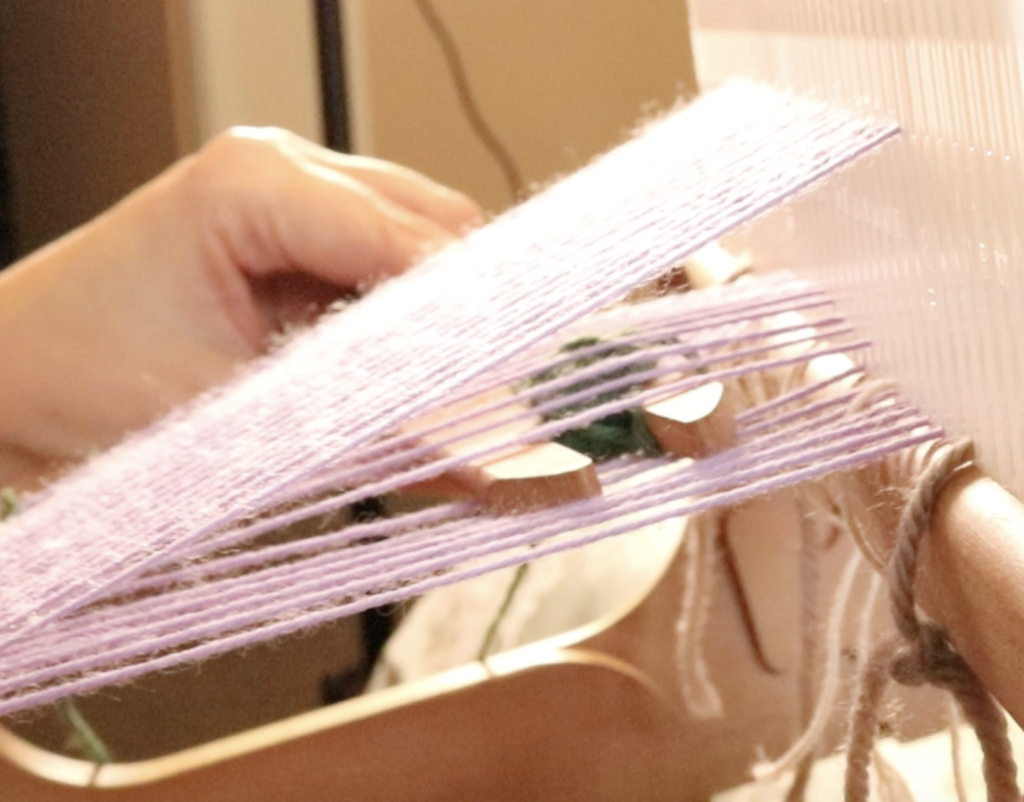
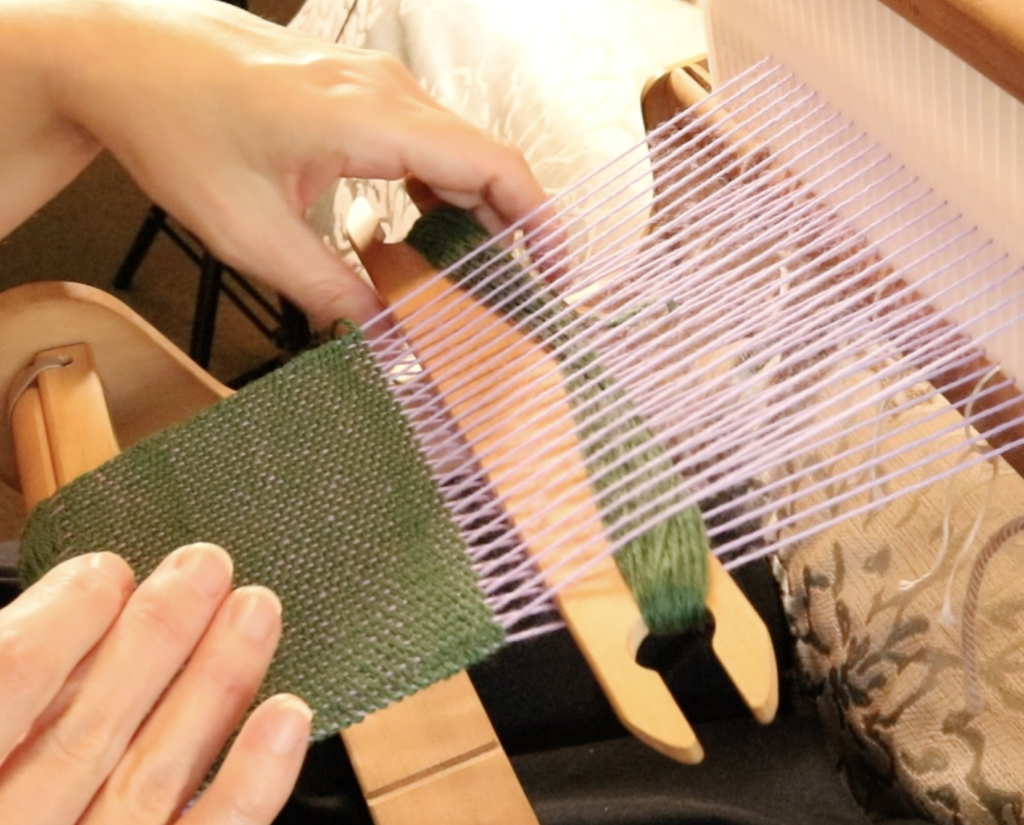
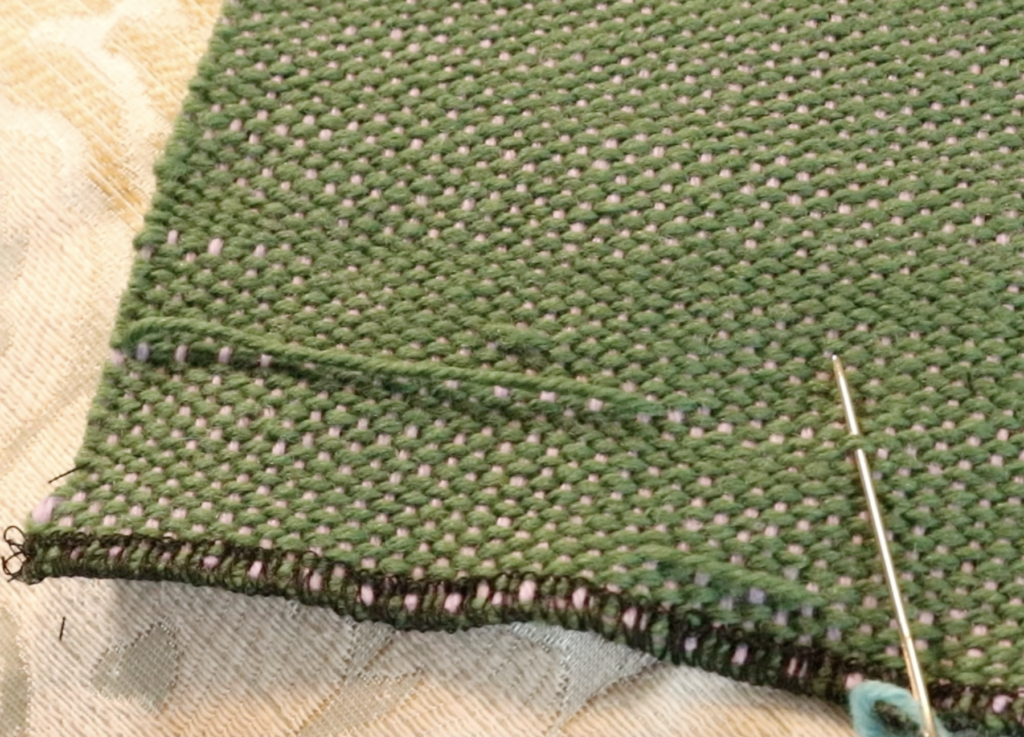
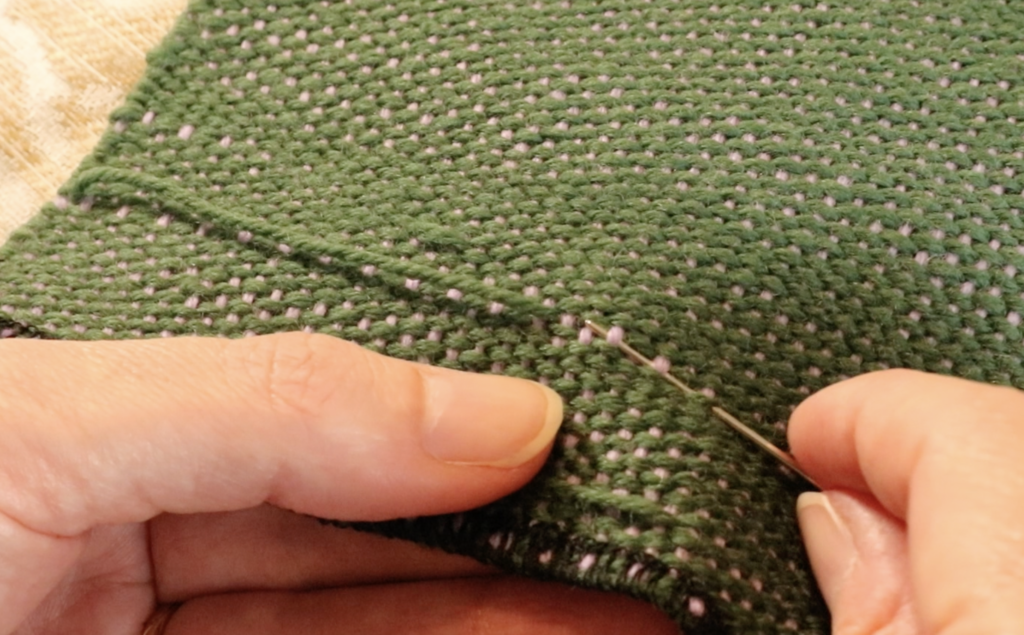
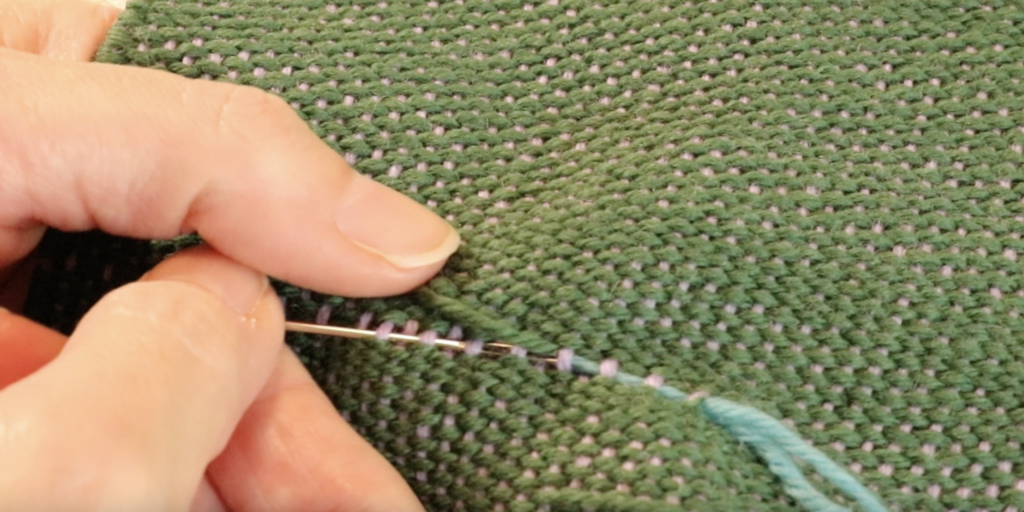
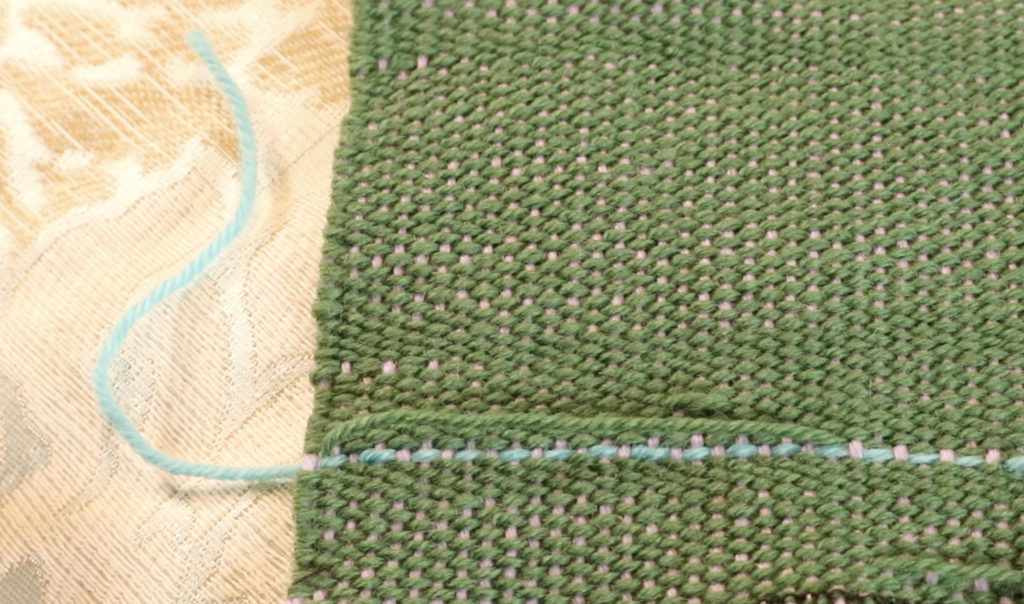
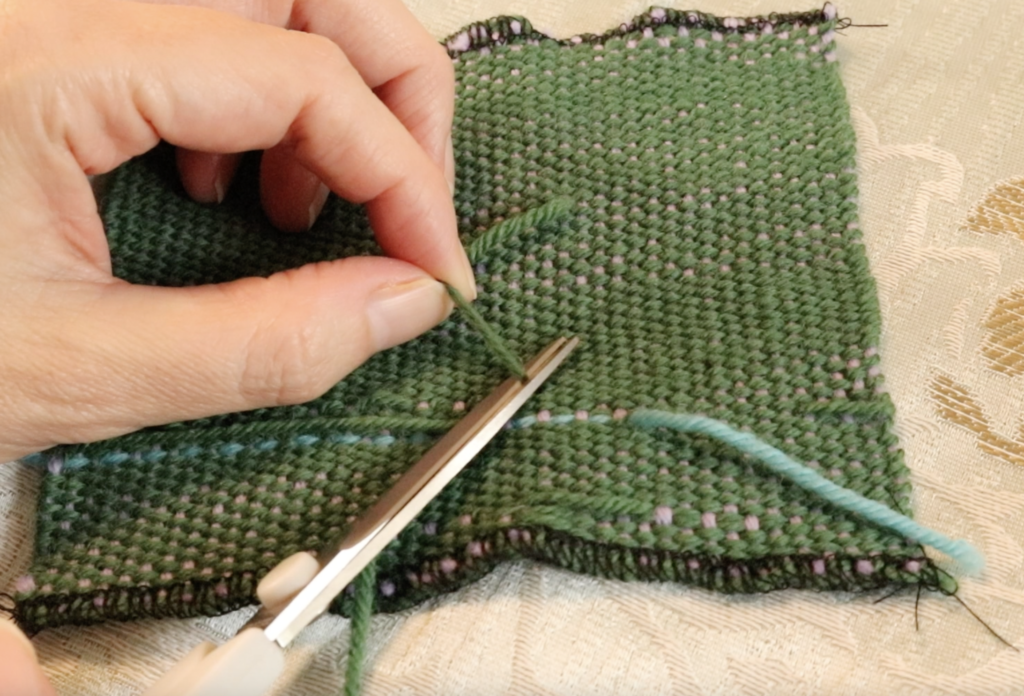
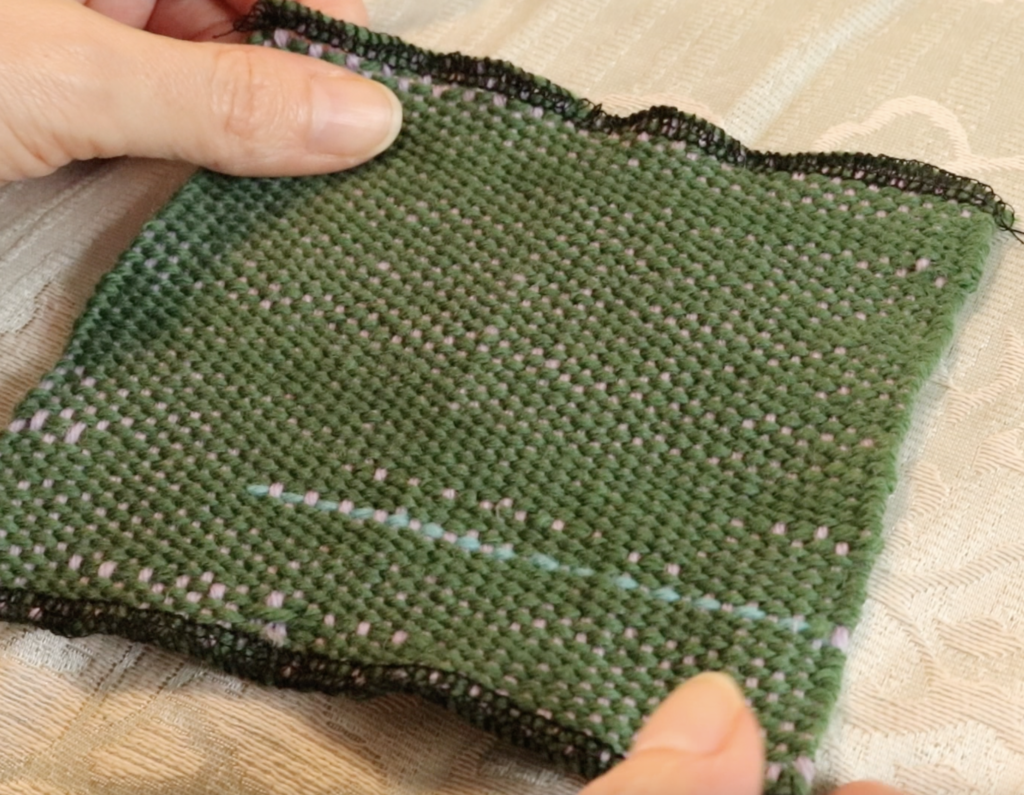
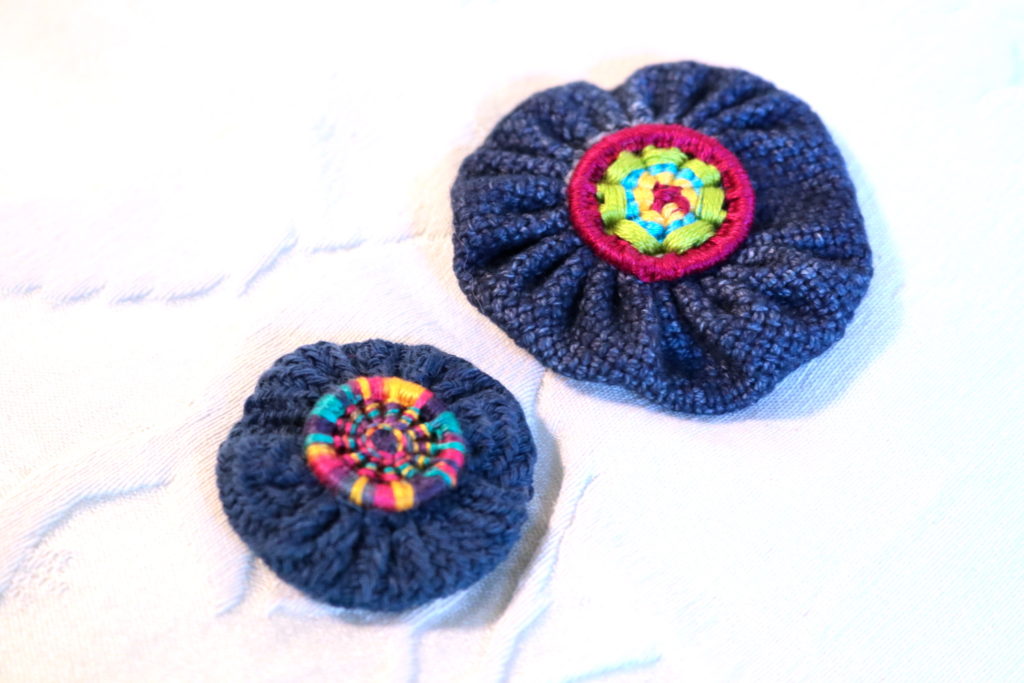
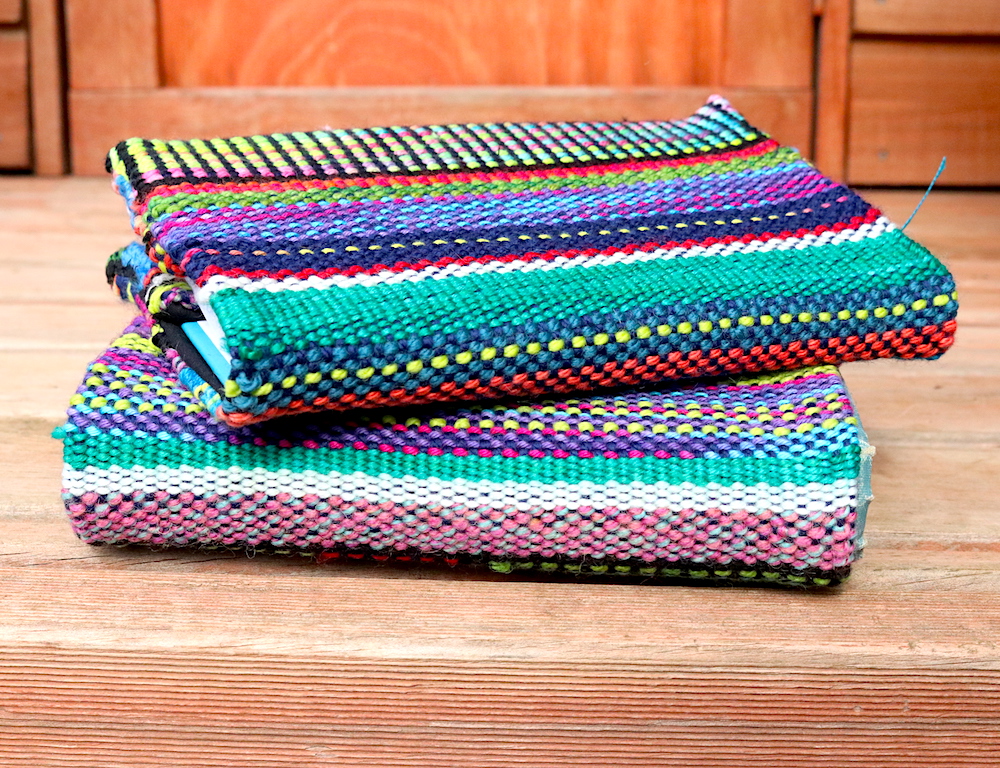
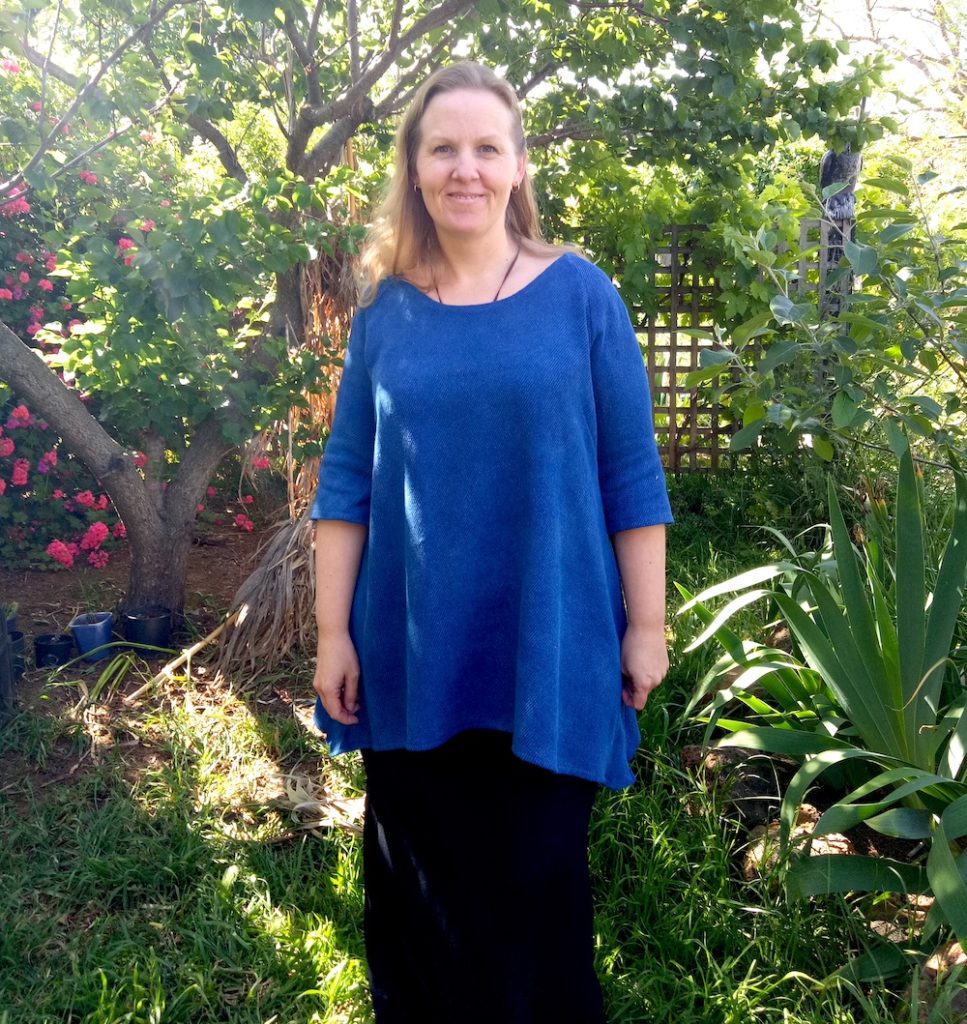
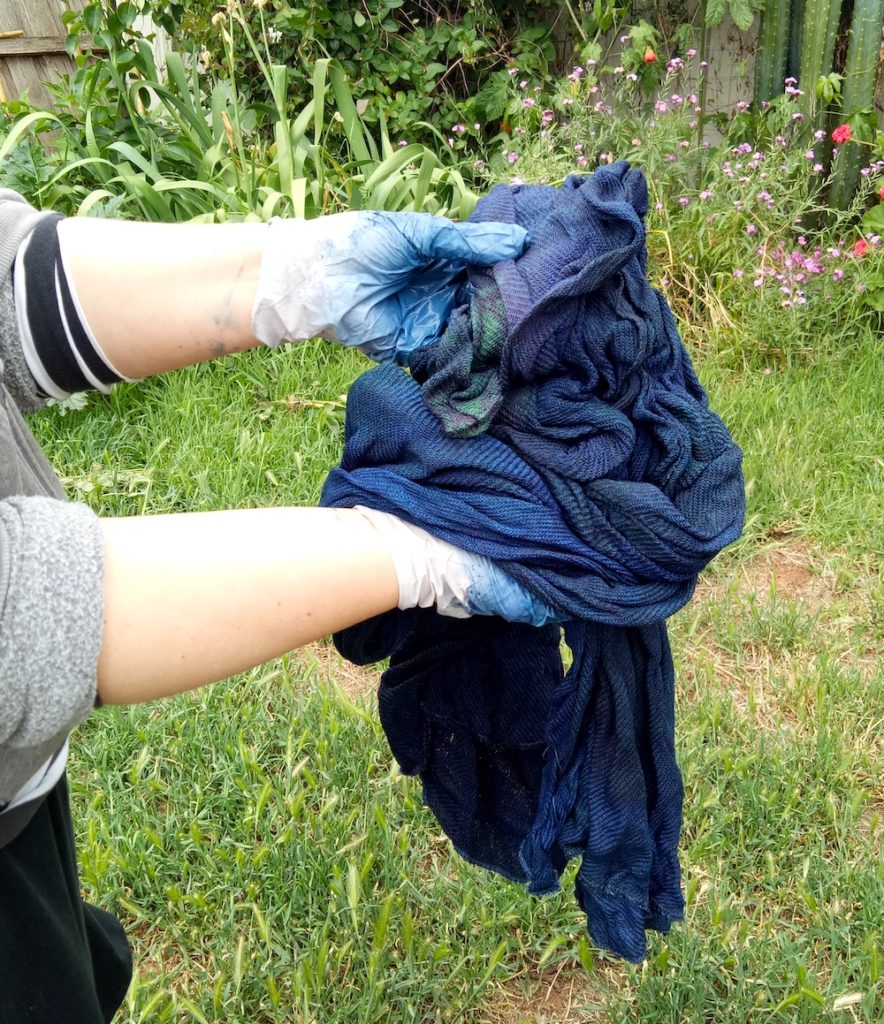
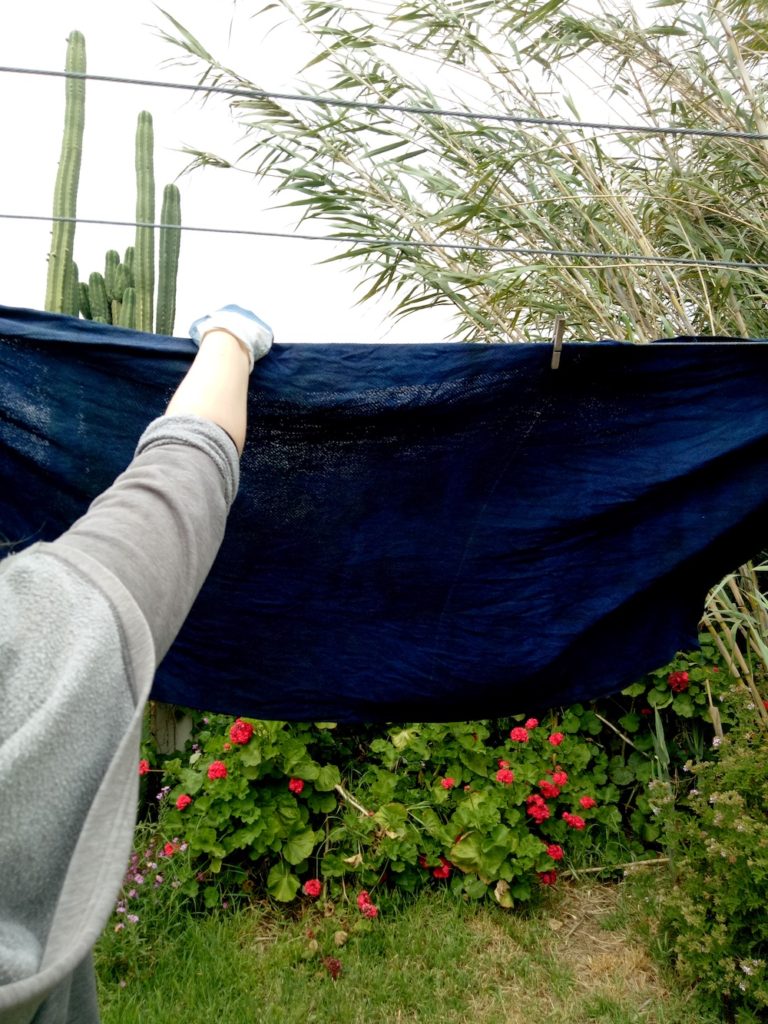
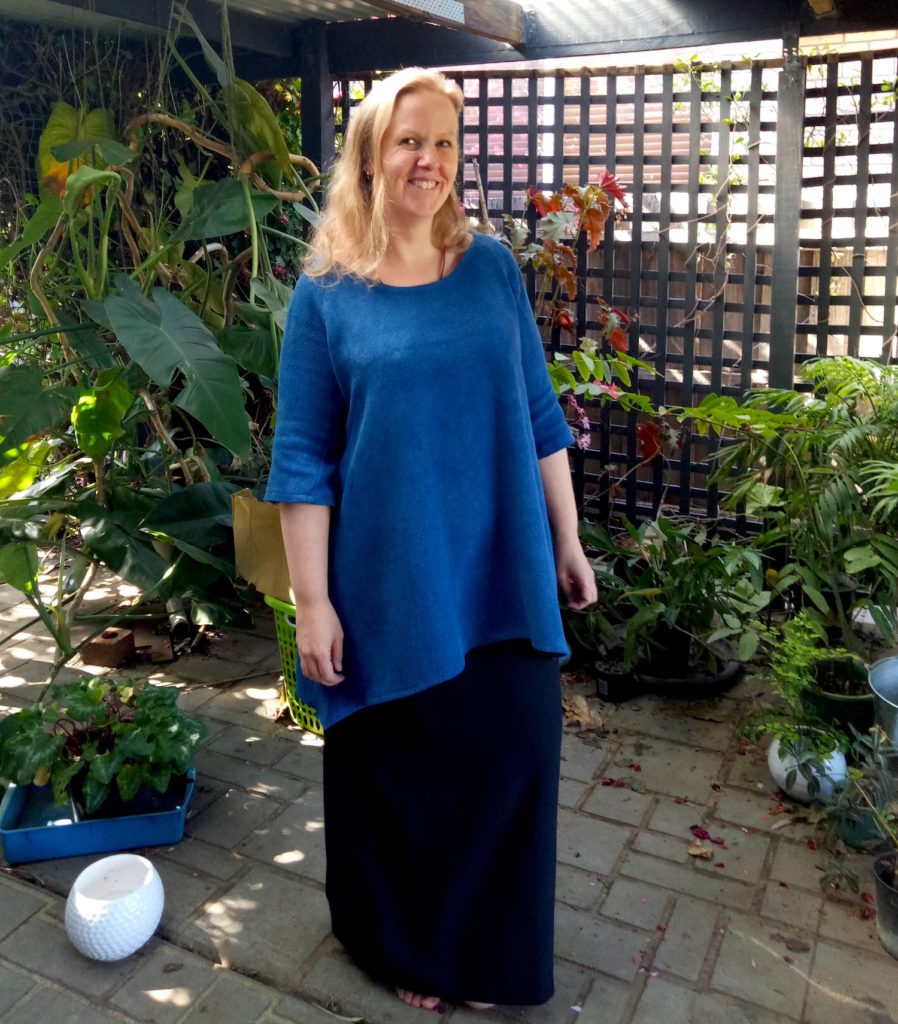
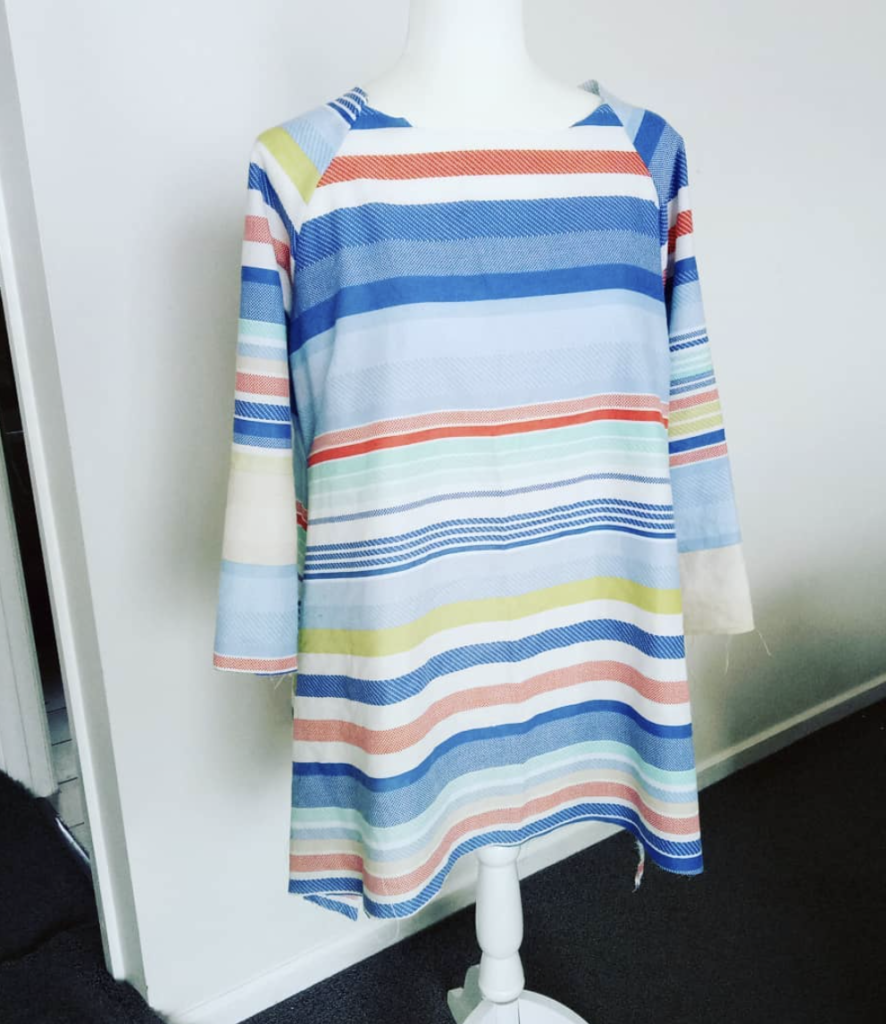
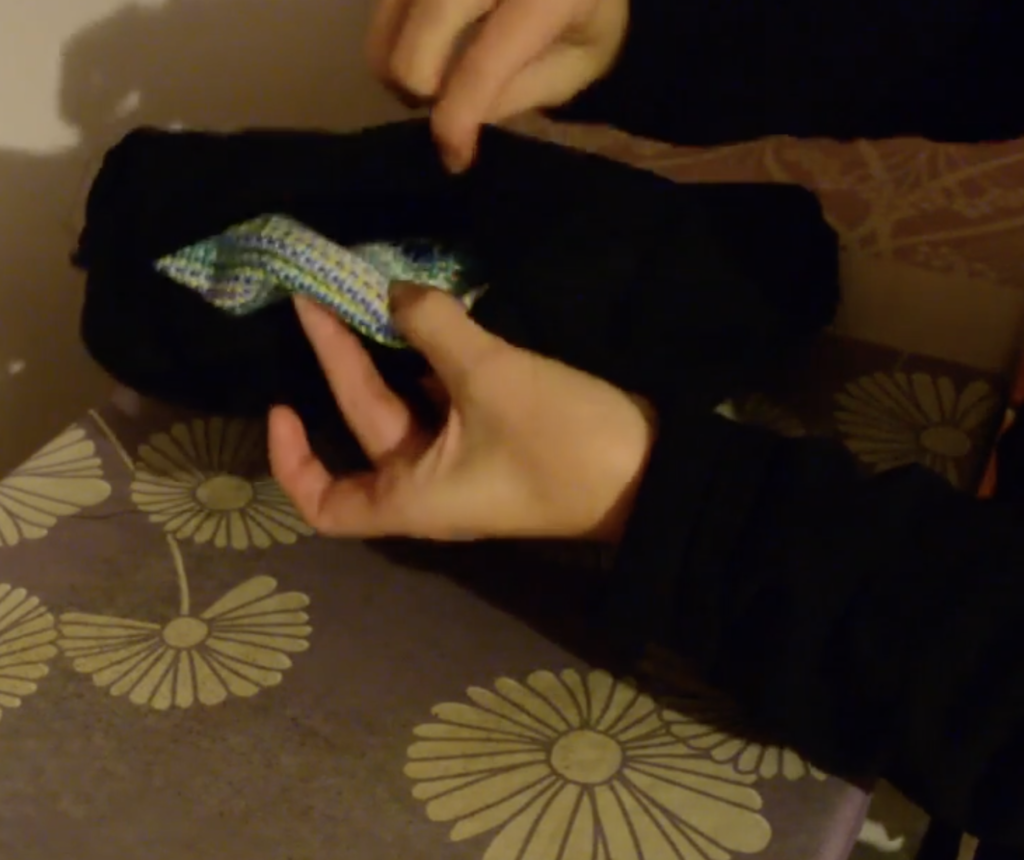
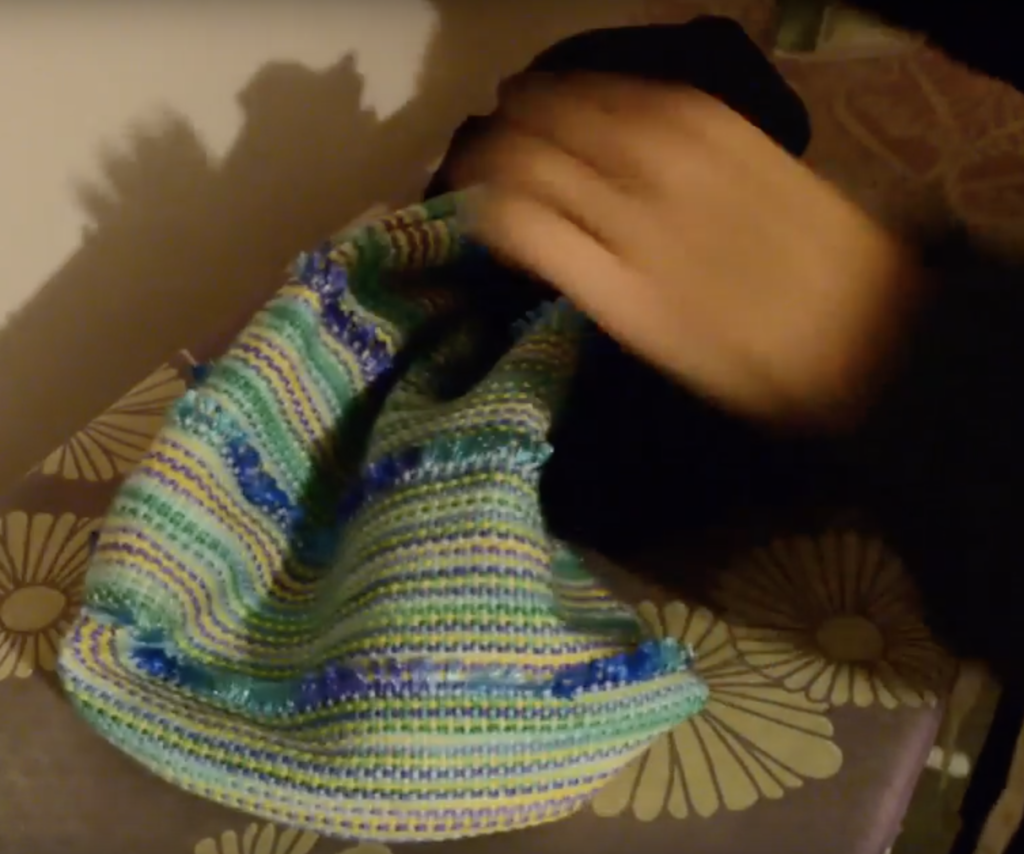
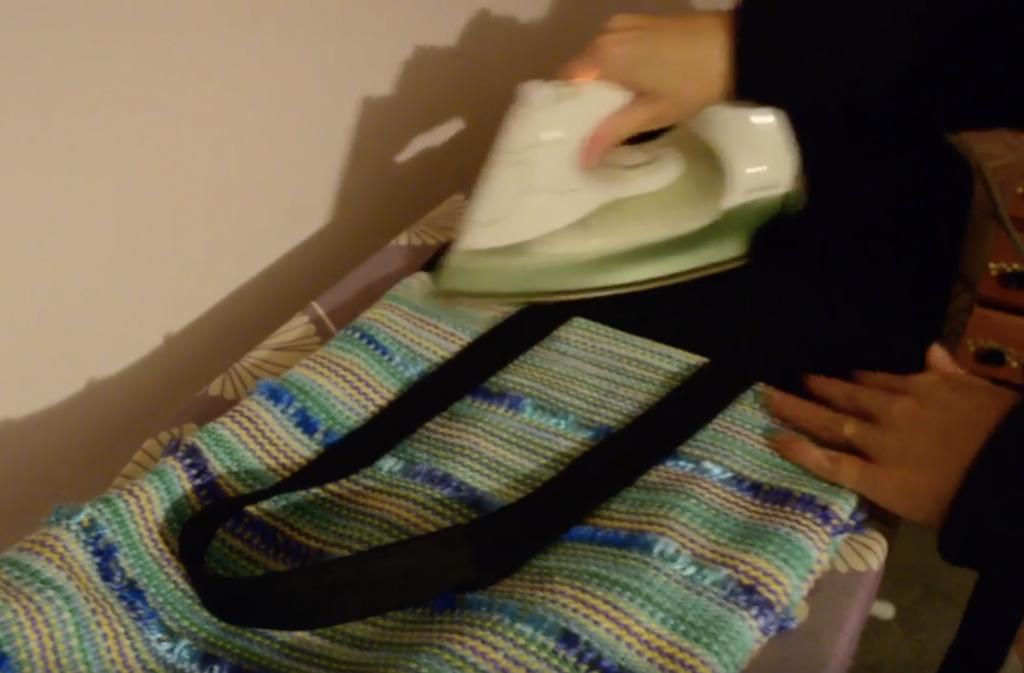
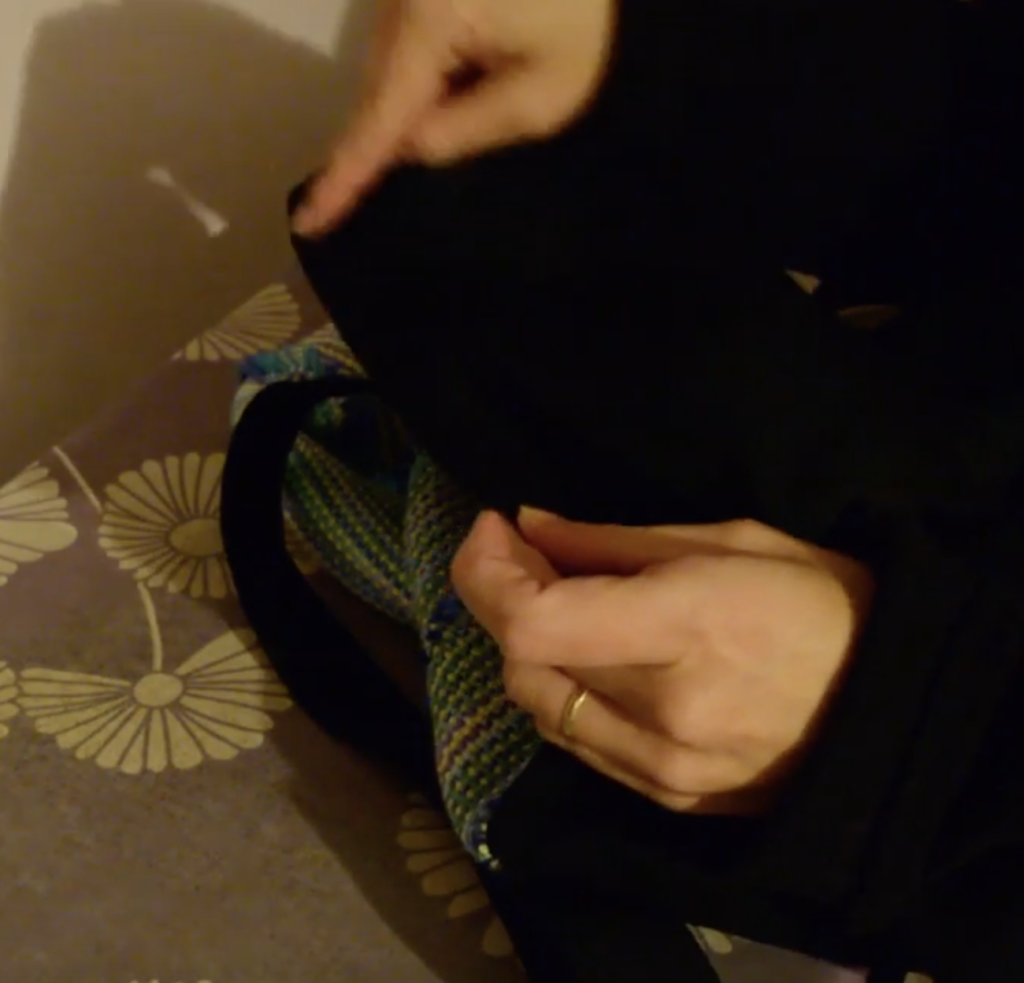
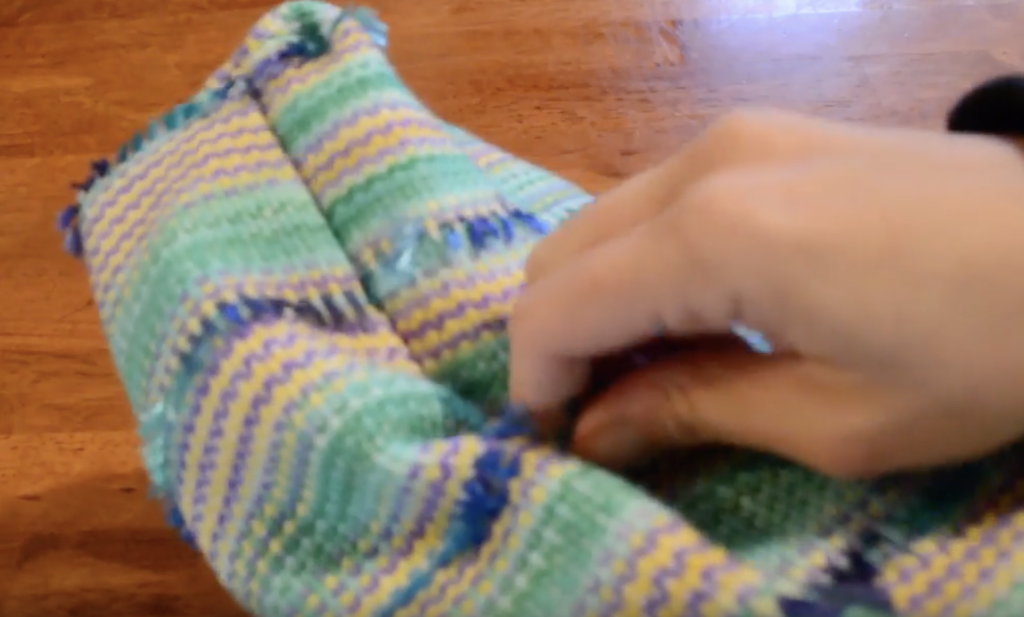
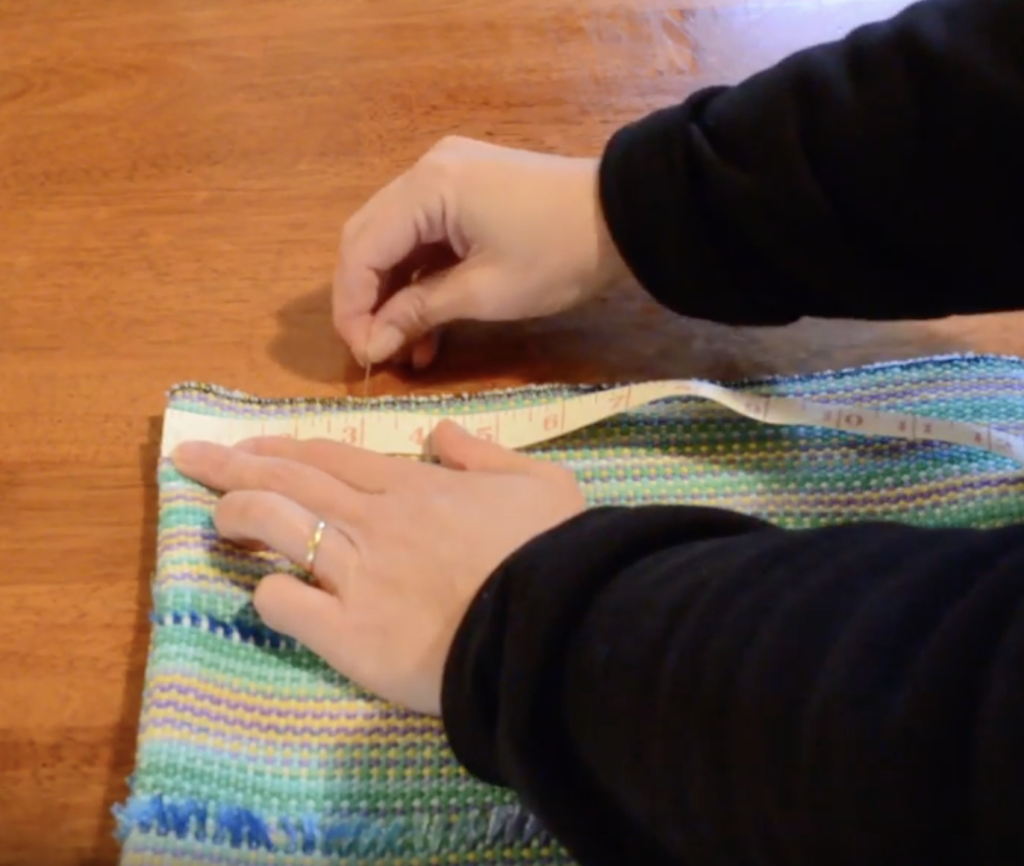
Photo Examples of Drape


Why Drape Matters (Especially in Garment Making)
If you’re weaving fabric for clothing, drape becomes even more important. A garment must move with the wearer. A stiff fabric can feel bulky, rigid, or uncomfortable, while a beautifully drapey fabric feels elegant and effortless.
Drape affects:
- comfort,
- how the garment fits the body,
- how it swings and moves,
- the overall look and feel.
When we understand drape, we can weave garments that not only look beautiful but feel beautiful to wear.
Ingredients for Achieving the Drape You Want
Drape is influenced by three main elements: yarn, sett, and weave structure. Think of them as the ingredients in a recipe. Change one element and the entire “dish” behaves differently.
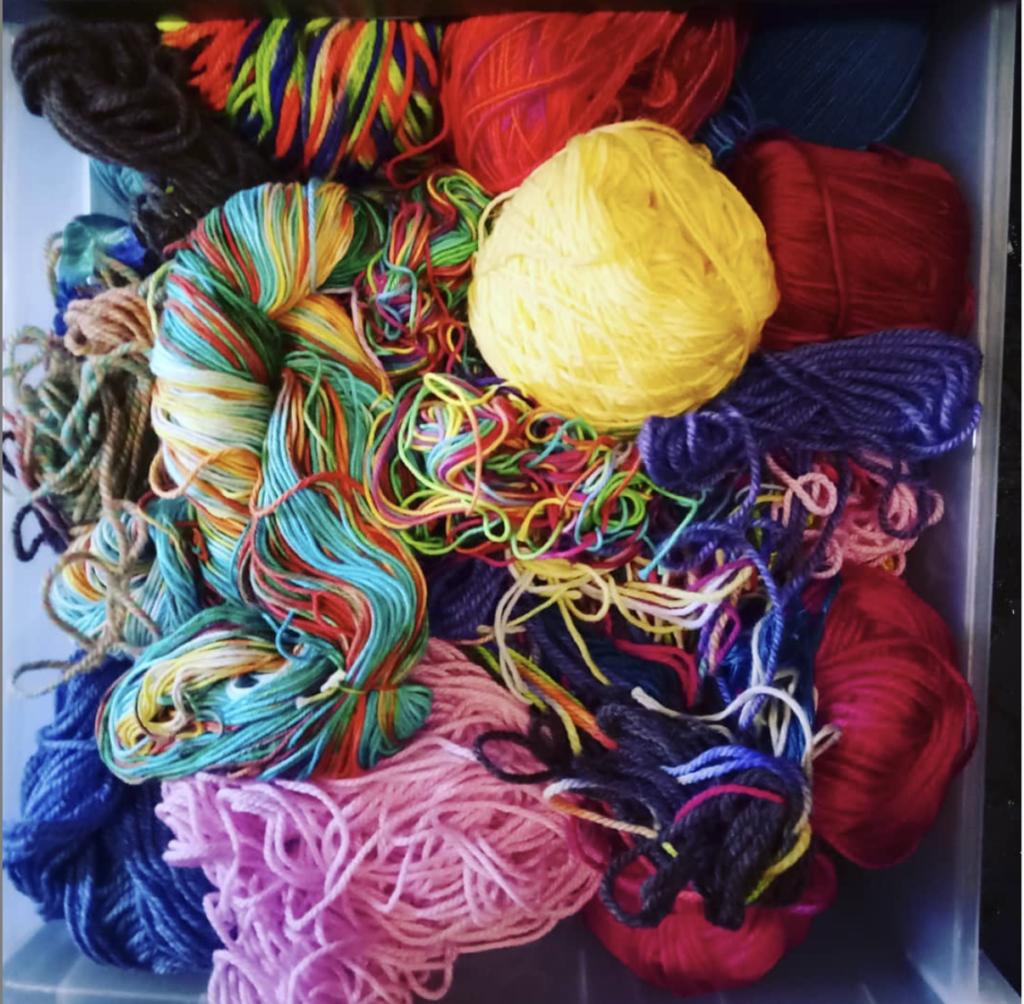
1. Yarn Choices
Your yarn will have a big impact on the drape of your hand woven fabric. It is important to sample in order to achieve more predictable outcomes.
Fibre type:
- Softer, more fluid fibres (like silk, bamboo, alpaca, tencel) naturally create high drape.
- Fibres such as cotton, linen, and wool can range from crisp to soft depending on their preparation.
- Woolen-spun yarns (with lots of air) tend to be lofty and less drapey than worsted-spun.
Yarn size:
Finer yarns usually create more drape. Thicker yarns are naturally more structured.
Yarn twist:
- Lower twist = softer, more movement.
- Higher twist = firmer, more body. Hight twist yarns can also introduce texture or movement in fabric.
Ply:
Singles often feel softer and more relaxed. Plied yarns add strength and structure.
If you want a highly drapey garment, starting with a naturally soft, fine, lower twist yarn will give you a head start, however if using for warp it does need to be strong enough to hold up under tension, so be sure to check that before warping!
2. Sett (Ends Per Inch)
Your sett is the second major influence on drape, and it’s often underestimated, it’s actually a crucial consideration.
- Looser sett → more openness, more bend, more drape.
- Tighter sett → firmer, denser, more structured cloth.
A wider sett creates a more open, spacious cloth, giving the fabric a fluid quality. Too loose, though, and the fabric can become flimsy or unstable (otherwise known as a “sleazy” cloth.)
A close sett can give beautiful structure but will reduce drape.
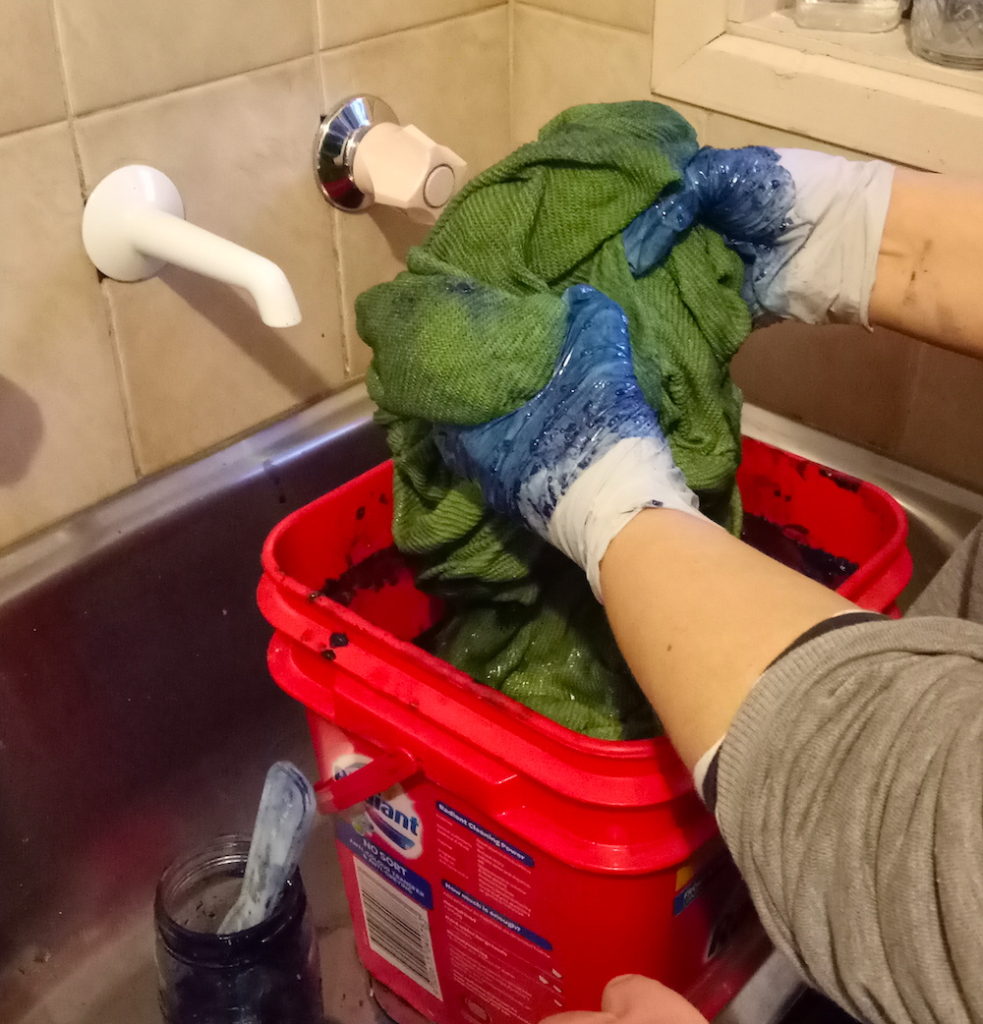
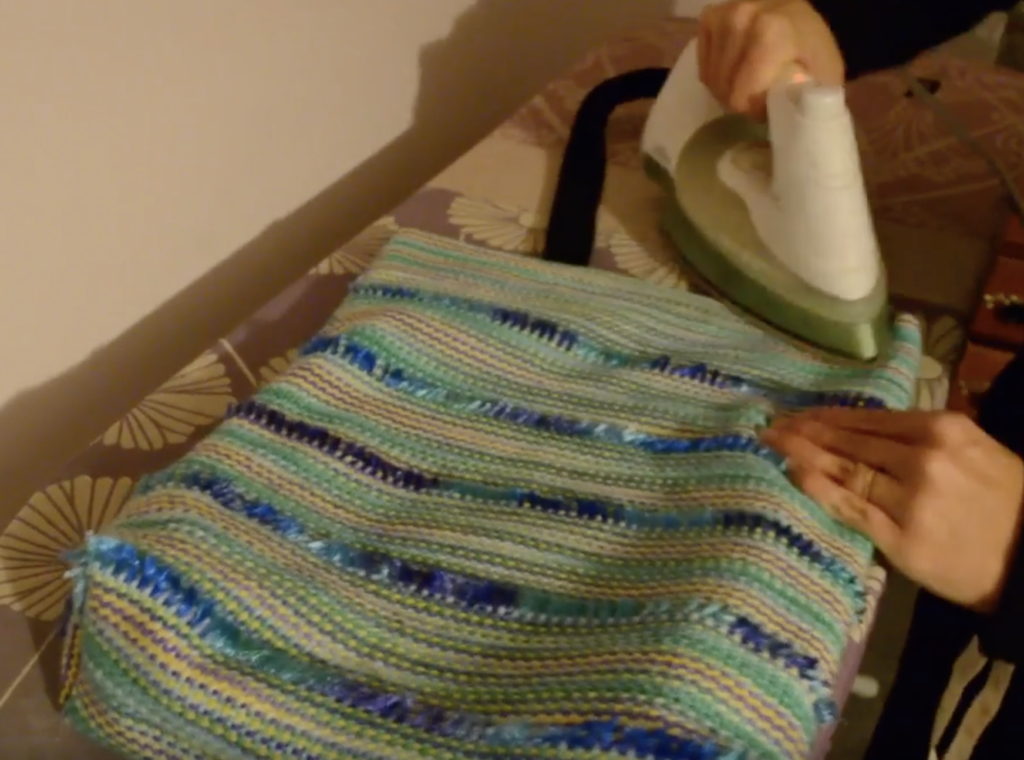
Tip: When weaving for garments, always weave a sample and wet finish it before committing to the full project. Wet finishing can completely transform drape!
3. Weave Structure
The weave structure you choose plays a huge role in how your fabric behaves.
- Plain weave naturally has less drape because the interlacement is even, frequent, and stable. But don’t worry – plain weave can still have wonderful drape, depending on the other factors.
- Twill offers more drape thanks to its diagonal floats and smoother surface.
- Lace weaves provide openness and softness, perfect for shawls and lightweight wraps.
- Structures with longer floats (some twills, satins, or pattern weaves) allow more movement and therefore more drape.
- Texture-heavy weaves like waffle can be stiffer until wet finished, when they often collapse and soften—but will still hold more body than lightweight twills.
Think of weave structure as the “architecture” that supports or inhibits movement.
Bringing It All Together
When you blend yarn + sett + structure intentionally, you can predictably create fabric with the drape you desire.
A few examples:
- Highly drapey scarf:
Fine silk/bamboo yarn, slightly open sett, and a twill or lace weave. - Soft, wearable shawl:
Tencel or alpaca blend, silk/ wool blend, generous sett, a simple 2/2 twill. - Structured bag fabric:
Strong, tightly twisted cotton, firm sett, plain weave. - Crisp household textiles:
Linen or cotton, tighter sett, plain weave or simple twill.
Every combination creates its own personality.
Final Thoughts on Drape in Weaving
Drape isn’t something that happens to your weaving, it’s something you can create with intention and understanding. Once you start observing how different yarns, setts, and structures behave, you’ll develop a feel for what works in garments and what works for more structured items.
If you’re new to weaving for drape, start small, sample generously, and take notes. I promise, it’s one of the most rewarding skills you’ll develop as a weaver.
I’d love to hear about your experiences with drapey or not-so-drapey cloth! Feel free to leave a comment dow below to share your own experiences ⬇️⬇️⬇️
Until next time…
Happy Weaving!