• Skip to main content
  • Skip to primary sidebar

Kelly Casanova Weaving Lessons

  • Hi! I’m Kelly!
    • Disclosure
  • Online Weaving School Class Index
    • Common account issues
    • Common technical issues
    • What do I get with a membership?
  • New to rigid heddle weaving? Start here!
    • Never heard of the rigid heddle loom?
    • How to weave neat edges on the rigid heddle loom
    • Rigid heddle weaving
    • Rigid Heddle Weaving Patterns
  • Patterns
  • Subscribe

weave along

Diamond Stripe Towel Weave Along

by Kelly 88 Comments

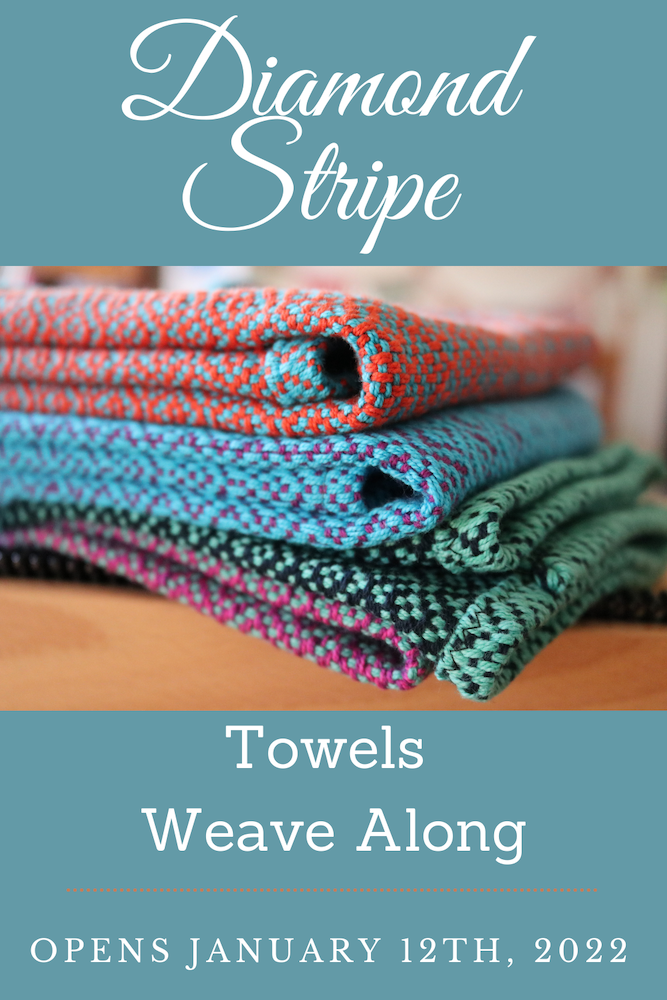
The Diamond Stripe Towel Weave Along is a very popular project that usually runs in January.

My Diamond Stripe Towel pattern has been such a popular seller that many buyers requested a video series as well. I love running weave alongs as they are so much fun and foster a huge amount of enthusiasm.
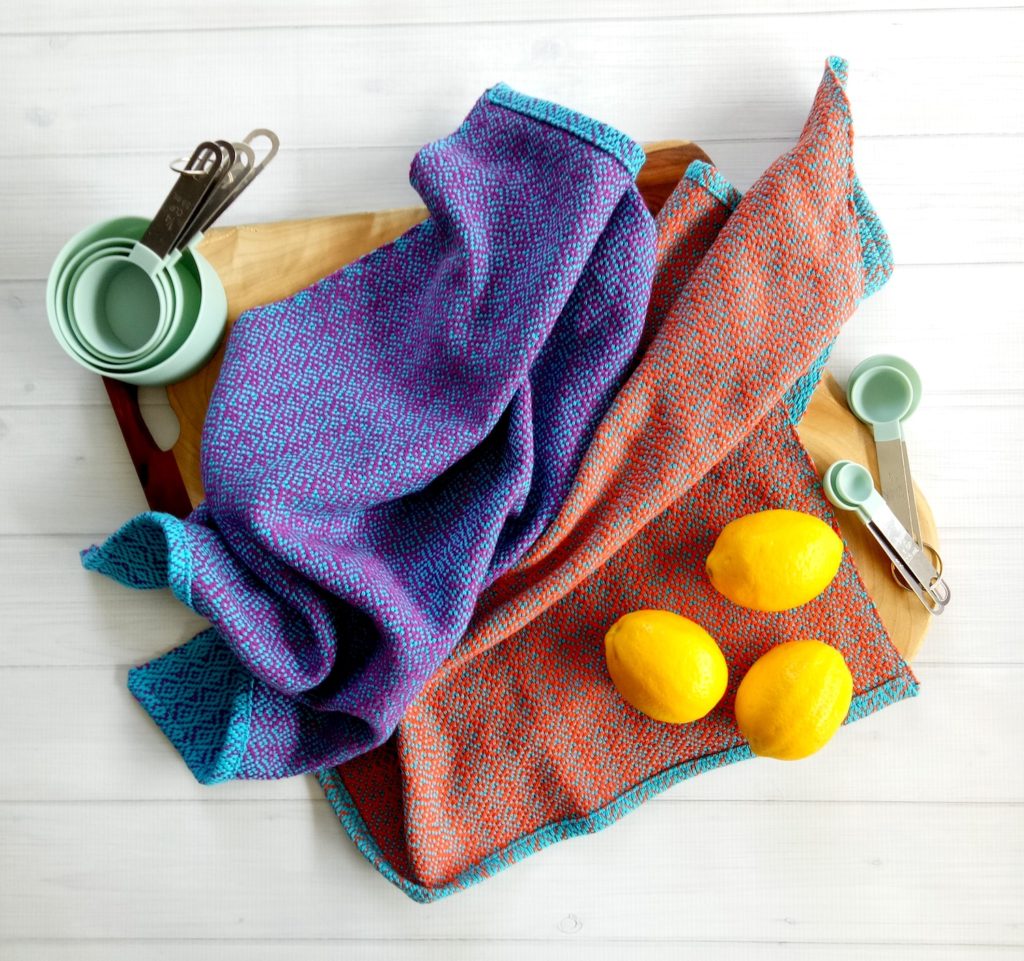
January is usually the perfect time, after the hustle and bustle of Christmas and New Year’s have died down and weaving folks are looking to settle in with a new project.

This year enrolments will open on January 15th (Australian calendar).

This post contains affiliate links. Please see my disclosure policy for further information.

Let’s go through some questions I know may be springing to mind for you.

So, how will the weave along work?

All participants will need to purchase the pattern to join in. The pattern is available here as a digital download and can be purchased anytime in the lead up to the weave along.

For those who are members of my Online Weaving School, participation in the weave along is free (but the pattern needs to be purchased separately.)

For non members, there will be a small purchase fee of $5USD to join in to the weave along, in addition to the purchase of the pattern.
Can you tell me about the pattern?

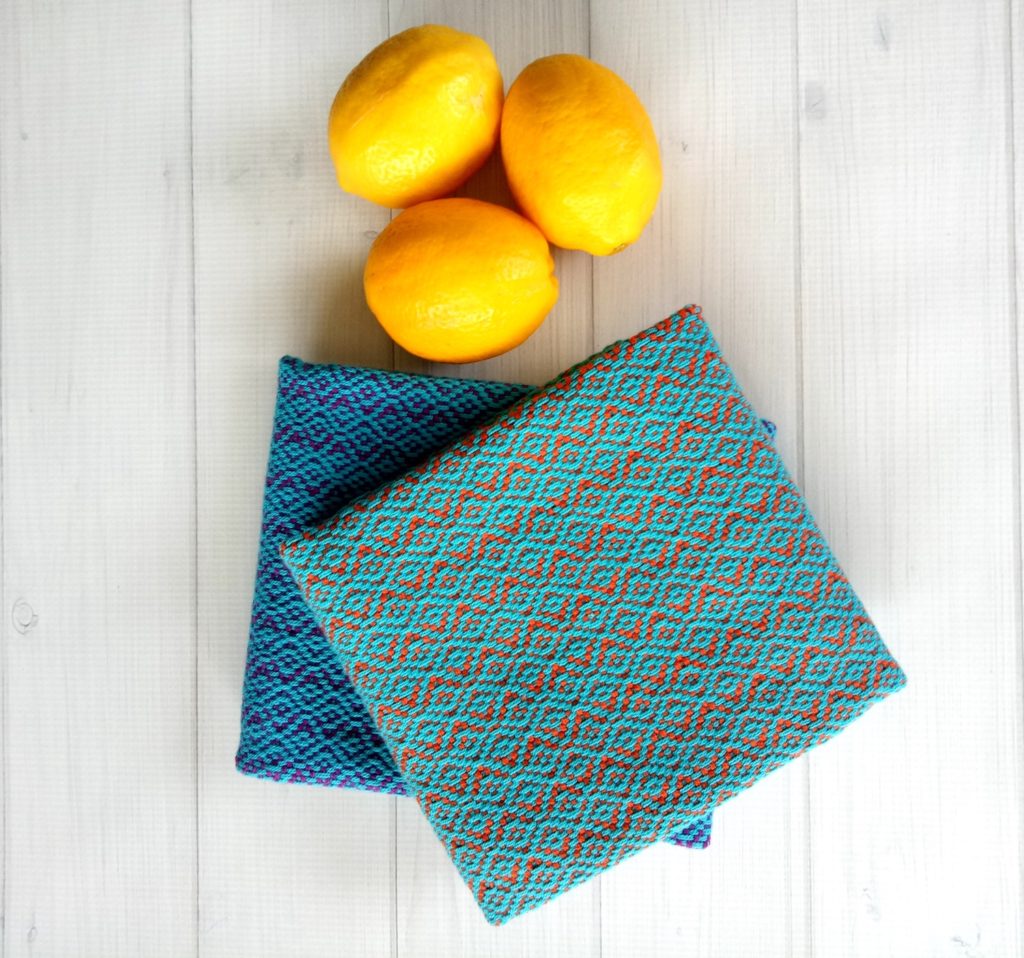
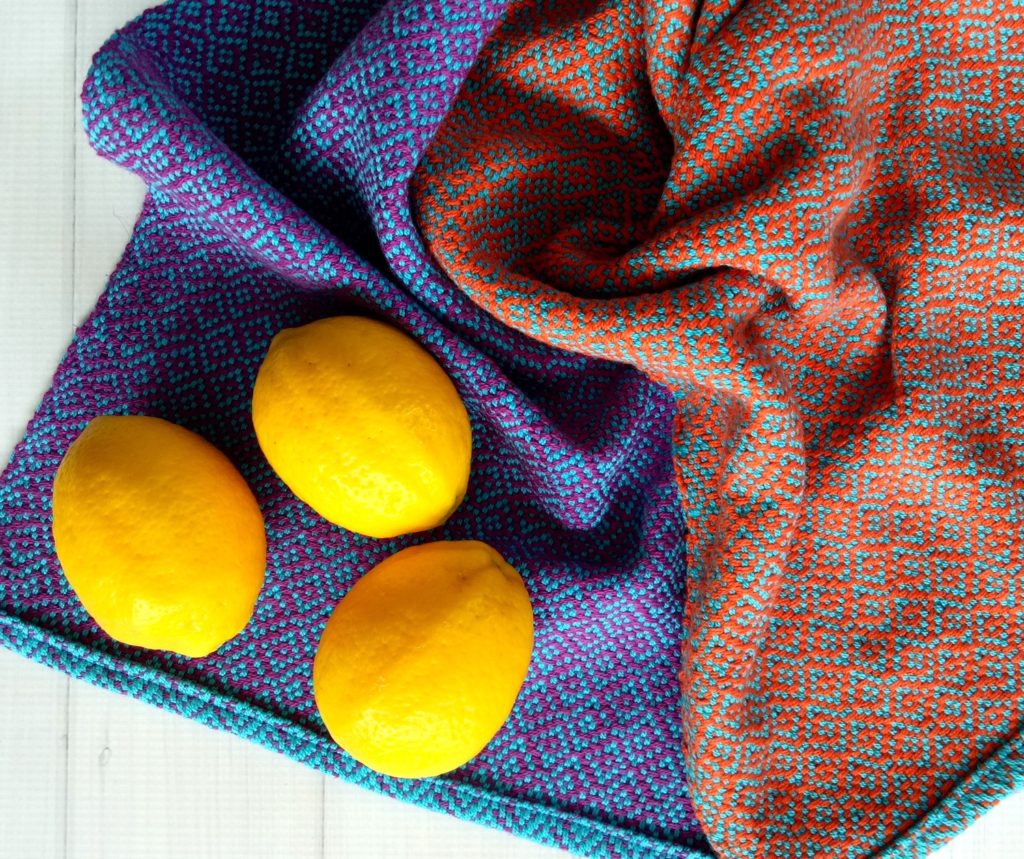
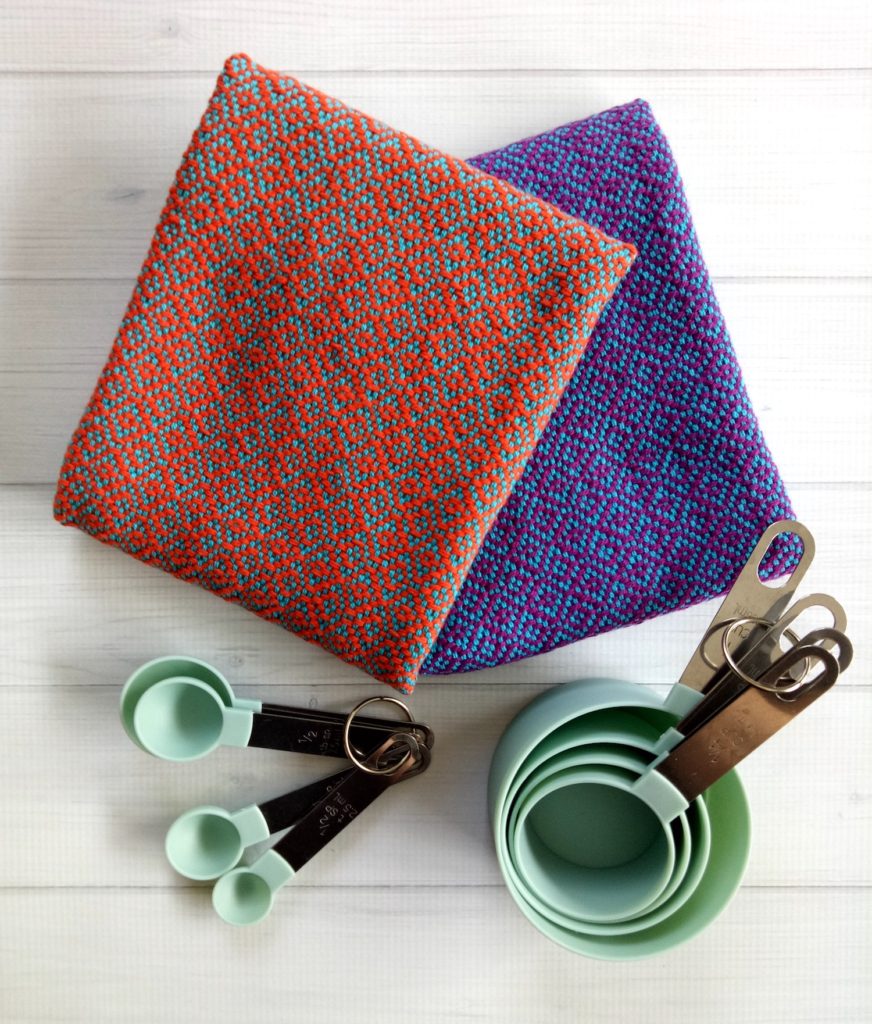
The pattern is for weaving two kitchen (tea) towels on one warp. We use two heddles to weave the pattern, and both towels are the same apart from the weft colour. The design is reversible and looks wonderful on both sides.

I find that using bright and strongly contrasting colours works really well and shows up the diamonds beautifully – but of course, as the weaver you can choose whatever colours you wish.

What level of weaver will this project be suitable for?

If you have never woven with two heddles before, I highly recommend that you first go through my Weaving with Two Heddles class. This will give you the knowledge, practice and confidence to leap right into the weave along.

Some weavers will be able to follow the weave along just fine with the videos and the pattern – others may find the introduction of two heddles in a project a bit overwhelming. In the Two Heddles class you weave a sampler and explore all the different things you can achieve with two heddles before you ever commit to a project.
What kind of loom will I need to participate?

You will need a rigid heddle loom with a 20″ weaving width. Yes, you can make skinnier towels on a smaller loom if that is what you’re working with, but obviously they will be a little different to mine.

What other tools will be needed?

As I mentioned, we will be weaving on two heddles. Yes, you can weave these towels on one heddle with heddle rods, but I will not be providing instructions on how to do that.

I have used 2 x 12.5 dent heddles. Yes, you can use 2 x 10 dent if that is what you have, your sett would just be a little looser than mine.
You will need a stick shuttle, threading and reed hook, scissors, etc.

I use a serger and a sewing machine to hem my towels and will be showing how to do this in the weave along. My preference for kitchen towels is to not have a fringe. I understand however, that not everyone has a sewing machine and knows how to use it, so hemstitch with a short fringe is perfectly acceptable.

I only have a 16″ rigid heddle loom. Can I still participate?

Yes! I have provided some helpful instructions to assist those with a smaller loom.

I already have 2 x 10 dent heddles. Do I need to purchase the 12.5 dents to participate?

No. I’m a big fan of using what you have on hand and not making unnecessary purchases. I will be providing some helpful details for adjusting the numbers to suit 10 dent heddles.

What yarns will I need?

The full yarn details and amounts are provided when you purchase the pattern, but you will want to use plant based fibre for kitchen towels. Here are a couple of my favourites for kitchen towels:

Maurice Brassard 8/2 cotton

Maurice Brassard 8/2 cottolin

Can I weave these towels with 8/4 cotton?

Yes, you can! In fact, in last year’s weave along, I updated the content to include a supplementary section for those who wish to use 8/4 instead of 8/2 cotton.

I highly recommend that you use 12 or 12.5 or even 15 dent heddles, if you have them. I feel that 10 dent heddles would be a bit looser than I would like for this size of cotton.

You can also double 8/2 cotton in the weft if you like. More information on this is available in the class. Here are the yarns I used:
Maurice Brassard 8/4 cotton

Ada 8/2 cotton

Will there be a deadline for completing the weave along?

Enrolments will be open to non members for several days before closing and commencing the class. Members will be able to access the class permanently, as long as their membership is active.

Once you are enrolled, there is no time limit on completion of the class. It is always fun to weave along with all the other enrolees so you can share progress photos and troubleshoot, but the choice is yours.

So, what if I’m away when the weave along starts, can I still participate?

Yes, you can still participate, but if you are a non member you will need to enrol in the class within that opening window. Members can enrol anytime.

Where will the weave along take place?

At my Online Weaving School. Weaving School members will undergo automatic enrolment and non members will be able to purchase the weave along as a separate class.

If you already have an account with my weaving school, it will be quick and easy for you to join in the weave along. If you don’t have an account, I recommend that you make one (this is free) so that you are ready and familiar with the site when the weave along begins. I also have a short, free class on using the site if you need that extra input.

There is also a weave along community group on Facebook, and the link to join that group is contained within the weave along course.

How will I know when the weave along is released?

You will need to be on my mailing list, where I’ll be giving updates and reminders in during the time leading up to the weave along. If you are already on my mailing list, all you have to do is open my emails when they arrive in your inbox.

If you need to purchase materials for this weave along, I recommend the following suppliers:

The Woolery (US)

Revolution Fibers (US)

Thread Collective (Australia)

I participated in the last weave along, can I join in this one as well?

Absolutely, I would love to have you back! If you have an active membership at the time the Weave Along is running, you can jump in and participate. If you purchased the class as a single purchase when the weave along was last open, you can also just jump back in.

I hope this post has you super excited about joining in to the weave along!

This year there will also be some fun giveaways in the Facebook group šŸ˜‰

Please do leave any additional questions you may have in the comments sections so that I can address them for you.

Until next time…

Happy Weaving!

Filed Under: Inspiration, Online Weaving School, Rigid heddle weaving, Rigid Heddle Weaving Patterns, Weave Along Tagged With: diamond stripe towels, rigid heddle weaving, weave along

Tote Bag Weave Along, Lesson 9

by Kelly 1 Comment

If you missed lesson 8, you can find it here.

We’re really making progress now, sewing up the bag and getting close to finishing!

The lines that we pinned across the two bottom corners can now be sewn.

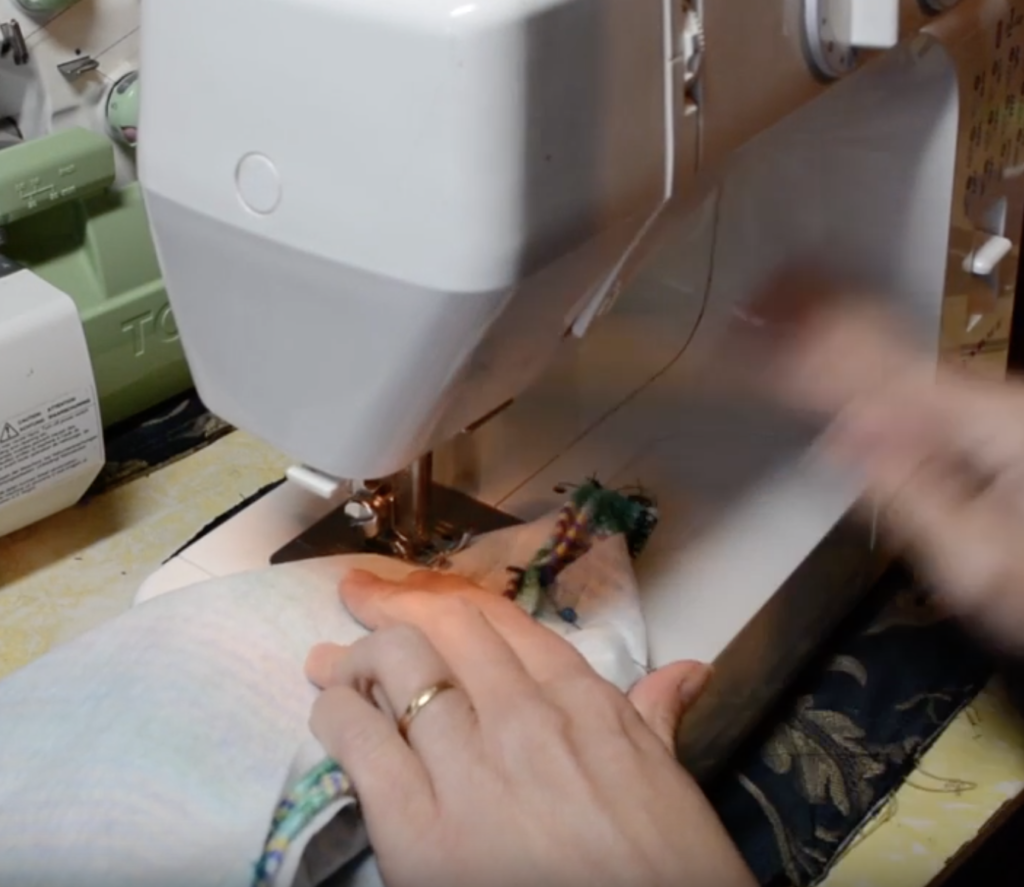
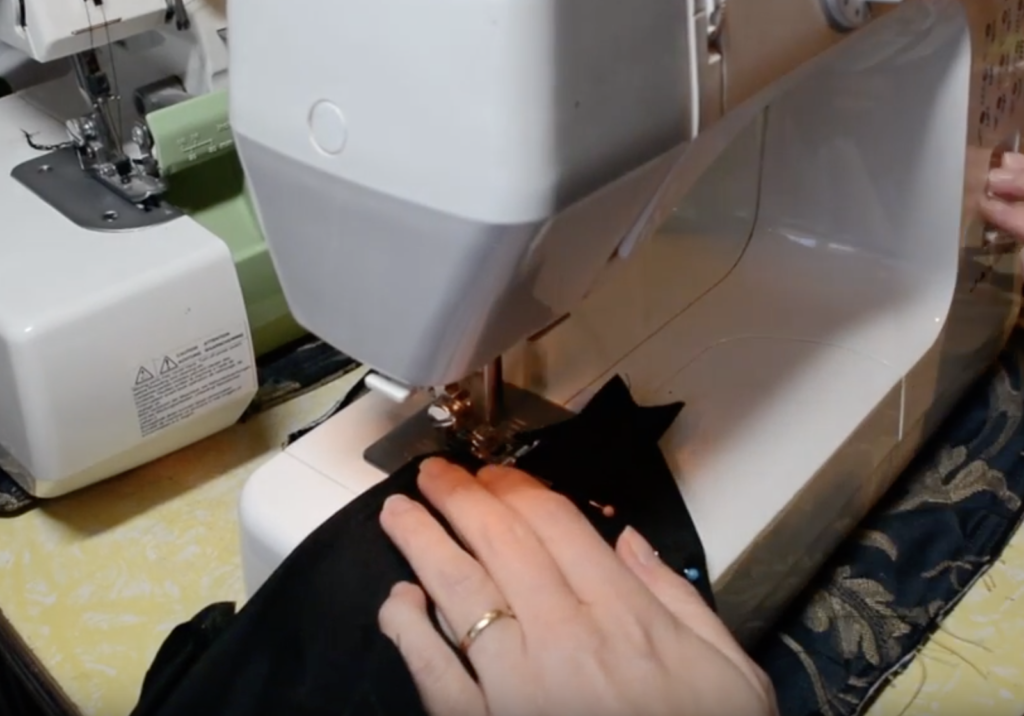
Sew straight across the corner, removing pins as you go and remembering to backstitch at each end for strong stitching. Repeat on the opposite corner.

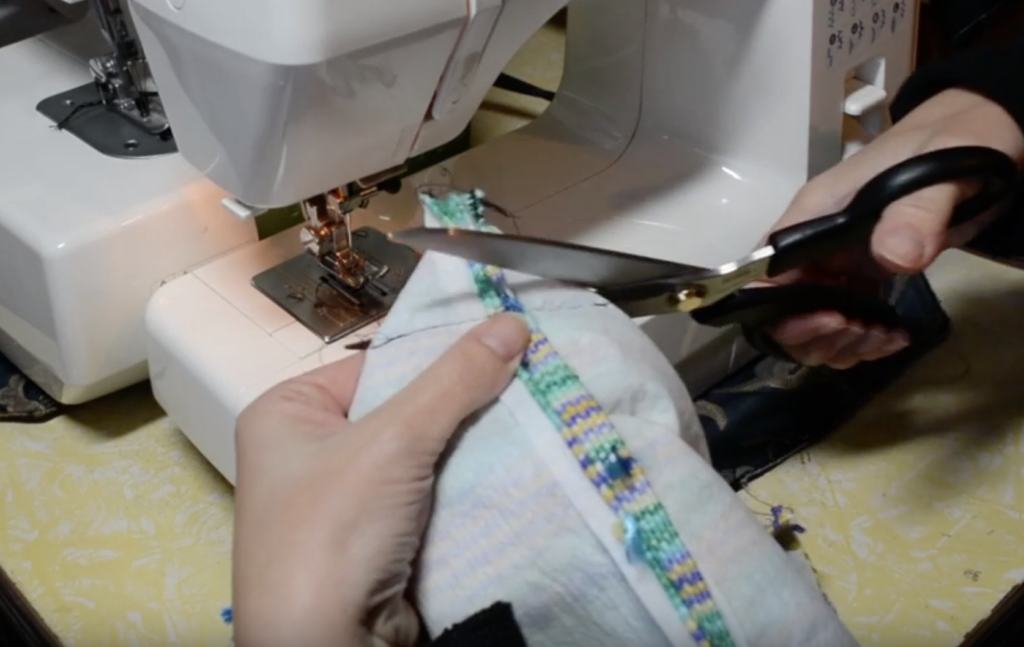
Cut off the excess fabric on the corner and either zigzag or serge the raw edge.

Now do the same with your prepared lining.

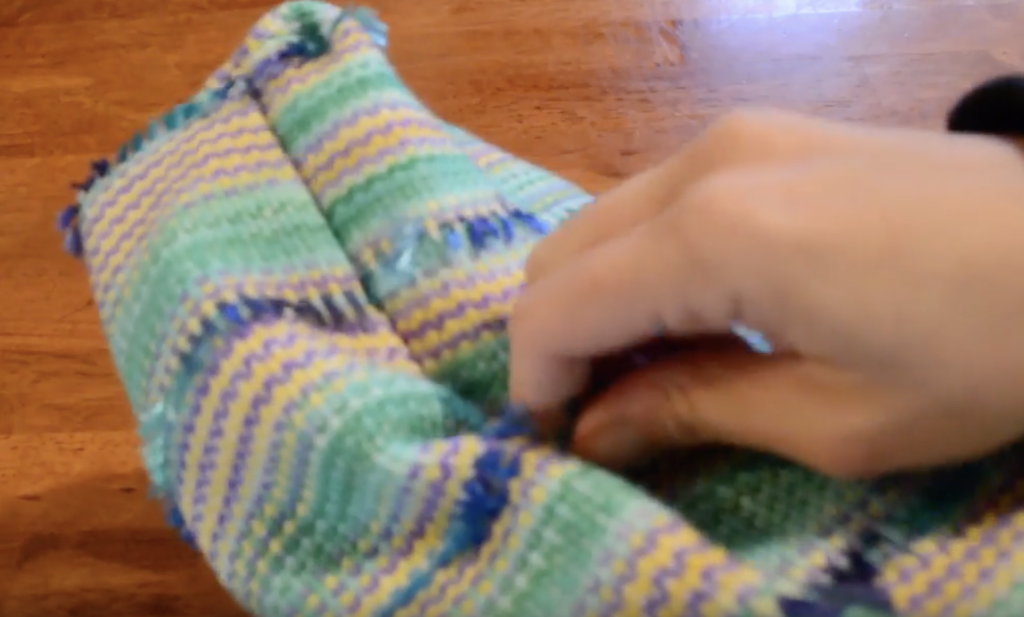
Take the bag and turn it the right way out, taking care to push out the corners with your fingers as you go.

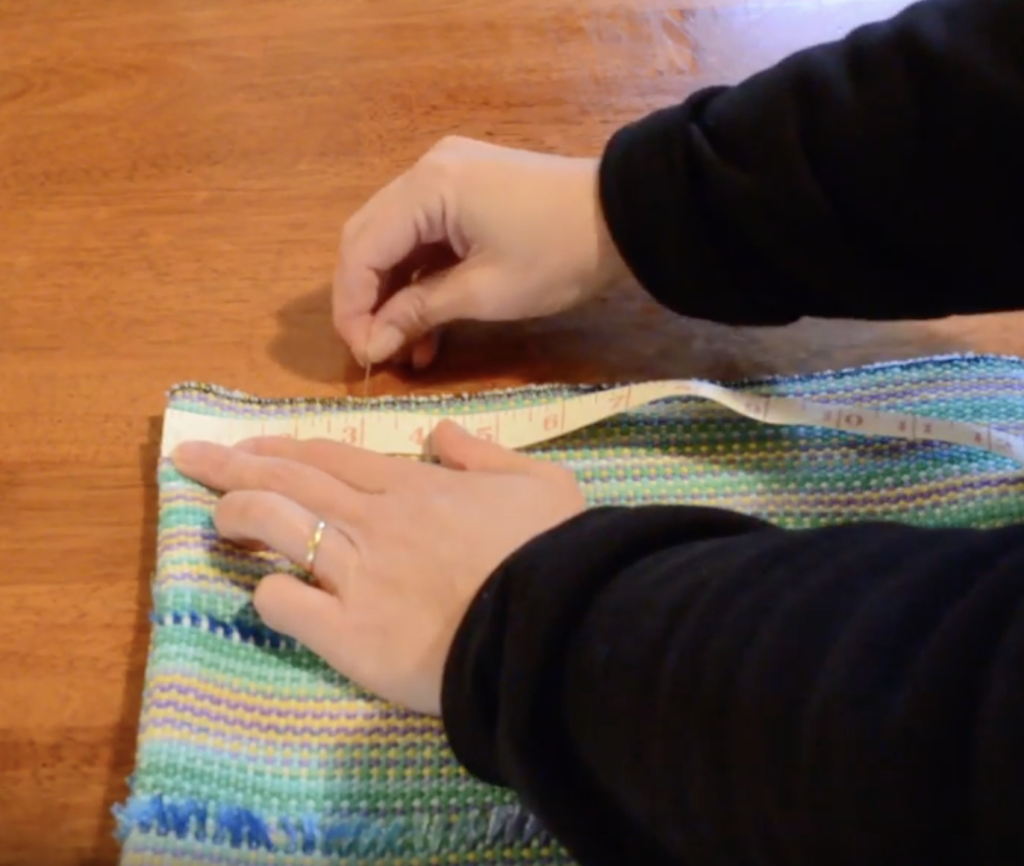
At the top of the bag, measure in approximately 3.5″ from one side and mark with a pin. Do the same from the other side.

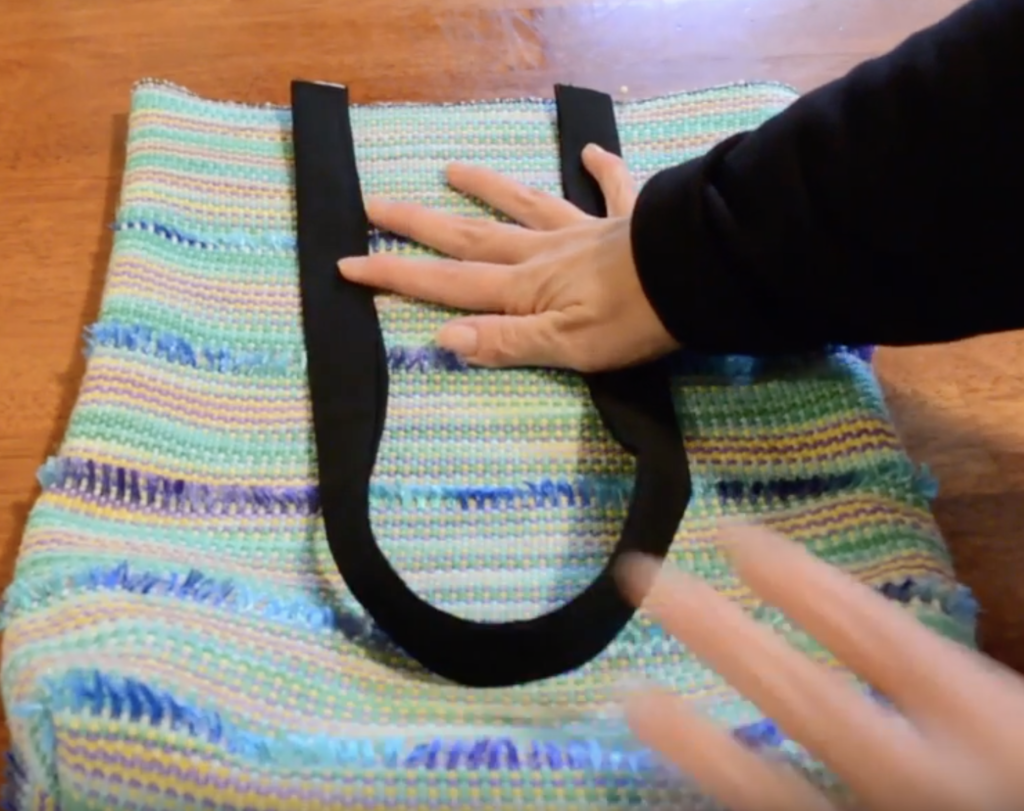
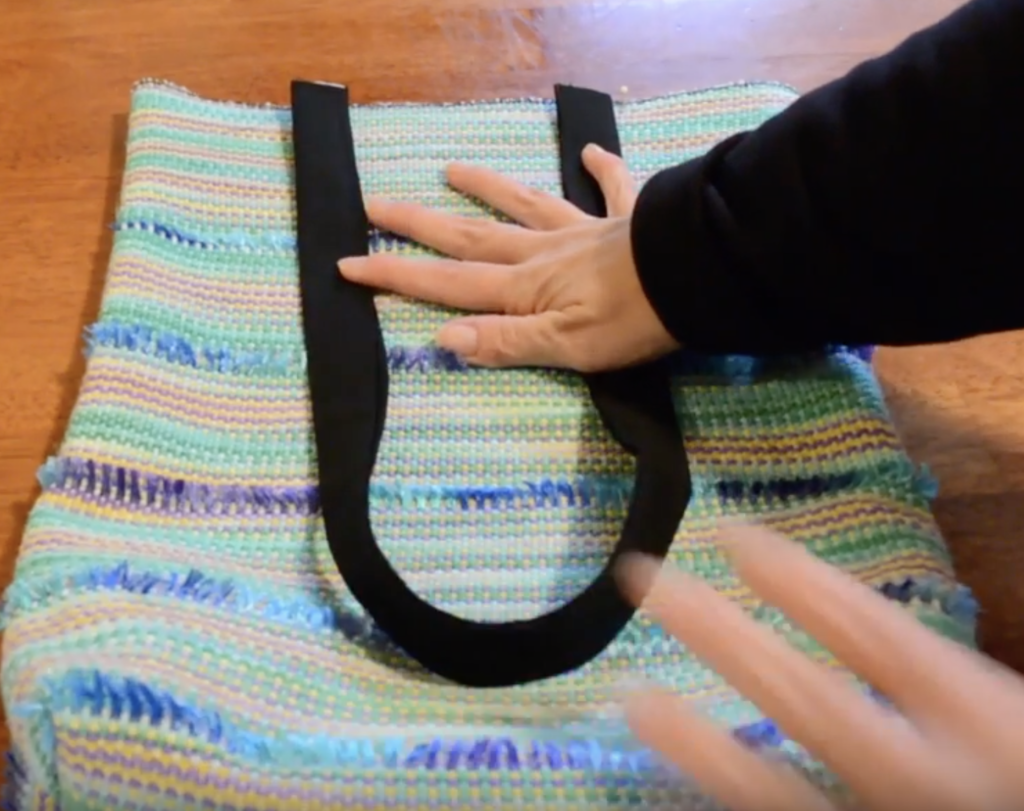
Place your bag handles with the raw edges meeting up with the top edge of the bag and lining up with the pins. Ensure your handles are not twisted. Pin the handles in place. Do the same on the other side of the bag for the opposite strap. Take the bag to the sewing machine and straight stitch across the top of all the straps, remembering to backstitch and remove pins as you go. This makes your handles stronger and keeps them in place while you move onto the next part of the bag.

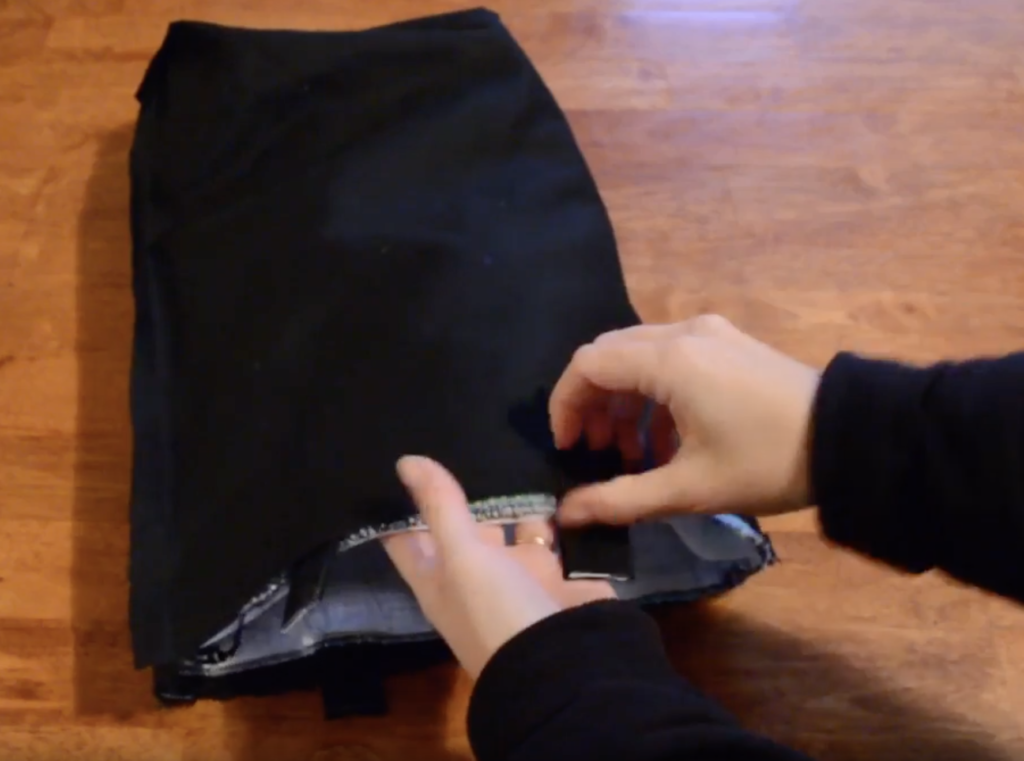
Put the main bag inside the lining. The lining should still be turned inside out – that way, the bag and the lining will have right sides facing when you put them together. Line up the side seams and make sure that the handles are tucked in, out of the way. Pin all around the top of the bag, keeping those side seams matched as much as possible.

You can view this entire lesson for free right here:

The next post will be the last lesson where we finish off sewing the bag.

I hope to see you then, and as always, leave me a comment if you have any questions!

Until next time…

Happy Weaving!
Filed Under: Rigid heddle weaving, Sewing, Tote Bag series, Tutorials, Weaving Tagged With: rigid heddle weaving, tote bag, weave along

Tote Bag Weave Along Lesson 1

by Kelly 13 Comments

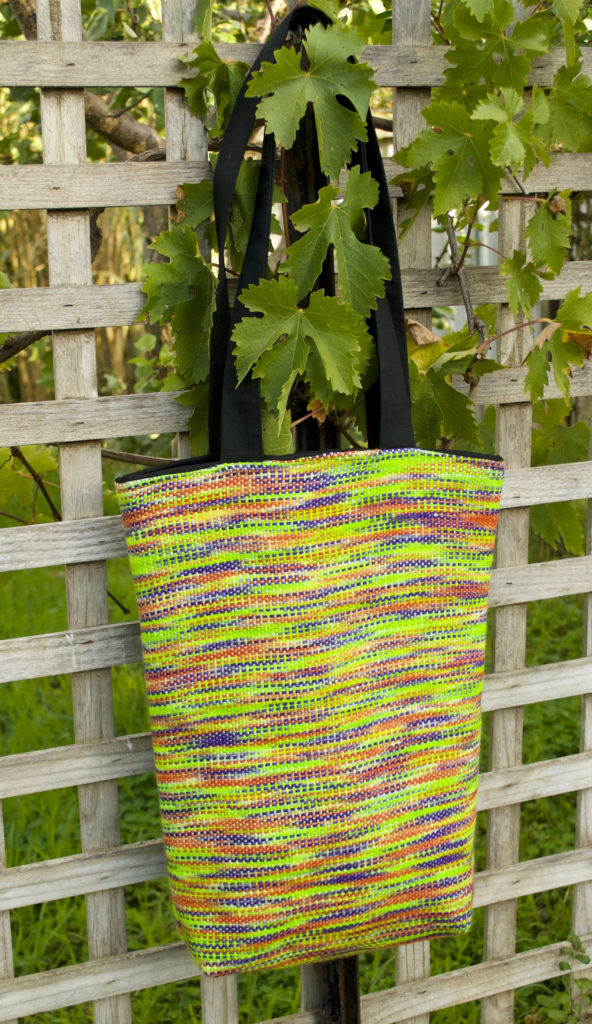
It is almost 3 years since I first posted my Tote Bag Weave Along series on Youtube. It has been my most popular series ever, and I’ve been thrilled to see so many bags woven by others!

I’ve wanted to add extra functionality to the series for those who desire it, and that is what I’ll be doing here over the next couple of posts. I will be giving yarn details and help, printable PDF’s, as well as some step by steps for some sections of making the bag.

I’m beginning with the materials list that you can now download and print out.

totebagweavealongmaterialslistDownload

OK, lets get into some extra details and questions you may have from the list.

*This post contains affiliate links, meaning if you click and purchase on the link’s given, I receive small commission at no extra cost to you šŸ˜‰

Do I need to have a 24″ or 60cm rigid heddle loom?

Not necessarily! Although weaving the bag in one piece is the easiest option, it’s not the only way. If, for example, you had a Sampleit loom, you could weave 2 panels, 10″ wide and sew them together for each bag panel you need. (So that would be 4 panels you would weave for one bag). You could even make a design feature of your panels by weaving the wefts in different colours so that each side of your bag would contrast. Where there’s a will there’s a way!

Do I need to sew the handles myself?

Nope. You have other options for the handles too. If you have an inkle loom, you could weave them yourself, in either matching or contrasting colours. You can also purchase ready made handles and these come in a huge variety nowadays. You can choose from metal, acrylic, wood, rattan, and faux leather, to name a few!

I can’t get Australian 8 ply merino – what are my other choices?

There are many yarns you can substitute with and you don’t have to use wool. Cotton, acrylic, bamboo and others can be used too. One world of caution though. When you iron on your interfacing, your chosen yarn needs to be able to take the heat without being scorched. Cotton or superwash wool are good choices.

Here are some suggestions for you:

Lily Sugar n Cream is a range of cottons that come in the most gorgeous colours and varieties. Their variegated cottons are wonderful and they even have curated colour packs! Cascade Ultra Pima is another possibility.

For wool, you have Cascade Superwash, Patons Classic, Carlton Merino and so many more. Yarnsub.com is an excellent resource for checking and comparing yarns.

Do I have to line my bag?

No, but it does give a really nice, more professional looking finish.

Do I need to use a sewing machine?

Technically, you could hand stitch this whole project, but that is not something I would do! If you decide to, make sure your stitches are small and strong, a bag needs to be hard wearing. Whether sewing on a machine or by hand you should always use a good quality thread like my favourite, Gutermann. Cheap thread is cheap for a reason!

Next time we will go through some of the steps for the project. If I have missed anything or if you have questions about the materials, please let me know in the comments. Also, please let me know if offering the series in this format is helpful to you.

In the meantime, if you want to take a look over the Tote Bag Weave Along video series, you can start with the introduction video below.

If you have any questions about the project or anything from this post, please let me know in the comments!

Until next time…

Happy Weaving!
Filed Under: Rigid heddle weaving, Sewing, Tutorials, Weaving Tagged With: rigid heddle weaving, rigid heddle weaving tutorial, tote bag, weave along

Weave Along Round Up

by Kelly 3 Comments

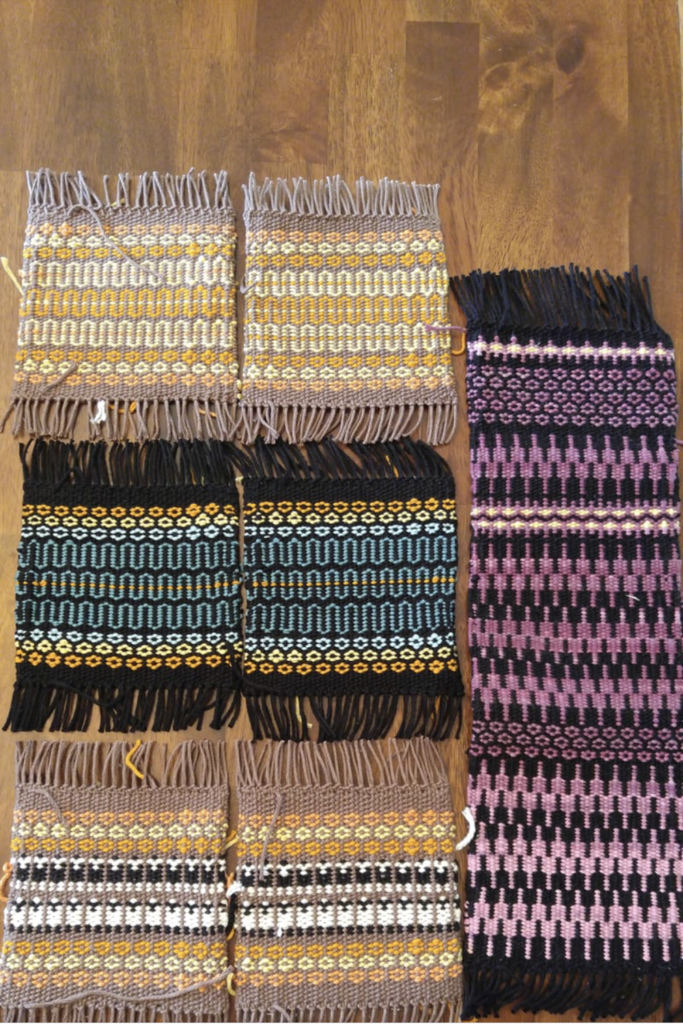
The Krokbragd Mug Rug Weave Along (try saying that with a mouthful of cake!) has been a great success! While many students are still working on their mug rugs and some have yet to start, I have been seeing so many wonderful photos of their work, that I couldn’t wait to share.


What I really love is the variety of mug rugs I’m seeing and the range of interpretations of my original design.


Charlotte, who has been with me a long time, and is a very prolific weaver, came up with several variations on the original design. She even figured out how to weave sheep and then shared the draft with the other students, several of whom were inspired to weave their own sheep!

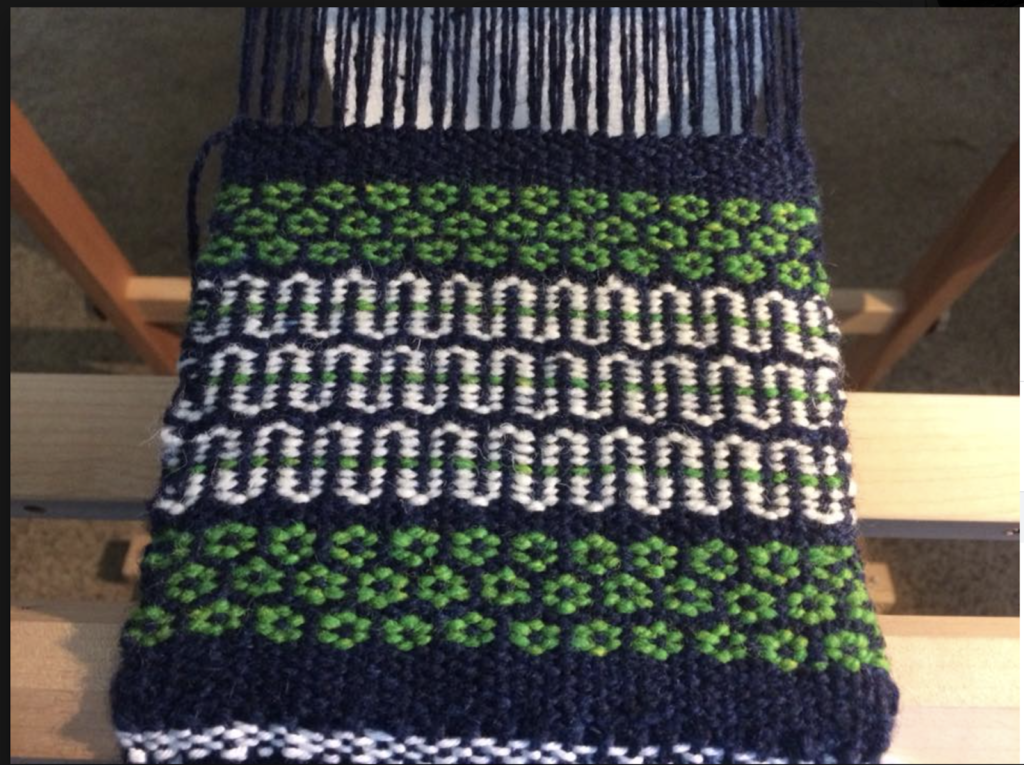
Mary went with some darker colours and white highlights. So lovely!
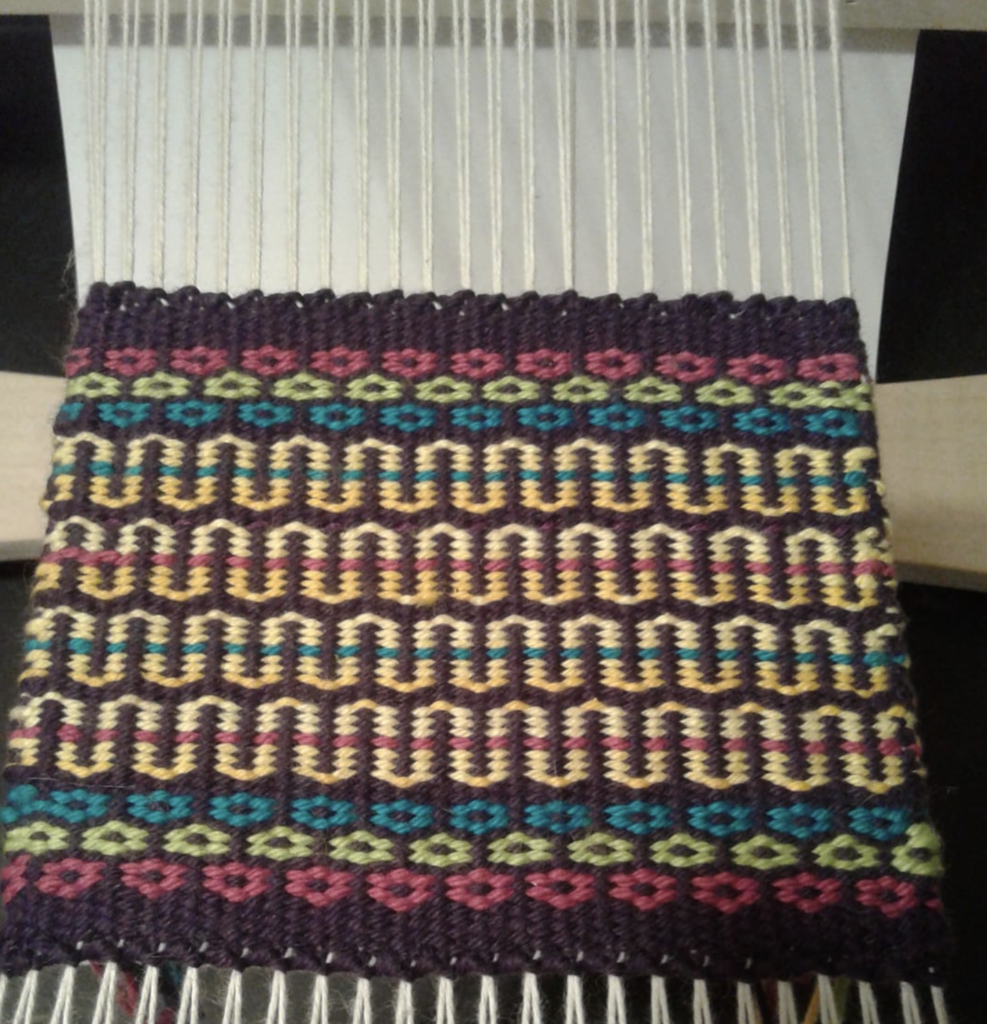
This is one of Kelly’s (a different Kelly!) interpretations. I love that she included many different colours, but that they all work together so harmoniously.


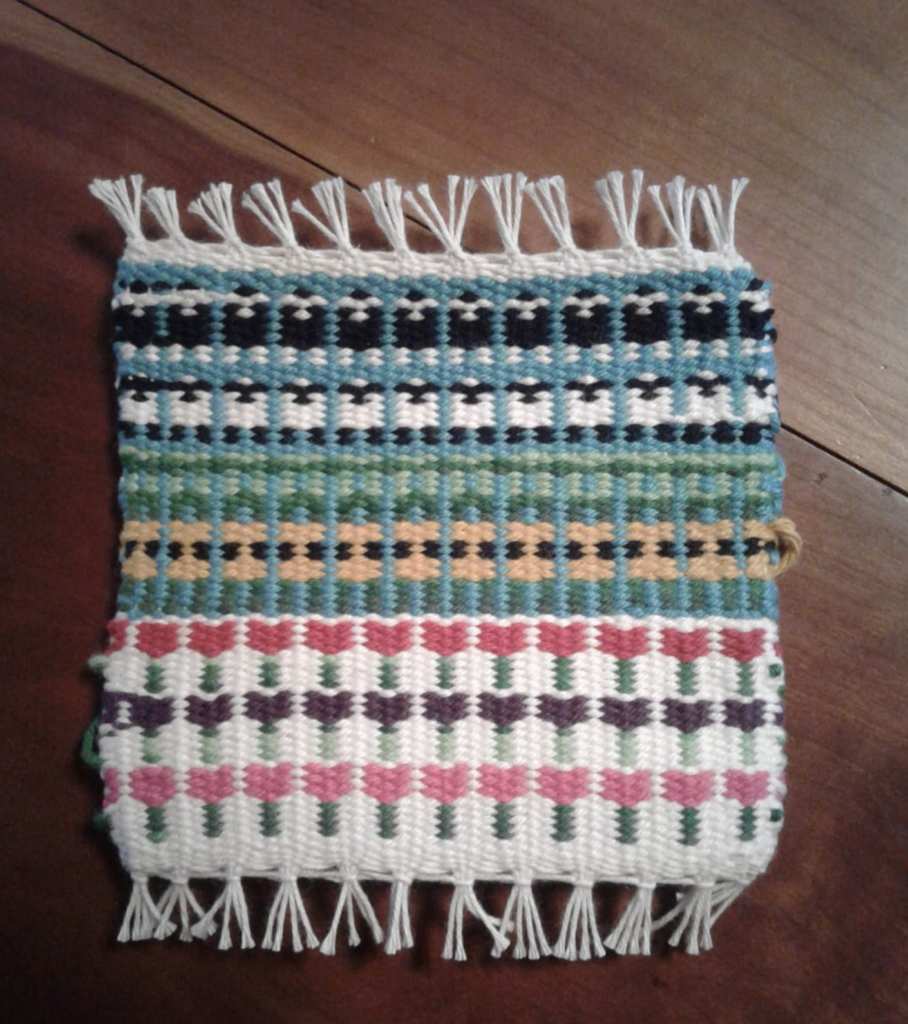
And another, different rug from Kelly. You can see Charlotte’s sheep and my tulips (from this Youtube tutorial).

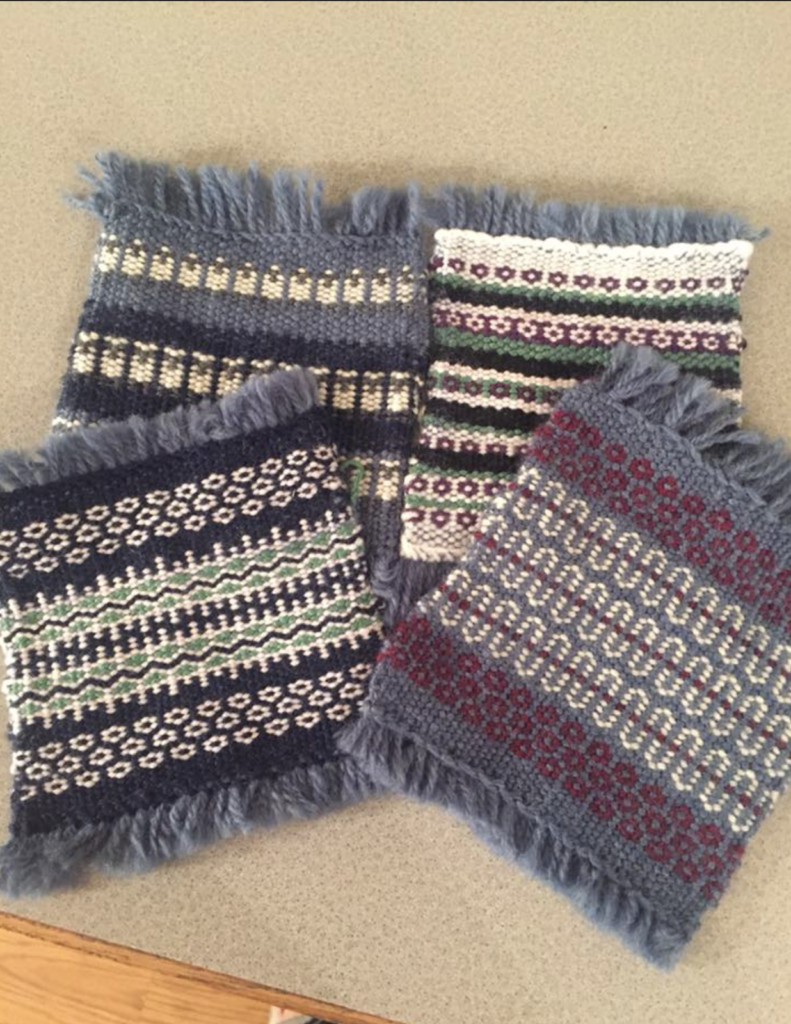
And finally, these beauties from Connie. So lovely!

Robyn decided on a bold and traditional design for this mug rug. Love the colours!

Perhaps you’re looking at all these gorgeous mug rugs and wishing you had joined in? No problem, you still can! 
All the details are here.

Thanks to everyone who joined in and threw themselves into the challenge with such gusto, it has been so exciting for me to see.

This weave along leads beautifully into the next class, which will be a krokbragd bag with two heddles. I’m working on that right now, it should be ready in a couple of weeks.

Until next time….

Happy Weaving!


Filed Under: Weaving Tagged With: Kelly casanova weaving lessons, krokbragd, rigid heddle weaving, weave along

Krokbragd Weave Along coming soon!

by Kelly 9 Comments

Have you heard the news? I am currently working on an exciting weave along! The project is Krokbragd Mug Rugs for rigid heddle loom and I feel like a pig in mud (if you know me at all, you will know how I love krokbragd!)

Because I like to accommodate for weavers of all levels, the weave along will include two methods for weaving the mug rugs. One class will be for those who want to use one heddle, a heddle rod and a pick up stick. Class two will be for those who want to use two heddles. The finished mug rugs will be just the same, but the different methods will give you choices about how to weave them.
The mug rugs are minimal on the yarn, you only need small amounts and limited colours. Because of the interesting designs, you get something pretty awesome looking for a small investment. If you are interested in reading more about Krokbragd, I have written another blog post on this beautiful weave structure. 
This weave along will be for members only. To become a monthly member, visit this link, or to become a yearly member, go here.

You can also read more about the weave along here.

Once you are a member, you have access to the Member’s Community group on Facebook. 

The best way to stay updated is to join my email list.

A full materials list will be available prior to the commencement of the weave along to give everyone the best chance of starting together.

I’m hoping to commence the weave along early to mid August.

I really hope you can join me for this one, it’s going to be so much fun!

Filed Under: Uncategorized Tagged With: krokbragd, mug rug, rigid heddle weaving, weave along

New weave along series!

by Kelly Leave a Comment

I’m so excited to be announcing my very first weave along! Officially it started a couple of days ago but participants are welcome to join in anytime. We will be making a lovely tote bag and instructions will be given from start to finish. I’ve been wanting to do this for ages and considering the response I’ve had on Facebook, lots of other enthusiastic weavers are loving the idea.


The introductory video can be found here and if you subscribe to my channel you can keep up with all the other videos as we go along.

There is also a very active Facebook group you can join to discuss the weave along, share photos and trouble shoot as necessary.

Hope you can join in the fun!

Filed Under: Uncategorized Tagged With: my youtube channel, rigid heddle weaving, tote bag weave along, weave along, weaving

Primary Sidebar

Categories

Archives

Meta

  • Log in
  • Entries feed
  • Comments feed
  • WordPress.org

Copyright © 2025 Kelly Casanova Weaving Lessons on the Foodie Pro Theme