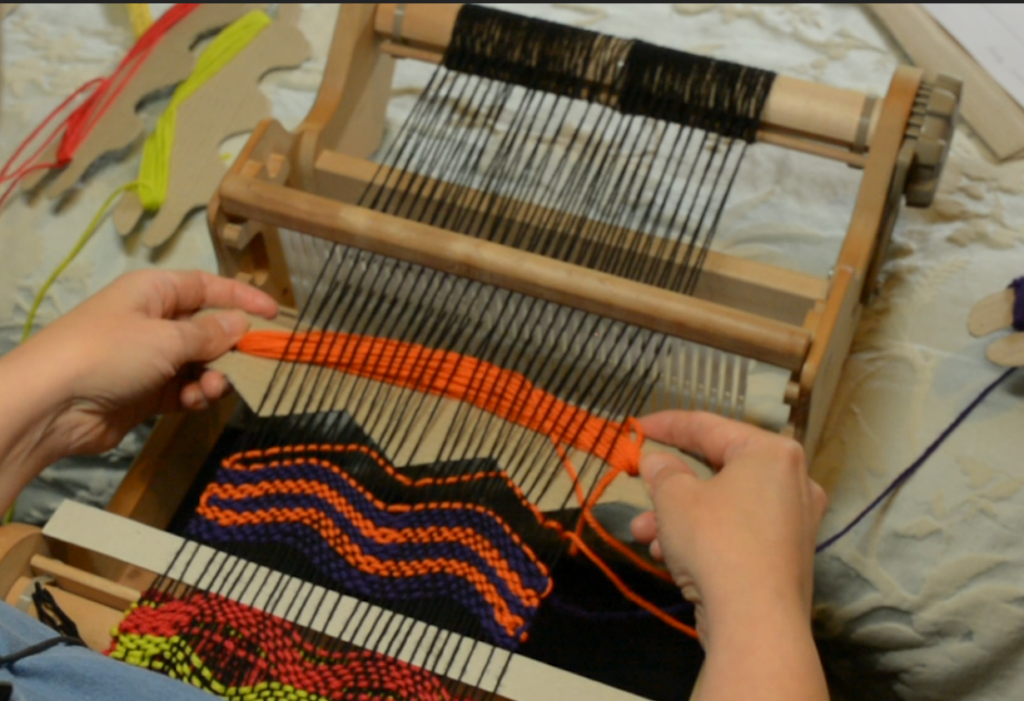
During the month of June 2025 I released the Krokbragd on an Inkle Loom course. I also ran the Krokbragd Inkle Weave Along – a fun and interactive way for students to start weaving krokbragd together.
There was a private Facebook group for those participating in the Weave Along and it quickly became a thriving space with students sharing their work and troubleshooting common issues.
We also had a super cool giveaway – a Lojan Inkle Loom which was won by one lucky participant.
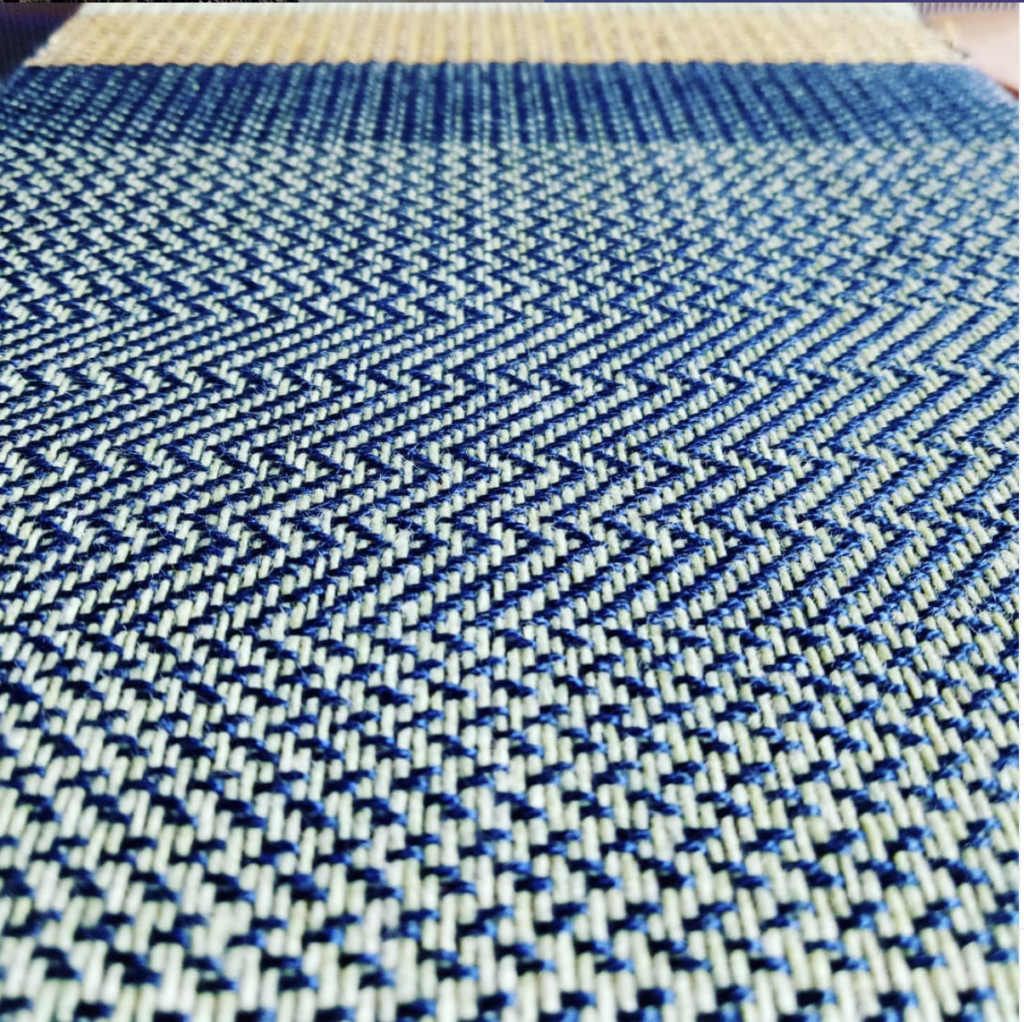
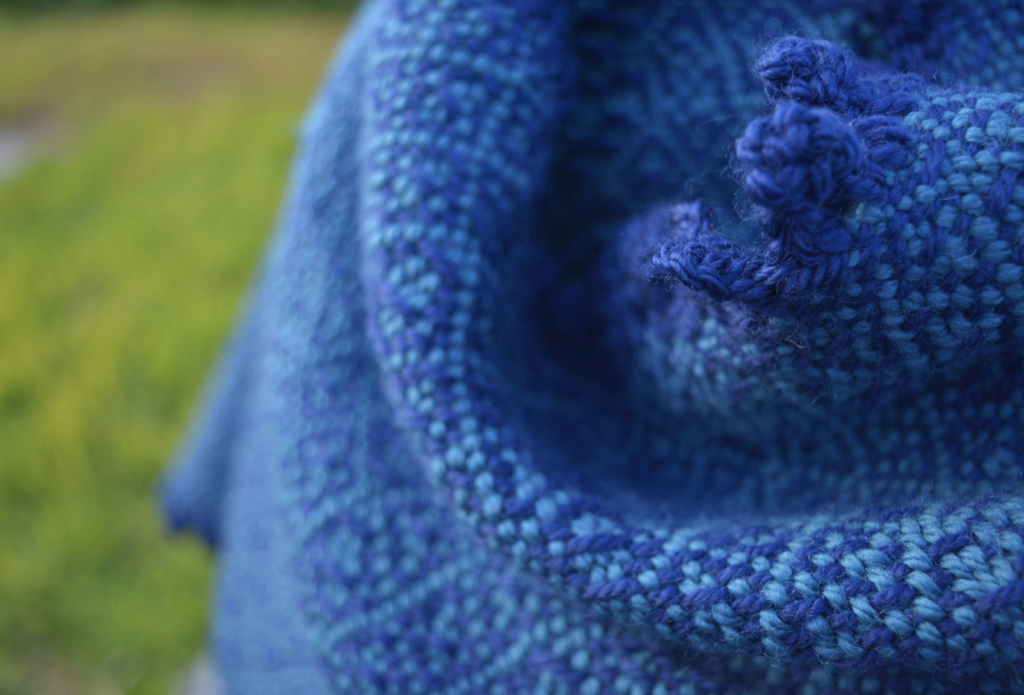
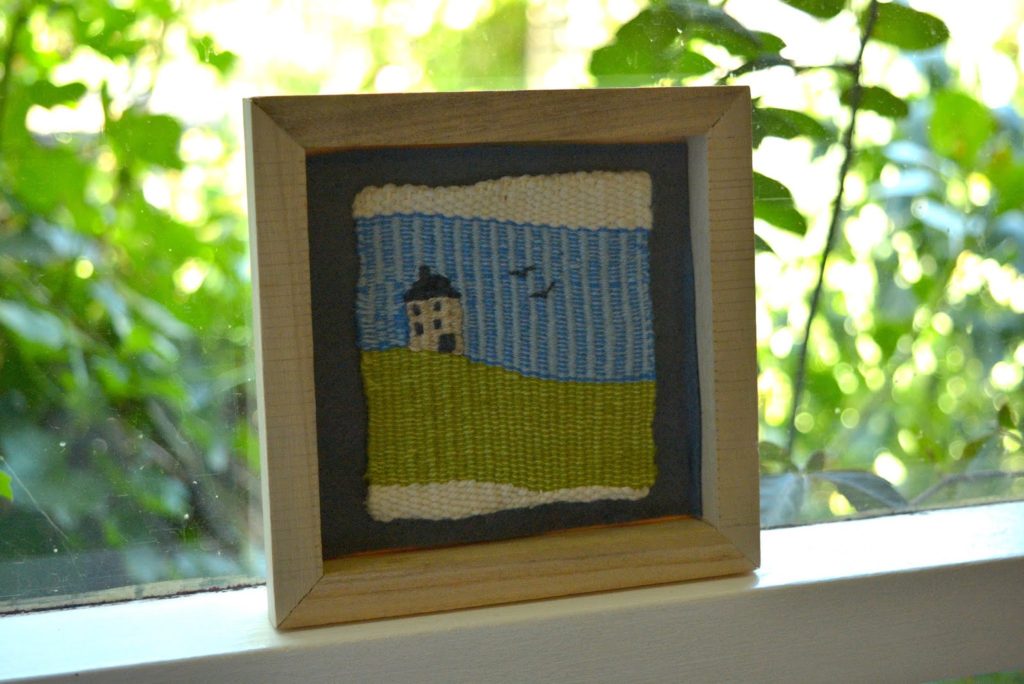
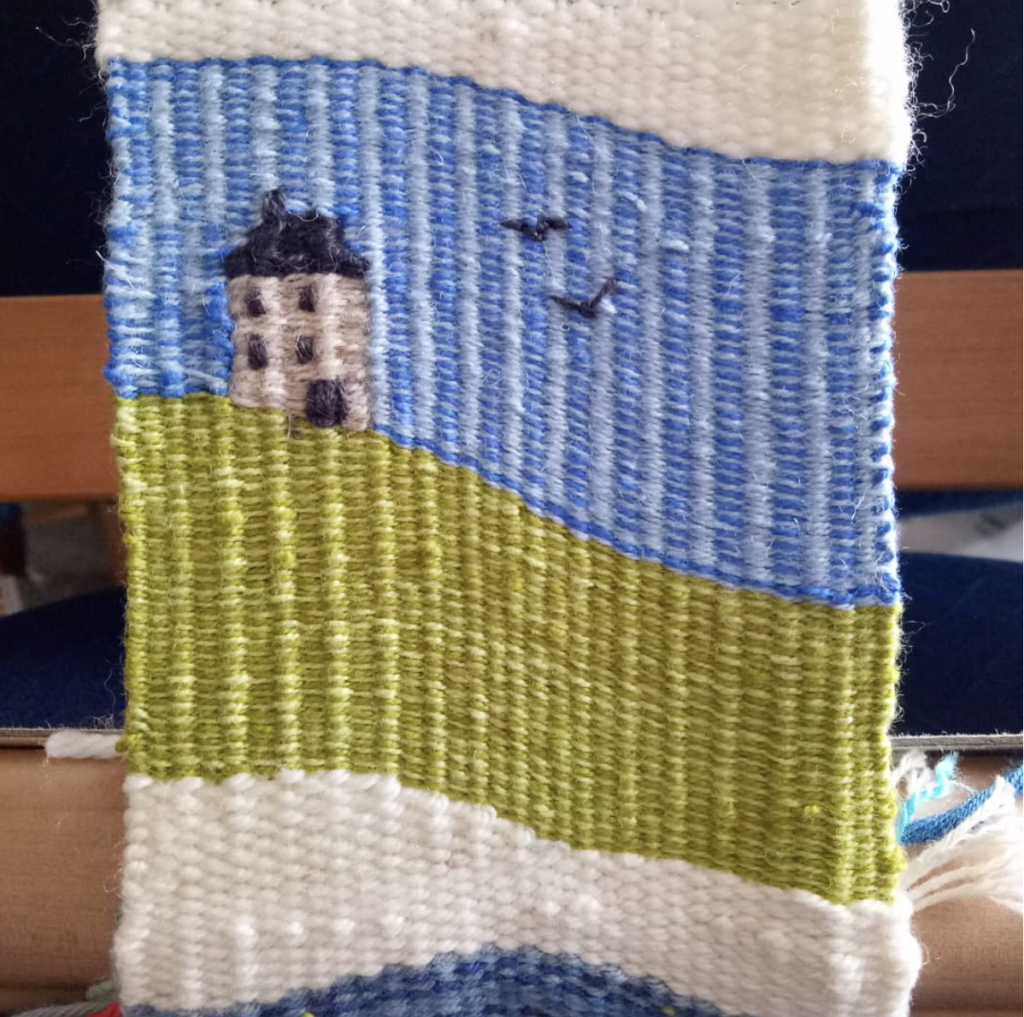
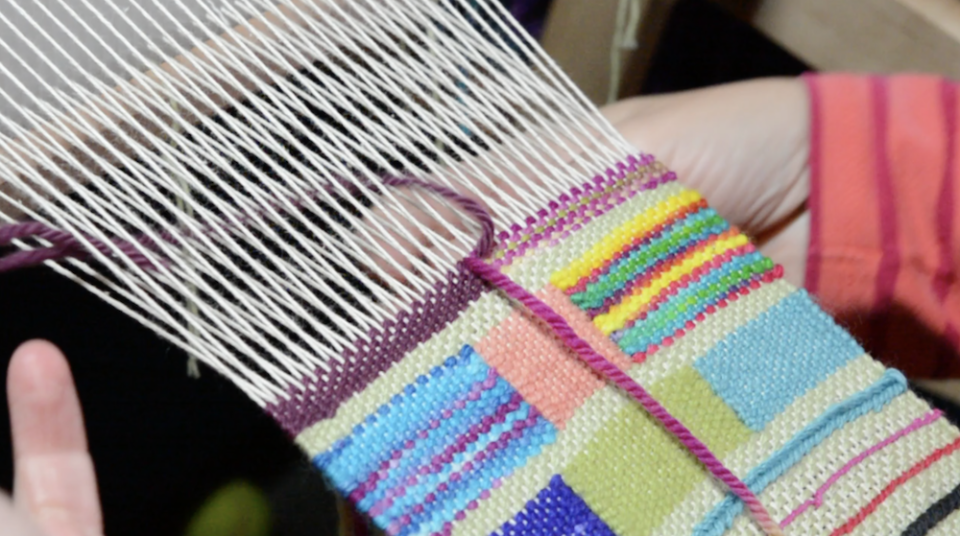
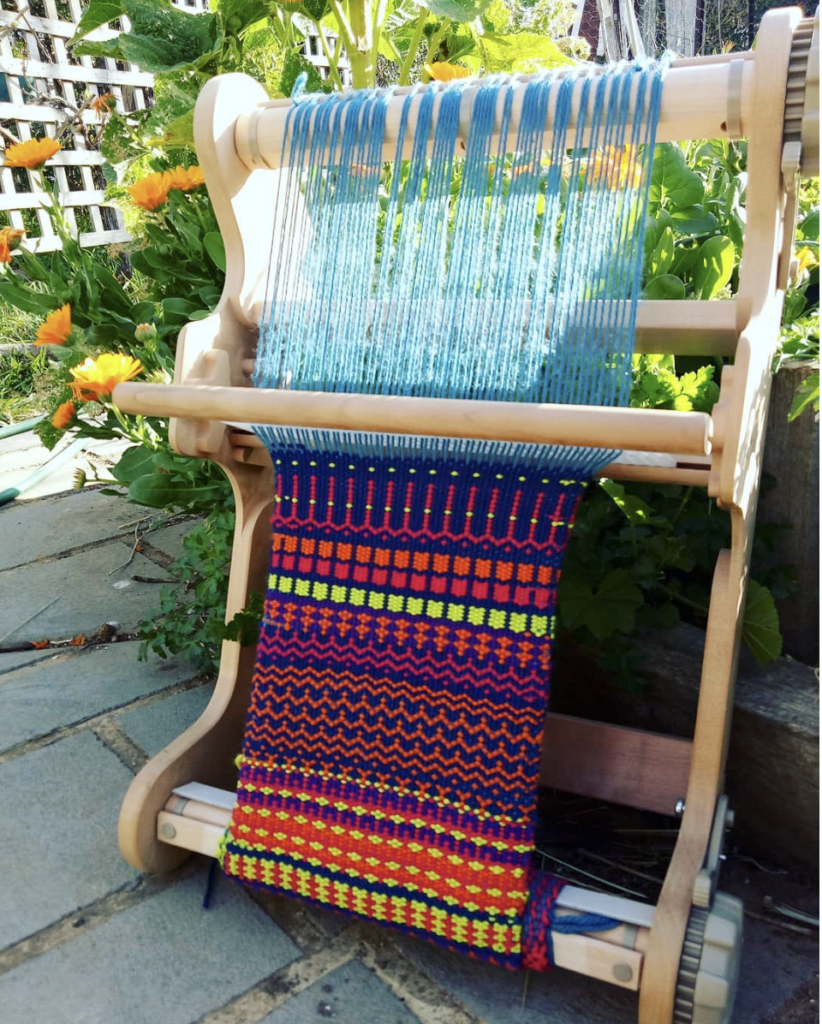
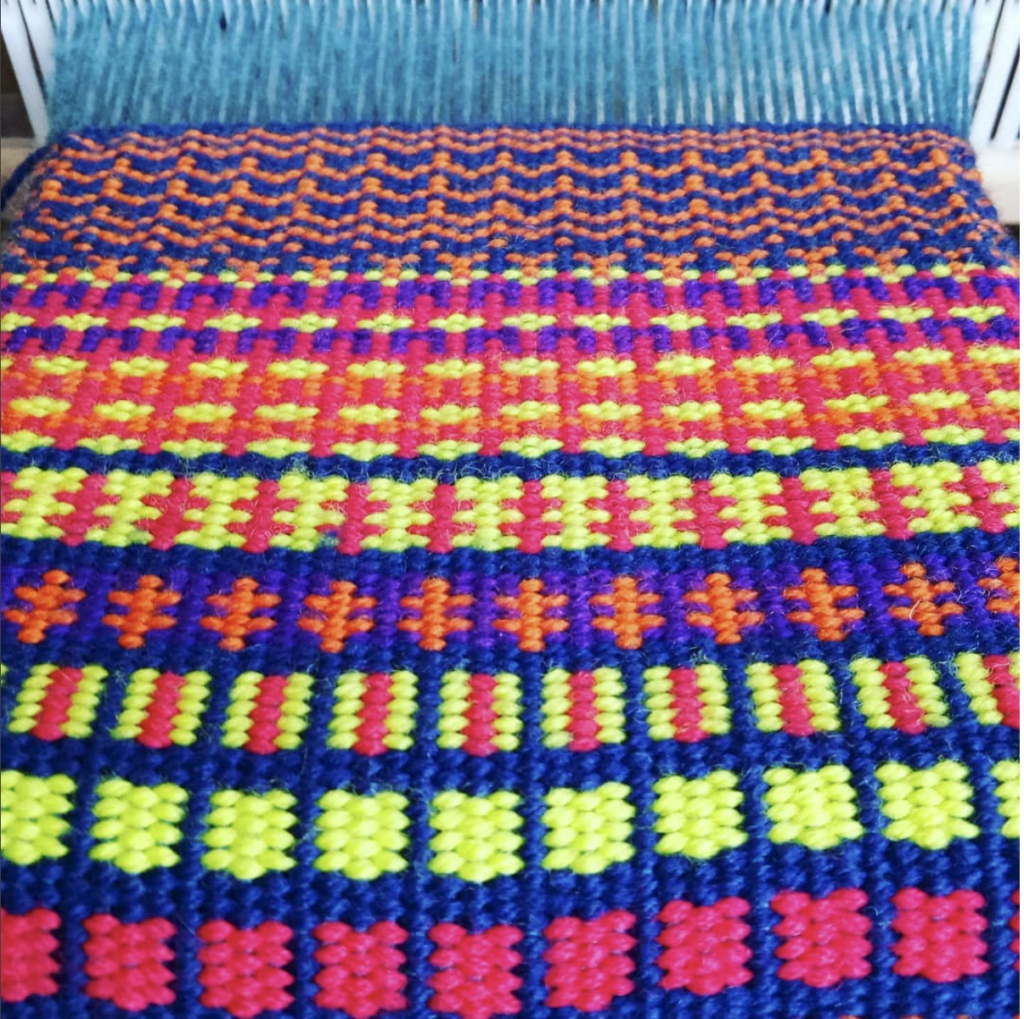
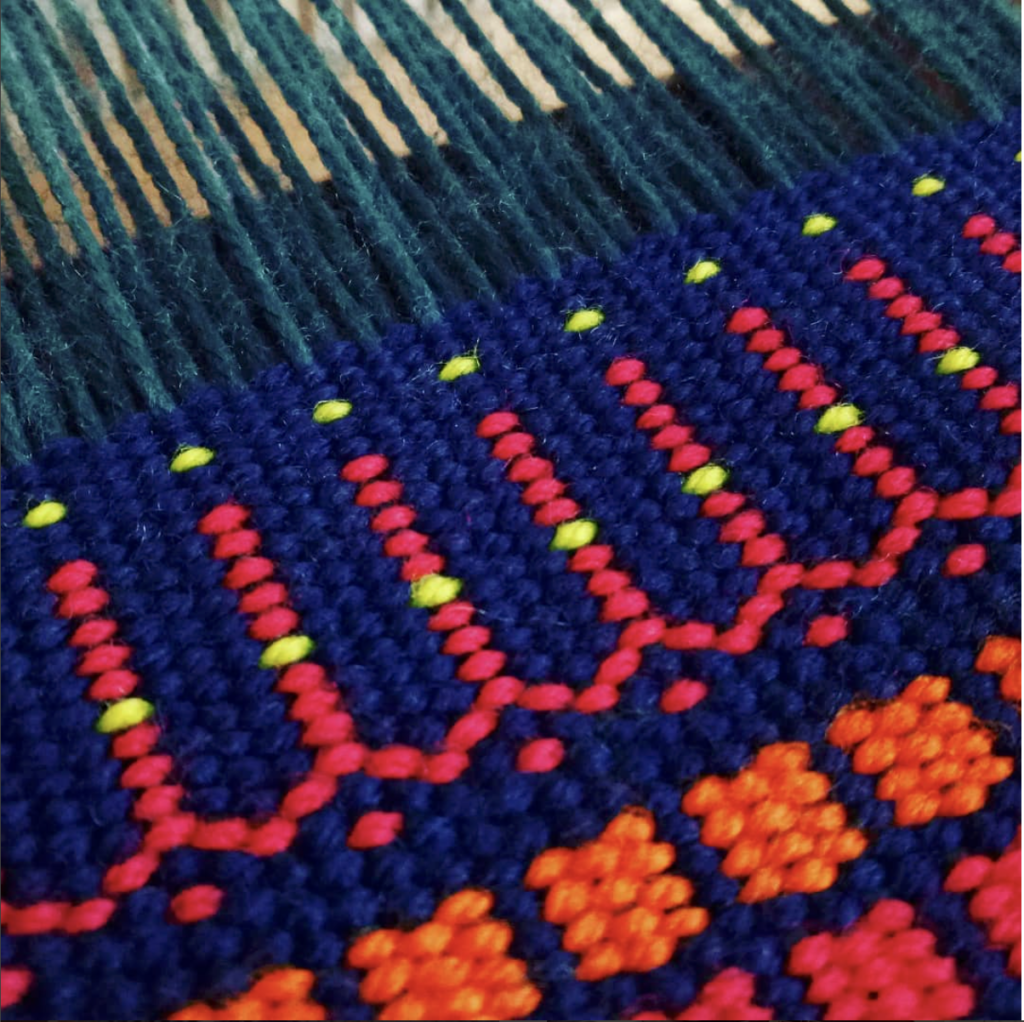
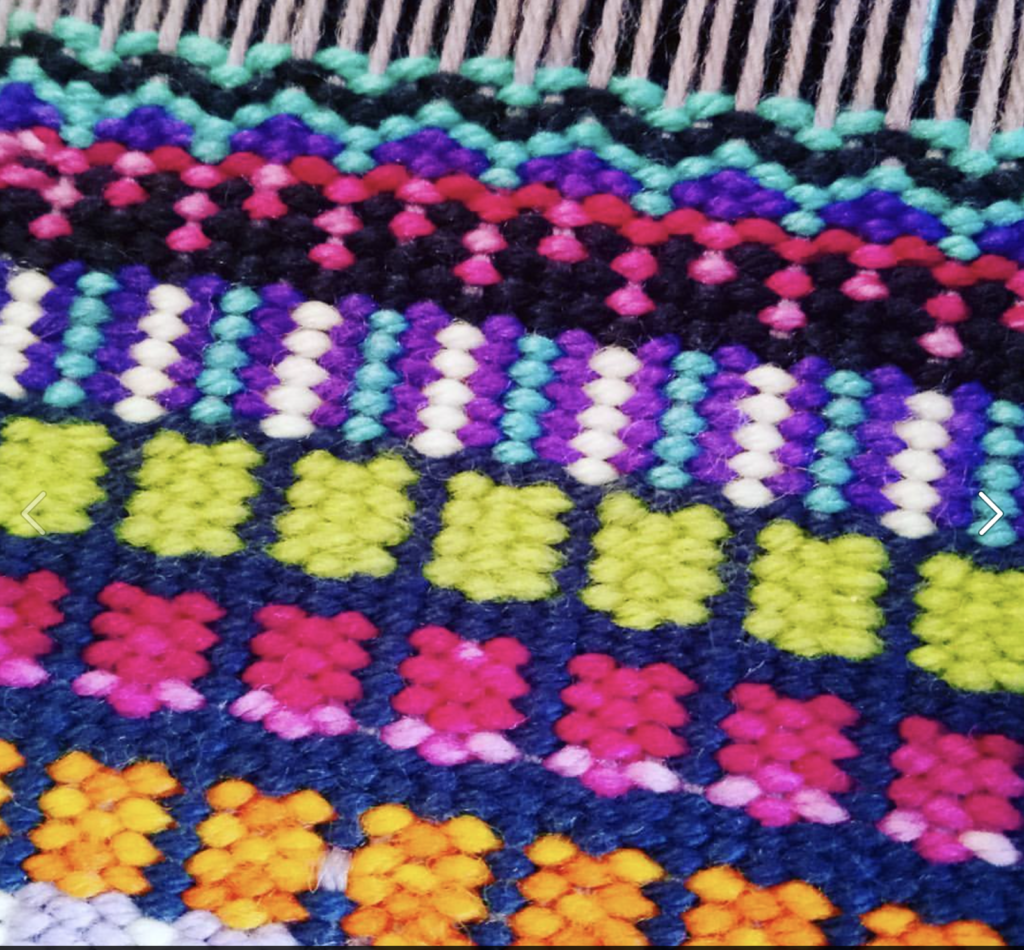
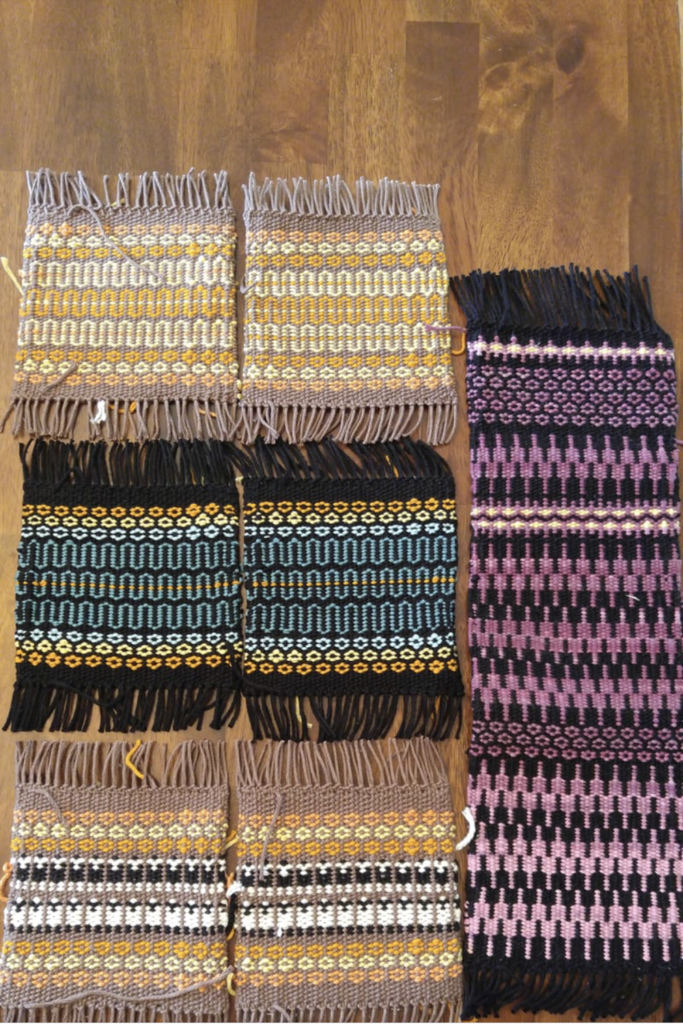
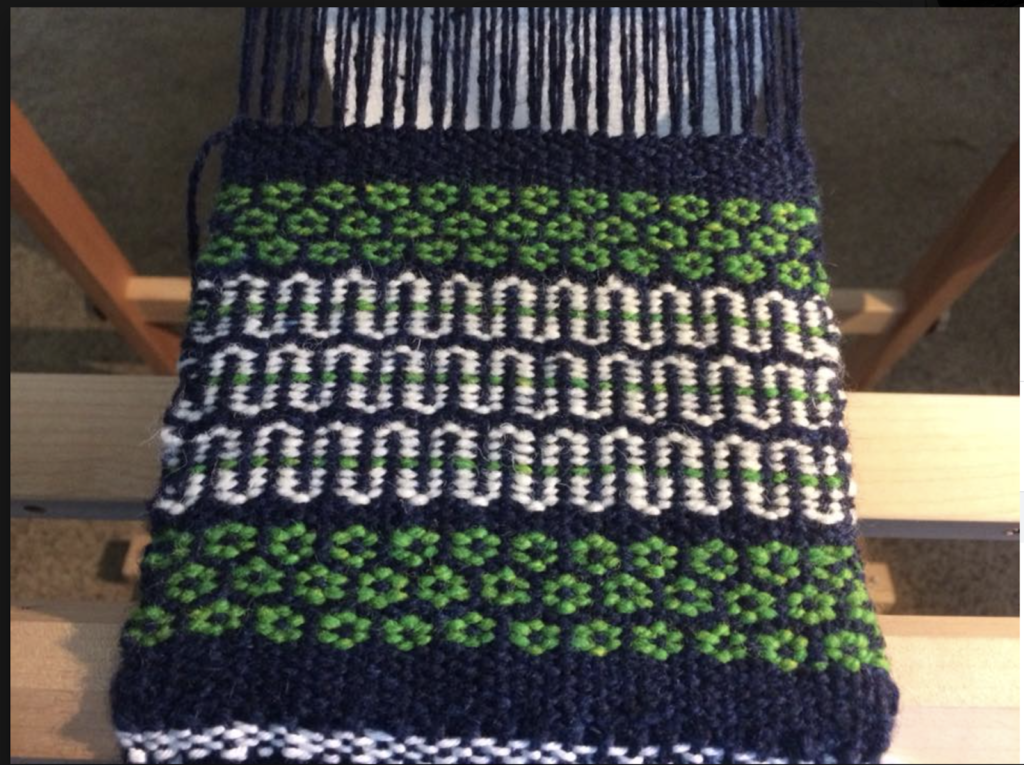
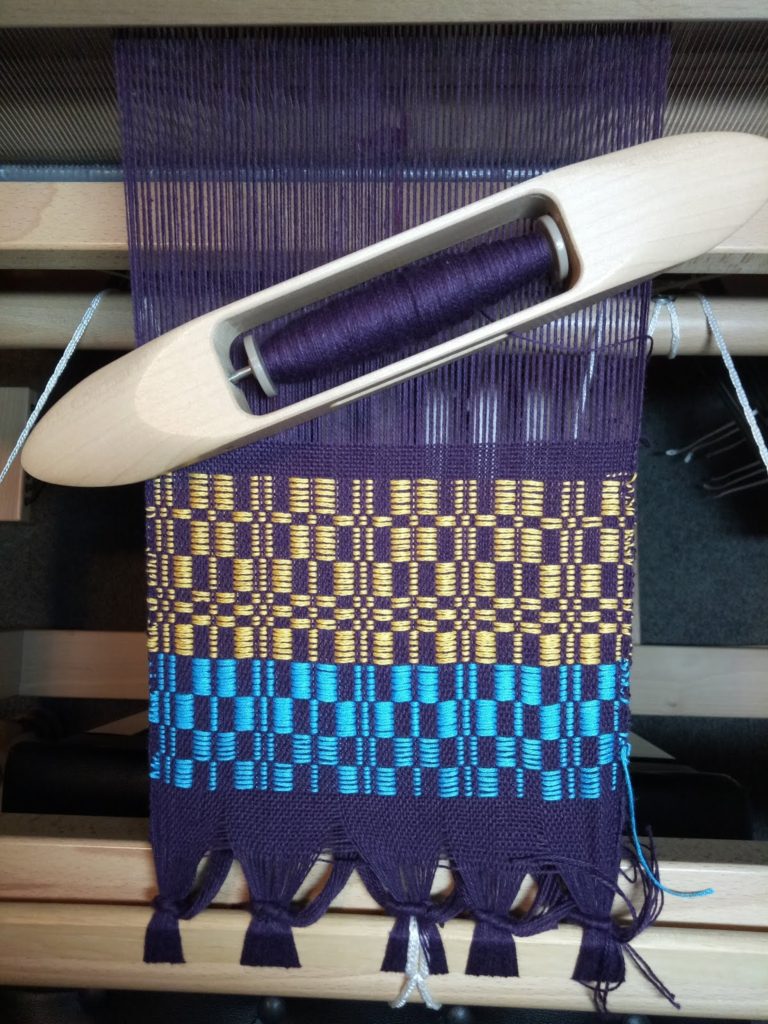
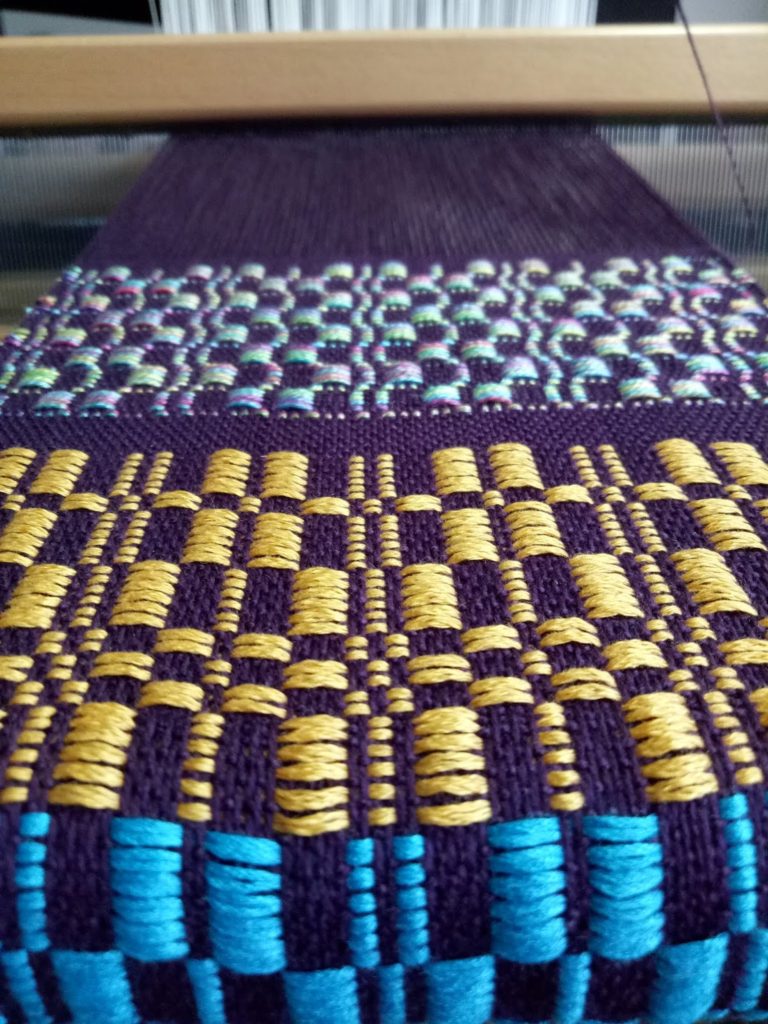
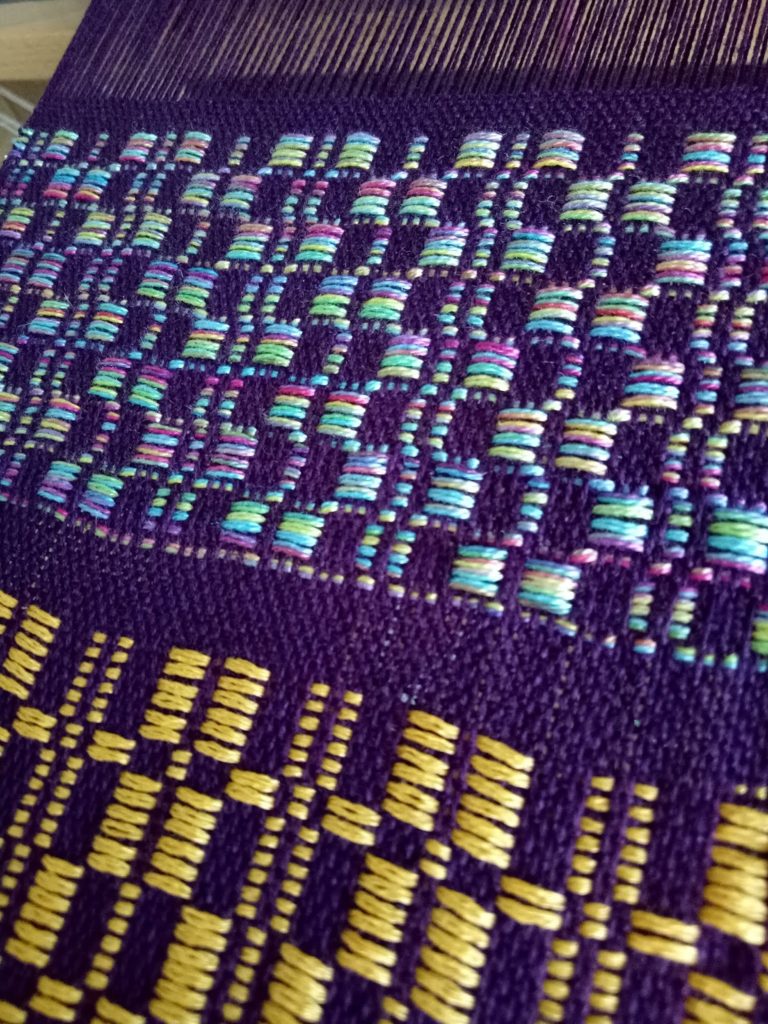
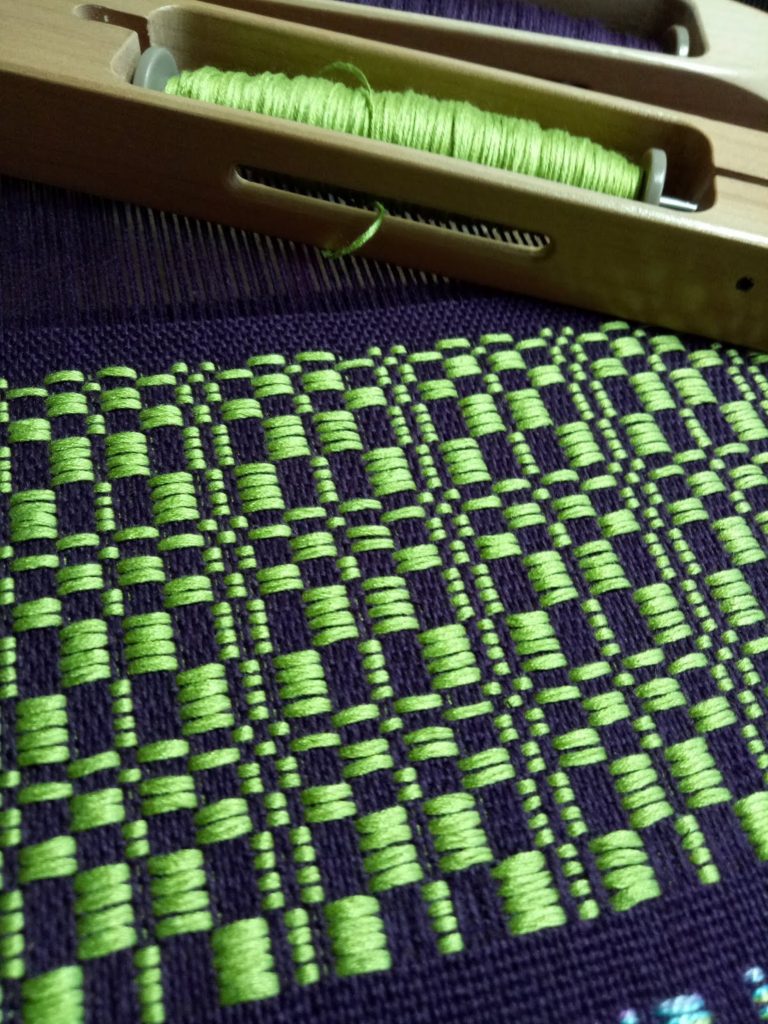
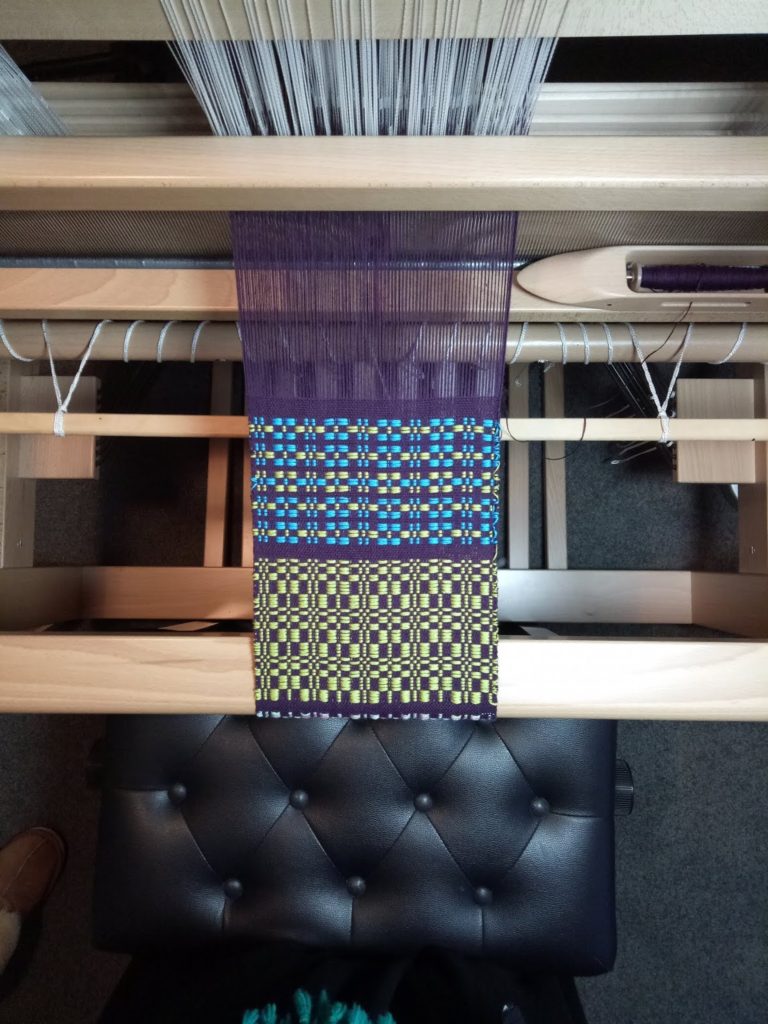
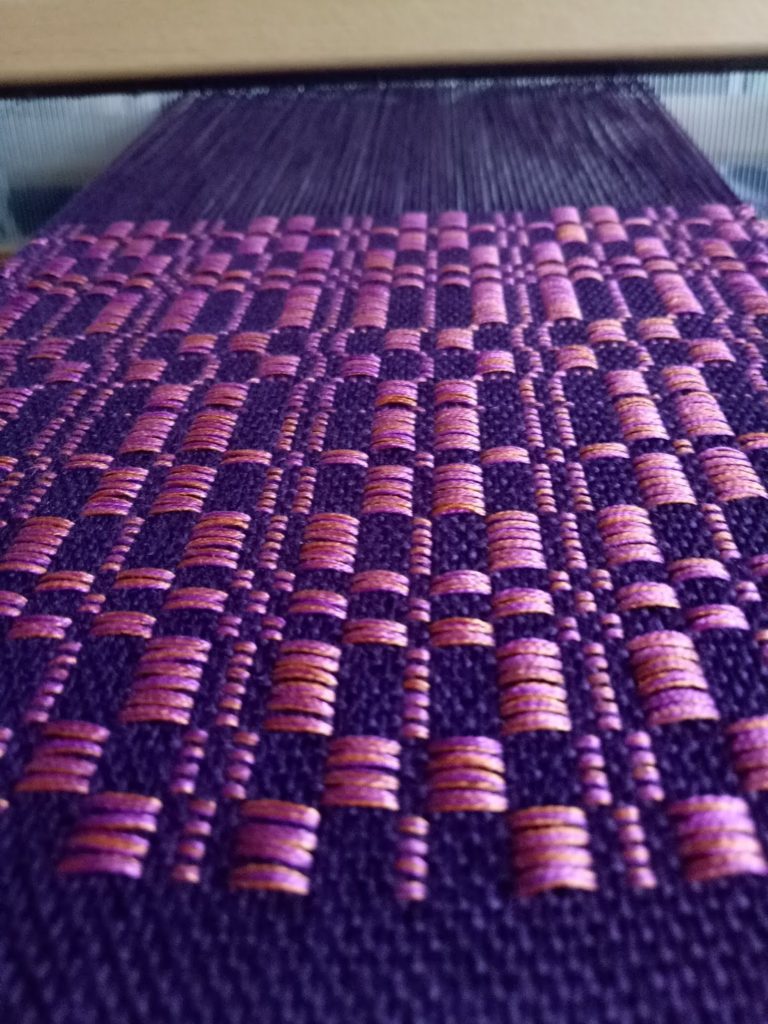
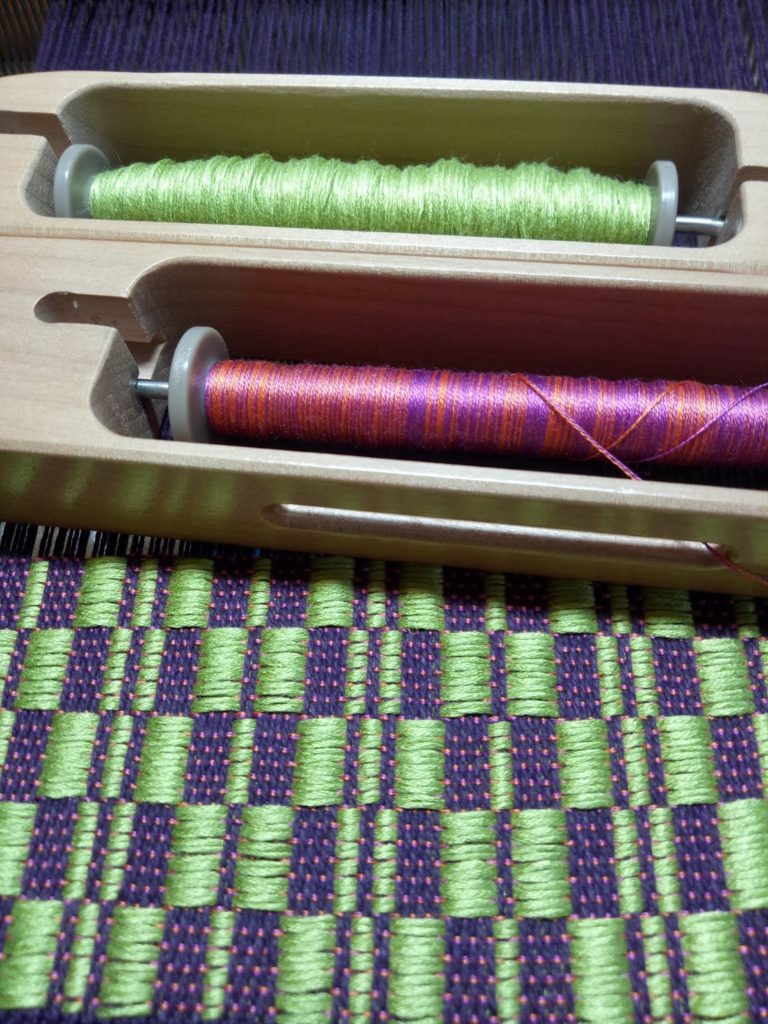
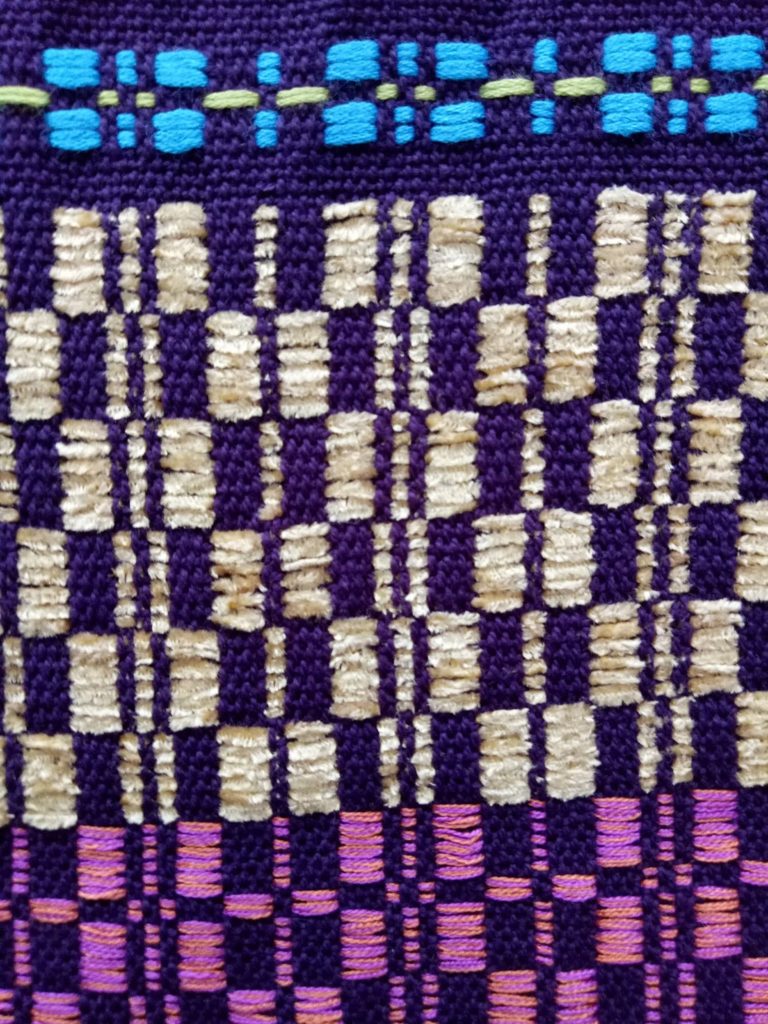
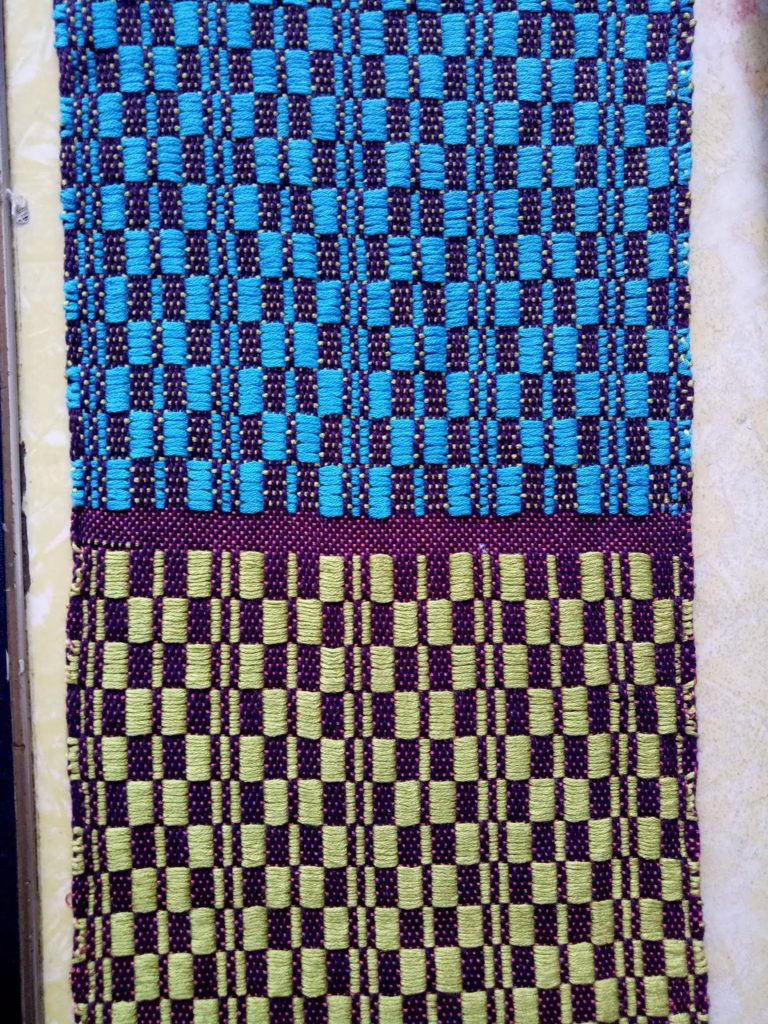
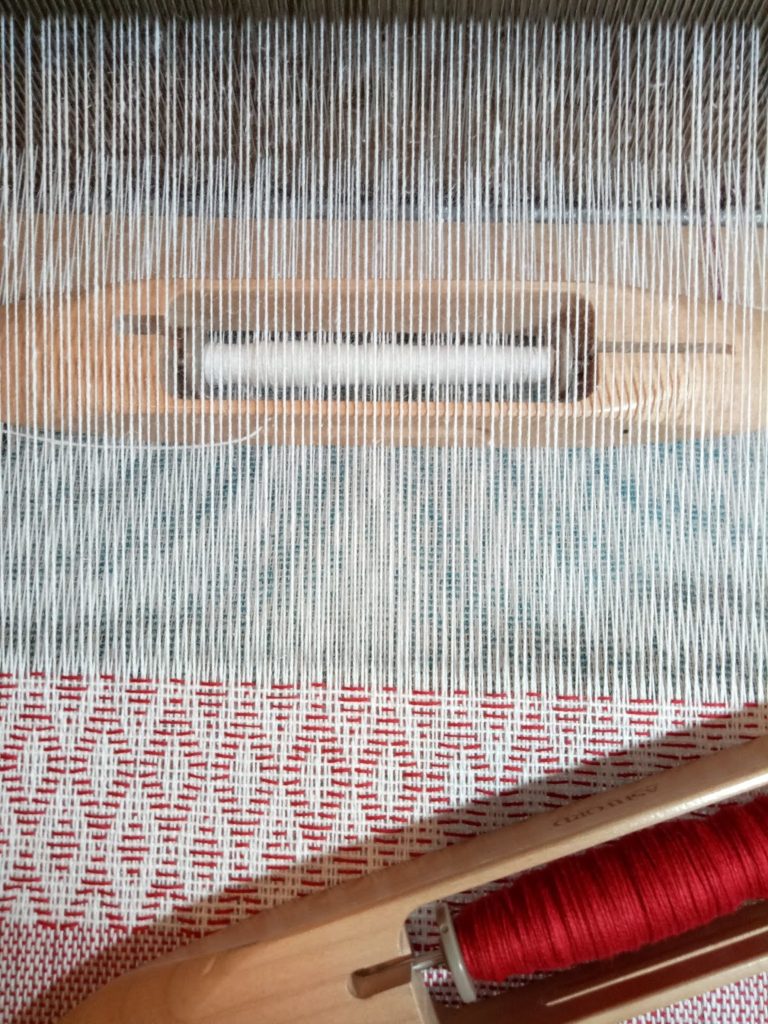
I wanted to show you some of the beautiful student work that was shared during the weave along. Some students followed the class designs exactly, others branched out and used some different colors and some even took the leap to design their own krokbragd bands! 👏👏👏
Bands by Laura
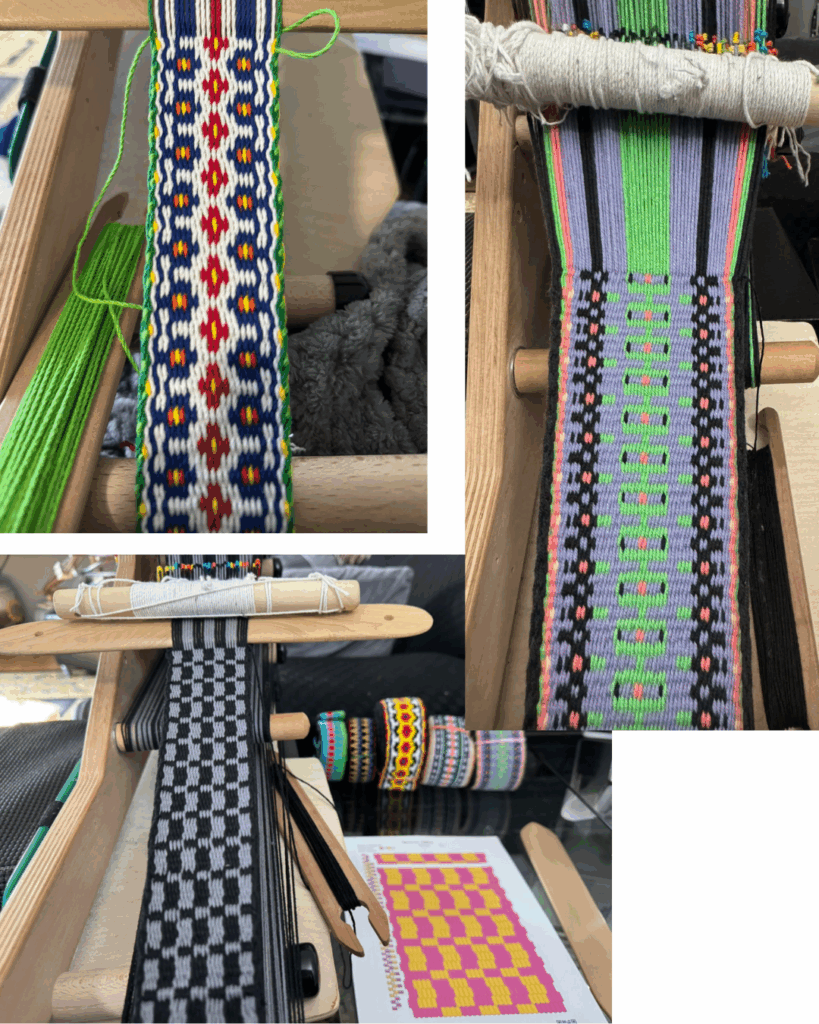
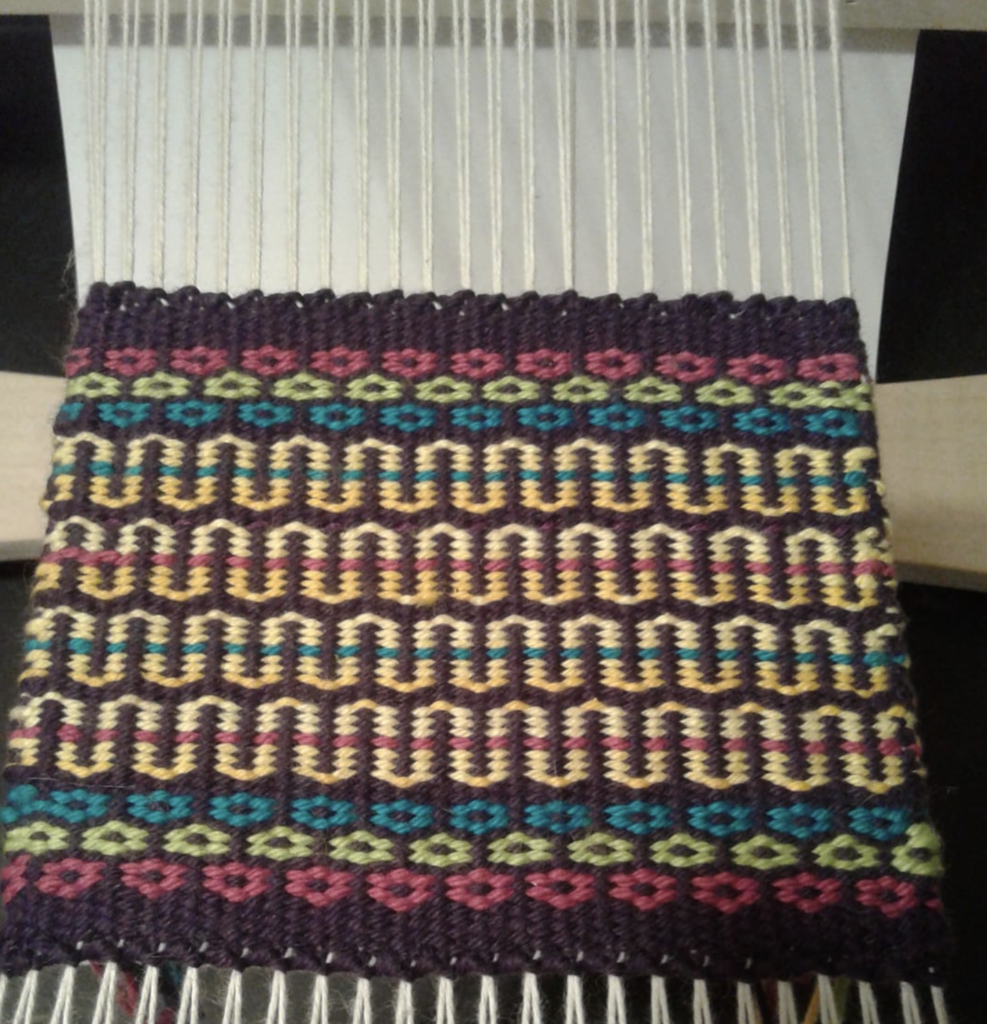
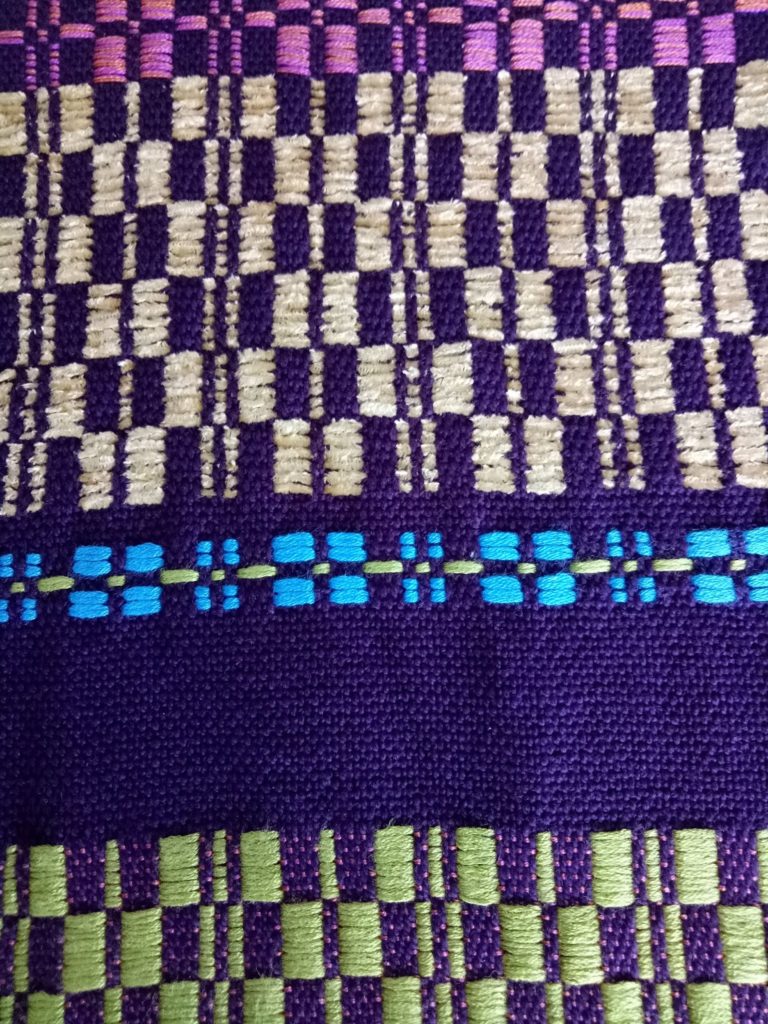
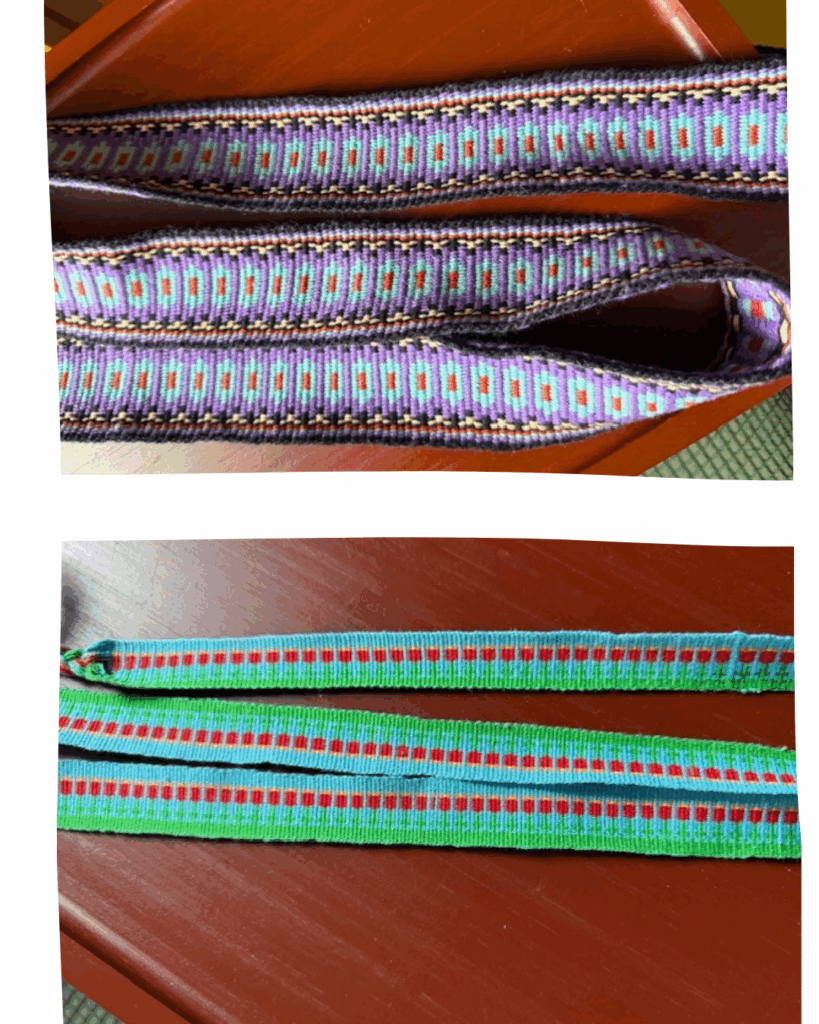
Bands by Barbara
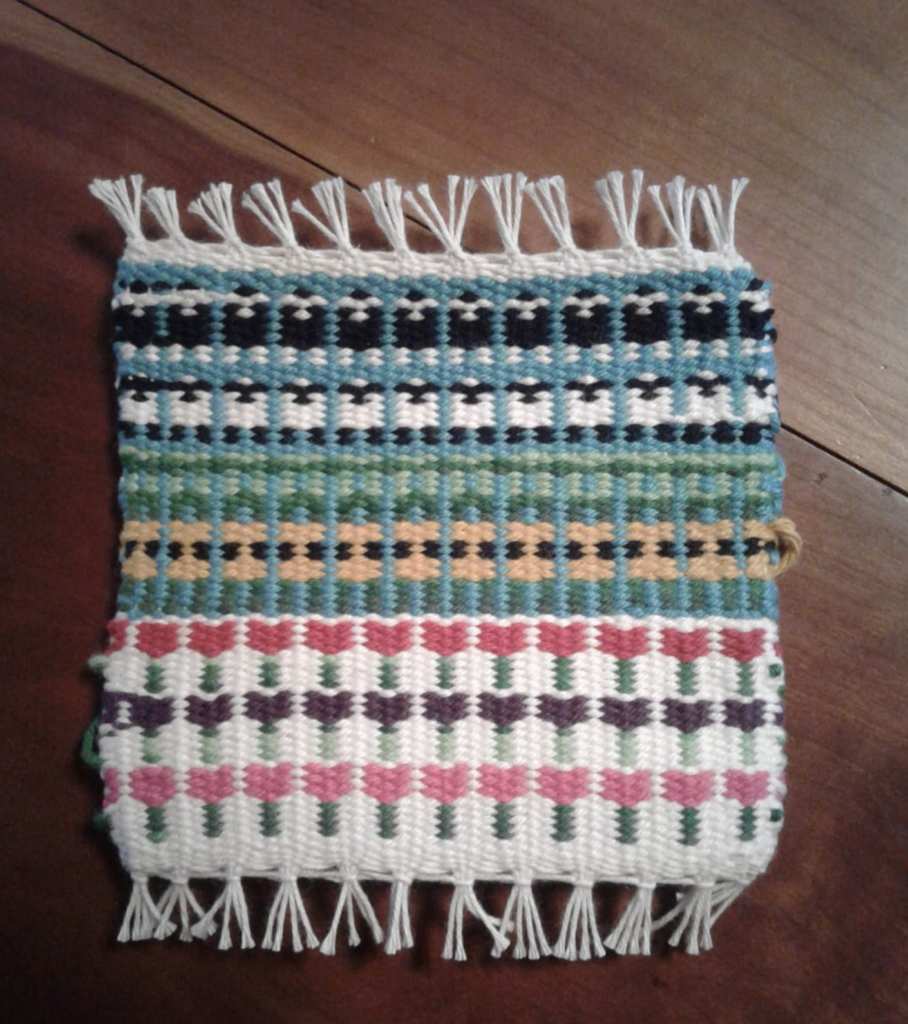
Bands by Leslie

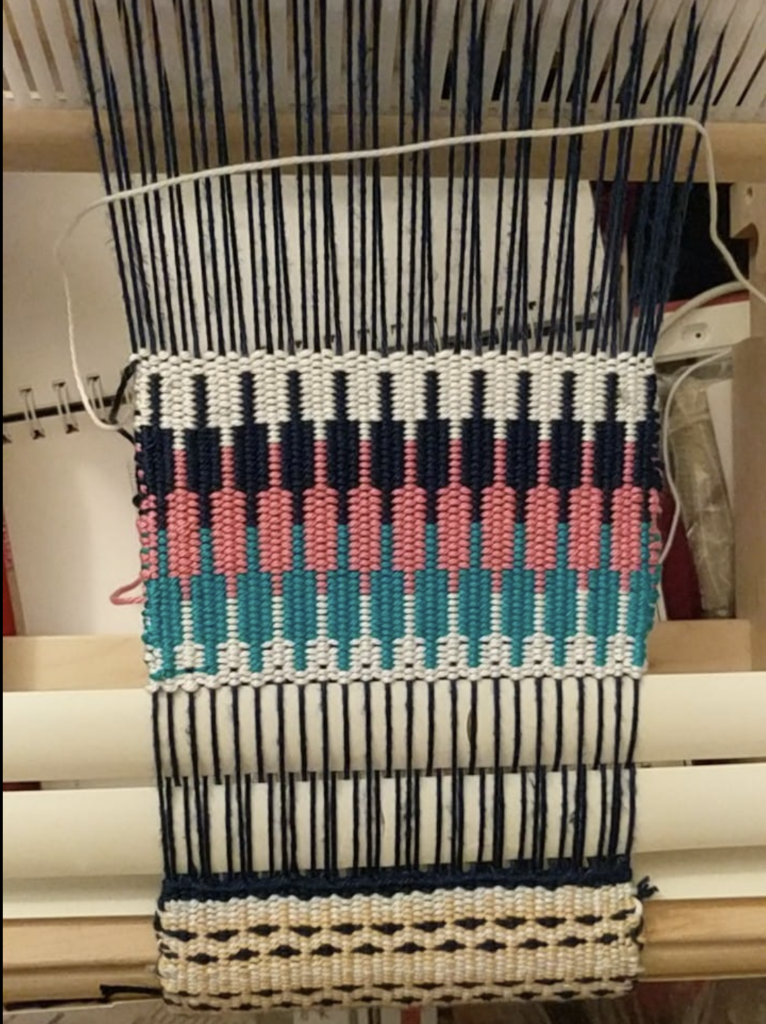
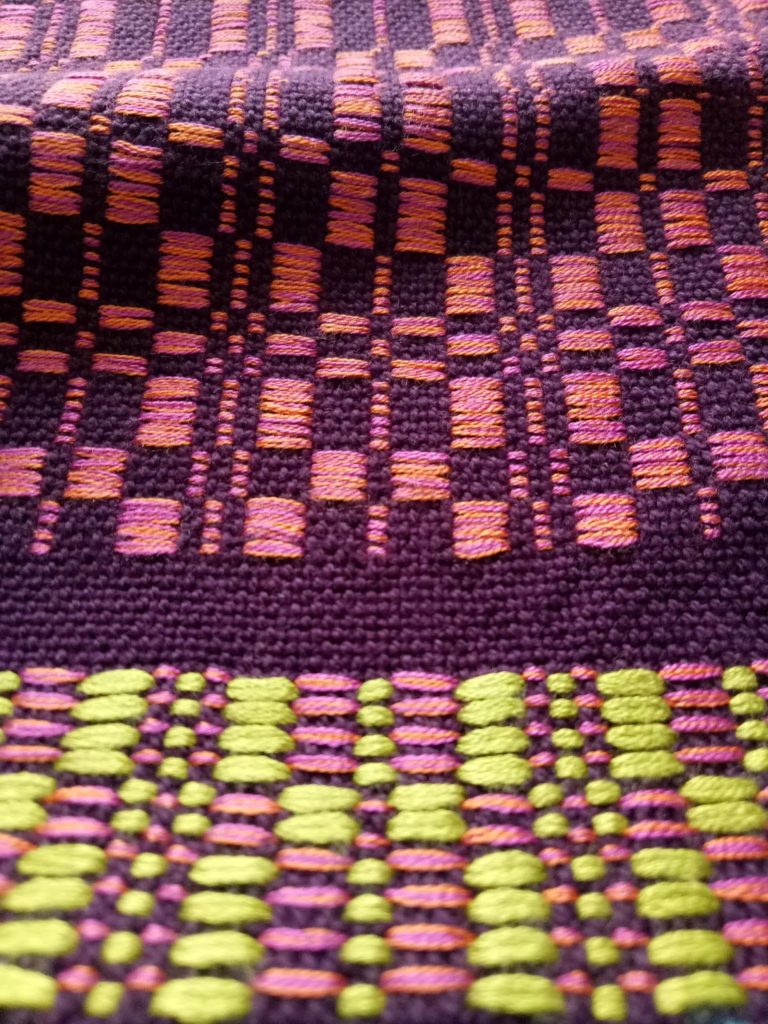
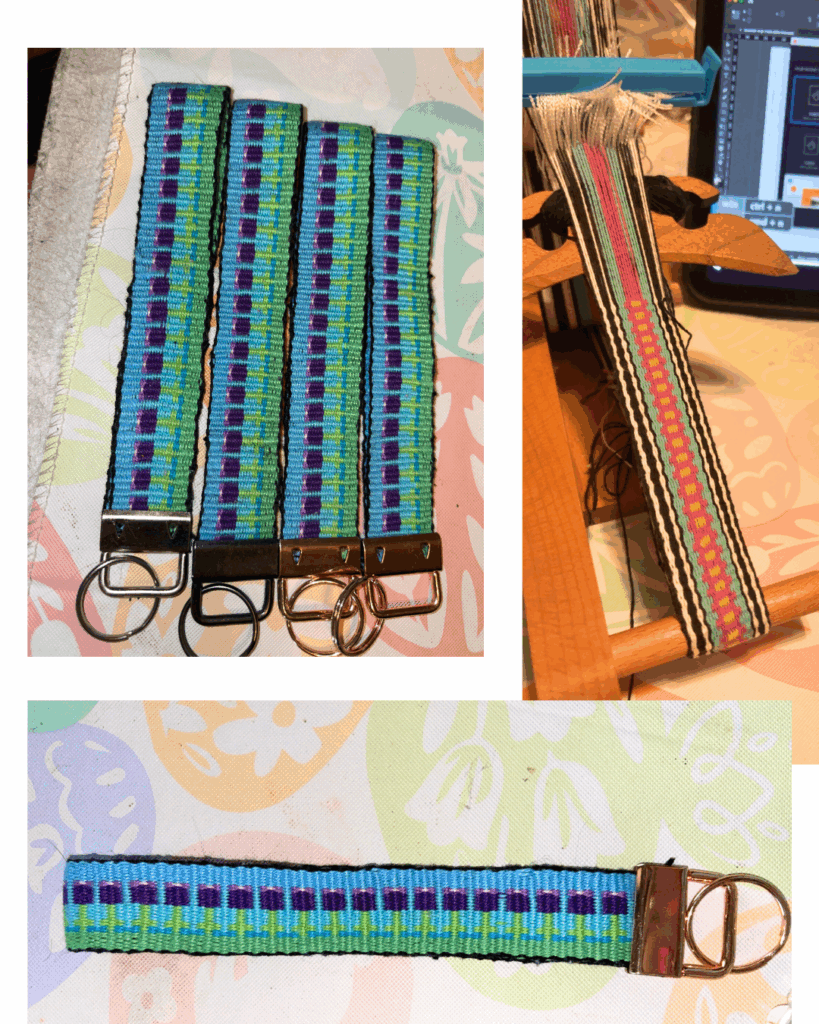
Bands by Loraine
Bands by Monica


I am always impressed to see the willingness to learn and enthusiasm of students. Even when the technique is brand new, they come into the class with an openness that is wonderful to see.
I think you will agree that these bands are absolutely beautiful. I hope you find them as inspiring as I do!
If you are interested in learning how to weave Krokbragd on an Inkle Loom, check out the comprehensive online course and make a start!
Until next time…
Happy Weaving!