I am often asked what weaving looms I use in my studio, and admittedly my collection continues to grow! From smaller and portable rigid heddle looms to larger floor looms, each one has its own role in my weaving journey.
Many looms have come into my possession through having a Youtube channel and Online Weaving School. For my students and followers I try to make resources for a wide variety of looms, skill levels and budgets.
In this post, I’ll give you a peek at my weaving loom collection, what I typically use it for, and where you can learn more about them. I’ll also include links to resources and tutorials so you can explore these looms for yourself.

Starting with the Little Guys
Some of these weaving looms are actually toy looms, but I get a real thrill out of showing people what can be done on a small, economical loom.
Melissa and Doug Frame Loom – You will find a review of this loom here.
Lavievert Toy Loom – find out about my woven blanket project using this loom here.
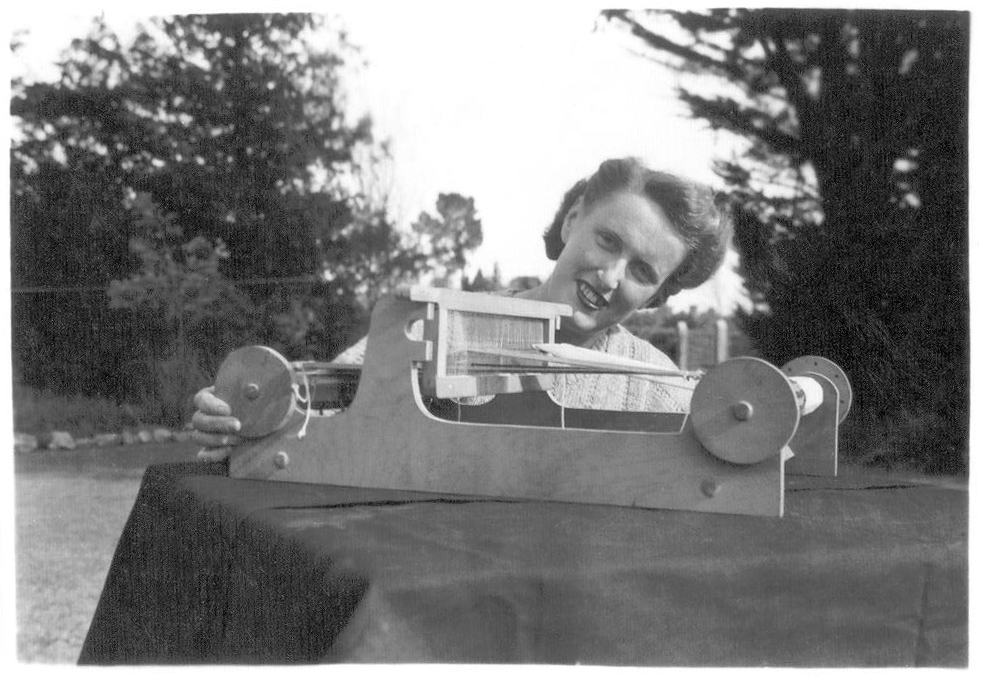
Tomy Hobby Girl Loom (This loom is no longer manufactured but can be found second hand if you’re lucky! I have a resource page here).
Schacht Zoom Loom (At the time of writing this loom is new to me and I’m still playing around with it 😊)

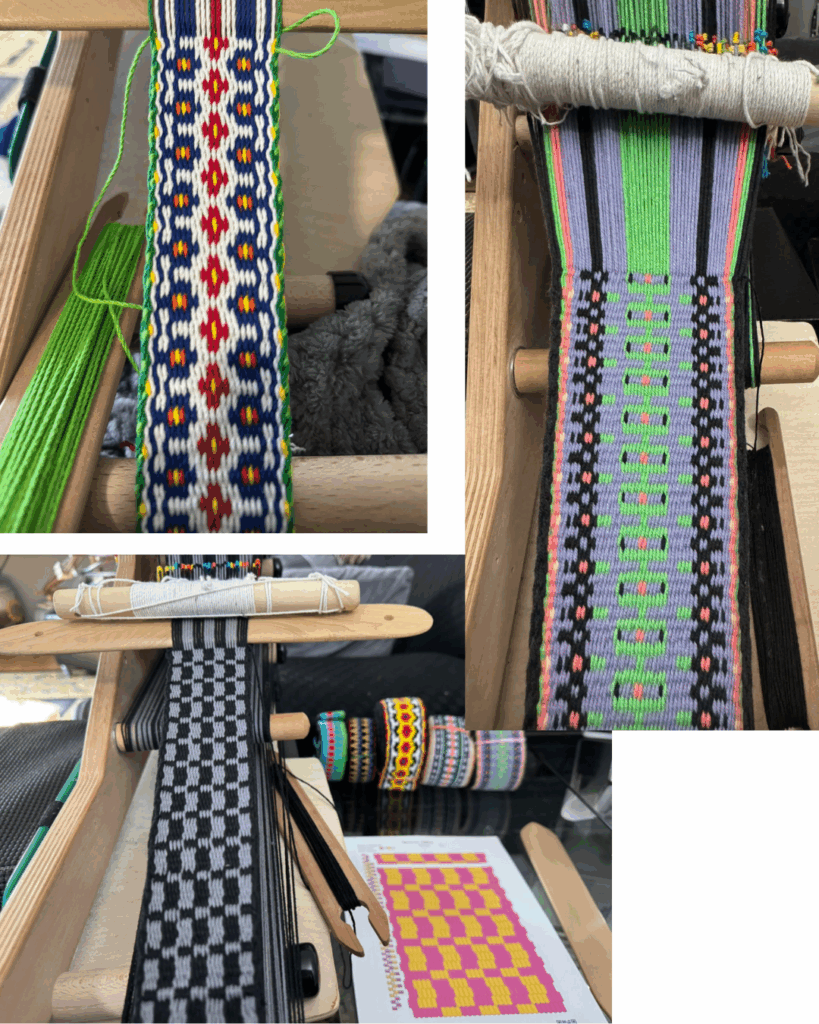
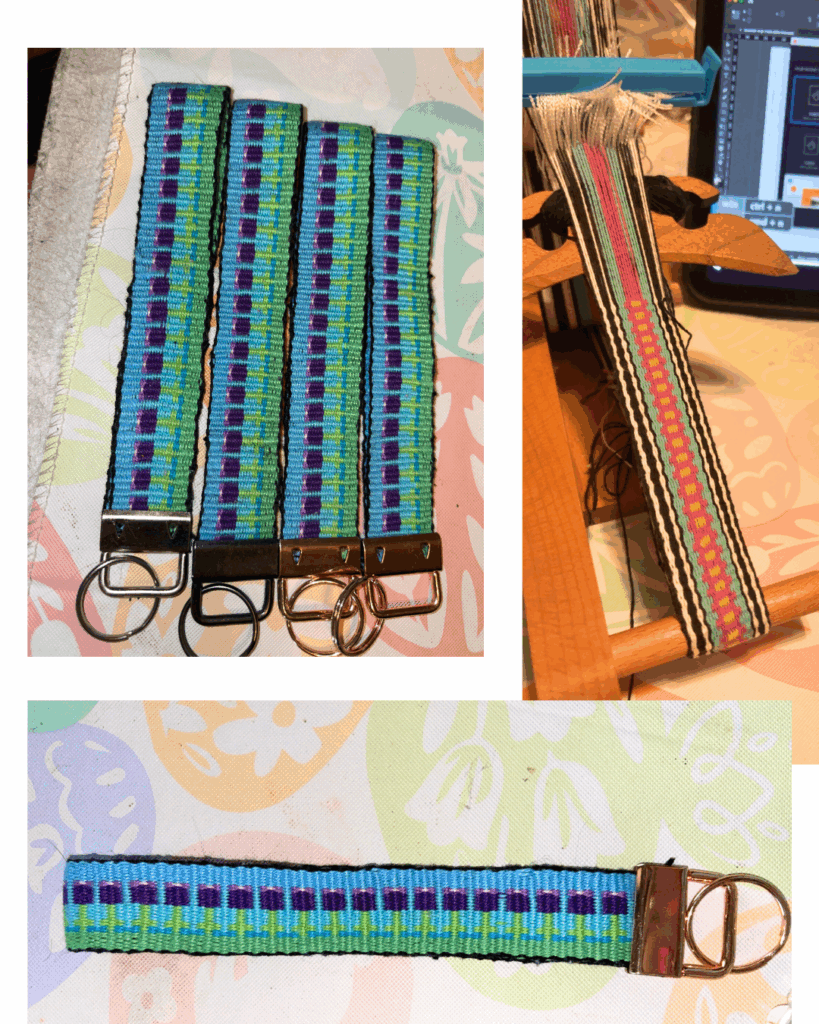
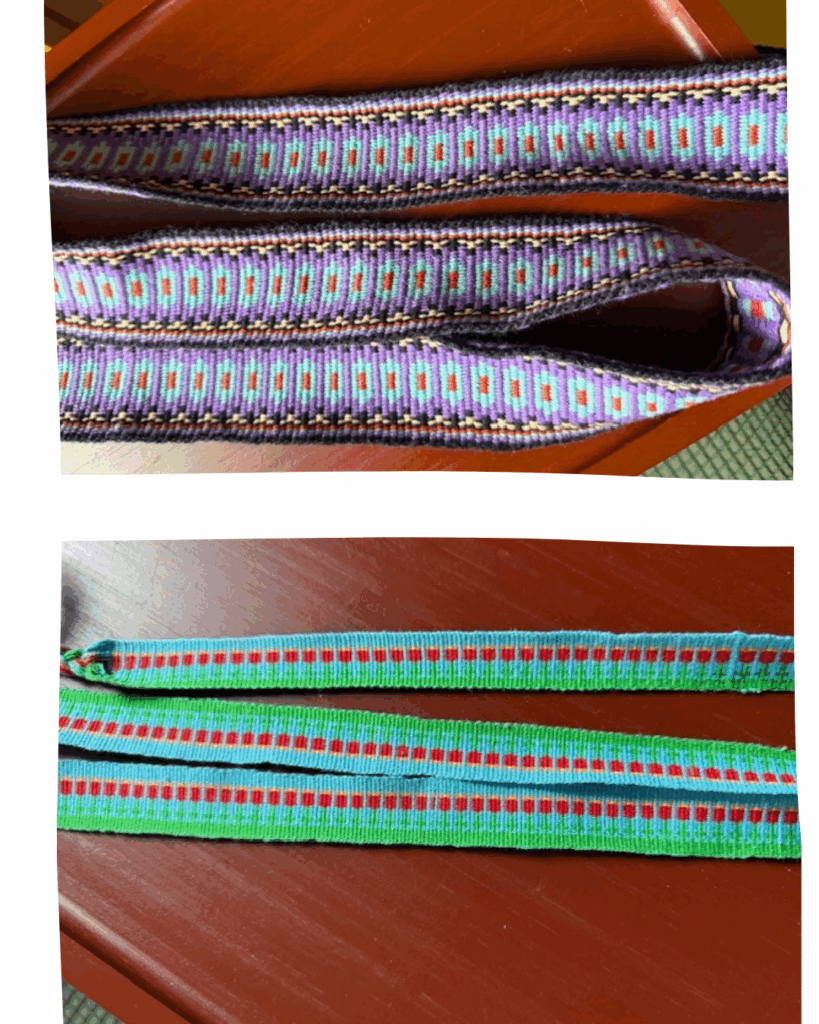
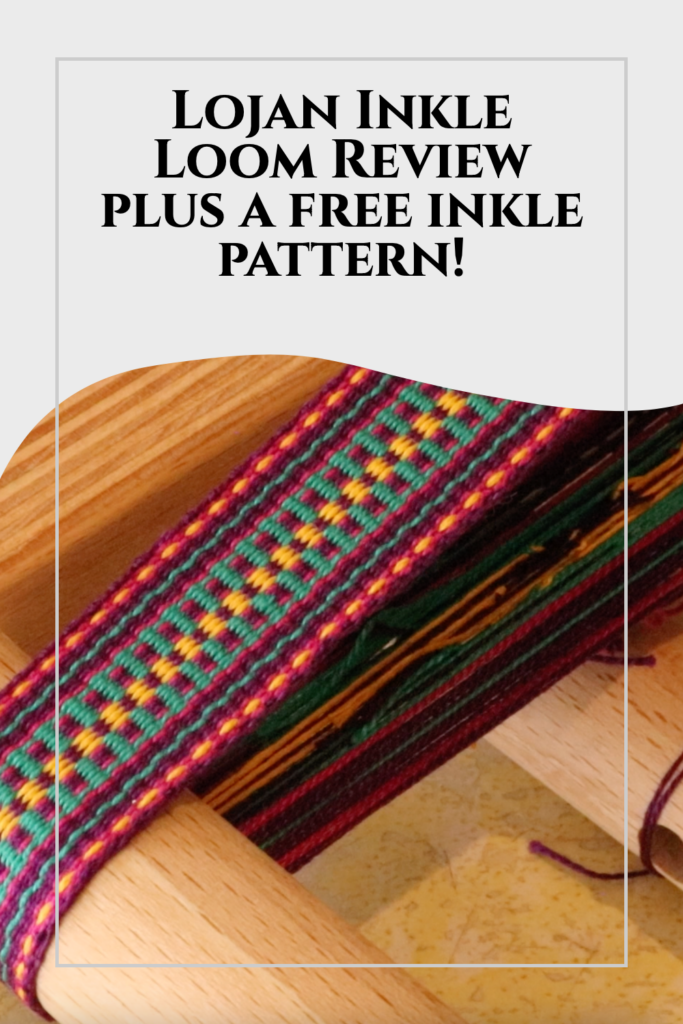
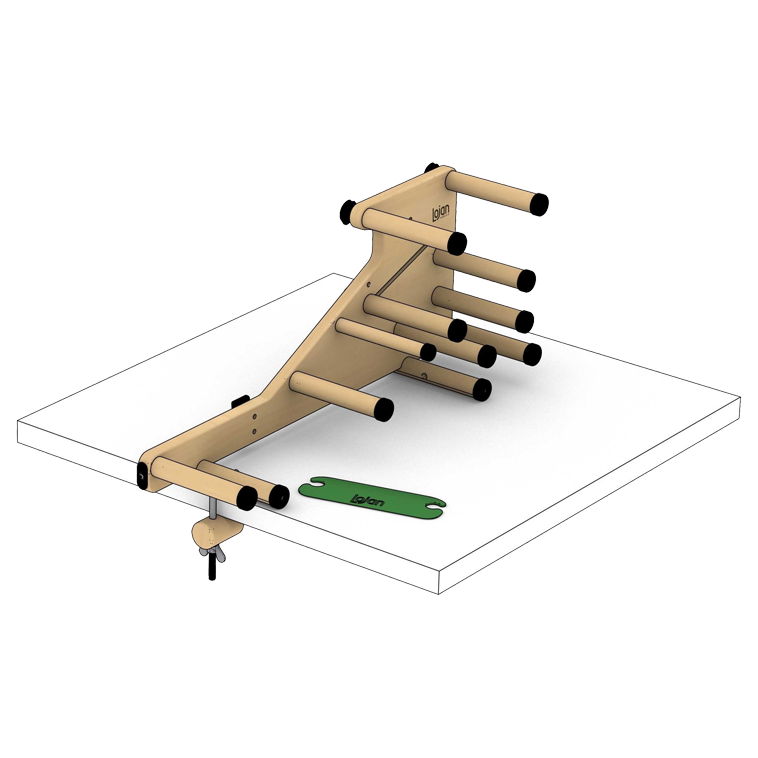
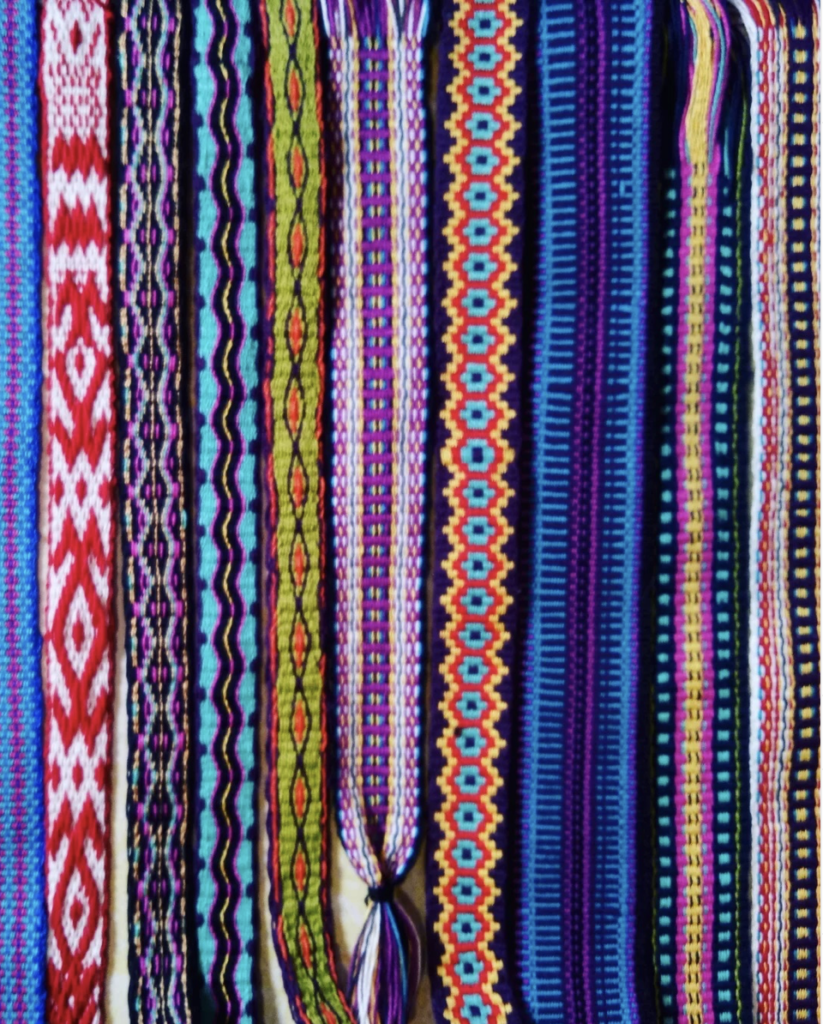
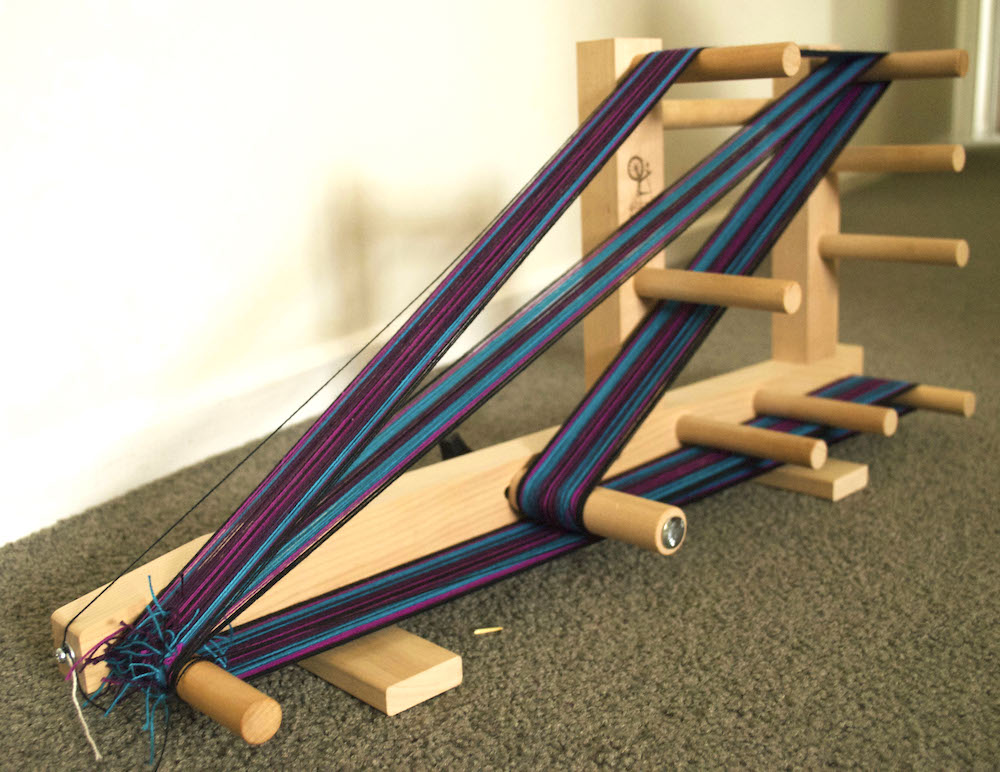
Lojan Inkle Loom (Read the review and grab a free inkle pattern here).
Medium Sized Looms
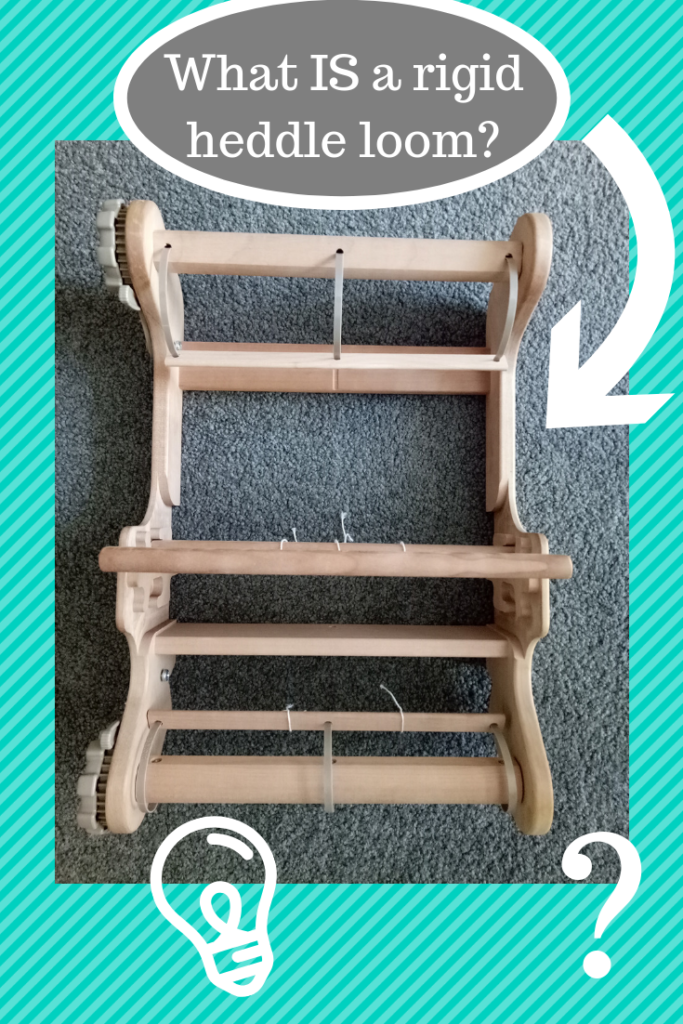
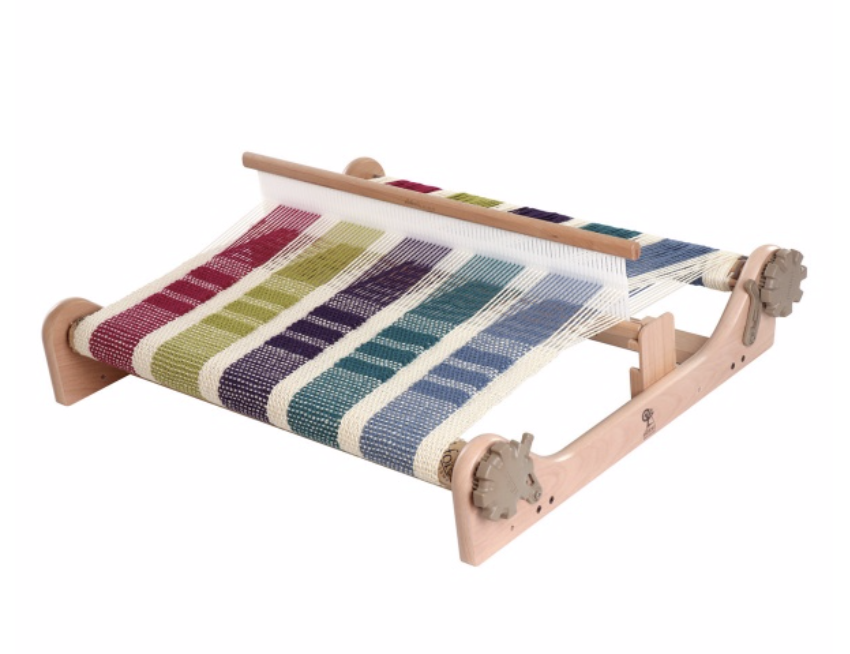
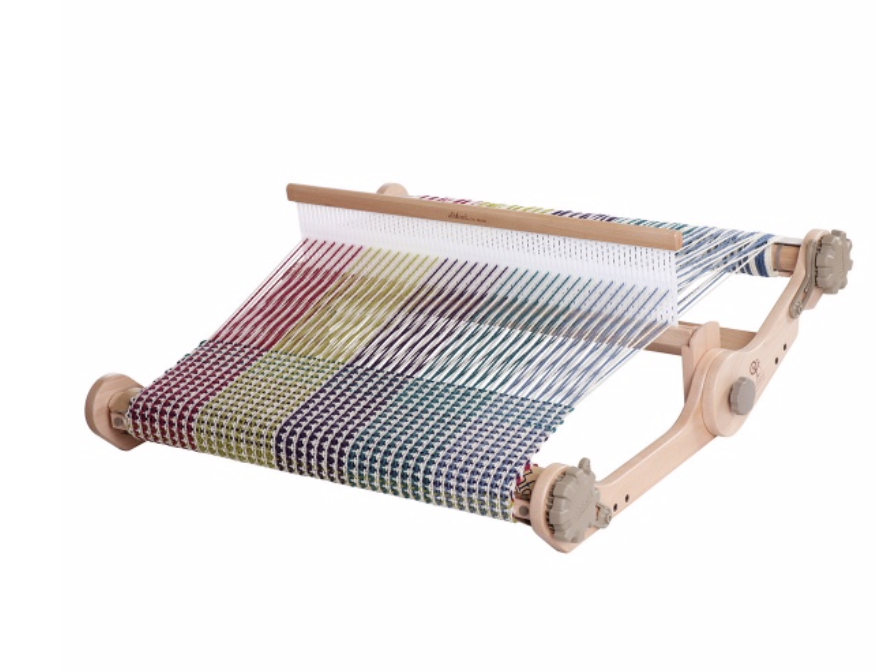
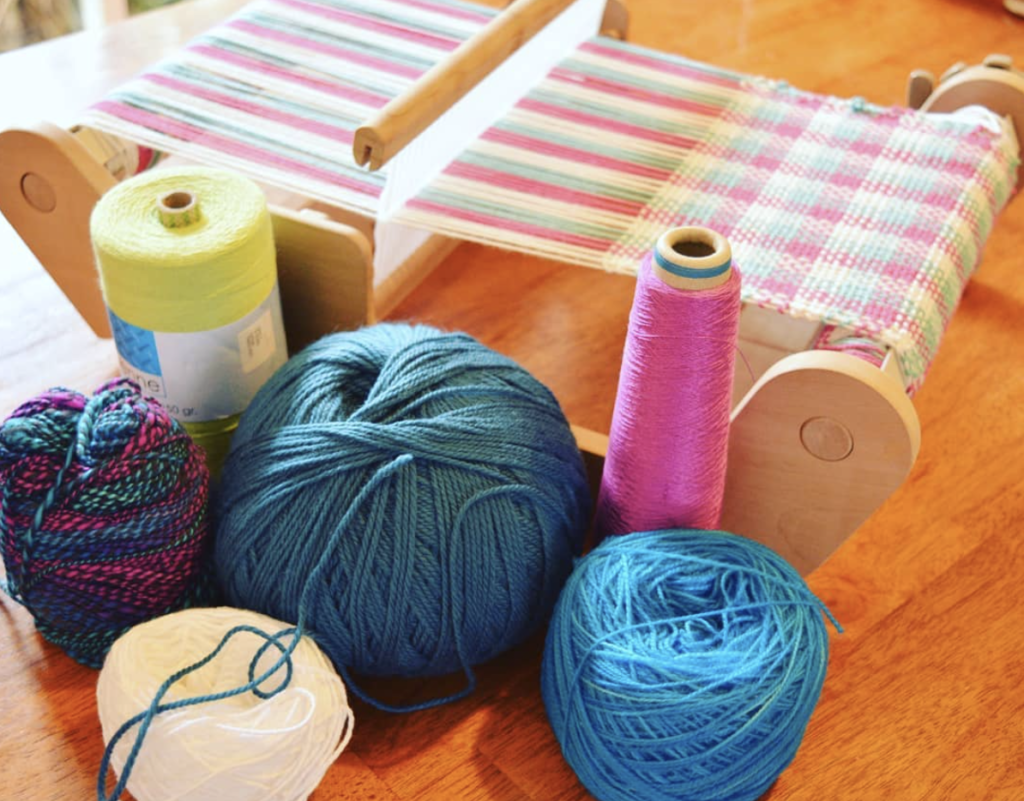
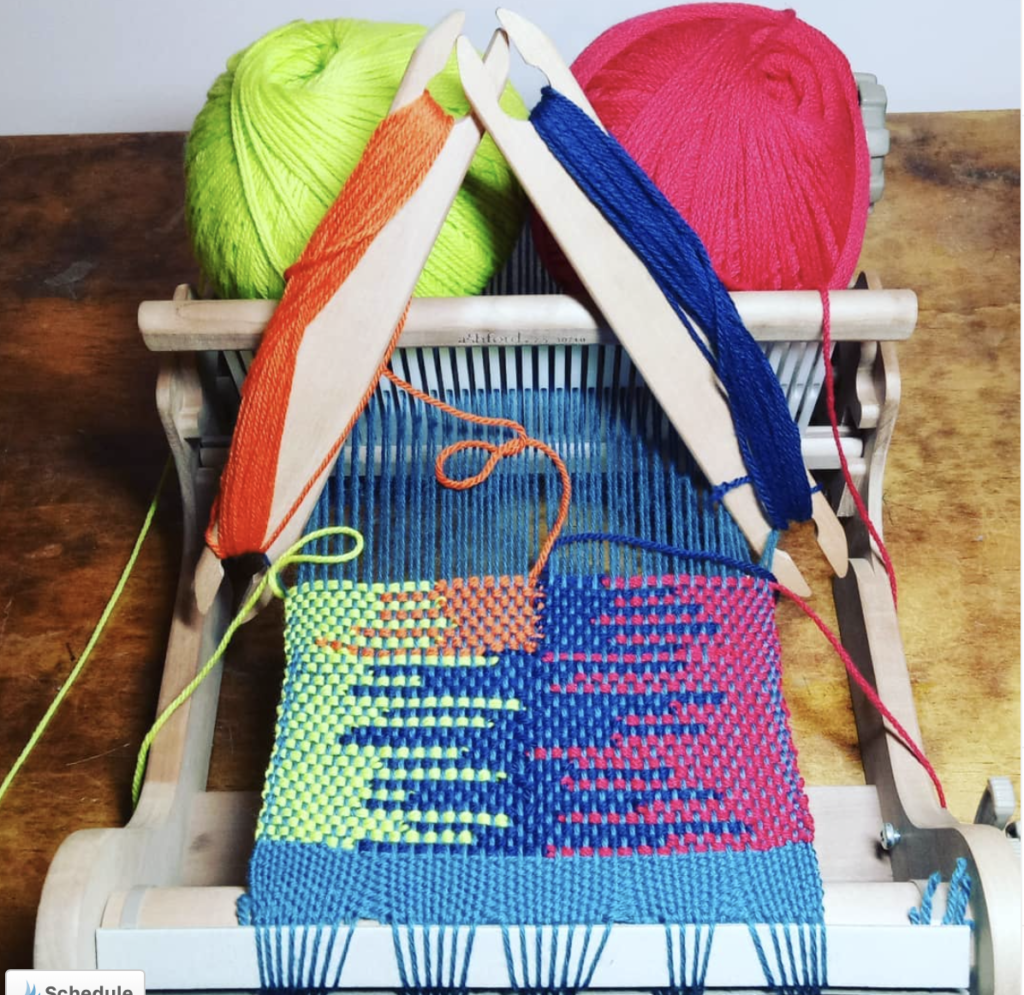
Ashford 24″ Rigid Heddle Loom and Stand (I have a review of this loom here).
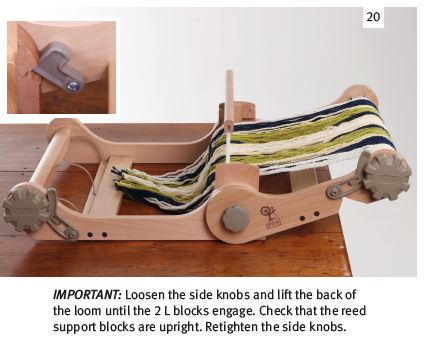
Lojan 50cm Flex Rigid Heddle Loom and Stand (Review is available here).
Lojan 50cm Flex Table Loom Conversion Kit (Find out more about this here).

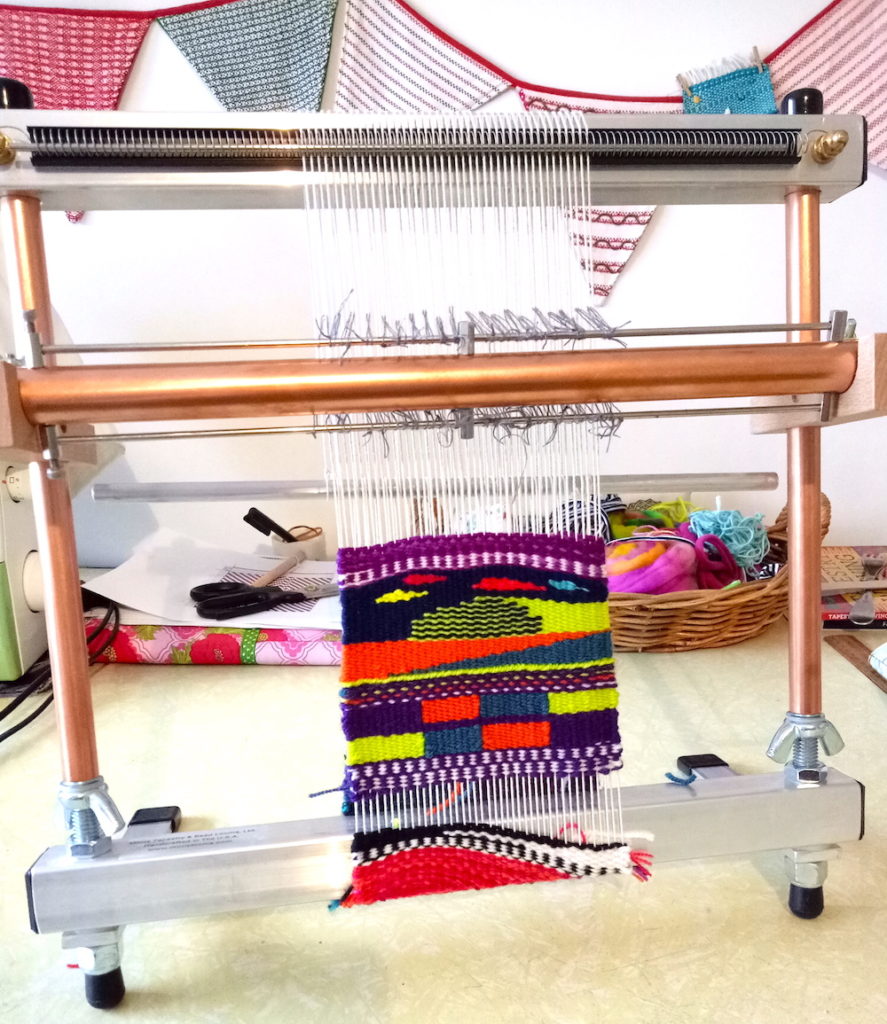
Mirrix Big Sister 16″ Tapestry Loom (Check out my review here).
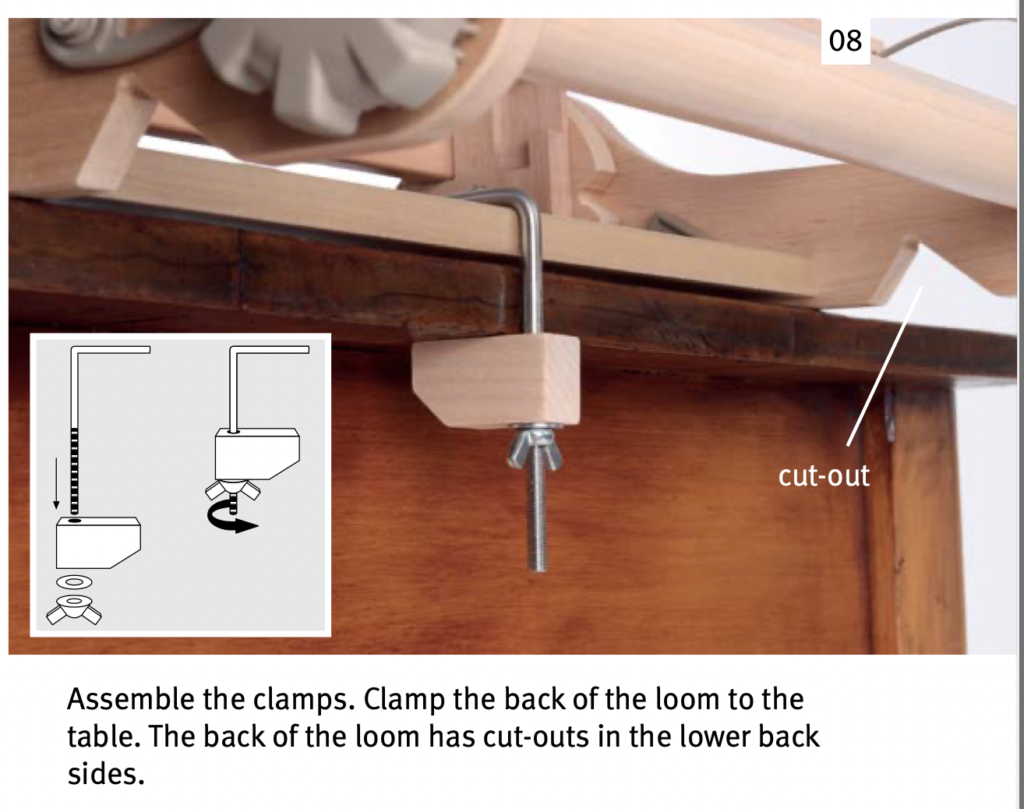
Ashford 8 Shaft 16″ Table Loom (I have an assembly tutorial for this loom here).
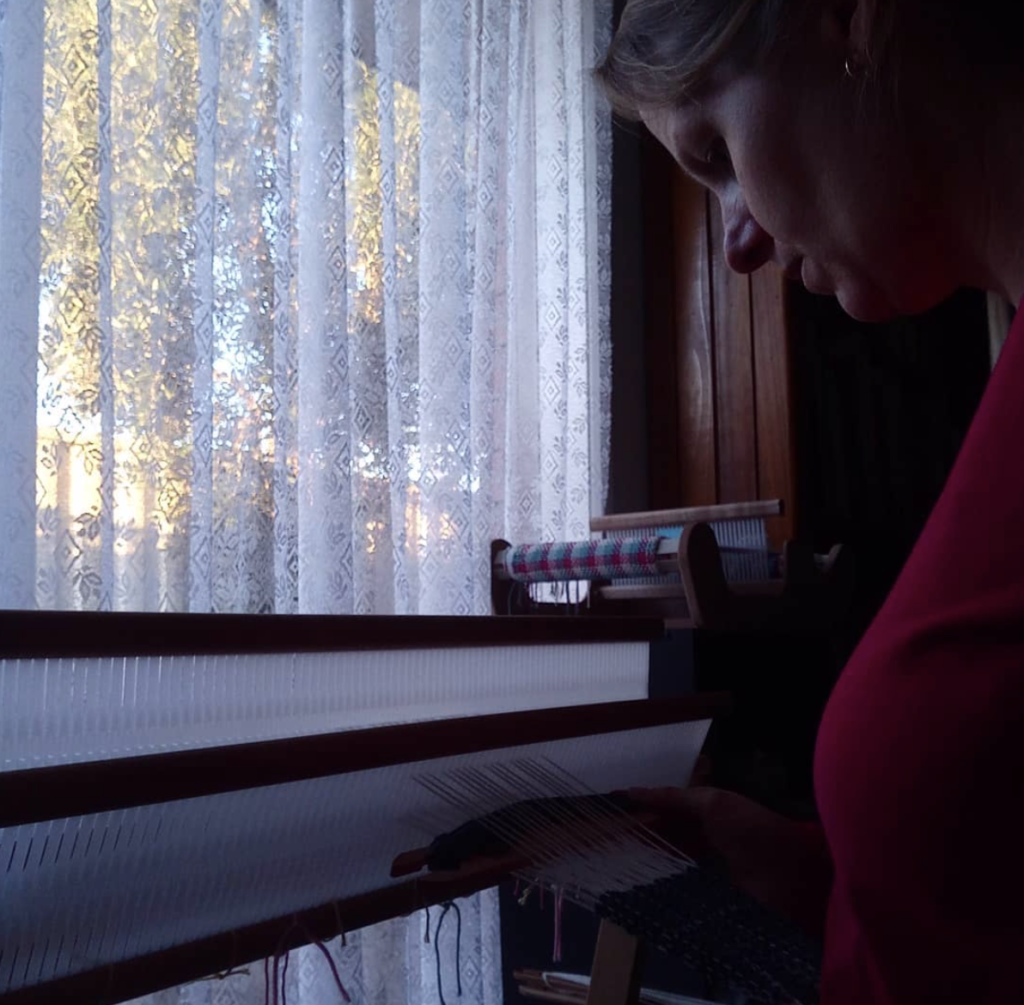
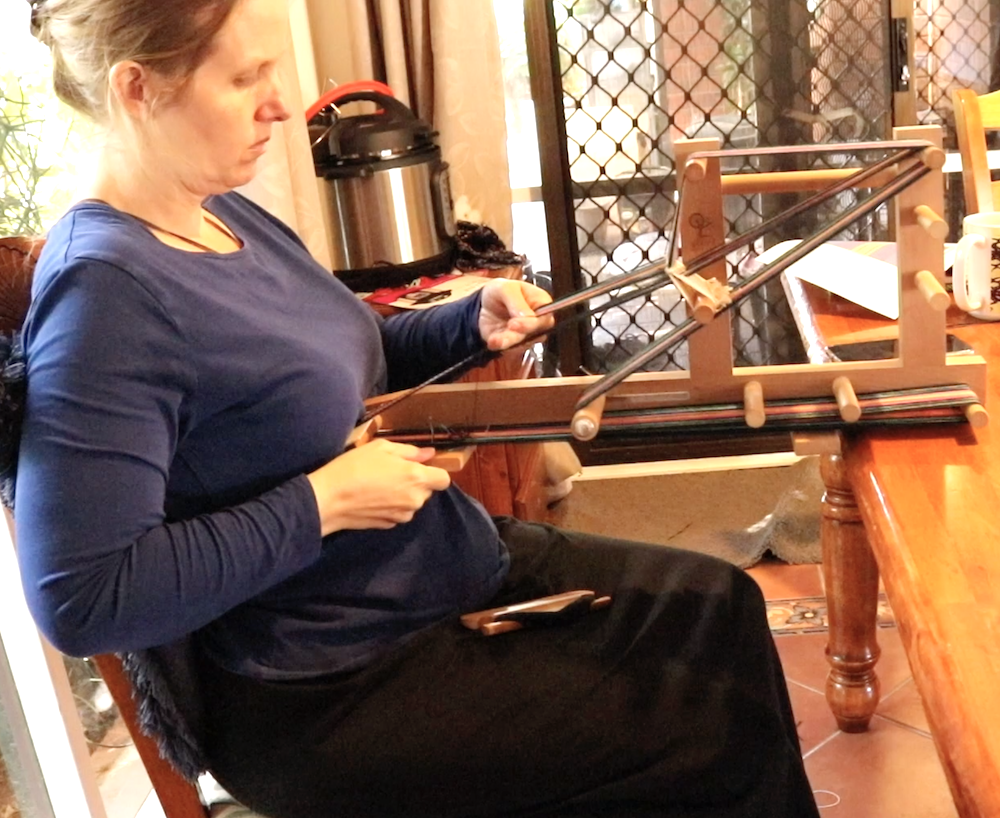
The Heavyweights
Louet Jane 16 Shaft 90cm Table Loom and Stand (At the time of writing this page, I have just purchased this loom. More resources to come later!)
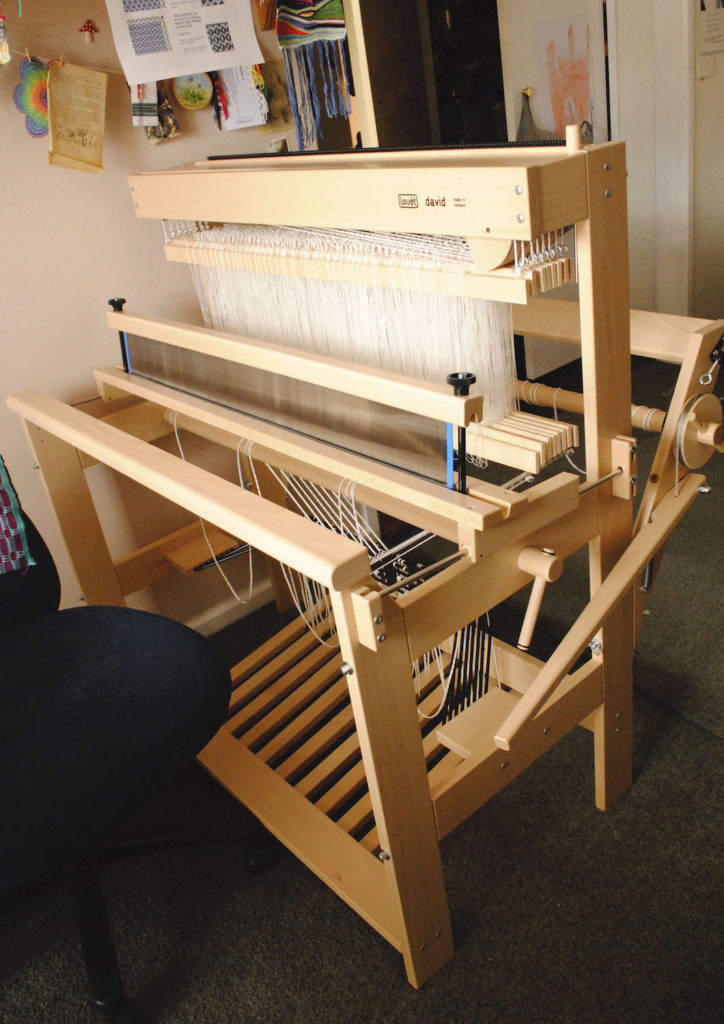
Louet David 8 Shaft 90cm Floor Loom (I have a detailed resources page for this loom here).
Finlandia Berga Savonia 10 Shaft 150cm Countermarch Floor Loom (This vintage loom is no longer manufactured but you can check out my review here).

Further Resources
As a weaver and online creator for 10 years I have a multitude of resources for anyone interested in getting started in weaving. Or perhaps you’re already weaving but looking to learn more?
This website you’re on right now is the perfect place to start. Use the toolbar in the top right corner to search what you’re looking for and be prepared to go deep down the rabbit hole! 🐰
The Online Weaving School is my best resource for weavers. I’ve put countless hours into classes for inkle, rigid heddle, table loom and floor loom weaving. No matter what skill level you are currently at, there will be a class to suit you!
But today I will list my beginner classes, as that is where most students tend to start:
Rigid Heddle Weaving Beginner Class
Table Loom Weaving Beginner Class
Floor Loom Weaving Beginner Class
I hope this article has given you a solid idea of the looms I own and more importantly, has inspired you in your own weaving journey ❤️
Until next time…
Happy Weaving!