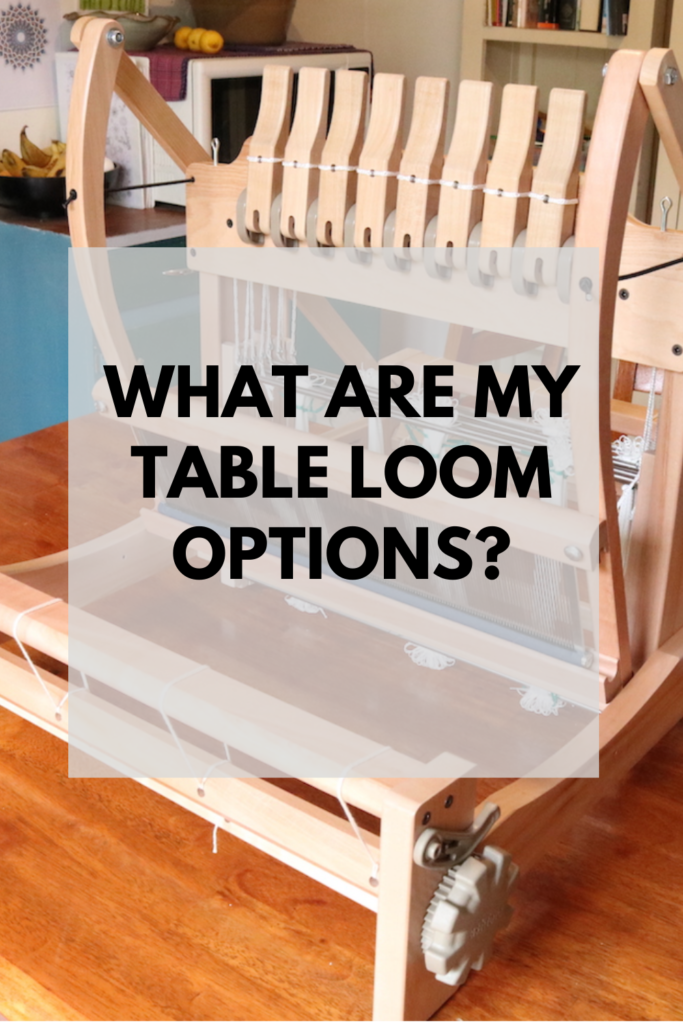
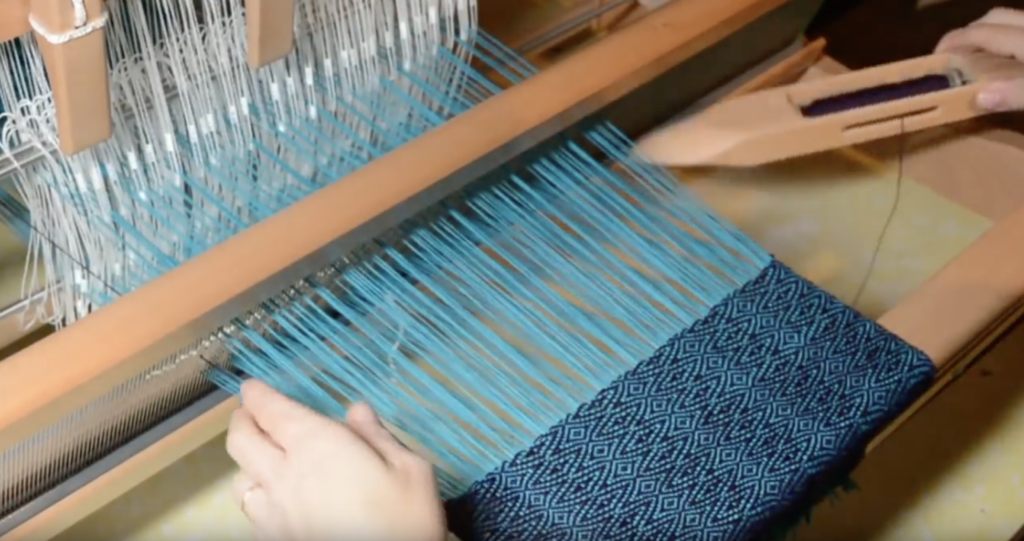
It’s a question that pops up in my inbox so frequently: “Which table loom should I buy?“ Specifically, the debate usually centers around the Louet Jane versus the Ashford Table Loom.
Now that I have extensive experience with both – and have recently spent quite a bit of time with the Lojan Flex as well, I can finally offer a comparison. Each of these looms has a distinct “personality, and style” and the right choice really depends on your budget, your space, and to some extent, personal preference.
As a disclaimer, all comparisons and thoughts shared here are my own, based on my experience. Experiences and preferences differ, so please keep that in mind as you read 😉
The price comparisons I give are relevant to the time this article was written and are subject to change. All pricing given is in USD and sourced from The Woolery and Revolution Fibers.
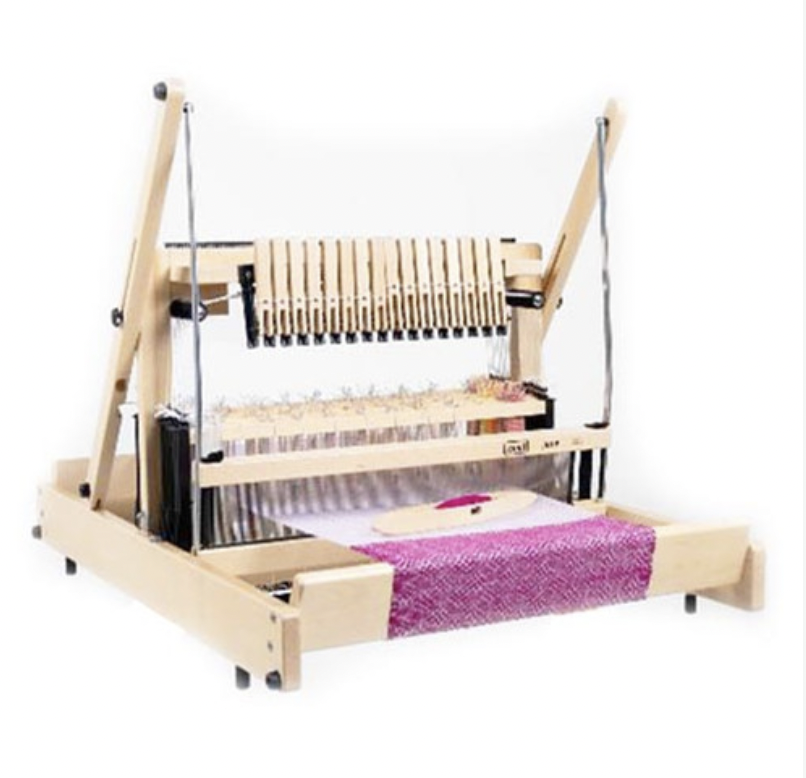
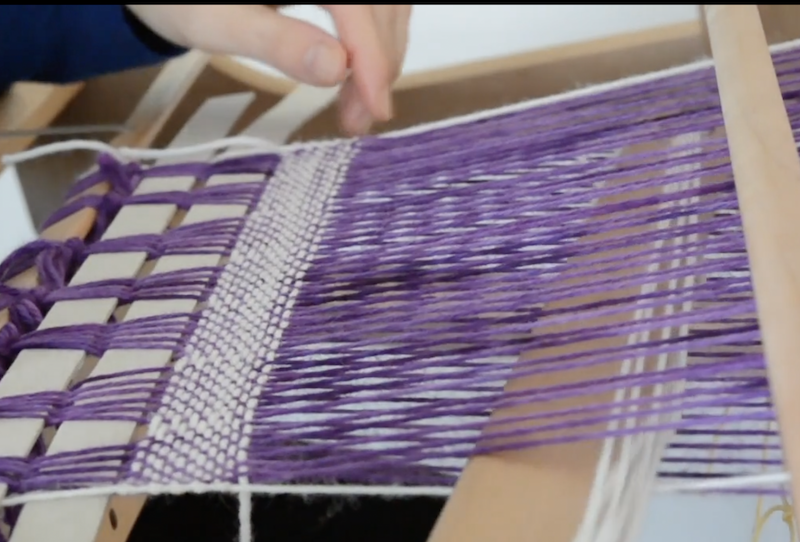
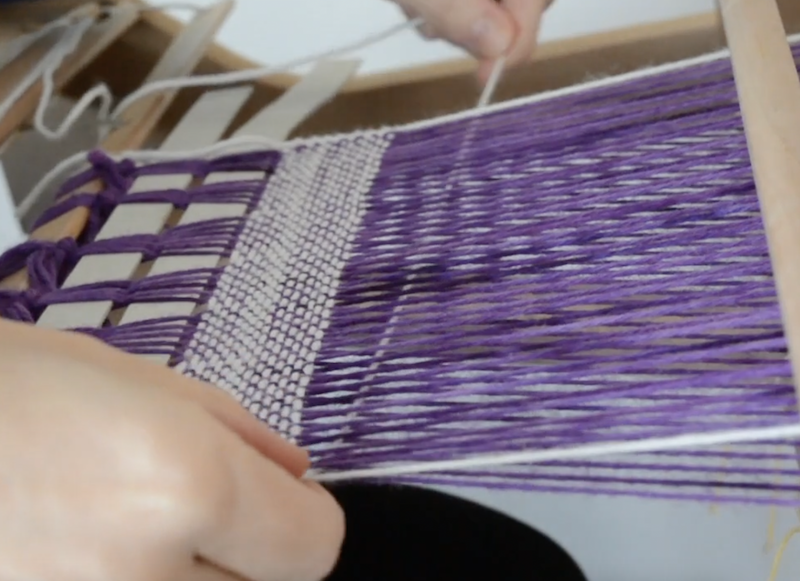
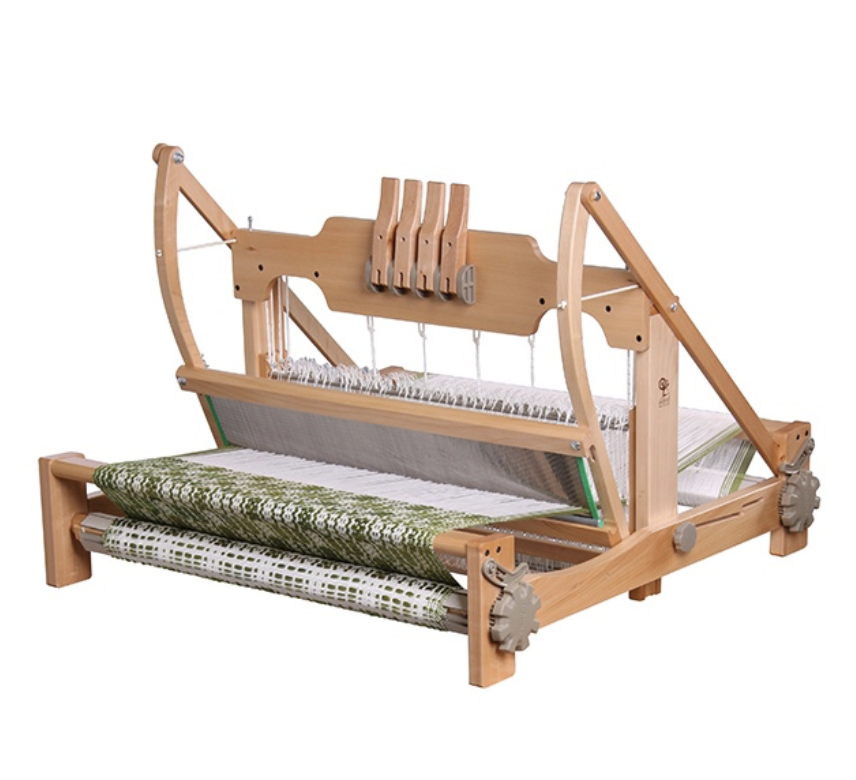
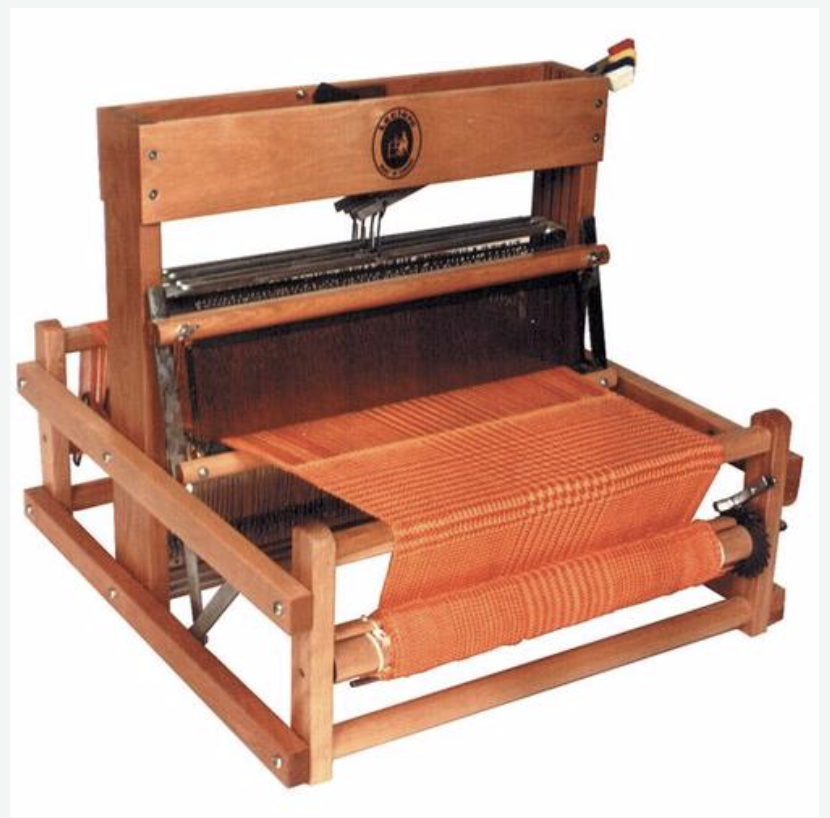
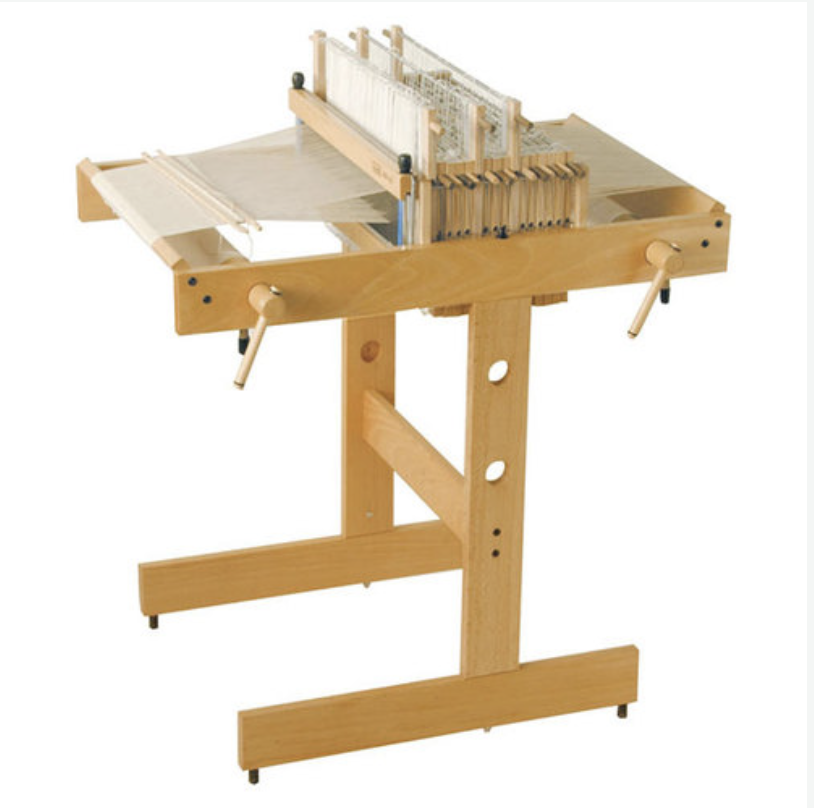
1. The Louet Jane (16 Shaft, 90cm)
The Jane is often considered the “luxury vehicle” of table looms. It is a workhorse designed for weavers who want floor-loom capabilities in a smaller footprint.
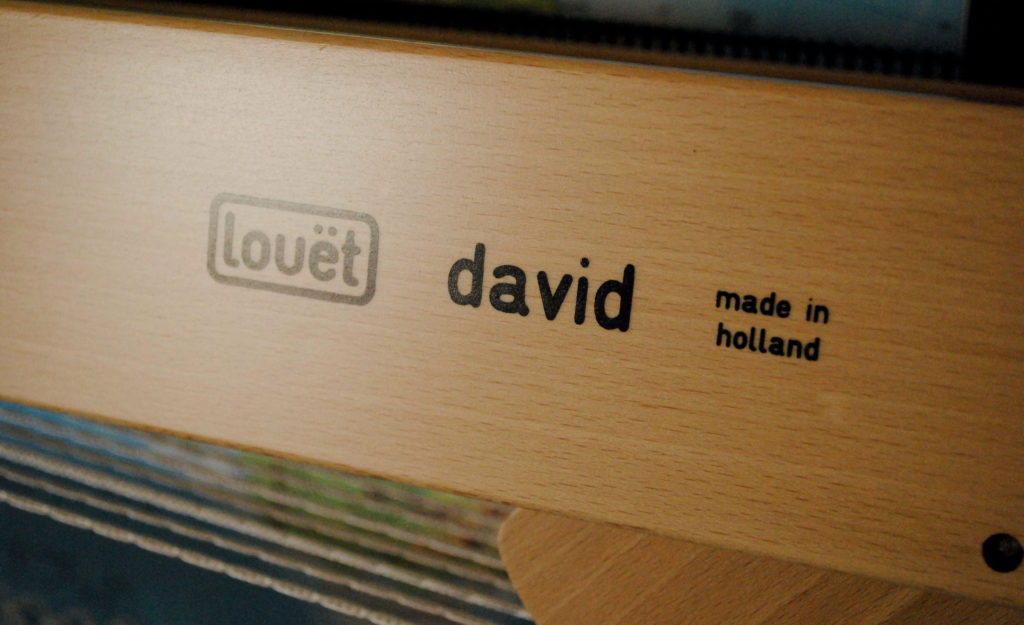
When my very first Jane arrived and I began the assembly process, it all felt so very familiar. Louet looms are made and designed with a distinct look and feel, and as I have owned a Louet David Floor loom for many years, I already felt that I knew the Jane table loom to some extent.
Louet looms have a smooth and shiny finish, are sleek and beautiful to look at.
Pros:
- Exceptional Sturdiness: This loom feels incredibly solid. There is very little “give” when you are weaving, which translates to high-quality cloth.
- High Tension: If you like to weave with a firm warp, the Jane handles it beautifully without any bowing or straining.
- Floor Loom Vibes: I bought the floor stand with my 90cm Jane, as it’s a large loom and I didn’t want to have to weave standing. Using it on the stand really feels similar to using a floor loom, without the treadles.
Cons:
- The Price Tag: This is a significant investment. It is comfortably the most expensive option of the three.
- Threading Ergonomics: Because the 16-shaft model is quite deep, you are reaching back a fair distance to thread. When mounted on a stand, finding the right “sweet spot” for height can be a bit of a challenge for your back.
- Lever Feel: While the levers are functional, they feel a bit different than the Ashford style; it’s a matter of personal preference, but they take some getting used to.
- No Treadle Kit: If you don’t like using levers to operate your shafts, this may not be the loom for you. There is no treadle kit available.
Price:
The 8 Shaft Expandable (can be upgraded to 16 shafts) 50cm Louet Jane retails for $1841 USD
The 16 Shaft 50cm Louet Jane retails for $2,279 USD
Helpful Resources for the Louet Jane:
Louet Jane 16 Shaft Assembly Video
Louet Jane 16 Shaft Table Loom Review
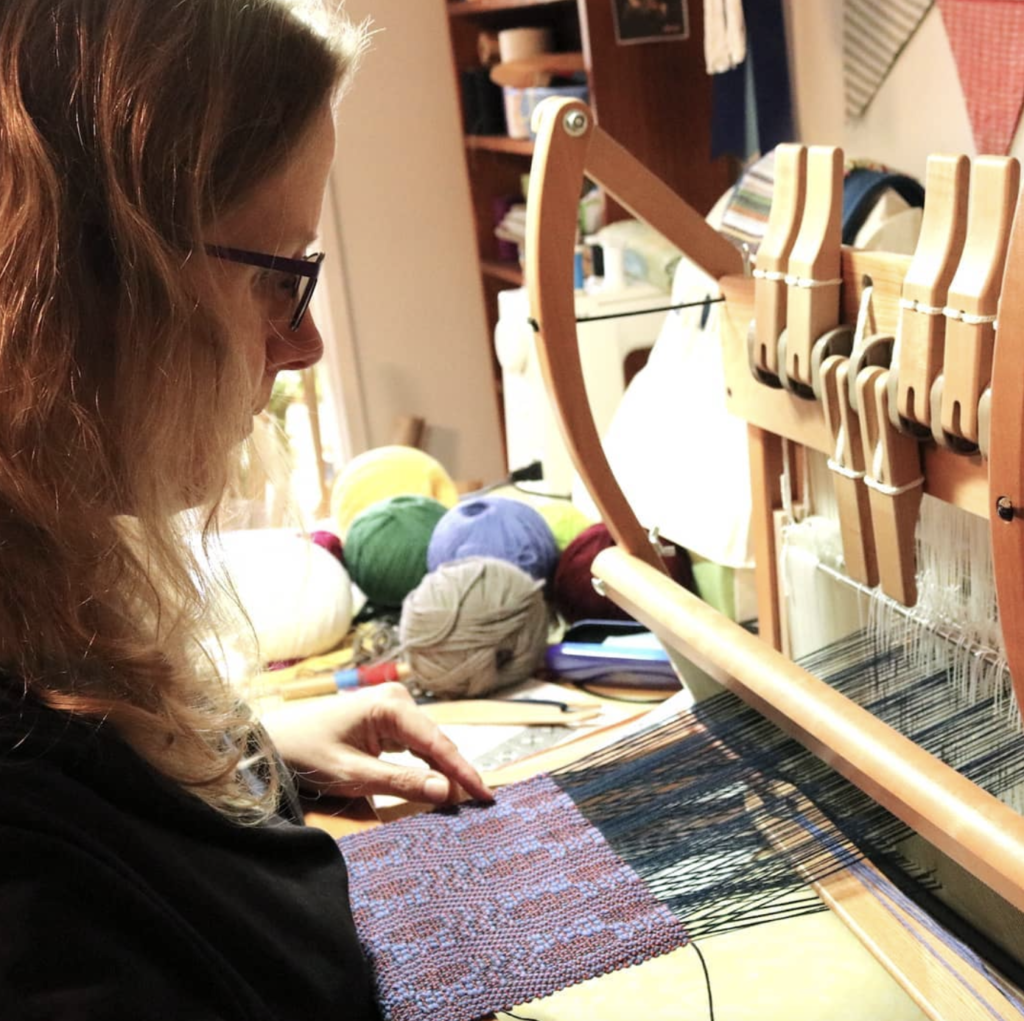
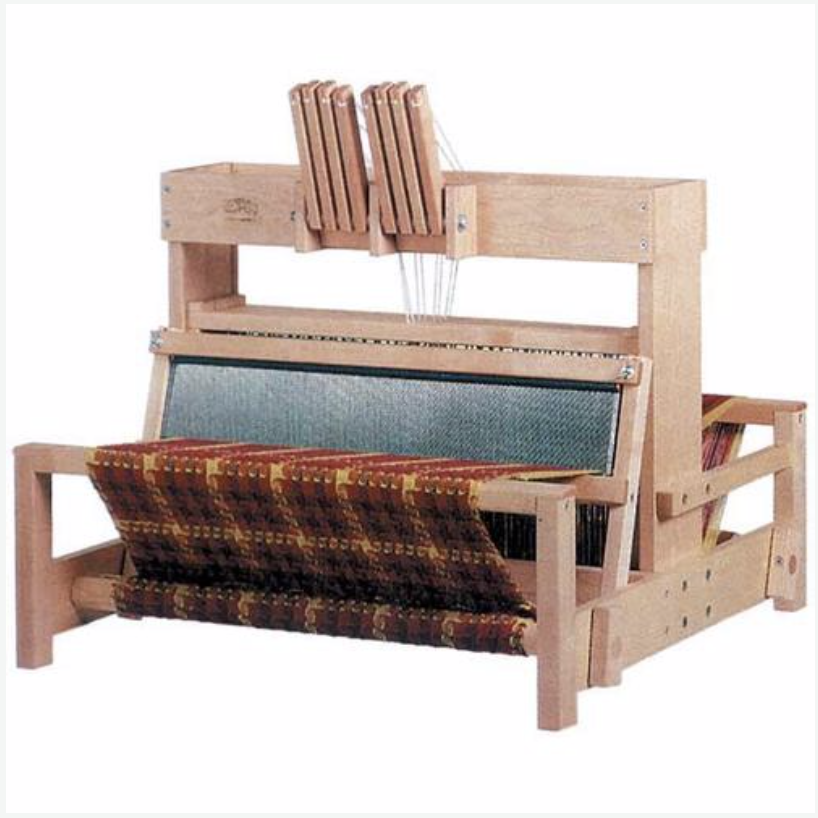
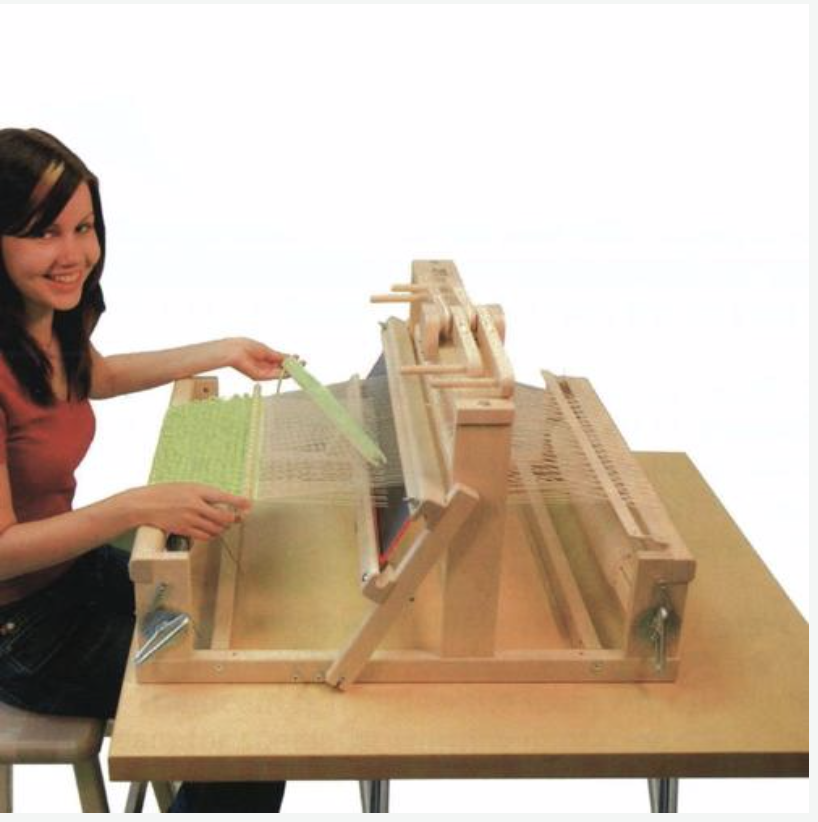
2. The Ashford Table Loom (8 Shaft)
The Ashford is perhaps one of the best known and used table looms in the world. It is the loom many of us learned on (myself included), and for good reason.
Pros:
- The Lever System: In my opinion, Ashford has nailed the lever setup. They are intuitive, smooth, and easy to use.
- Value for Money: The lower cost point makes this a more accessible table loom for beginners. You get a lot of loom function for a lower price point.
- Lightweight: It’s easy to move around the house or take to a guild meeting (depending on size)
- Treadle Kit: There is a treadle kit available for some Ashford table looms. You do need to have your loom on a stand to use treadles, and you can only attach 4 treadles, even if it’s an 8 shaft loom.
Cons:
- Structural Flex: The Ashford looms are generally more lightweight. Under high tension, I’ve experienced the back apron rod bending, which can be a bit frustrating.
- Tension Limits: It simply won’t hold the “rock-hard” tension that some other table looms can, which might limit you if you like to weave with really optimal tension.
Price:
The 8 Shaft 24″ Ashford retails for $1,249 USD
The 16 Shaft 24″ Ashford retails for $1,959 USD
Helpful Resources for the Ashford Table Loom:
How To Assemble the Ashford Table Loom
How to Pack Up the Ashford Table Loom
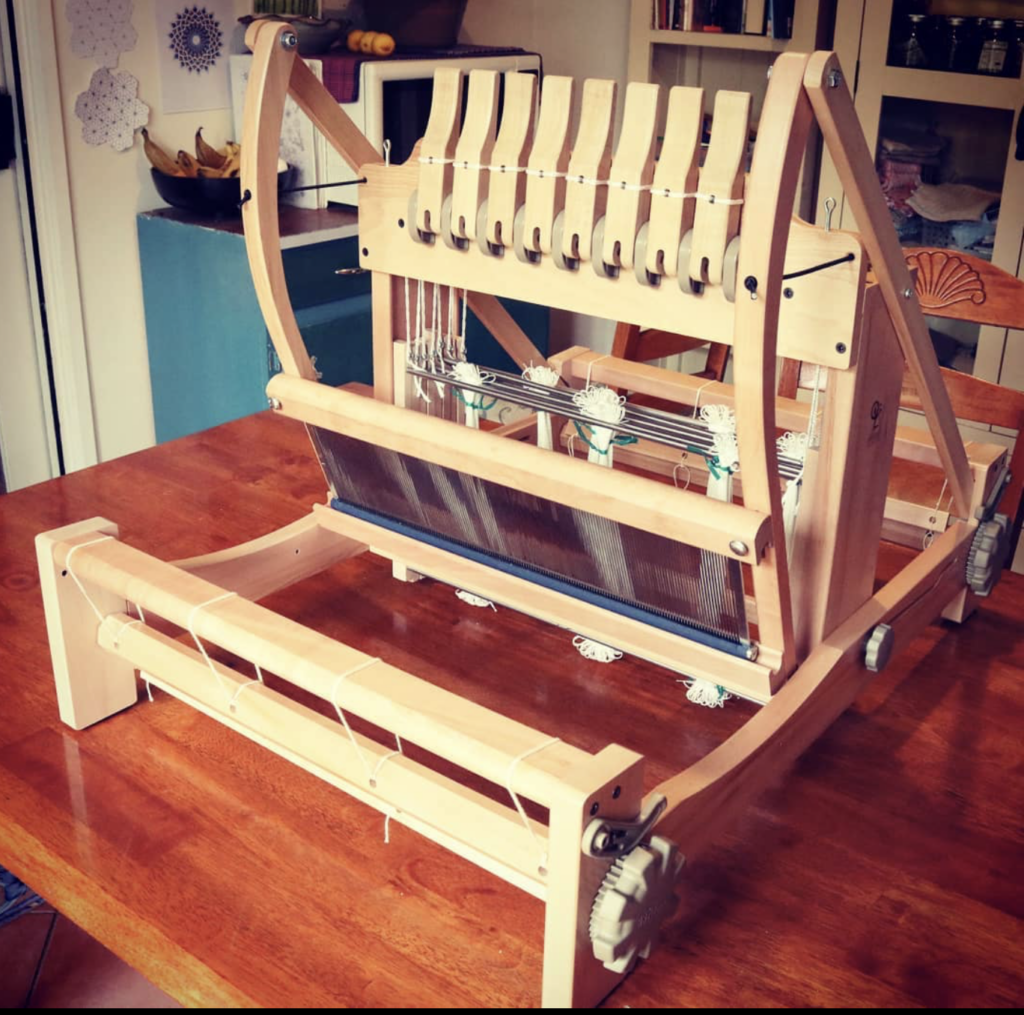
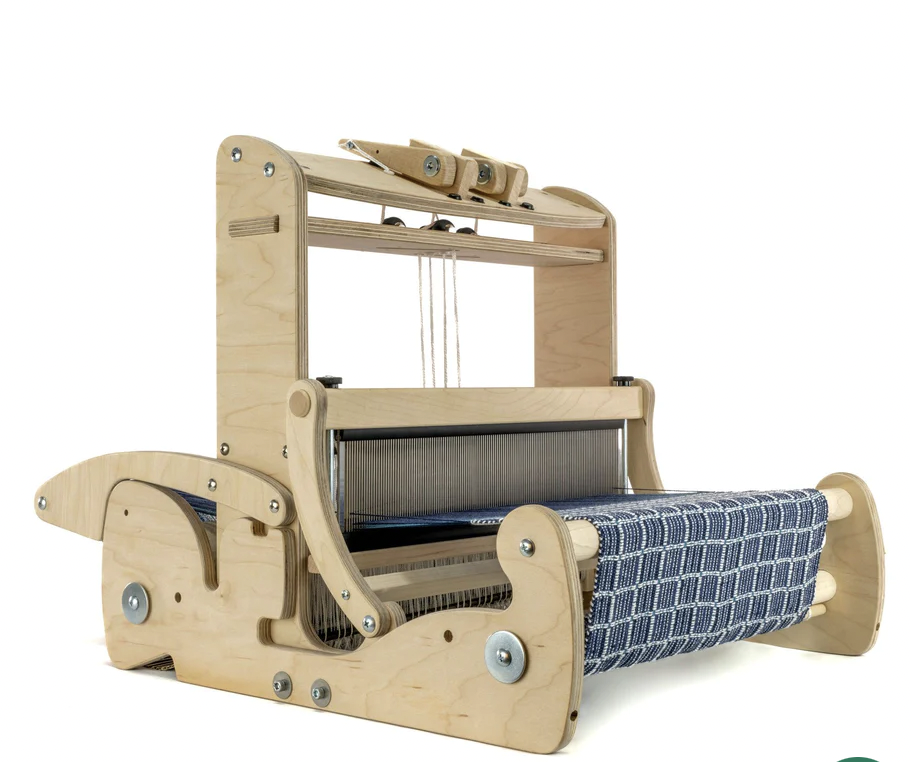
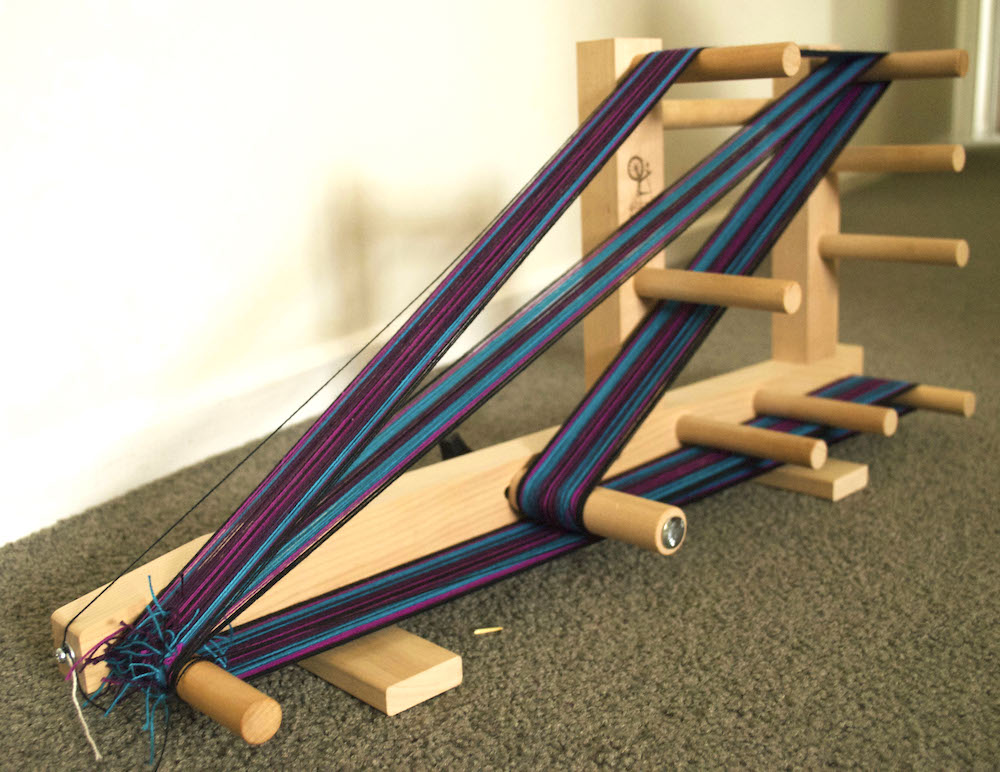
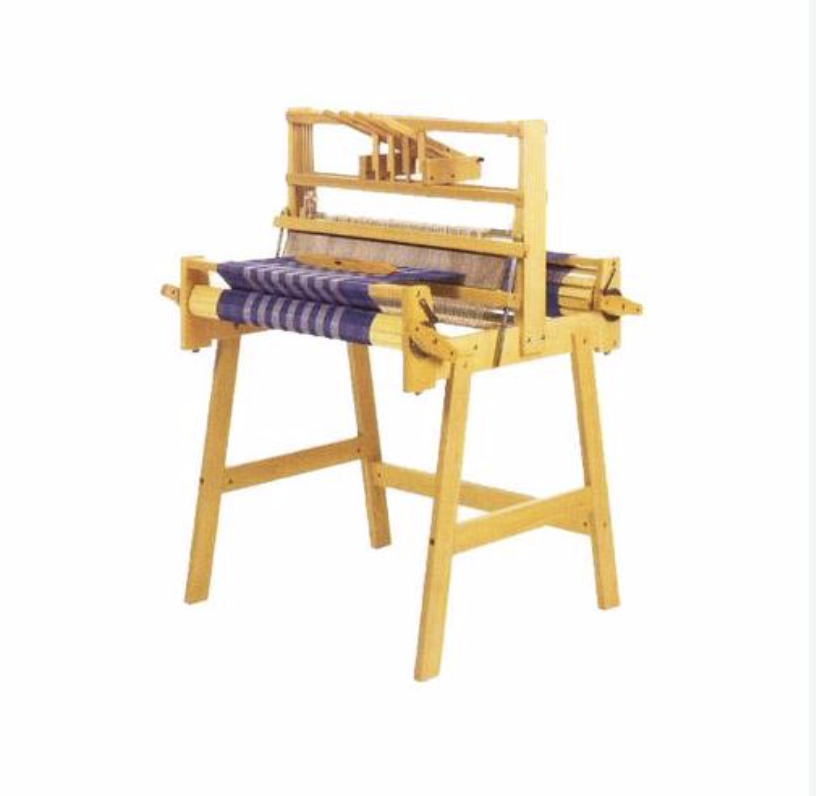
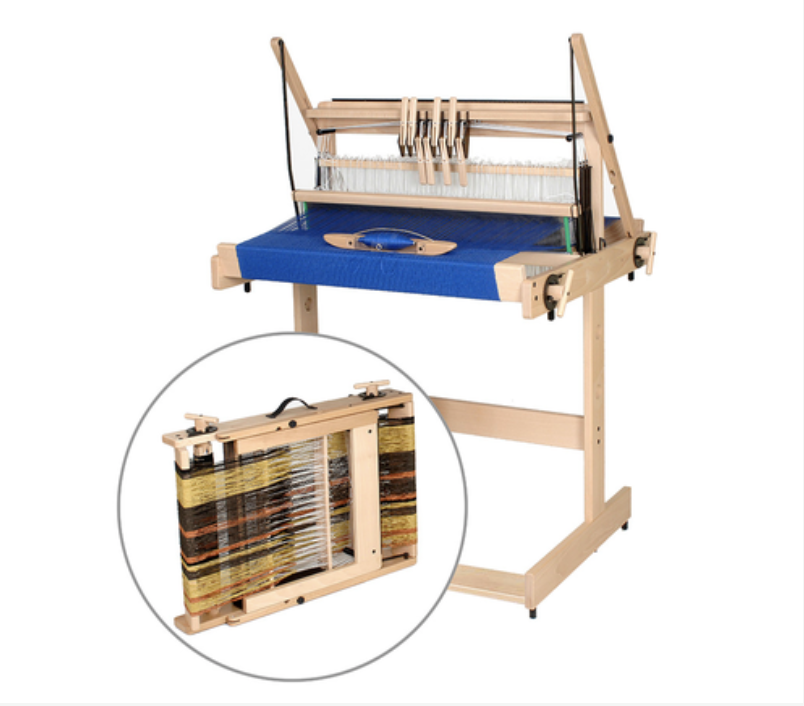
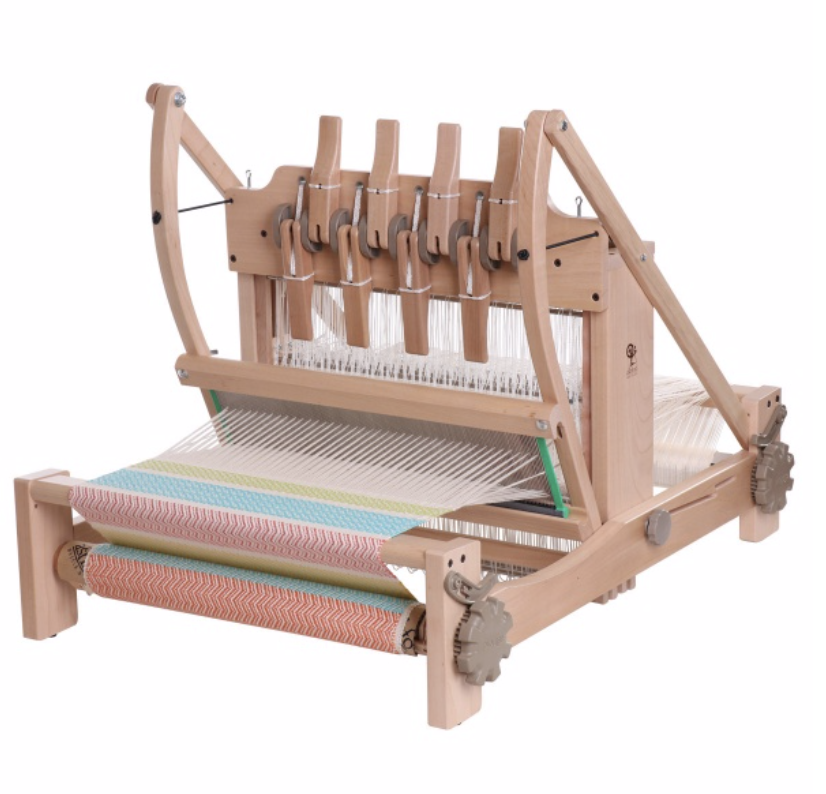
3. The Lojan Flex (4 to 8 Shaft Conversion)
The “new kid on the block” is the Lojan Flex. This is a unique hybrid loom: you can start with a rigid heddle loom and add a shaft conversion kit. Or, if the rigid heddle aspect doesn’t interest you, the Flex can be purchased fitted with 4 – 8 shafts (known as the Flex Shaft Loom.)
Pros:
- Ultimate Versatility: It’s the best of both worlds. You can swap back to rigid heddle weaving whenever you like.
- Superb Comfort: This is surprisingly one of the most comfortable looms I’ve ever used as a table loom. When it’s on the floor stand, the levers and the weaving area feel very close to your body, so you avoid unnecessary reaching or stretching.
- Easy Threading: Because the loom is compact, you aren’t reaching deep into a “castle” to find your heddles. It’s very easy on the eyes and back.
- Shaft Upgrades: This is a very adaptable loom. Whether you start out using it as a rigid heddle loom or not, you still have the ability to upgrade from 4 shafts to 8 by adding an extra shaft kit.
- Tension: The Flex holds excellent tension.
Cons:
- The Beater: Unlike the other two table looms already mentioned, the Lojan Flex Shaft Loom doesn’t have a full beater frame. The beater bar is a bit thick to grip, and because it’s so light, it can feel a little “flimsy” compared to the more traditional overhead or underslung beaters on the Louet or Ashford. This is literally the only thing I don’t love about this loom.
- Limited Weaving width: Currently this loom is only available in 30cm and 50cm weaving widths. Lojan is an innovative company but they are also relatively new, so I wouldn’t be at all surprised if they bring one wider widths in the future, as they continue to expand.
The 8 Shaft, 30cm Lojan Flex retails for $645 USD
The 8 Shaft, 50cm Lojan Flex retails for $ 740 USD
Helpful Resources for the Lojan Flex Shaft Loom:
How To Assemble the Lojan Flex Shaft Conversion
Which one should you choose?
Choosing a loom is a very personal decision, but here is my “quick guide” to help you decide:
| If you… | Then go for… |
| Want great tension and a premium, floor loom feel? | Louet Jane |
| Are on a budget but want a reliable, classic multi-shaft experience? | Ashford |
| Want versatility, portability, comfort, and the ability to switch to rigid heddle? | Lojan Flex |
I haven’t specifically covered shafts and how many are available with each of these looms, because there are many options. Your choice of shafts is going to depend on what you want to weave. Try to consider the kind of weaving that appeals to you currently, but with the understanding that this may grow and change over time.
If you are just starting out in Table Loom Weaving, I recommend you take my beginner’s course. It covers everything you need to know and can be used with any table loom.
I also have a free Table Loom Resource page here.
Did you know that I am a reseller for Louet and Lojan looms in Australia? Check out this page for more information.
Final Verdict: The truth is that these are all great looms. The best loom to choose is the one that is best for YOU!
Until next time…
Happy Weaving!
*This post contains affiliate links. For further information, please see my disclosure policy.