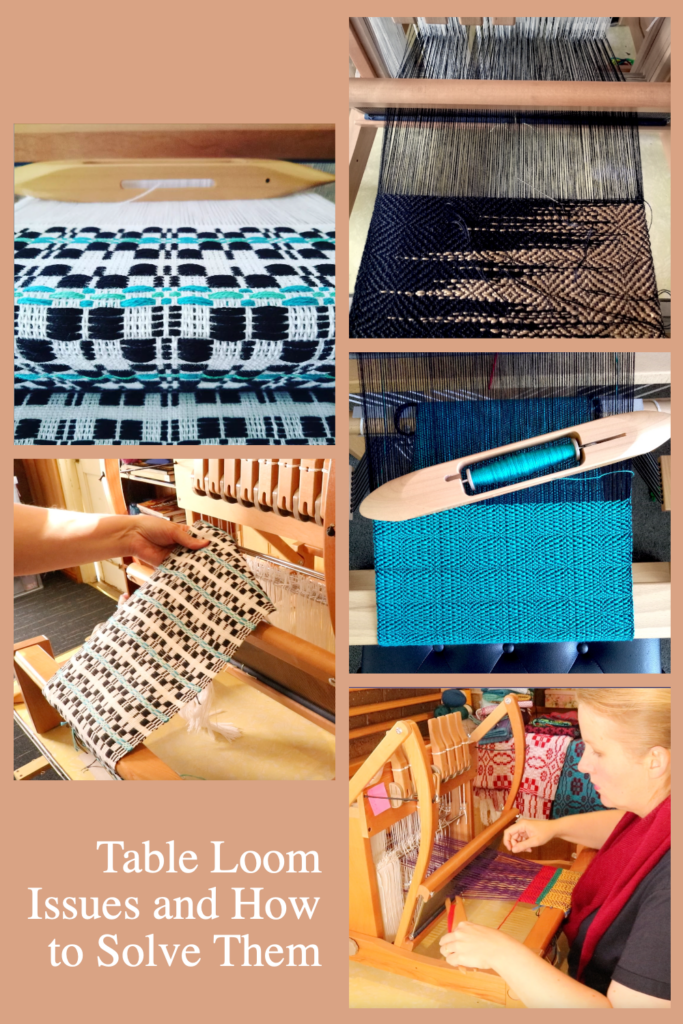
Table looms are an excellent choice for both beginner weavers and experienced fiber artists, offering versatility, portability, and efficiency in a compact design. Whether you have a small weaving space or enjoy weaving on the go, a table loom makes it easy to create beautiful woven projects.
These looms are also a great way to explore multi-shaft weaving, allowing you to experiment with patterns and techniques without the larger cost or space commitment of a floor loom.
Whether you’re looking to weave scarves, placemats, yardage or experiment with complex drafts, a table loom is a practical and rewarding choice. If you’re interested to learn more about table looms, check out this resource page.
Even experienced weavers will encounter challenges on the table loom. Whether you’re a beginner or a seasoned artisan, this guide will help you identify and resolve the most common table loom weaving issues.
1. Uneven Tension in the Warp
Symptoms: Some warp threads are looser or tighter than others.
Causes:
- Uneven winding on the warp beam.
- Inconsistent tension when tying onto the front beam.
- Tie on bunches are too large
- Threads are disorderly or crossed excessively at the back beam
- Inappropriate warp yarn used, causing stretching or breakages
- No warp separation used
Solutions:
- Use a threading and raddle cross when making your warp
- Use choke ties before removing your warp from the warping board
- Use a raddle to warp your loom
- Tie on to the apron rod in 1″ or smaller bunches
- Wind on the warp as evenly as possible
- Use warp separation
- Retie the warp threads with equal tension across the width of the loom.
Extra tips:
Warp separation – It’s important to separate your warp when rolling on, before you start weaving and as you weave and advance the warp.
- Rolling on – I like to use brown craft paper on a roll to separate my warp at I roll it on. You can also use cardboard or wooden warping sticks, but I do feel the paper roll gives a superior result.
- Finger combing – I don’t like to use combs or other implements for this, I just use my fingers. This is really gentle on the yarn but also helps to sort out any little snags or unevenness in tension.
- Know your yarns – There are so many wonderful yarns to explore in weaving but there are a few that just won’t do well as a warp and are better saved for wefts. Here are some recommendations for choosing appropriate yarns:
Choosing and using yarns for weaving
3 yarns beginner weavers should never use
2. Sticky or Stuck Sheds
Symptoms: Warp threads don’t separate cleanly when you change the shed.
Causes:
- Inappropriate sett was chosen
- Incorrect threading or crossed threads.
- Sticky or high static yarn
- Warp is incorrectly placed during setup. The warp needs to go over both the front and back beam, not under (this is a very common beginner mistake!)
Solutions:
- Be sure to calculate properly before beginning your project.
- Re-slay the reed for a different sett if you feel that may be the issue.
- Make sure threads are not crossed in the heddles to ensure clean sheds.
- Don’t choose a fluffy or high static yarn for warping.
Extra tips:
- Take your time to set up your loom, there is no hurry and going slowly helps to ensure mistakes are not made.
- Use a checklist (like the free printable list available at the end of this article!) to check off the steps as you go.
3. Broken Warp Threads
Symptoms: Warp threads snap or break during weaving.
Causes:
- Abrasion from the reed or heddles.
- Using weak or unsuitable warp yarn.
- Draw in is too extreme due to overly tight weft tensioning
Solutions:
- Again, ensure correct sett as too close can cause over frictioning
- Replace broken threads, as in this tutorial.
- Use a smoother, stronger yarn for the warp.
- Work on your weft tensioning. It is natural and normal to have some draw in but if it’s excessive it will cause the warp threads to move inward while the warp at the reed remains a similar width. When beating this will then stress your warp threads, causing repetitive friction and eventual breakage.
4. Uneven Selvedges
Symptoms: Wavy, inconsistent or untidy edges on your weaving.
Causes:
- Overly tight or inconsistent weft tension.
- Uneven beating with the beater.
- Your weaving pattern skips outer warp threads
- Uneven warp tension.
Solutions:
- Practice gentle and consistent weft tension when weaving.
- Beat evenly and avoid over or under packing the threads.
- Use floating selvedges to avoid skipping warp threads at the edges.
5. Pattern Doesn’t Appear Correctly
Symptoms: The woven design doesn’t match the weaving draft drawdown.
Causes:
- Mistakes in threading or treadling order.
- Skipped heddles.
- Crossed threads
- Beat is too hard or too loose.
- Sett is too close or too far apart.
Solutions:
- Double-check your threading and treadling sequence.
- Fix errors by re-threading the warp threads through the correct heddles.
- If any threads are crossed between the reed and heddles, re-sley them to allow freedom of movement.
- Work on a consistent beat.
- Check your yarn using a sett test to ensure the optimal ends per inch has been chosen.
6. Loom Creaking, sticking or apron rod bowing
Symptoms: Loud creaking or resistance when operating the loom.
Causes:
- Lack of lubrication in moving parts.
- Loose or worn parts.
- Over tightened parts.
- Warp under too much tension.
- More apron rod support required.
Solutions:
- Apply a small amount of wood-safe lubricant to the joints. I like this one.
- Loosen and then re-tighten screws or bolts to ensure parts are moving effectively.
- Let your warp tension back a click or two before recommencing weaving.
- Order replacement parts if your loom is older or used.
- Consider using a metal rod or additional wooden dowel/stick to attach your warp to the back apron rod. Ensure that your apron rod ties are strong and evenly tied on to the loom.
Preventive Maintenance Tips
- Clean your loom regularly to remove dust and lint.
- Check for wear on heddles, reeds, and other parts.
- Store your loom in a damp free environment to avoid warping. Keep out of direct sunlight to ensure the wood is well maintained.
- Lubricate when required. Use a silicone free lubricant and apply it to a cloth rather than directly to the loom.
- If transporting regularly, ensure the loom is stabilised during travel to avoid unnecessary sliding or bumping!
*This post may contain affiliate links. For further information, please see my disclosure policy.
PRINTABLE TABLE LOOM SETUP CHECKLIST
Let’s make your table loom setup just that little bit easier by using a checklist. This free checklist is printable and contains empty checklist boxes that you can tick off as you complete the steps – no more mistakes! 😀
If you’re looking to level up your table loom weaving skills, I recommend my comprehensive online course Weaving on a Table Loom.
I hope this article was helpful to you and until next time…
Happy Weaving!


Leave a Reply