I often have students ask “can you direct warp a table loom?” and my answer was always “yes, but I haven’t tried it”. Well, that has changed because I just direct warped my table loom for the first time!
Traditional Table Loom Warping
The usual way to warp a table loom is to make your warp on a warping board, remove it and space it in a raddle and then take it to your loom and roll your warp on, then thread the heddles, sley the reed, tie on and then you finally get to weave! 😆
If you are brand new to table loom weaving, this is a more advanced method. I recommend that you start with my online course, Weaving on a Table Loom.
Direct Warping
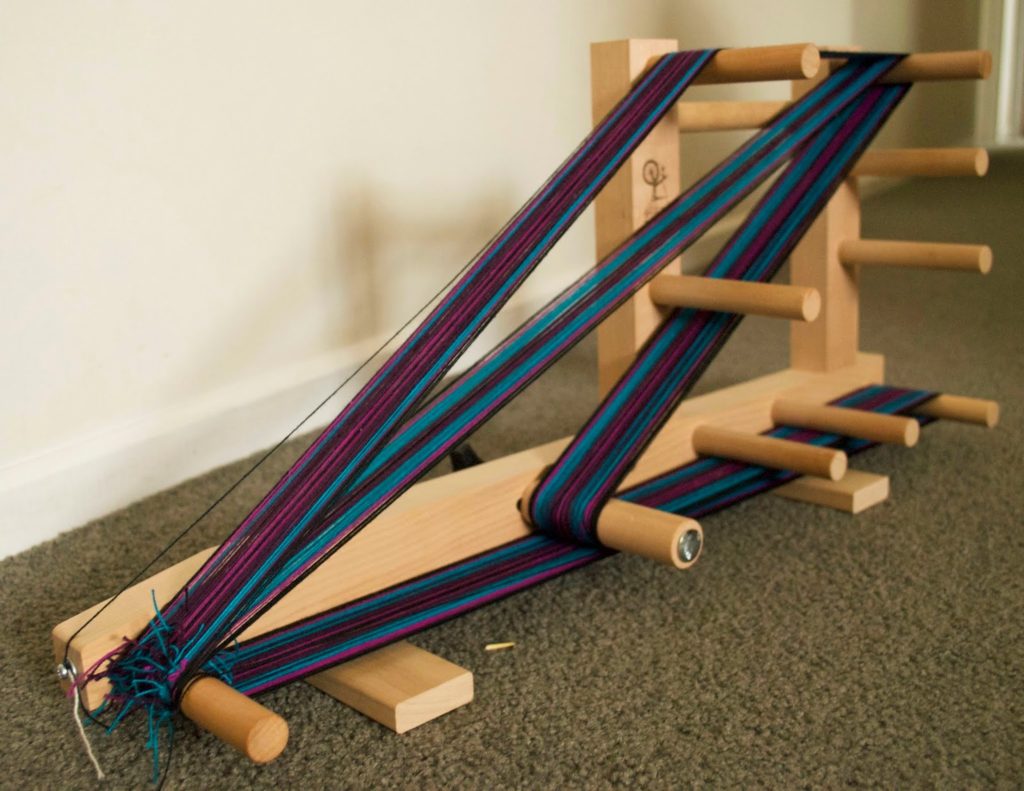
One thing I really enjoy about rigid heddle weaving is the ability to use a warping peg/s to direct warp. This means that the warp is made on the loom without additional exterior tools or actions. It’s super fast and fairly simple once you have some practice.
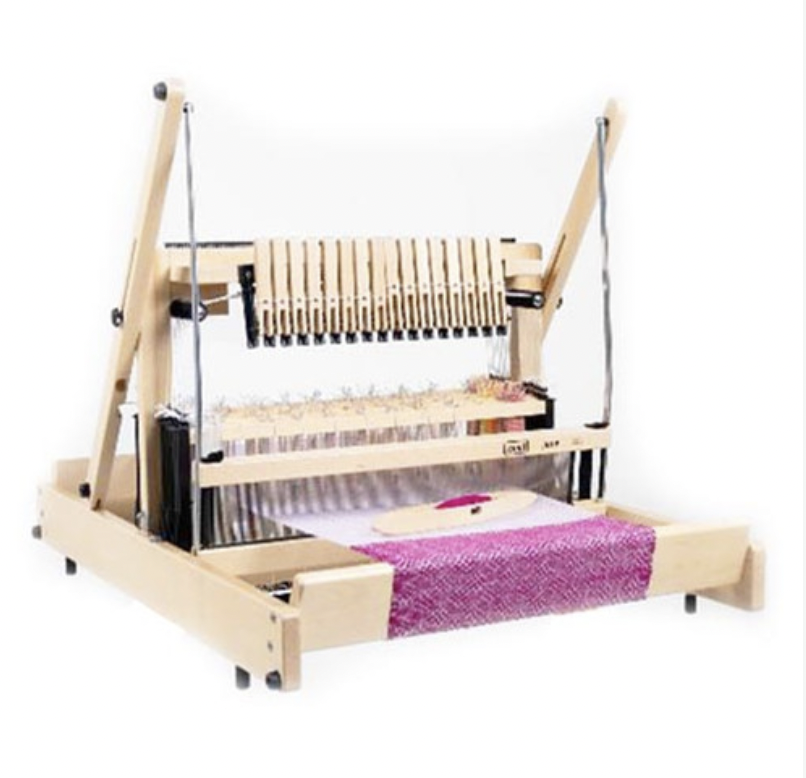
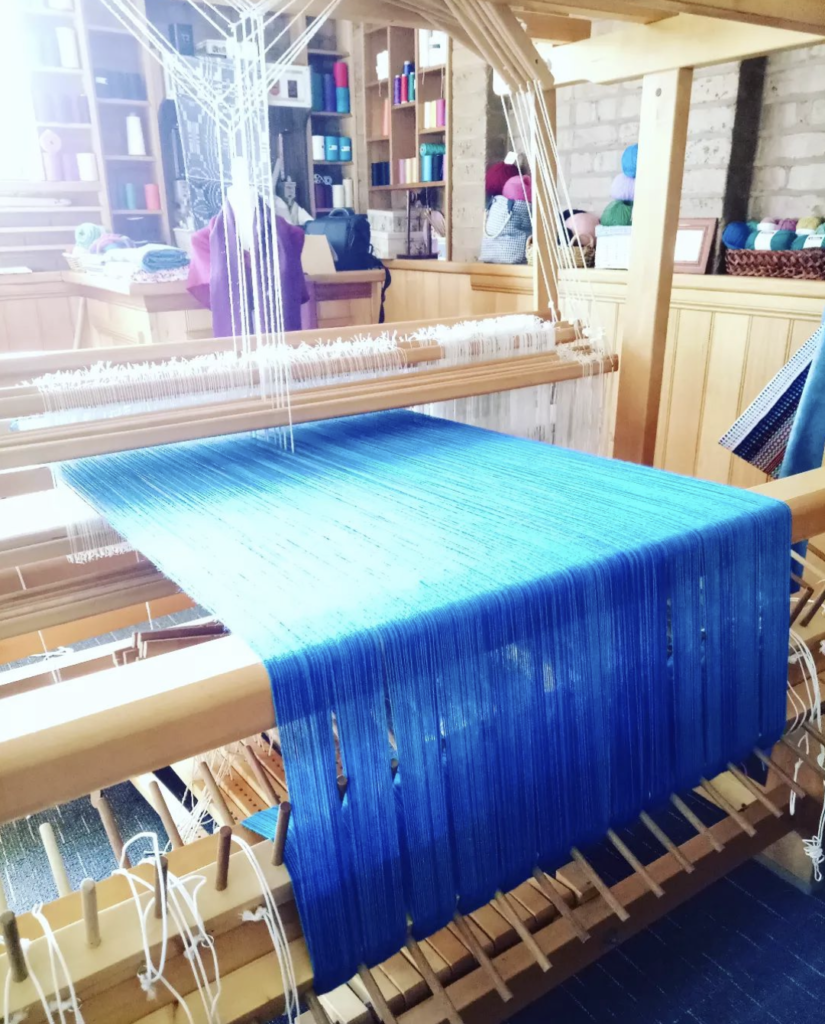
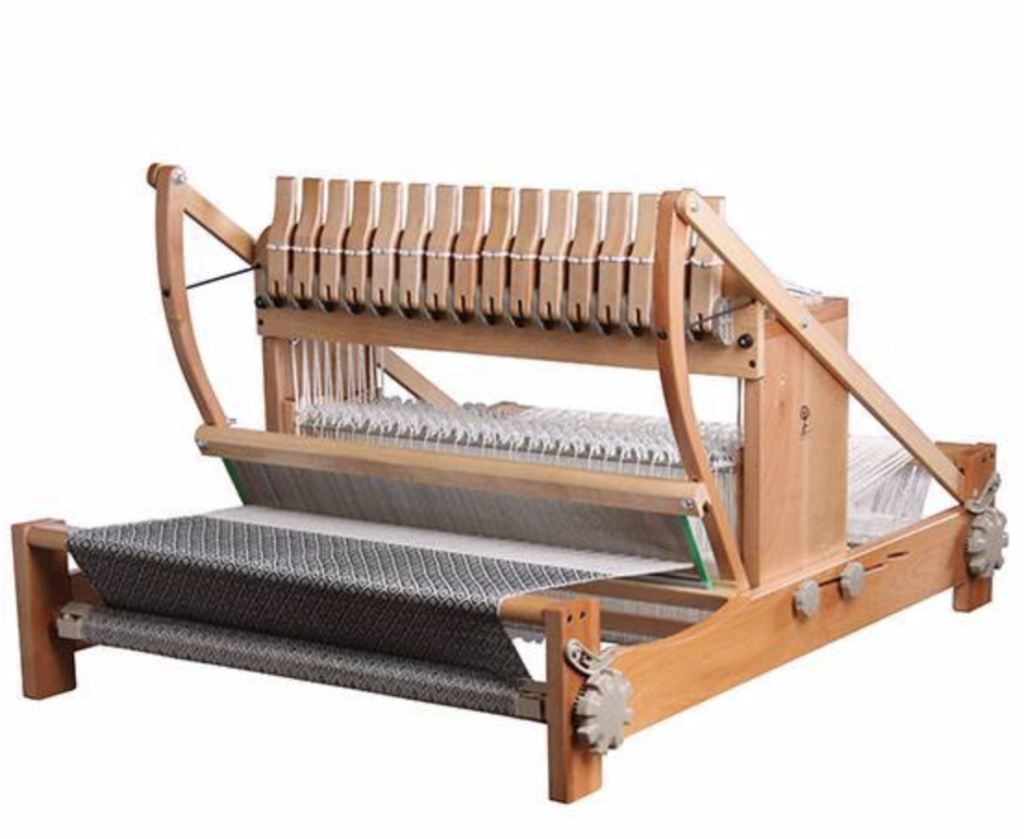
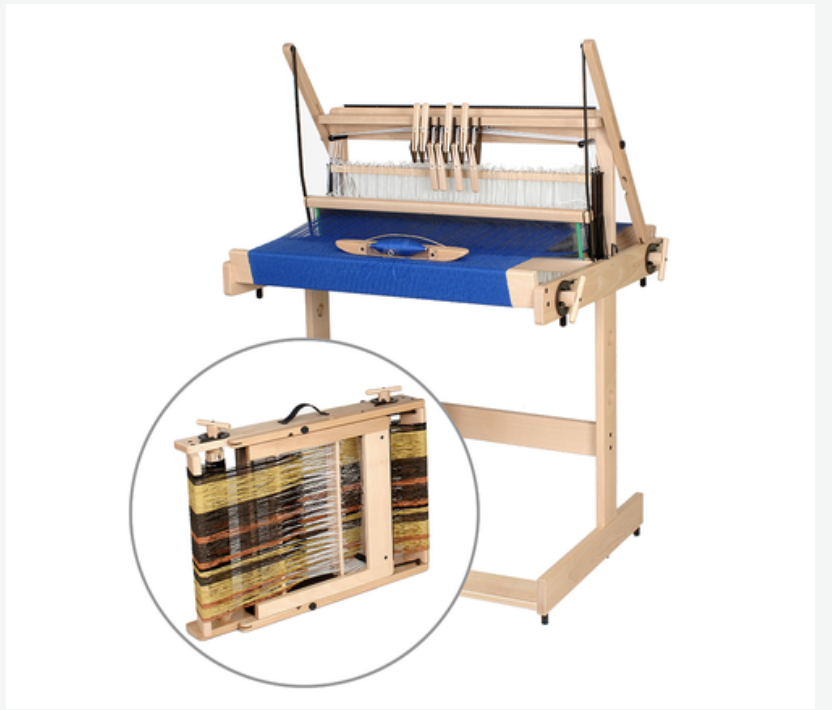
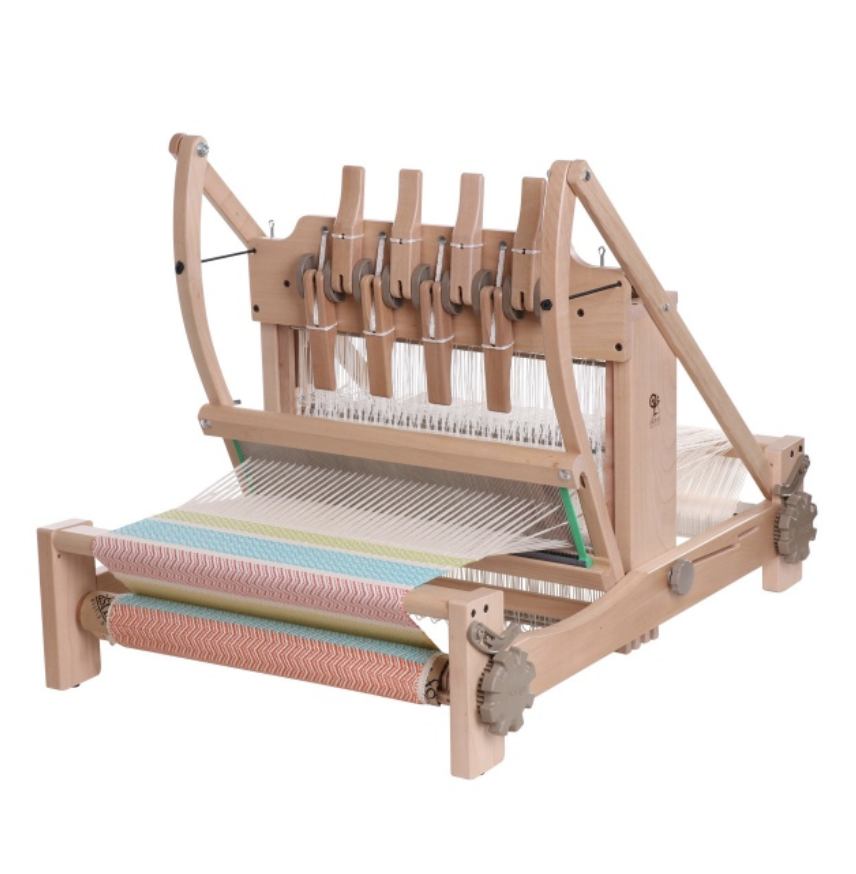
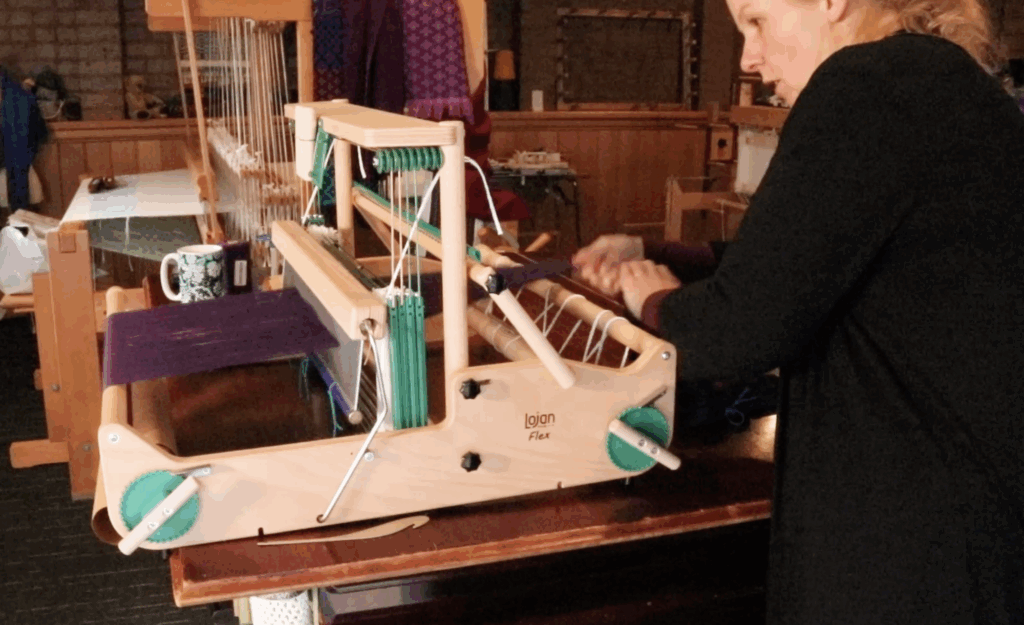
So I decided it was time to experiment by trying a direct warp on a table loom for myself. I had just assembled the new Flex Conversion Kit to my Flex Rigid Heddle Loom and wanted to warp it with a project to try it out. This method will work for any table loom.
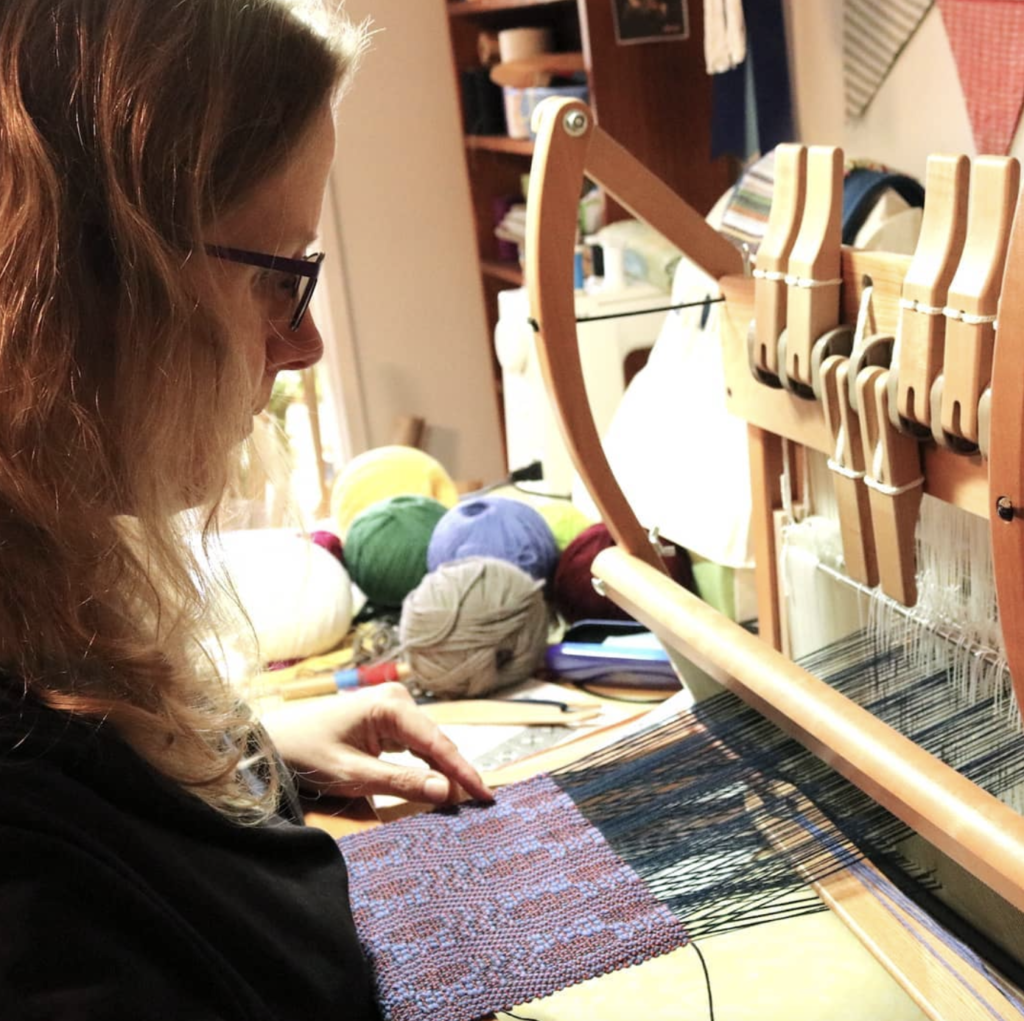
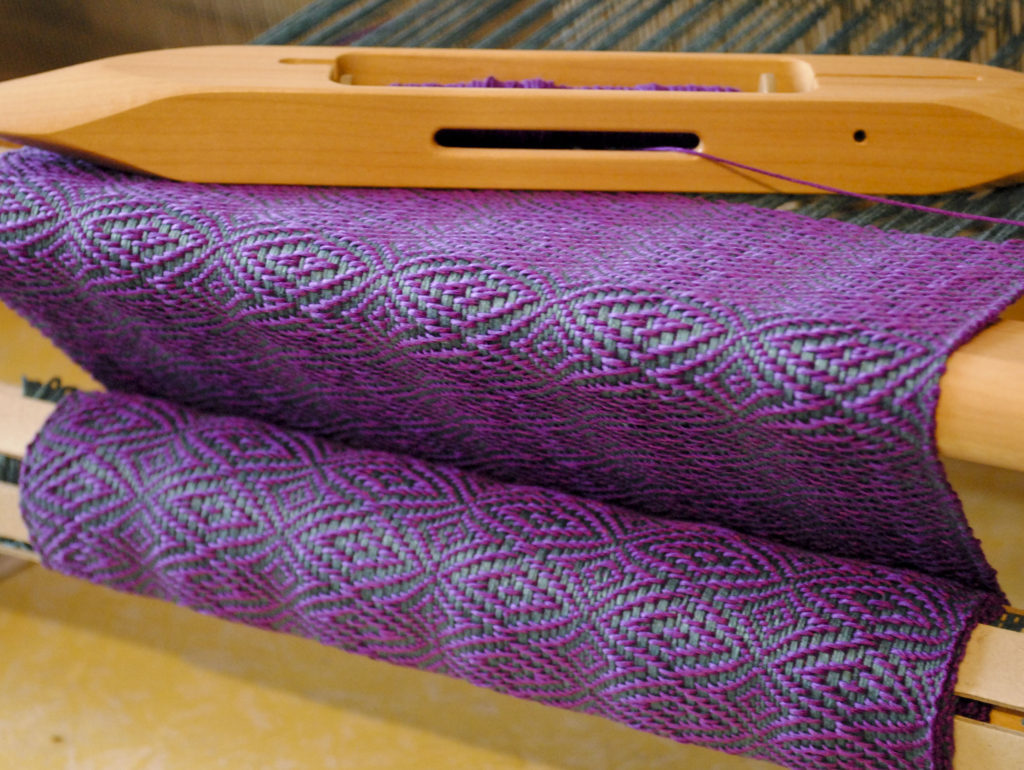
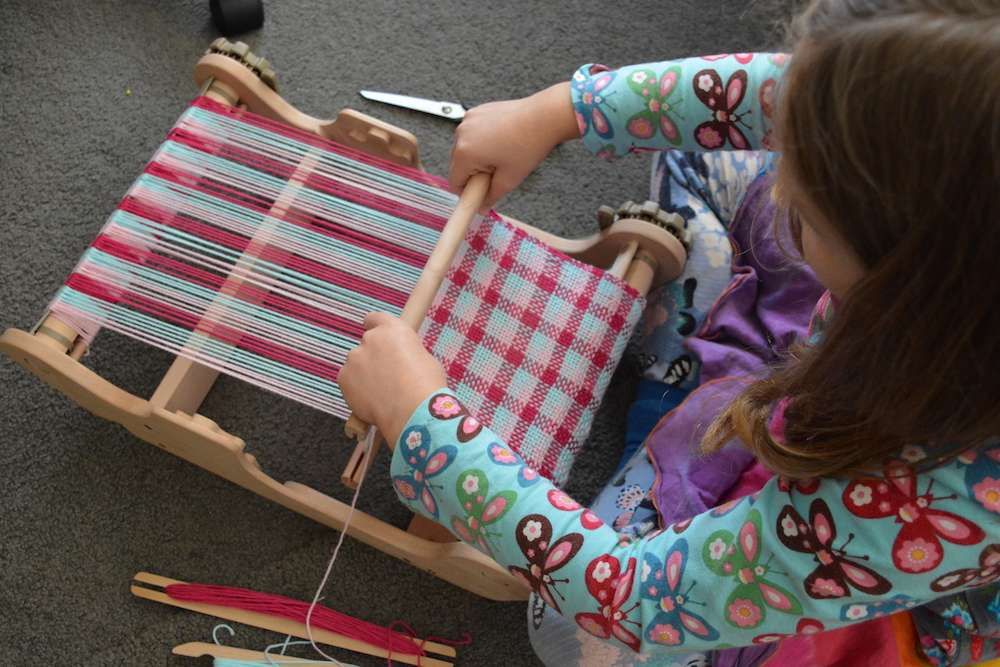
I settled on weaving a 4 shaft scarf from my Crackle Scarf Collection pattern. A scarf is such a great project when you want to get to know a new loom.
I spent a bit of time considering the best way to warp a table loom directly and decided that warping front to back would be easier than my usual back to front, for a variety of reasons. Warping from the front to back allows you to use your reed to space the warp without the need for a raddle (that’s a bonus if you don’t own a raddle!)
I filmed an in depth walk through video for the Kindred Weavers members on Youtube and this article is a brief overview of that video. If you want to see the full video, consider joining my new Kindred Creatives space for exclusive videos episodes, podcasts, articles, freebies, exclusive daily notes and updates and a wonderful community space.
Be Sure To Calculate and Plan
Before beginning your project, be sure to calculate and plan. Exactly how you direct warp your table loom will be dependent on your sett or ends per inch. That will determine how many threads you pull through each dent of the reed.
How To Direct Warp a Table Loom
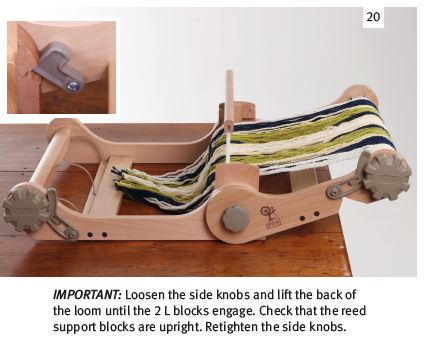
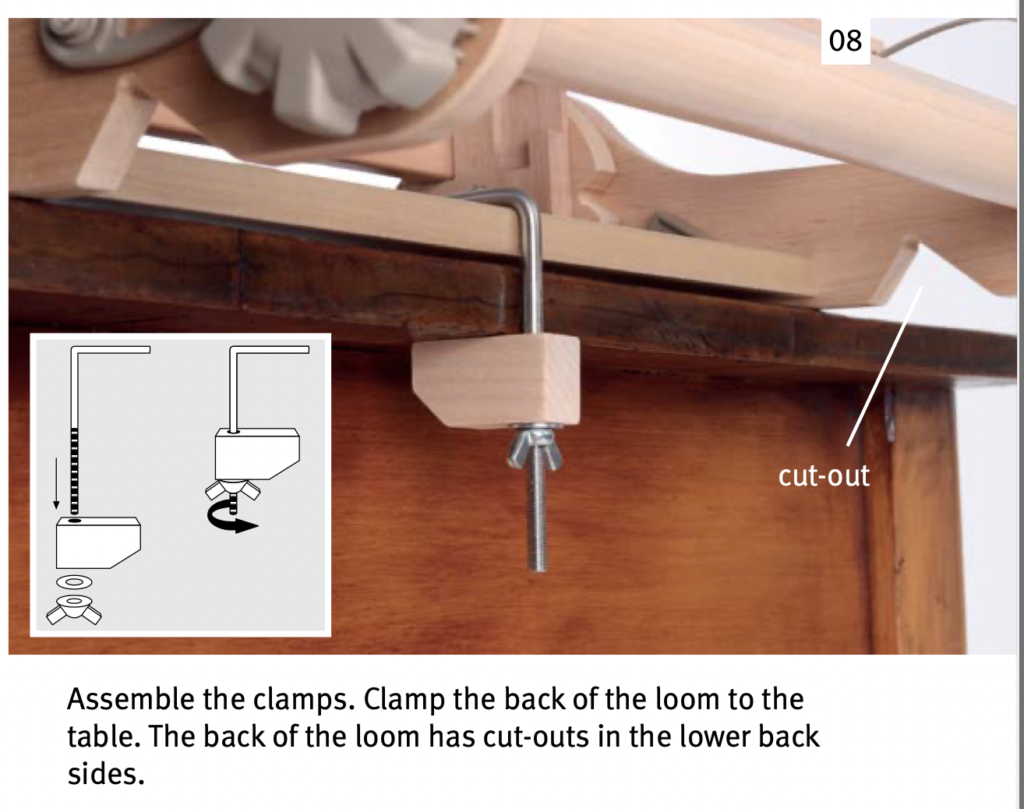
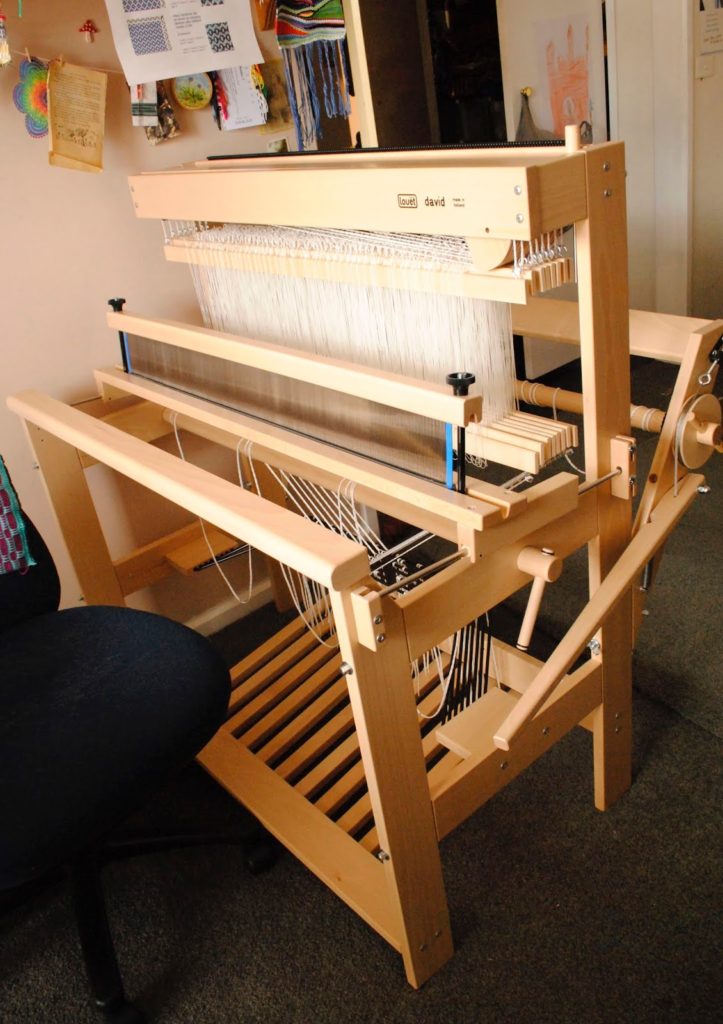
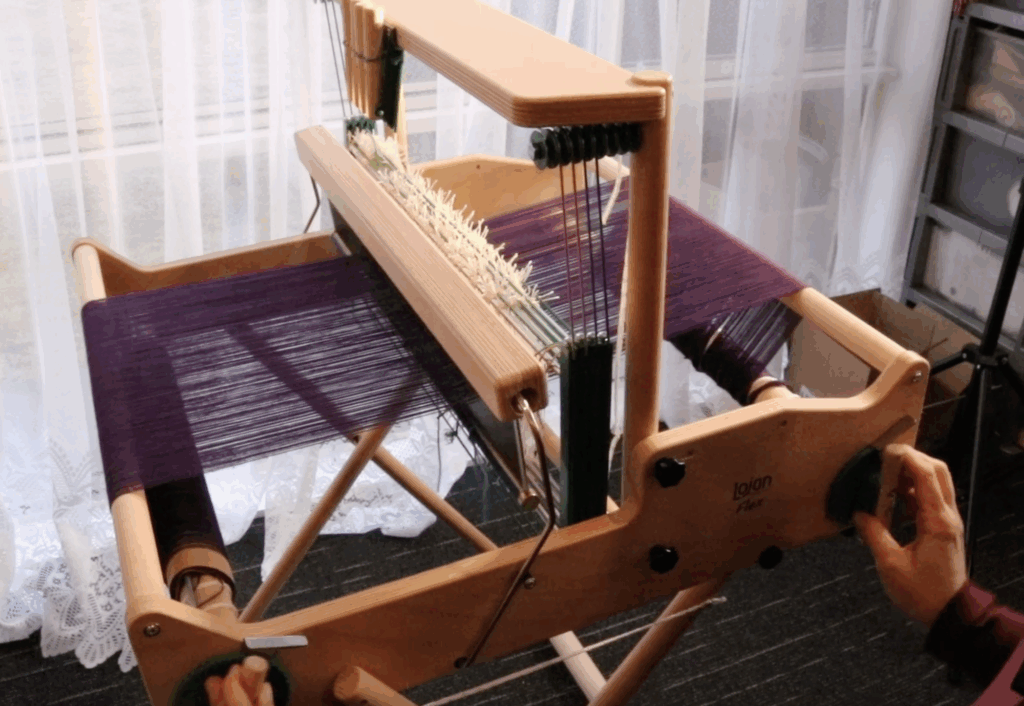
The first step is to set up your table loom ready for direct warping. The important part is to turn your loom around so that the front of the loom is facing away from the direct warping pegs.
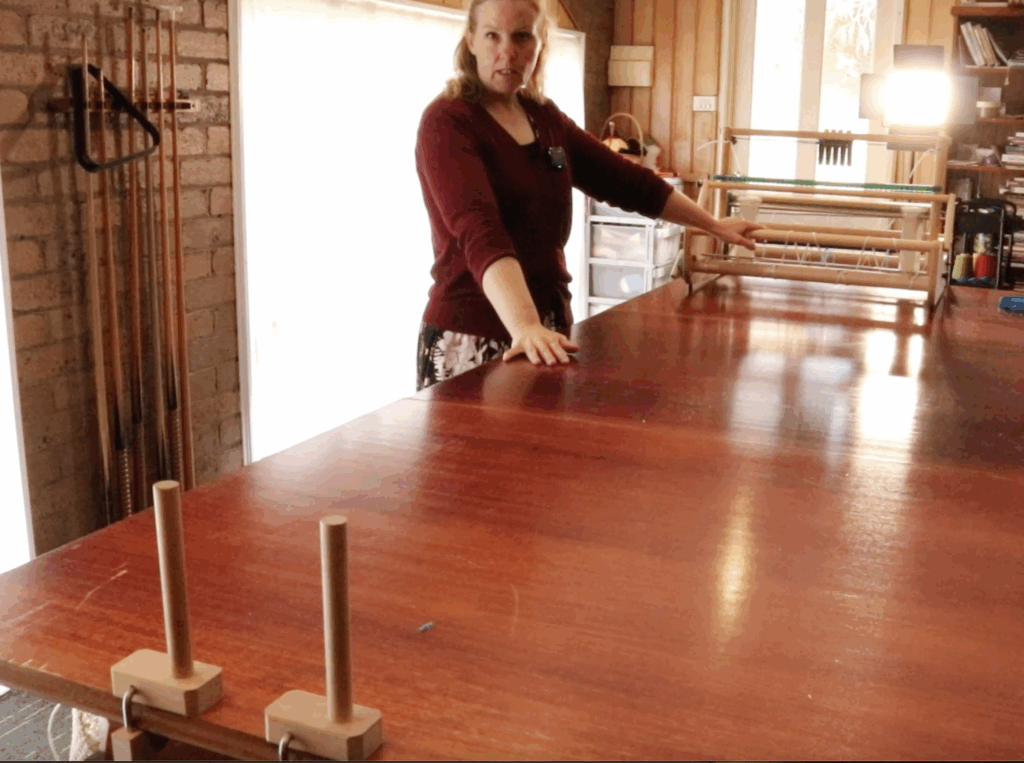
The warping begins at the front of the loom, using the front apron rod. Tie the warp onto the front rod to begin.
Using a threading hook, pull your attached warp thread through a dent in the reed and take it to your direct warping peg. Take the warp thread over or under the apron rod and through the next dent in the reed.

Continue warping in this way for the width of your warp. If you are familiar with warping a rigid heddle loom, this part will be quite familiar, except there are just slots in the reed as opposed to slots and holes.
When your last thread is tied to the apron rod you can commence rolling the warp threads on to the front beam. It is helpful to use some choke ties to keep the warp length in order. You can use your own preferred method for rolling on the warp, I opted to use the yank and crank method.
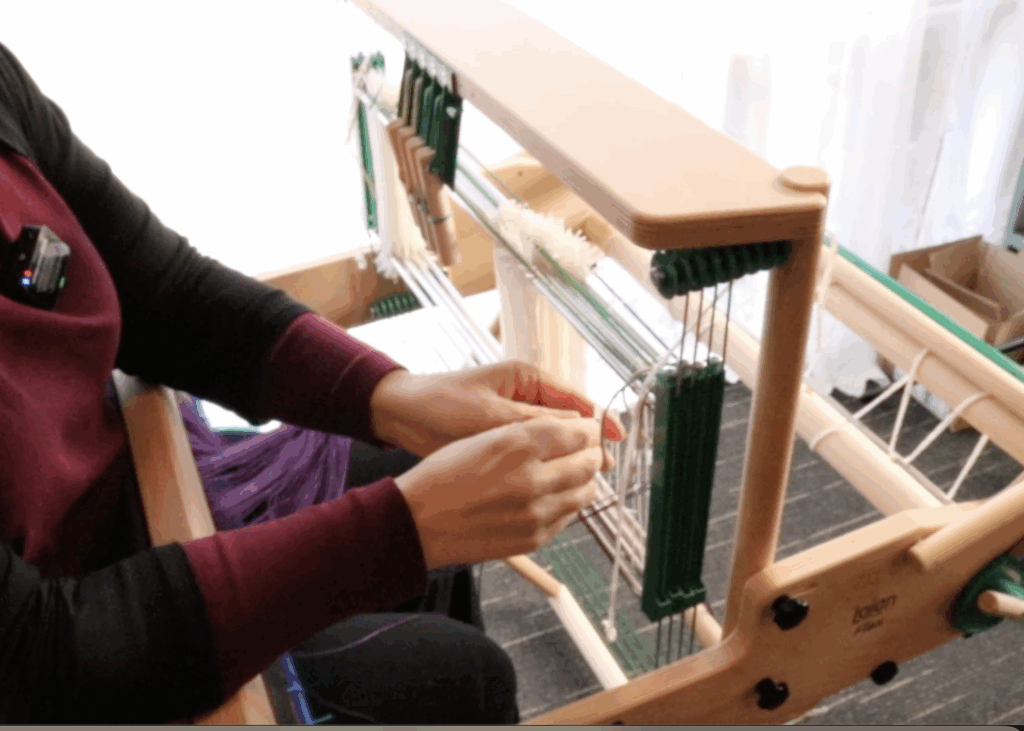
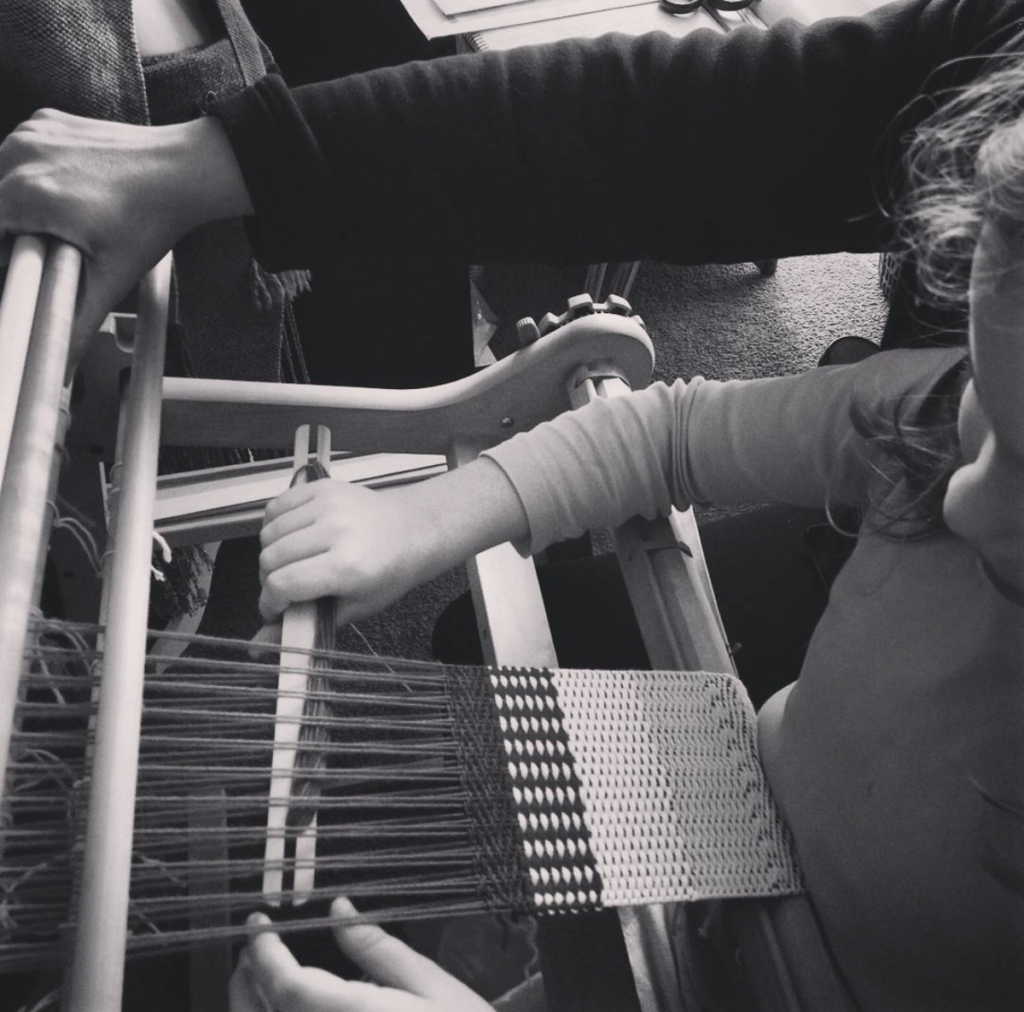
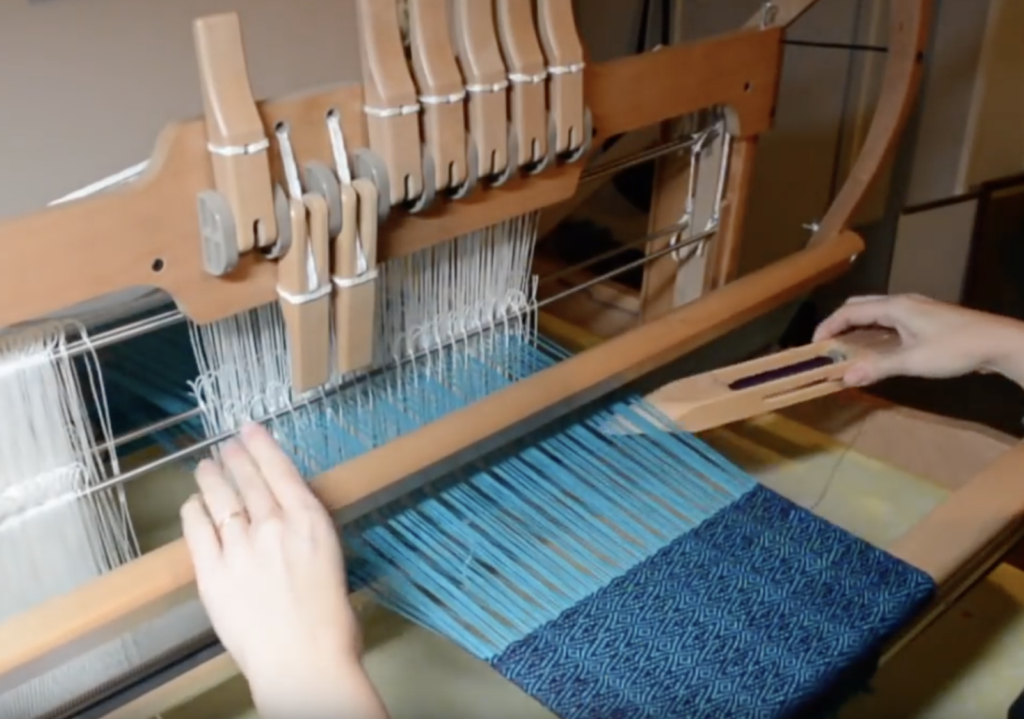
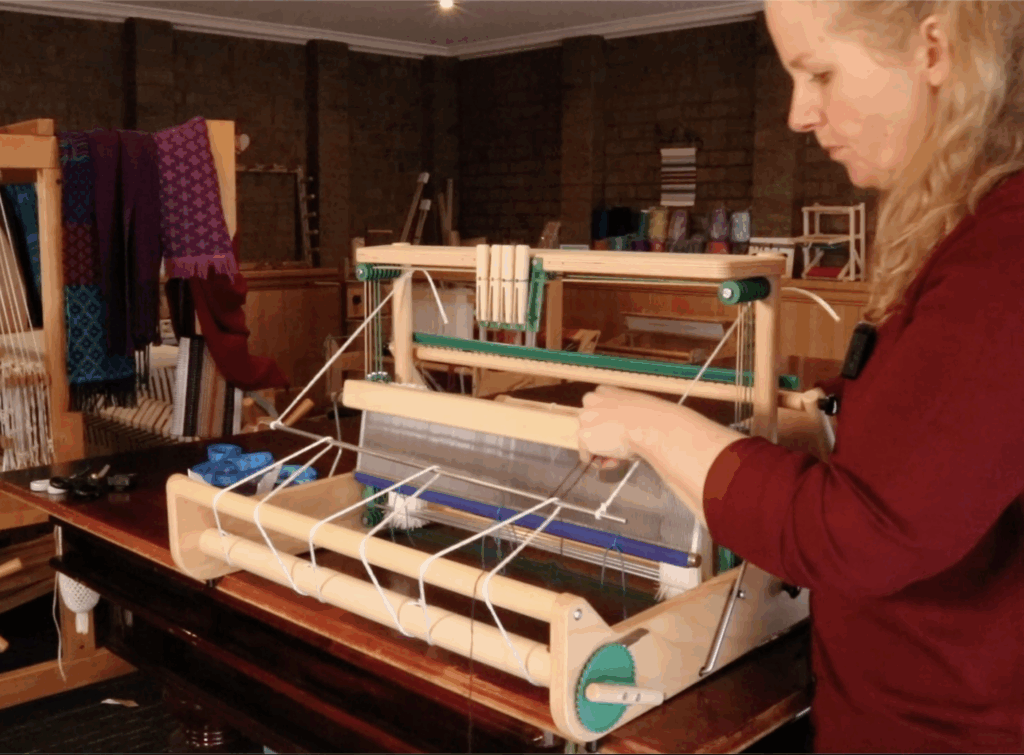
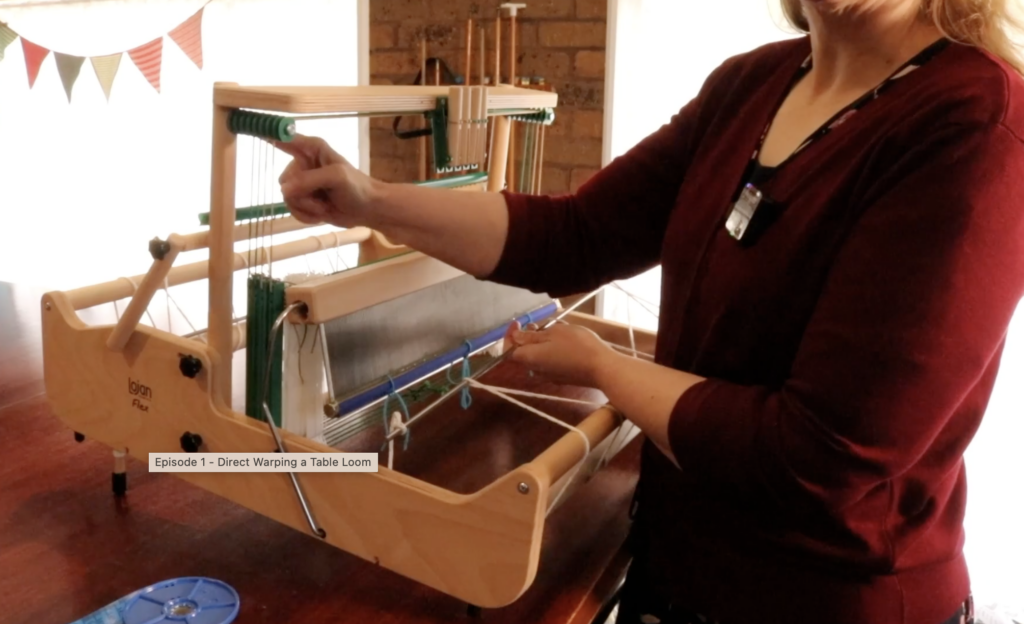
I began by threading from the front by picking up the threads in order from the reed pulled to the front. Threading from the front makes the use of a threading hook difficult, so I threaded through the heddles by hand. Some of the warp ends were slightly frayed and this interfered with the threading by hand. I also had some trouble picking up the threads in correct order from the reed, as I had to bend over to check the order, causing neck and back fatigue. So, I decided to try threading from the back.
This proved to be more simple and straightforward than I imagined! Once I got used to the idea that my shafts were backwards I found threading from the back easier without any neck or back bending.
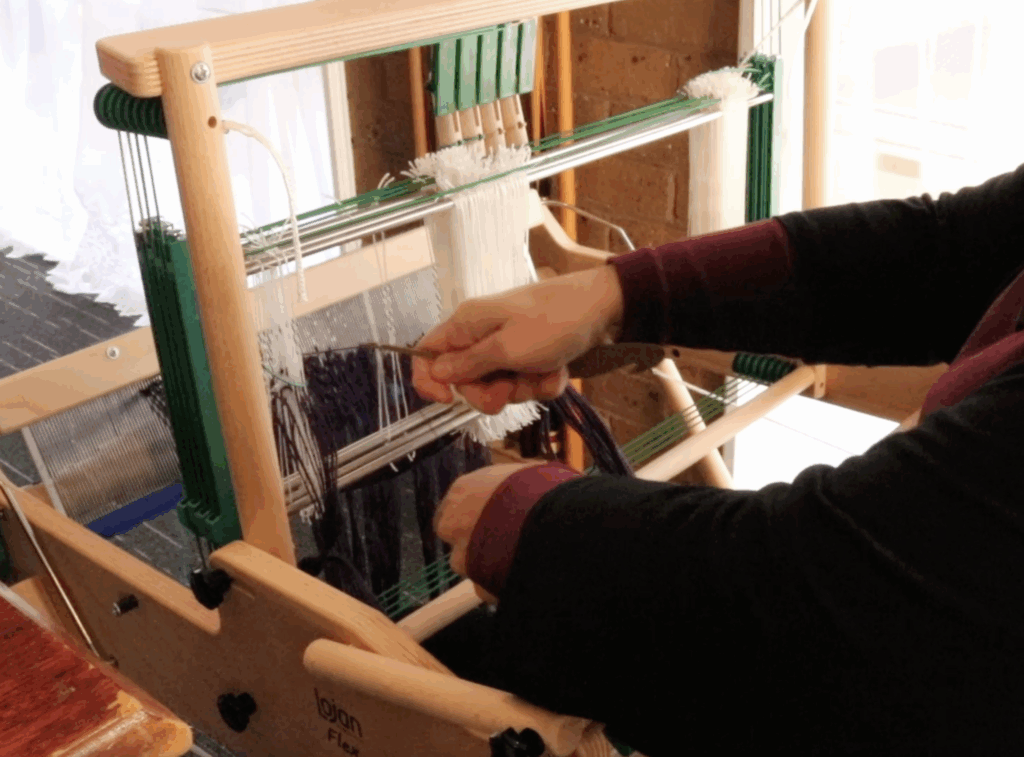
When threading is complete it’s time to tie on to the back apron rod. I left extra warp for this step because I wanted fringes on my scarf.
*This post contains affiliate links. For more information, please see my disclosure policy.
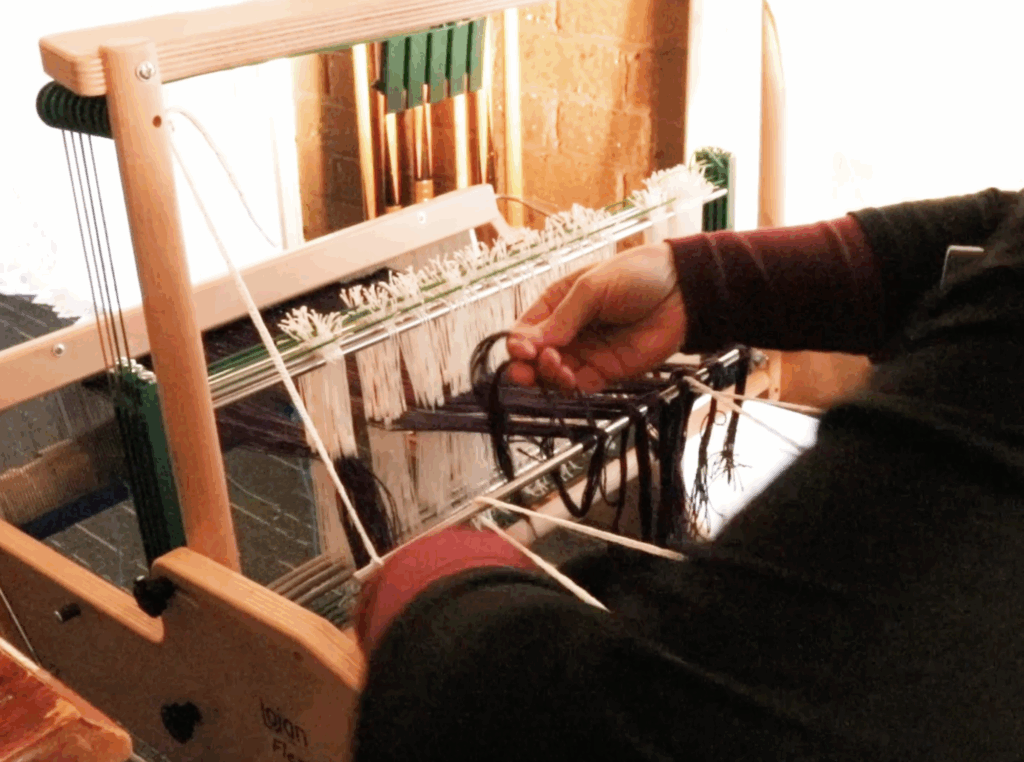
The last step is to wind the warp from the front to the back. We can’t weave and advance the warp unless this step is completed. Just take the brake off the front (but keep some tension on it so it doesn’t unwind too fast!) and slowly and evenly wind on to the back.
Now you’re ready to separate your warp and weave!
The full video is available here for members of the Kindred Creatives membership.
I hope this overview was helpful to you! Did you know that I am a reseller for Lojan in Australia? Feel free to contact me with enquiries about Lojan products.
In the US, Lojan products are available from Revolution Fibers.
Until next time…
Happy Weaving!