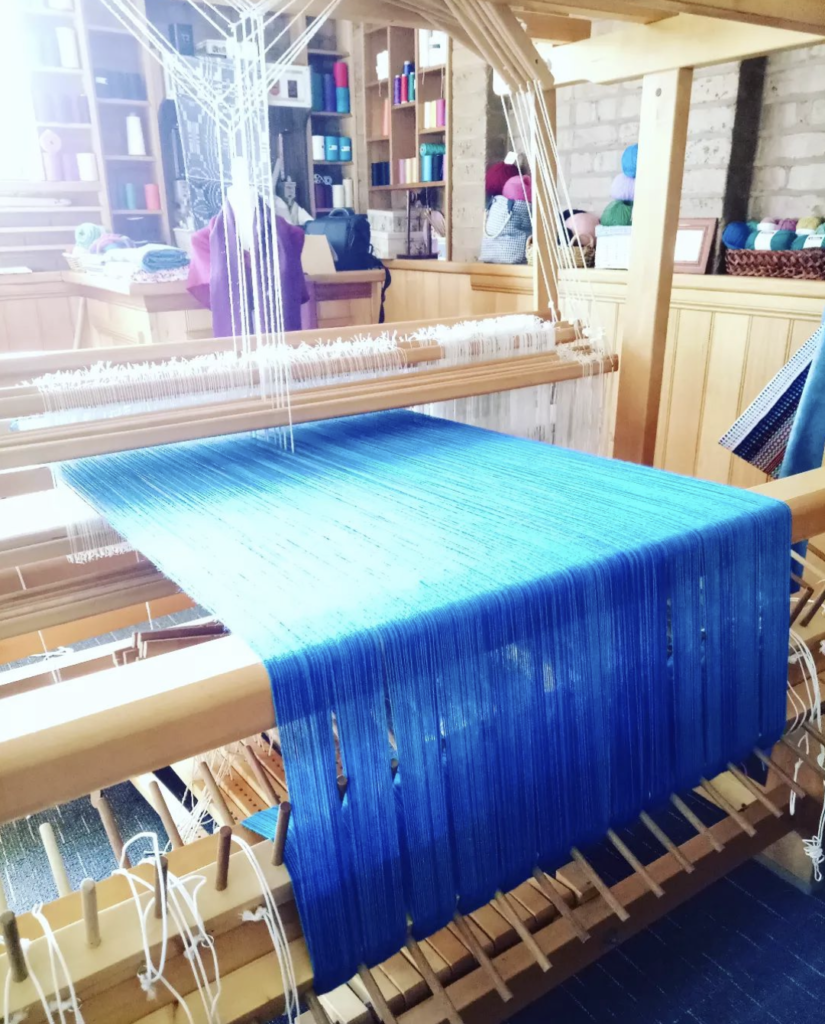
I received a question from a reader recently about weaving yarn numbers, weights and thicknesses.
“You speak about 8/2 and 8/4. I do understand they relate to thickness. But, what do the numbers really mean and stand for? Also, how do they relate to the numbers. You said that 8/4 is twice the thickness of 8/4. But let’s say I am wanting to purchase some yarn online. How do I get a sense of their thickness??? Thanks!”
What Do These Numbers Mean??
These numbers are not just there to confuse you and once you understand their meaning, they actually provide clarity on the yarn you’re looking to purchase.
The yarn numbers were developed in the 1800’s as a base measurement for cloth manufacturers to use. The numbers are actually a fraction and this fraction can be different between yarn types.
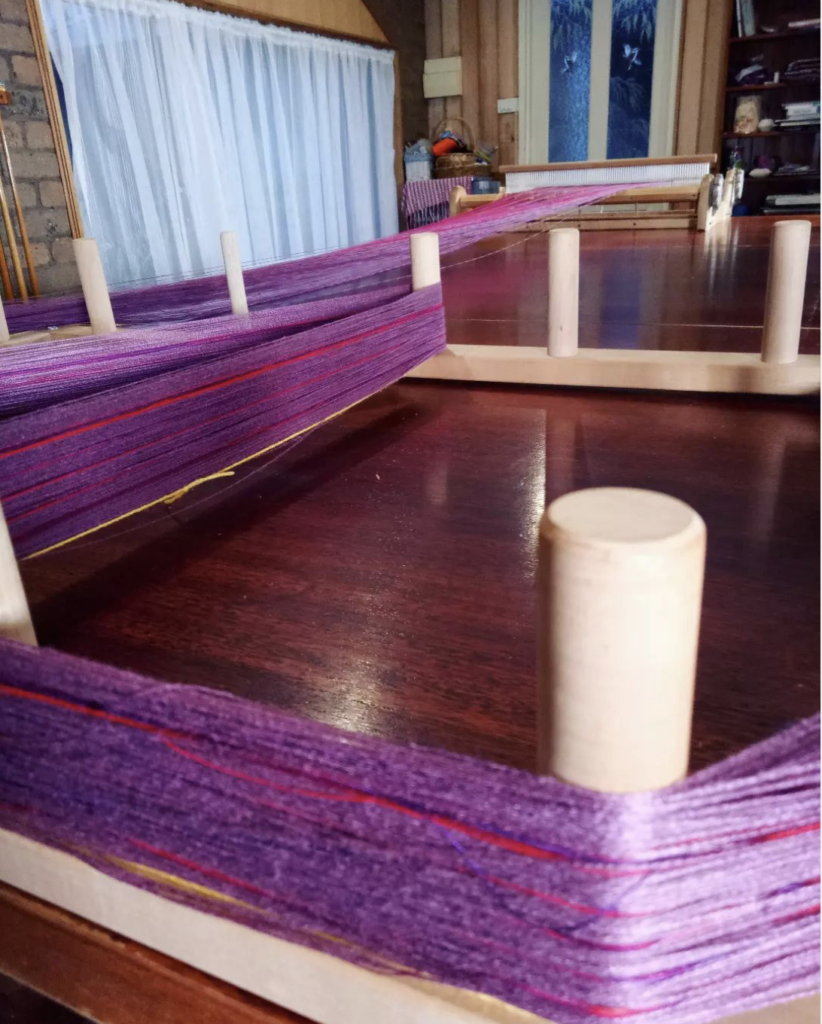
For example, the popular 8/2 cotton appears to be approximately the same weight as 22/2 cottolin and yet the numbers on the label are different.

A Brief Mathematical Overview
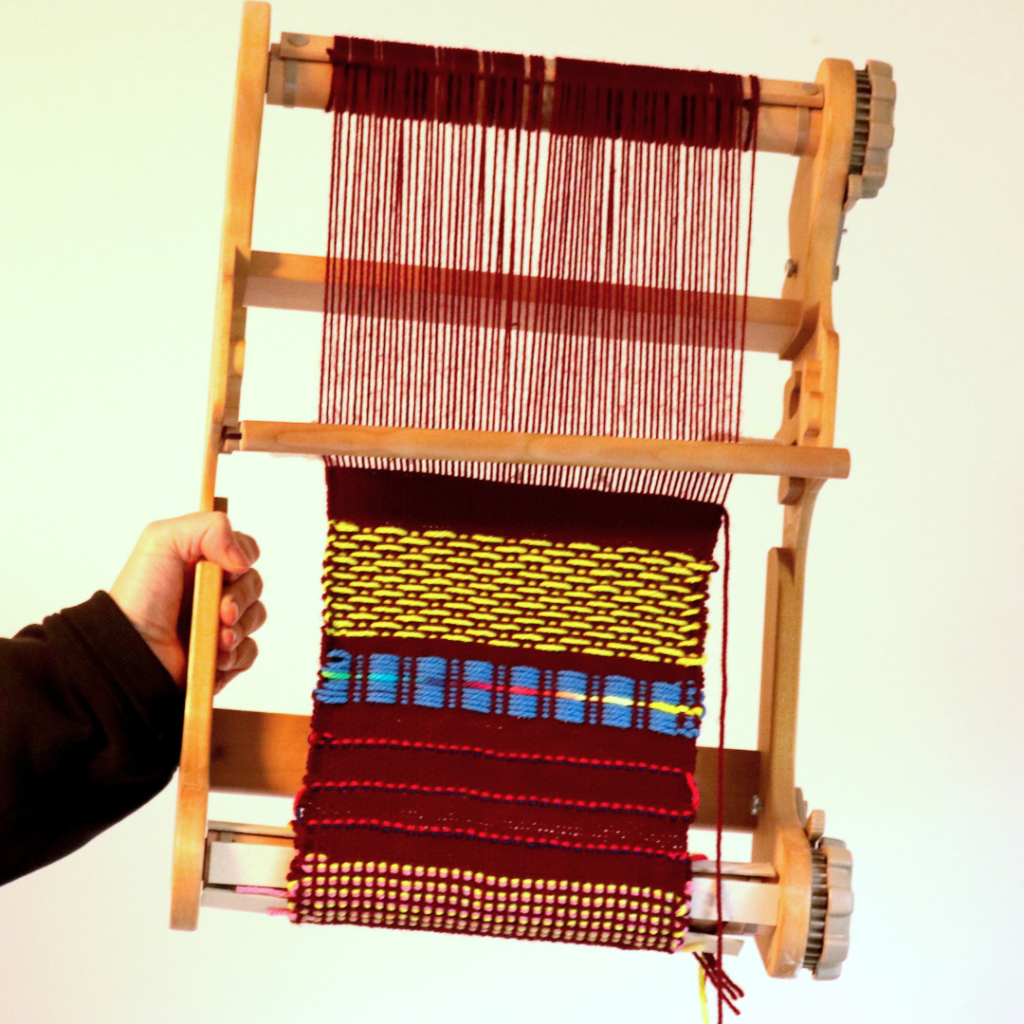
To give a brief overview, let’s look at the 8/2 (sometimes also written as 2/8!) cotton weaving yarn, one of my personal favourites!
For 8/2 cotton, the “8” refers to the actual measurement (figured out with a mathematical equation) and the “2” refers to the ply.
If you are a bit of a math geek, or even if you’re just interested to know more, I have a short, low cost presentation that explains the mathematics clearly. The presentation also covers knitting yarns and how to best match which yarns with which heddles (for rigid heddle weavers).
Online Presentation – What Do All the Numbers Mean?

What do all the numbers mean and how do they apply to a rigid heddle loom?
4455 students enrolled
Last updated Dec 18th, 2025
Buying Weaving Yarn Online
To answer the next question about buying weaving yarn online and how to get a sense of the yarn thickness:
The best way to get a sense of the thickness or weight of a yarn is to check a couple of things. The information may be on the label of the yarn or on the seller’s sales page for that particular yarn.
- The wpi (wraps per inch) will sometimes be provided. That tells you how many times the yarn wraps around an inch ruler over the measurement of one inch. Knowing this figure allows the weaver to figure out a suitable sett based on their project.
2. Yards per pound. This can be useful for comparisons eg. yarns that have a similar number of yards per pound will often be a similar thickness.
3. The recommended epi (ends per inch) may be provided. This can be really useful for weaving projects. Usually the higher the epi, the finer the yarn. I do want to point out though, that these recommended numbers can vary quite a lot, so again it comes down to your project and weave structure.

Further Resources
The Weaver’s Toolkit is a 22 page ebook that you will find an invaluable asset to your rigid heddle weaving journey. Inside you will find:
*Detailed calculating warp and weft sheets
*Project record sheet
*Knitting yarn conversion chart
*Knitting yarns and the rigid heddle loom chart
*Weaving yarns size and recommendations charts
*Sett explanation and instruction pages
*Rigid Heddle Weaving tools pages
*Measurement conversions sheets
*Glossary of common weaving terms sheets
*Typical project sizing charts
Here is what some happy weavers have to say about this ebook:
Fantastic!!! So glad I purchased this, every weaver should have this Toolkit!
Pamela
Spectacular!
Everything is clear and easy to understand. It is a very positive way to learn.Julia
You will also find many yarn resources here and on my Youtube channel. Here are a few to get your started:
A Guide to Choosing the Perfect Cotton For Your Weaving Project
Which Yarn Is Best For Weaving?
Choosing and Using Yarns in Weaving
I hope this was super helpful and interesting for you! If you have any questions or just thoughts to share, please leave them in the comments section below ⬇️
Until next time…
Happy Weaving!
Affiliate links may be included in this article. For more information, please see my disclosure policy.