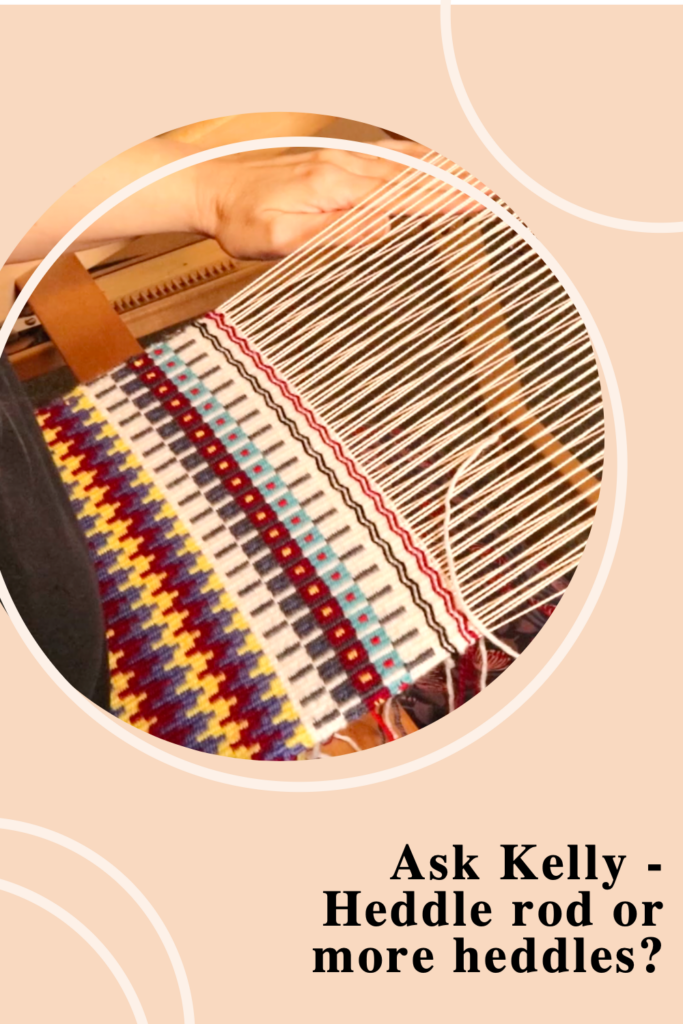
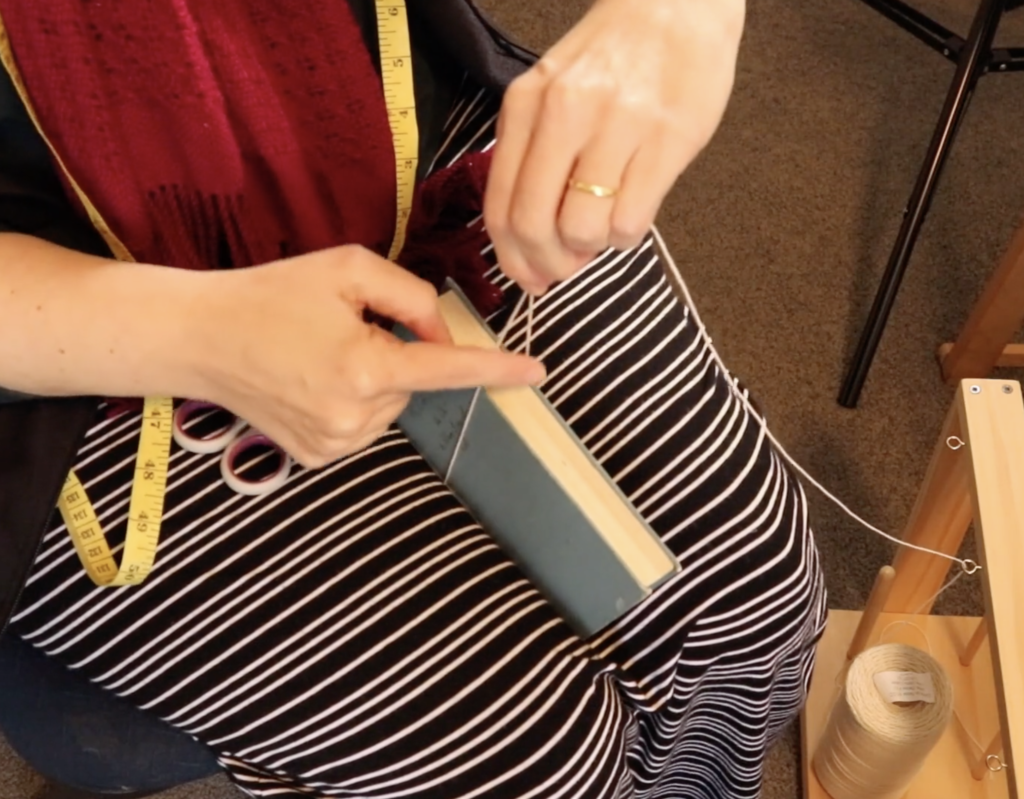
Today’s question springs from the popular online Krokbragd 101 class for rigid heddle weavers. In that class I show you different options for setting up your rigid heddle loom. You can either opt for a single heddle with a heddle rod or pick up sticks OR you can choose to set up with two heddles.
In many of my classes at the Online Weaving School I try to provide more than one option for loom setup because, well, we’re not all the same! What suits one weaver may not suit another.
When I received this question from Milly I realised that no one had asked it of me before. I wanted to share so that all can benefit.
For context, method one refers to setting up the rigid heddle loom with a single heddle, a pick up stick and a heddle rod.
Method two is a two heddle set up.

“Hi Kelly,
Your video is very informative and very easy to comprehend, thanks for making this and I am glad that I have purchased it. Just a quick question. For Method 1 and 2, in terms of preparation of threading and set up and in terms of speed of completing project such as changing shaft 1-3 for each method, which do you feel more smooth to continue the project and which is faster and convenient do you think?
Budgeting wise, rather than purchasing two heddles, if you have a rod and buying a picking stick it is maybe a bit more cheaper right? But I just wondered about in terms of practical convenience, speeding of threading and completing the project which is better I wonder…?? Appreciate if you can give me your opinion on this:)“
Hi Milly!
It might depend a little bit on the weaver. If you prefer one method it’s probably because you can get it set up easily and quickly? For me personally, method two definitely trumps method one in terms of speed of set up and ease of weaving. I have quite a bit of experience with using more than one heddle now and I “get it”.
But many would say the opposite and say they prefer method one. Method one is undeniably more economical as buying additional heddles of the same dent can be expensive. I usually advise students to purchase the extra heddle if:
A) They are already weaving with pick up sticks/heddle rods and find it cumbersome for any reason (eg. some weavers, myself included, will get neck/shoulder strain from repeatedly picking up a heddle rod) then it could be worth investing in another heddle.
B) If they intend to do a lot of weaving that requires more than the regular 2 shafts it would be worth buying a second heddle.
I hope my response to the question is insightful for all of you but perhaps you are at more of a beginner level?

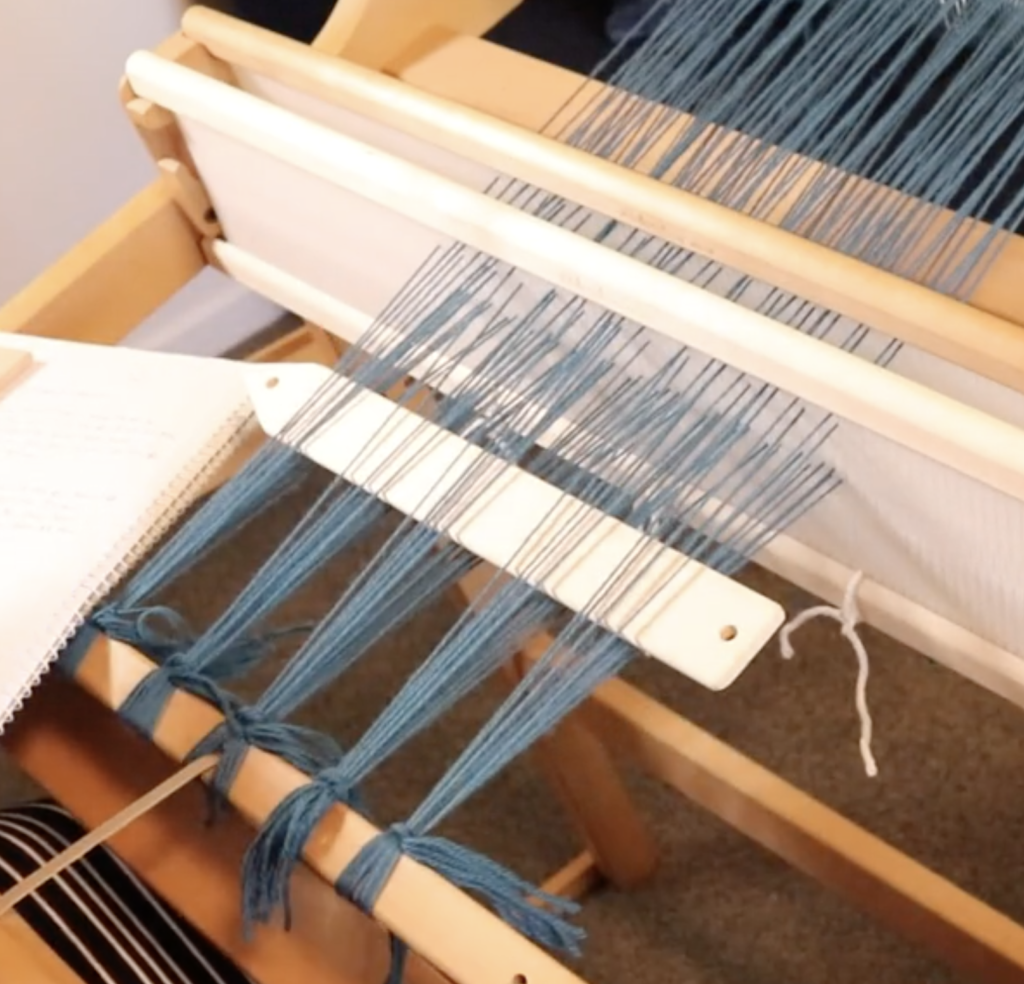
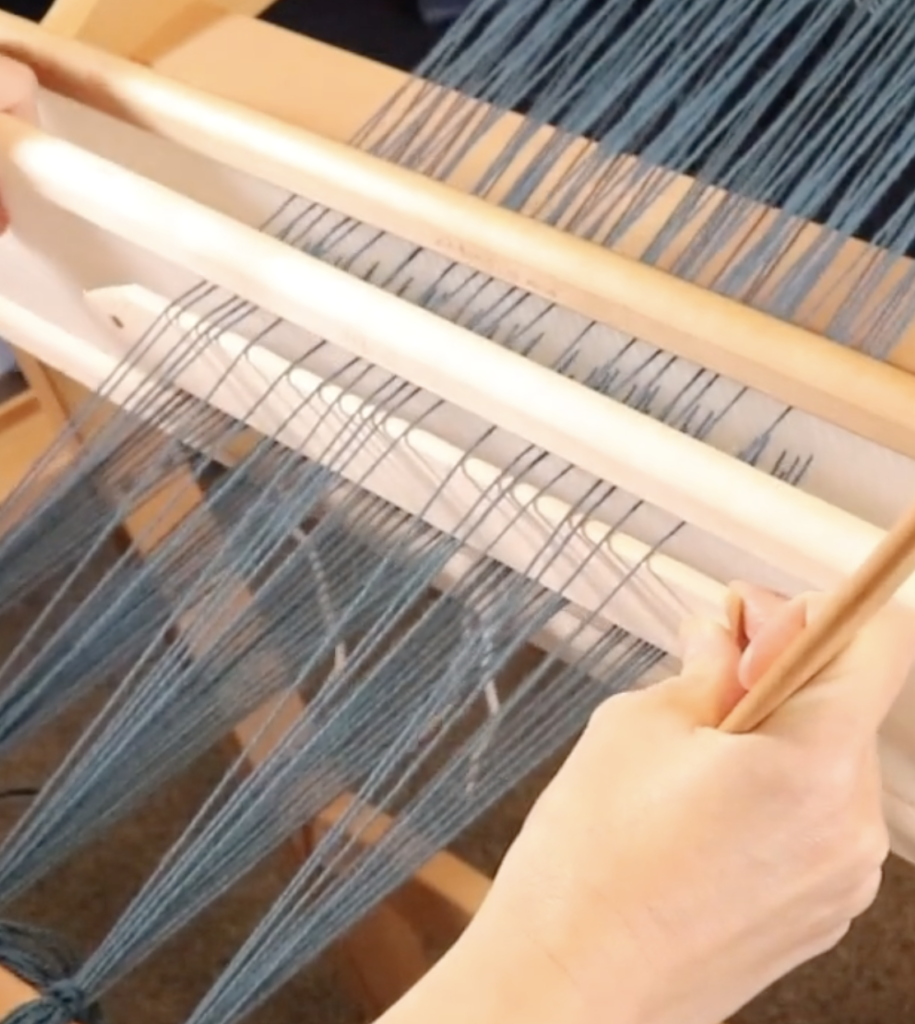
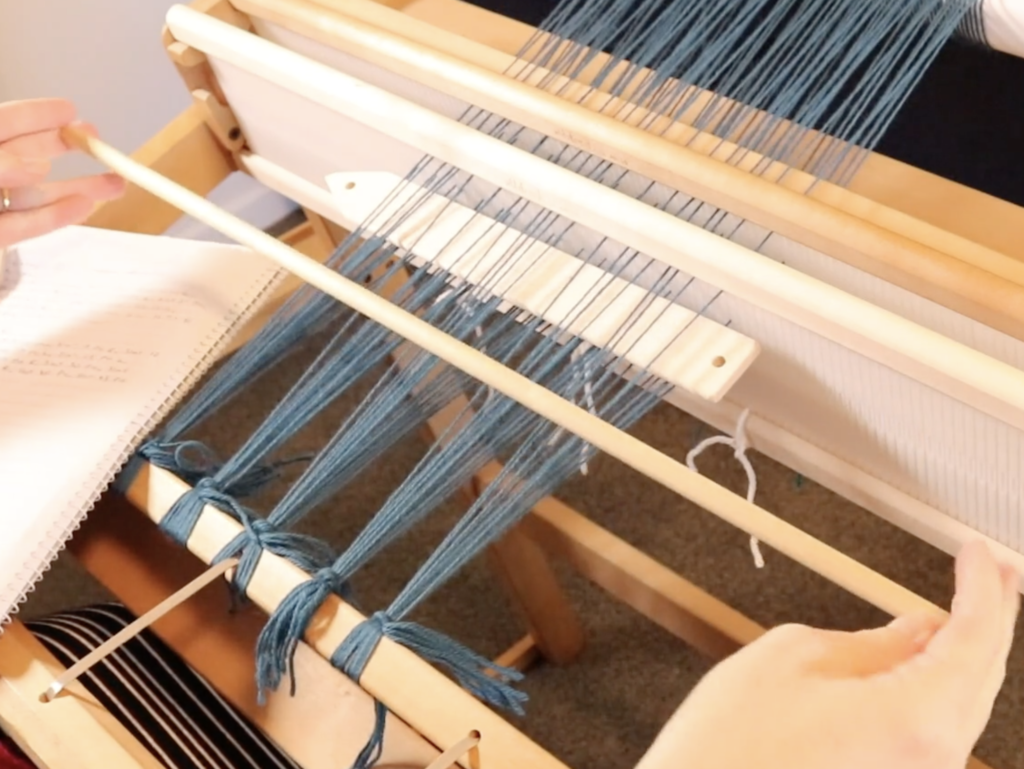
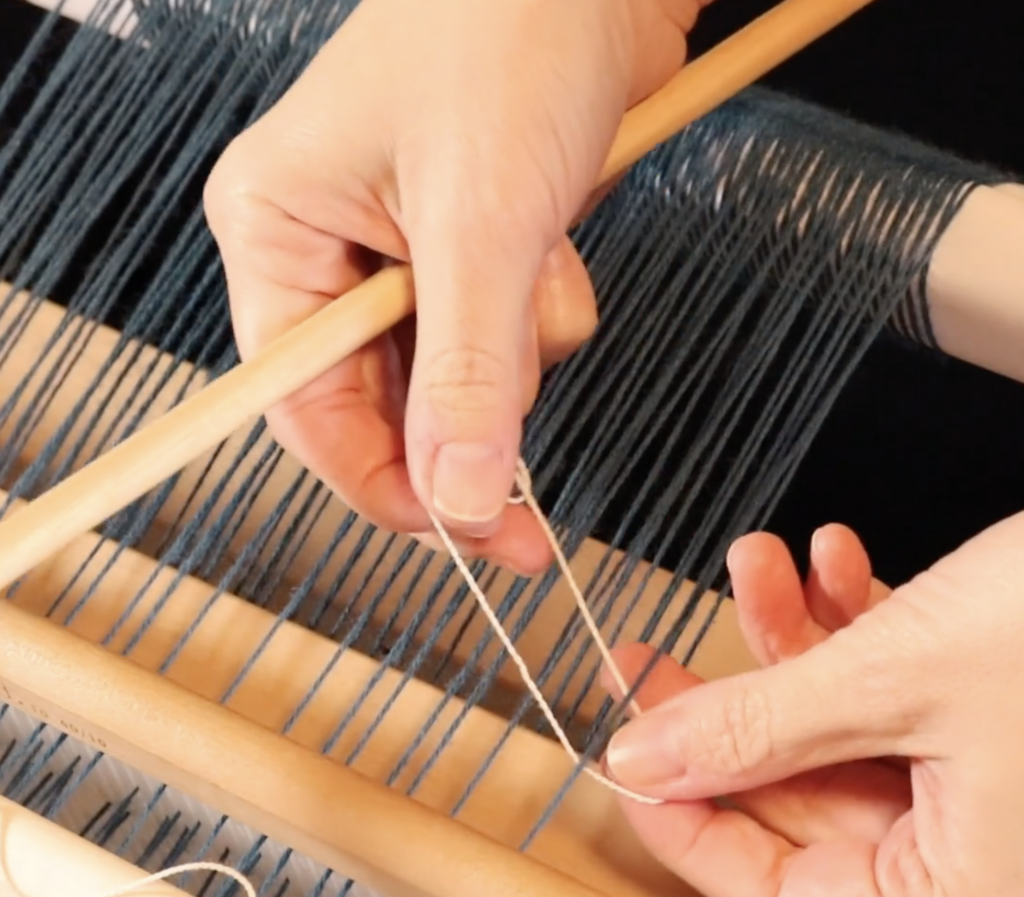
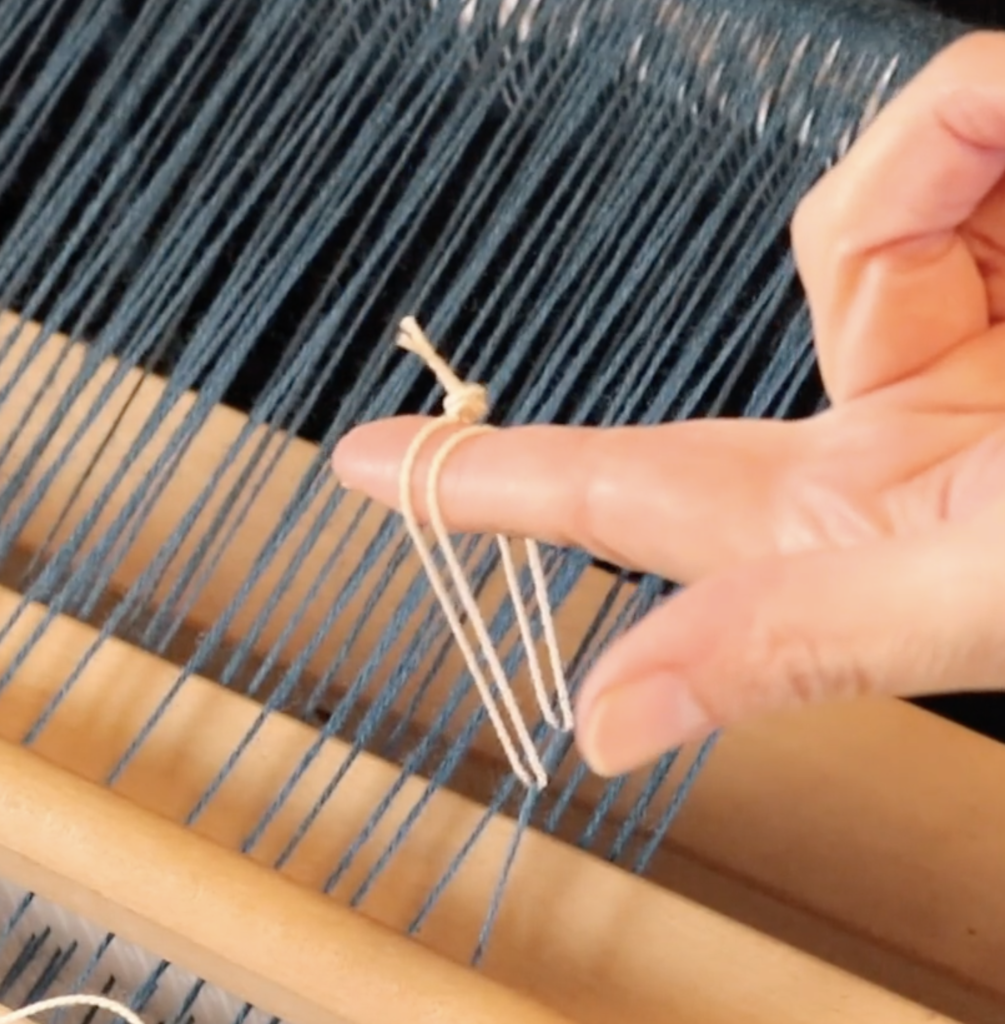
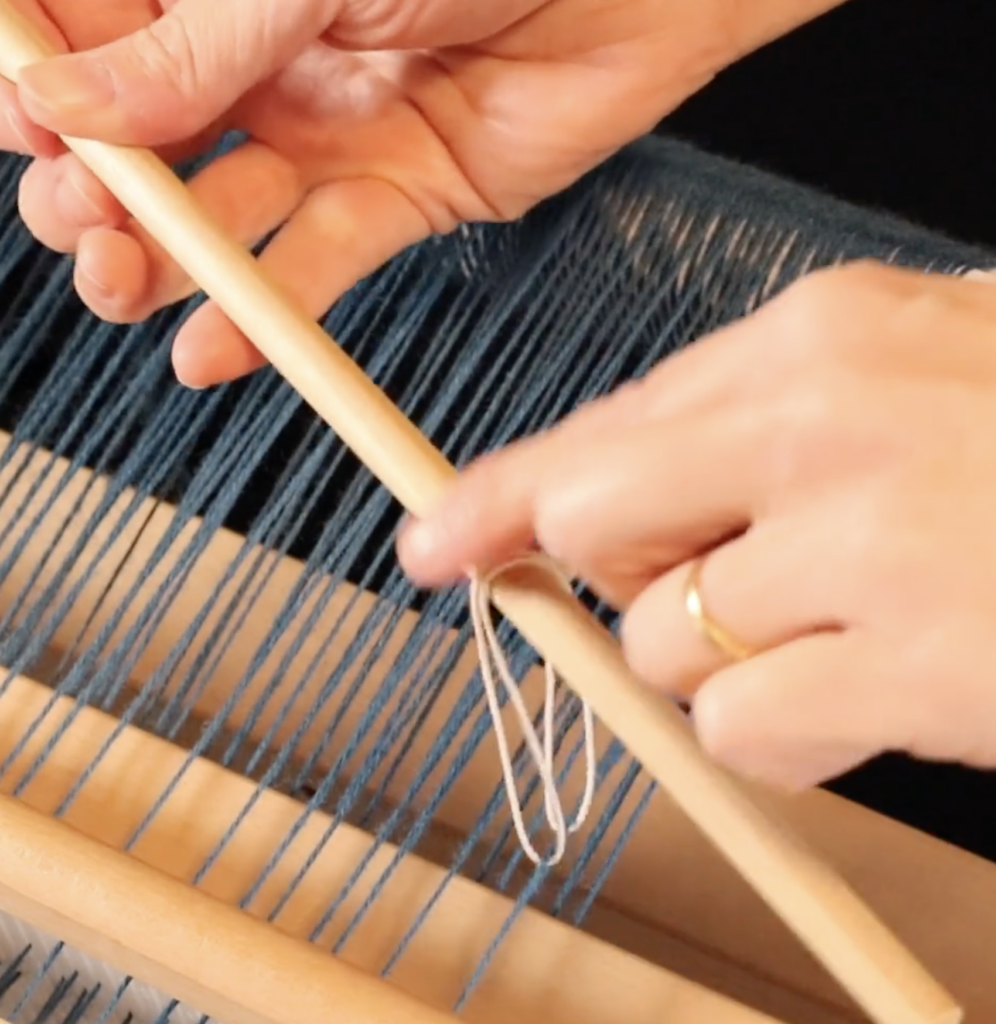
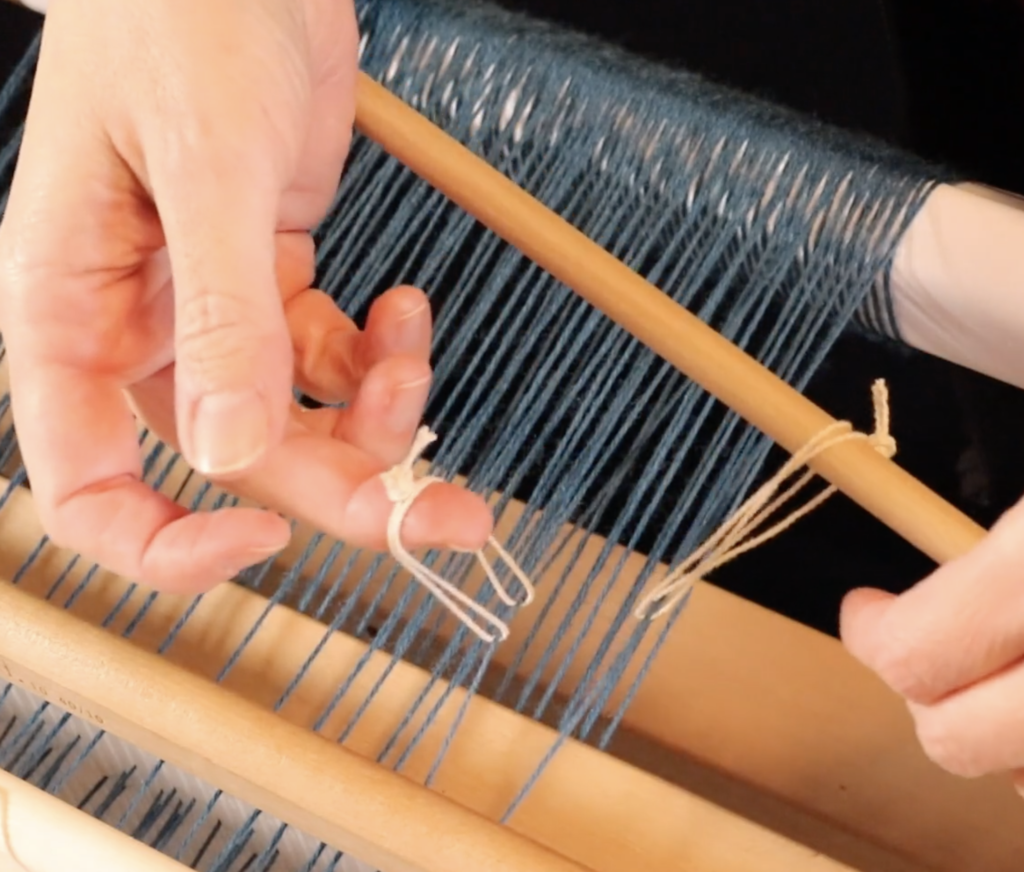
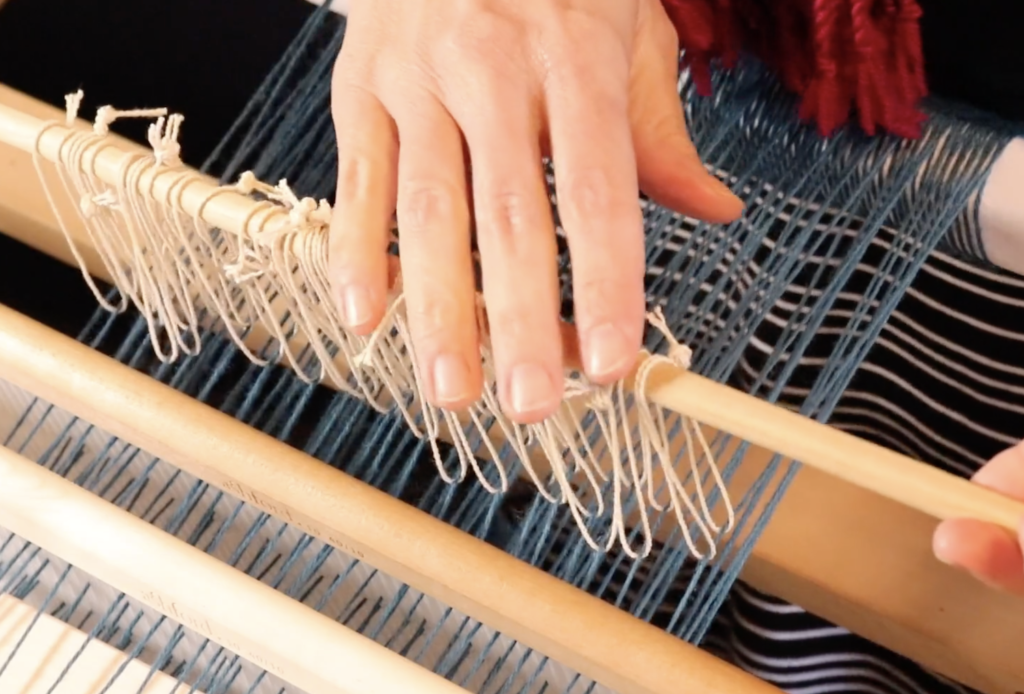
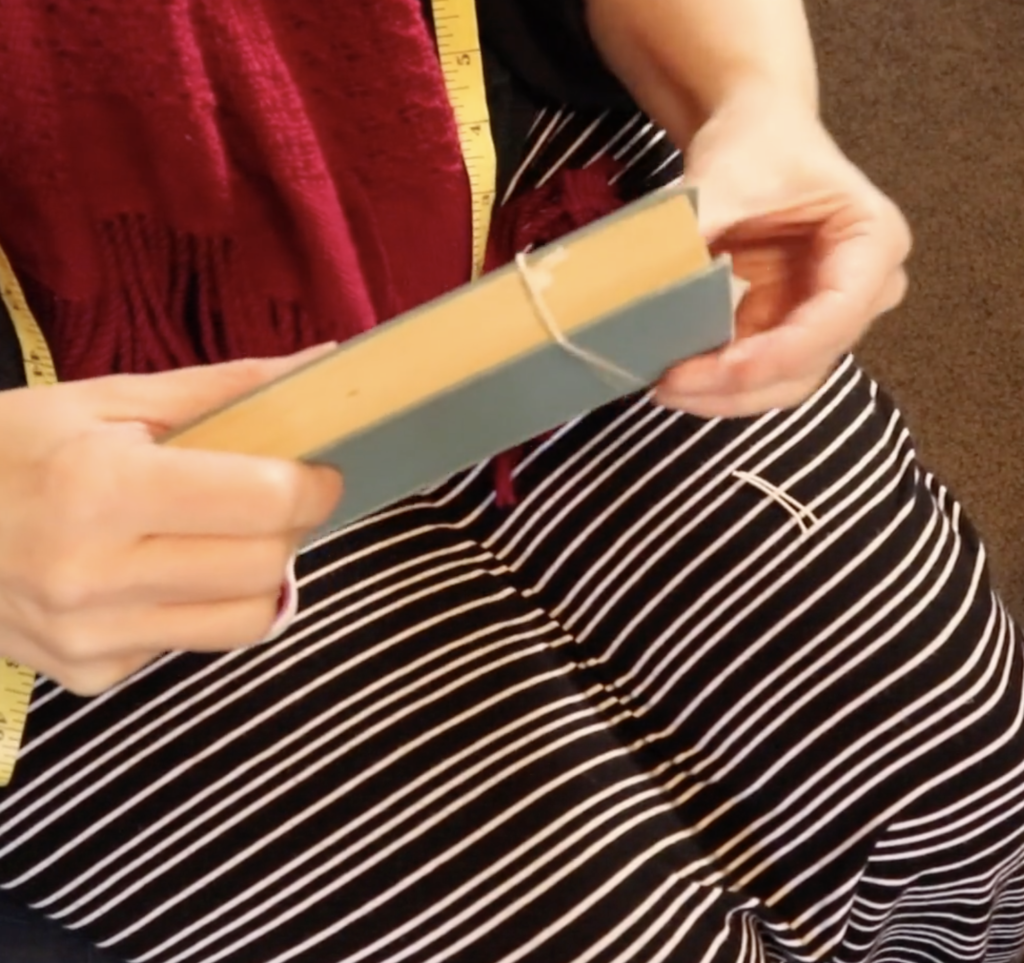
What is a heddle rod?
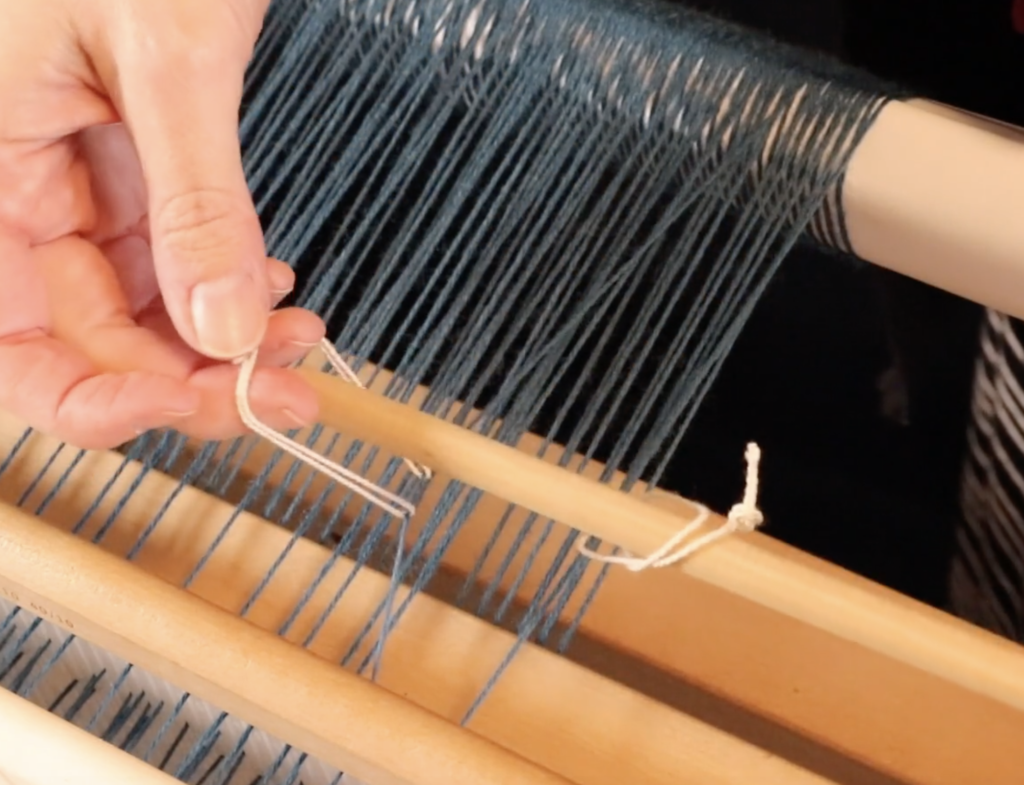
A heddle rod is a replacement tool for a pick up stick. When you wish to use more than one pick up stick to create texture or patterning on a rigid heddle loom you may find that the two sticks will not slide past each other.
This is a problem because one stick will need to be removed and the threads picked up again each time you need to weave that pick (row). Hello tedium! 😆
A heddle rod completely bypasses this issue because it can pick up the threads you want, sit behind the heddle and still leave a clear path for a pick up stick.
I have a full, free tutorial that shows you how to install a heddle rod, including how to make your own string heddles.
What About More Than One Heddle?
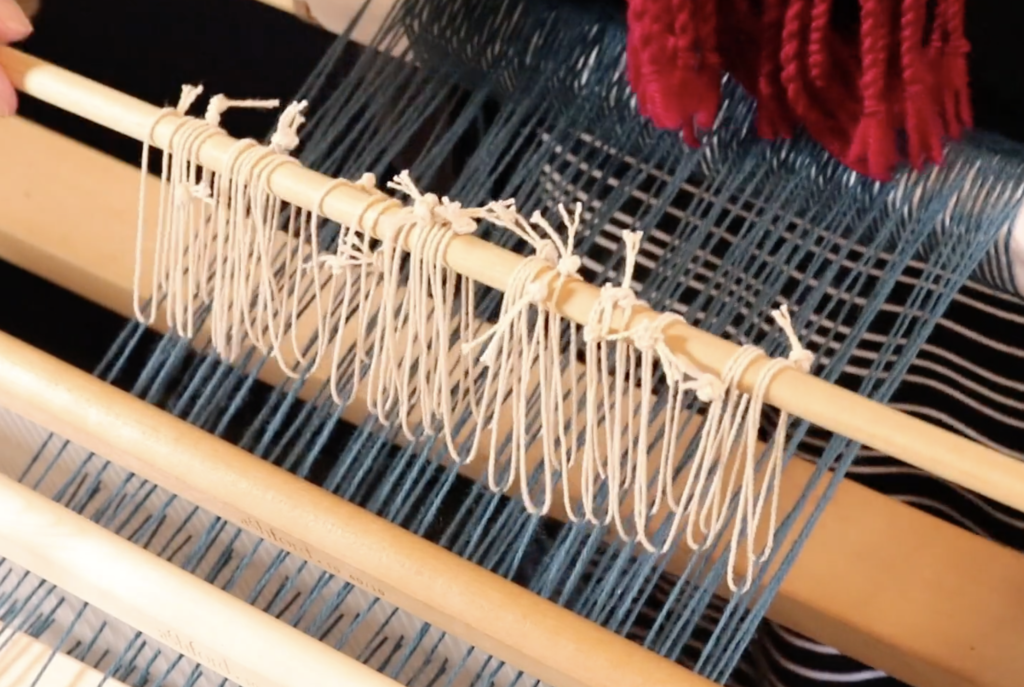
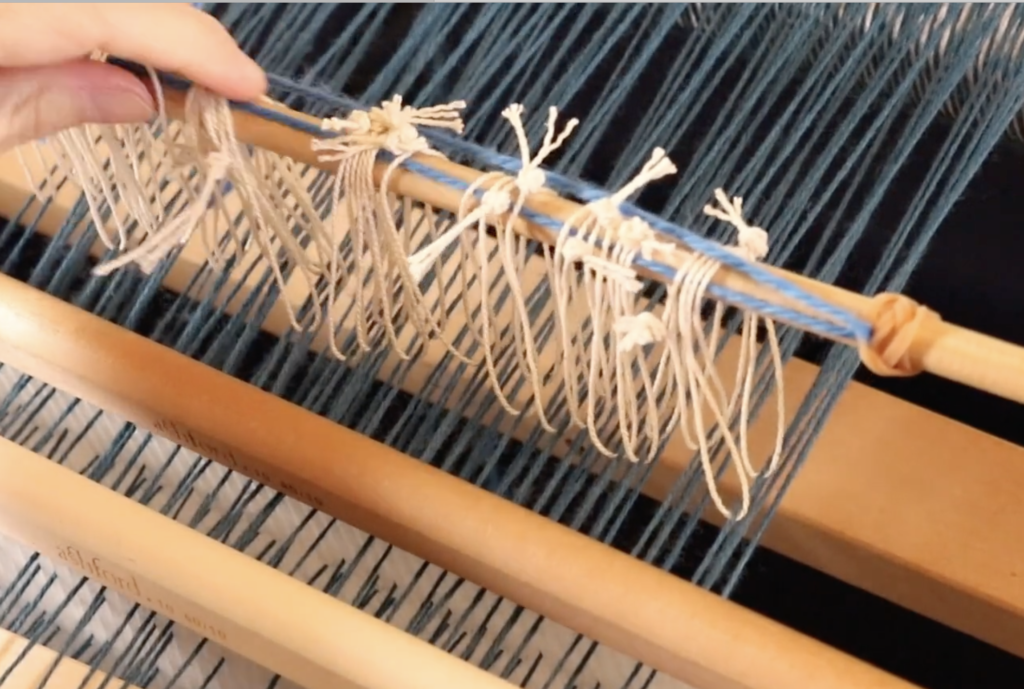
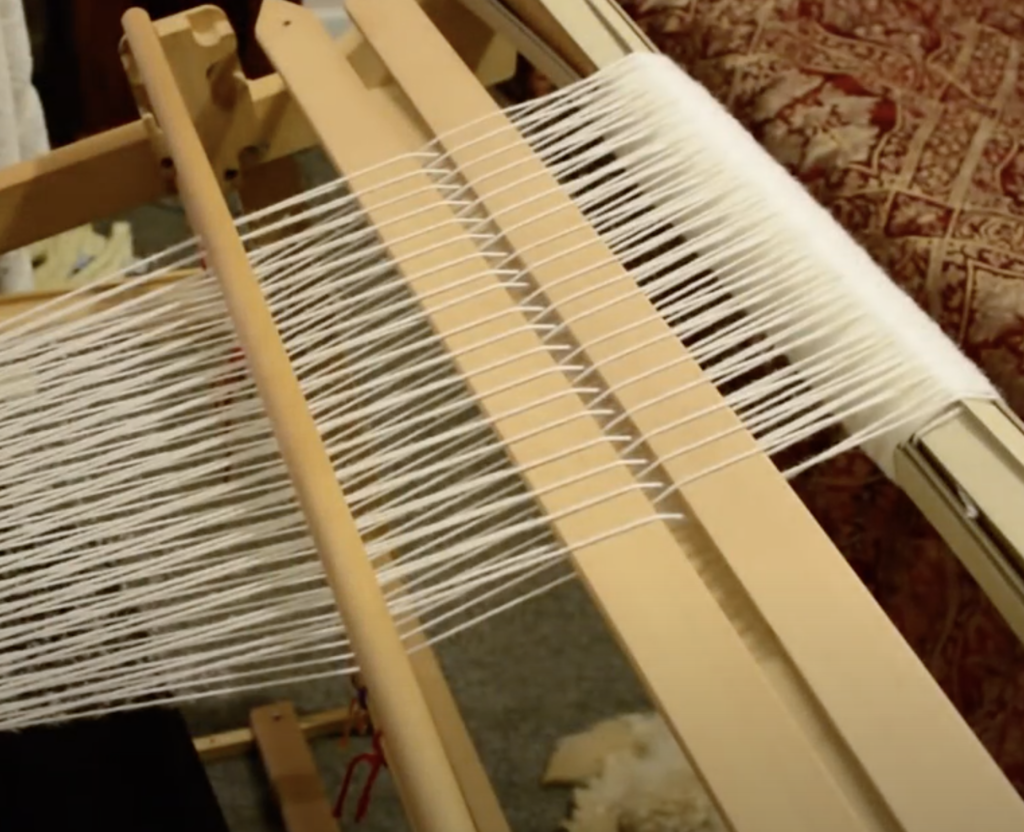
Weaving with a single heddle, lowering and raising it to weave with, can achieve 2 shafts. But we can add an additional heddle (or heddles) to achieve even more.
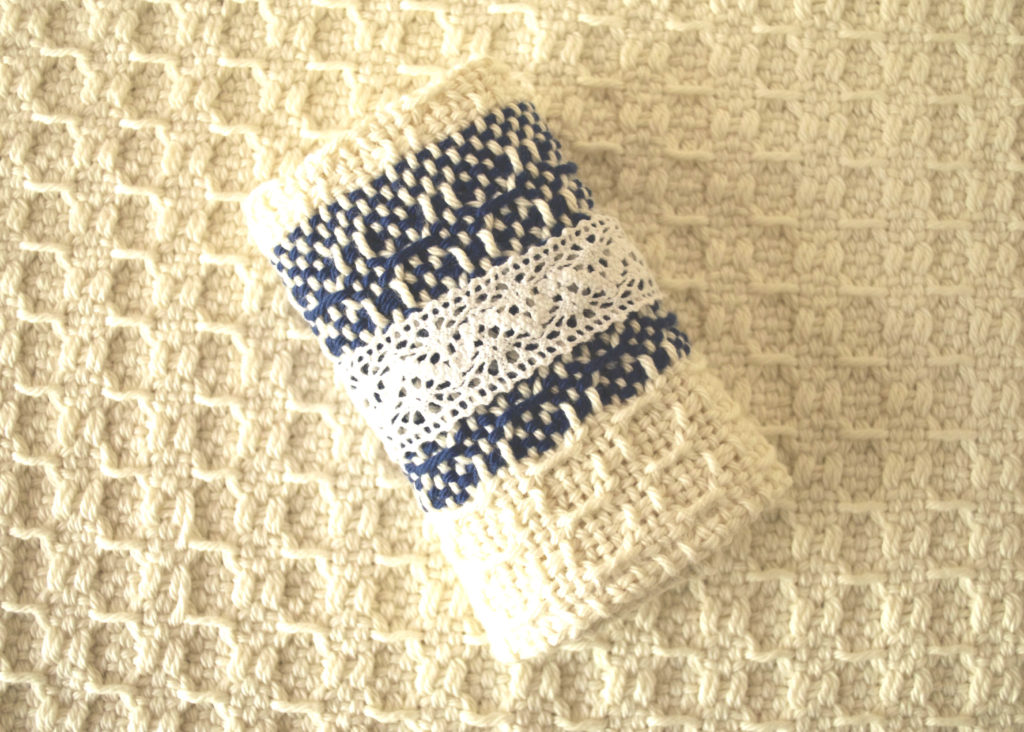
For weaving a 3 shaft krokbragd like we do in the Krokbragd 101 online class, this means we can set up the rigid heddle loom with two heddles to achieve the three shafts we need for the weave structure.
As I already pointed out to Milly, I love weaving with two heddles but I understand it’s not the best solution for everyone.
The heddles must be the same size, so if you want to weave your krokbragd with a 7.5 dent heddle, you need two of the exact same size. Naturally, this is a more expensive option than using a piece of dowel or similar for a heddle rod.
There are so many options for weaving with two heddles though, beyond just krokbragd. For some weavers, an additional heddle opens up the world of weaving on a rigid heddle loom in a new way, I know it did for me when I discovered it!
*This post contains affiliate links. For further information, please see my disclosure policy.
Let me know if you found this article helpful by commenting below ⬇️ Heddle rods or two heddles? Do you have a preference?
Until next time…
Happy Weaving!